
Upgrade your bathroom with a premium stainless steel bathroom set! These essential designs offer durability, timeless style, and easy maintenance for a beautiful, functional space. Discover the best options for a sleek, modern look that lasts.
Is your bathroom feeling a bit tired? Do you dream of a space that’s both stylish and super easy to keep clean? Many people want a bathroom that looks great and stands up to daily use, but they’re not sure where to start. Choosing the right accessories can make a huge difference, and a premium stainless steel bathroom set is a fantastic option.
Stainless steel is known for its strength and resistance to rust, making it perfect for humid bathroom environments. It also has a sleek, modern look that fits almost any decor. But with so many designs out there, picking the right set can feel a little overwhelming. Don’t worry! This guide will walk you through the essential designs and what to look for in a premium stainless steel bathroom set, making it simple to create the bathroom of your dreams.
Why Choose a Premium Stainless Steel Bathroom Set?

When you’re looking to upgrade your bathroom, the materials you choose play a big role in both its appearance and how long it lasts. A premium stainless steel bathroom set is a smart investment for several key reasons. It’s not just about looking good; it’s about practicality and longevity.
Durability and Longevity
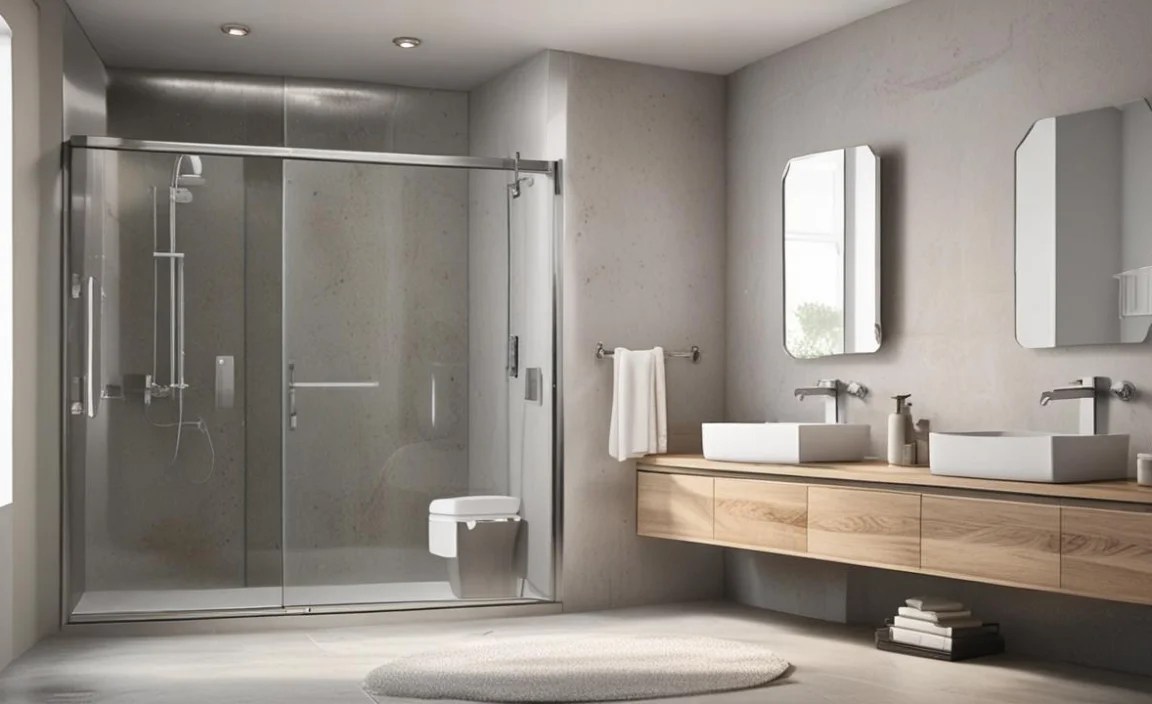
Stainless steel is incredibly strong and resistant to corrosion and rust. This is crucial in a bathroom, where high humidity and frequent contact with water are common. Unlike some other metals that can pit, tarnish, or corrode over time, stainless steel maintains its integrity and appearance for years. This means your bathroom set won’t need frequent replacements, saving you money in the long run.
Hygienic and Easy to Clean
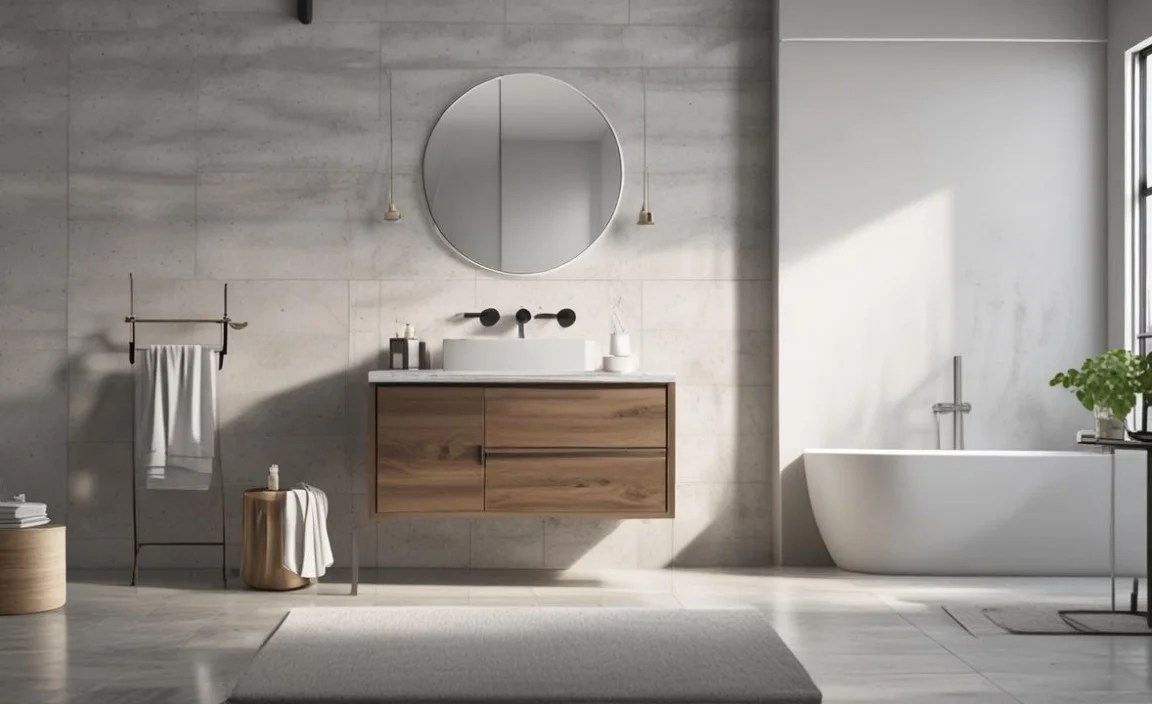
The smooth, non-porous surface of stainless steel makes it naturally resistant to bacteria and stains. This makes it one of the most hygienic materials for bathroom fixtures. Cleaning is a breeze too! A simple wipe-down with a soft cloth and mild soap is usually all it takes to keep it looking spotless. This is a huge plus for busy households looking for low-maintenance solutions.
Timeless and Versatile Style
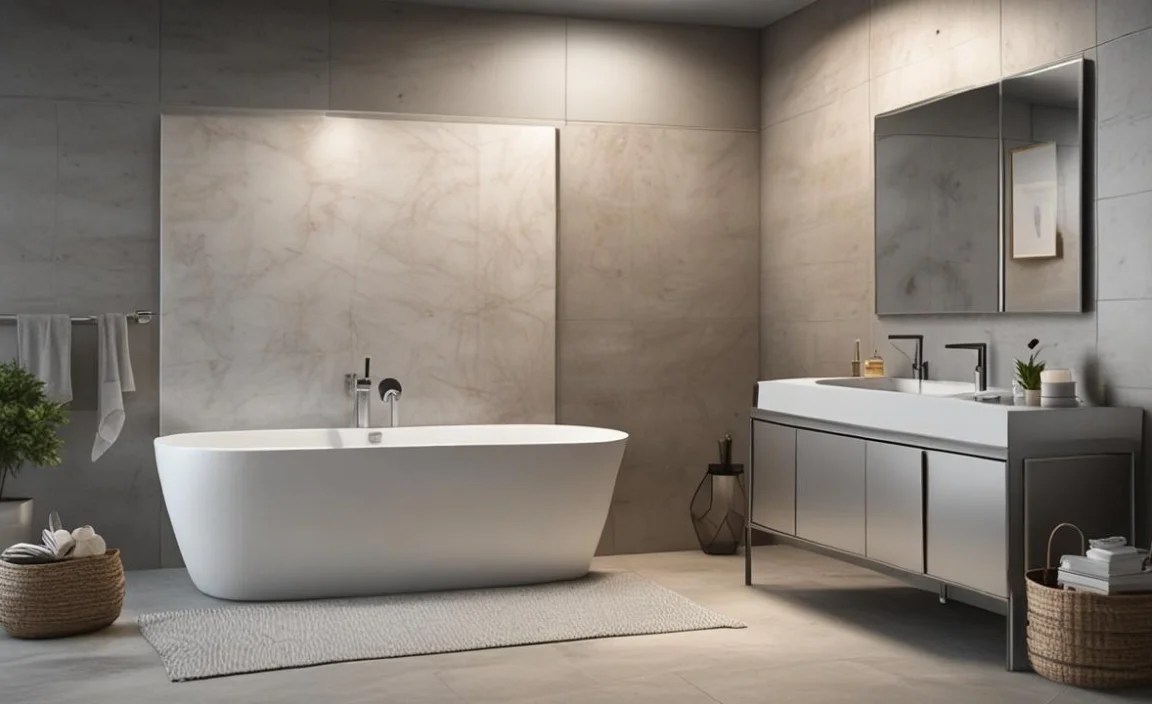
Stainless steel boasts a sleek, sophisticated, and modern aesthetic that rarely goes out of fashion. It complements a wide range of bathroom decors, from minimalist and contemporary to more traditional styles. Whether your bathroom features bright tiles, natural wood, or bold colors, a stainless steel set will add a touch of elegance without clashing. It’s a neutral yet impactful choice.
Resistant to Tarnishing and Stains
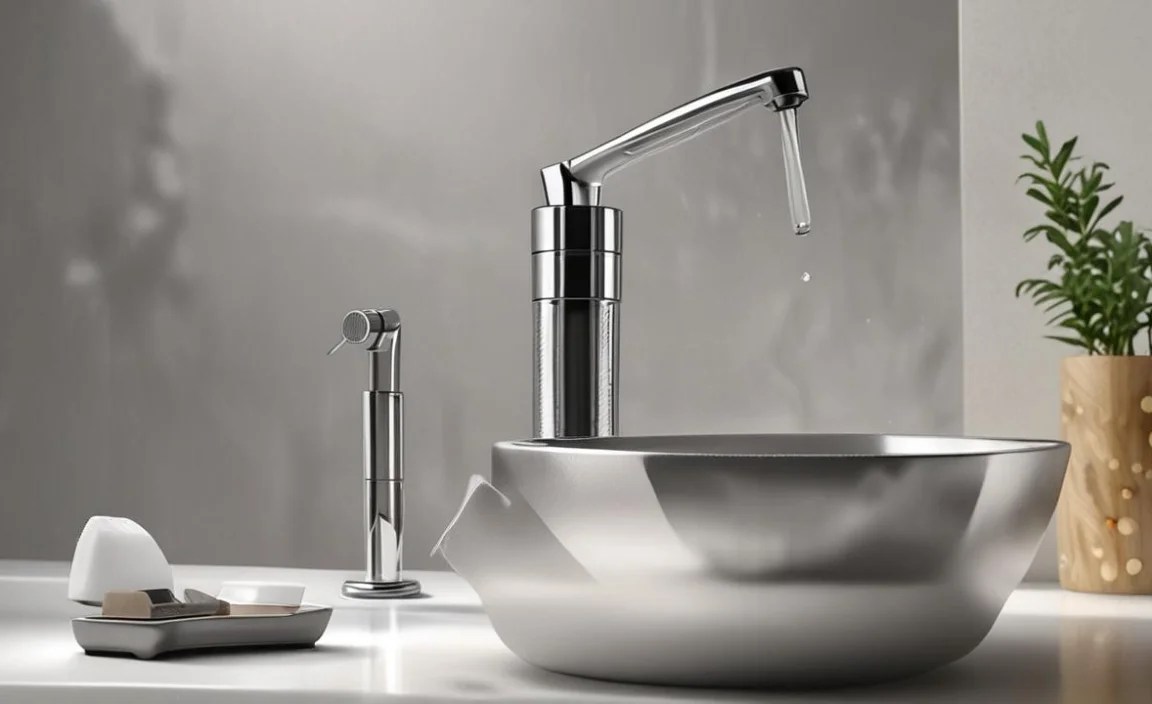
Tarnishing is a common problem with many metal fixtures, leading to a dull, discolored appearance. Stainless steel, especially higher grades, is highly resistant to tarnishing. It also resists water spots and soap scum build-up better than many other materials, keeping your bathroom accessories looking pristine with minimal effort.
Essential Components of a Premium Stainless Steel Bathroom Set

A complete bathroom set typically includes several key pieces that work together to create a cohesive and functional look. When selecting a premium stainless steel bathroom set, ensure it contains these vital components, chosen for their quality and design.
1. Towel Bars/Rings/Hooks
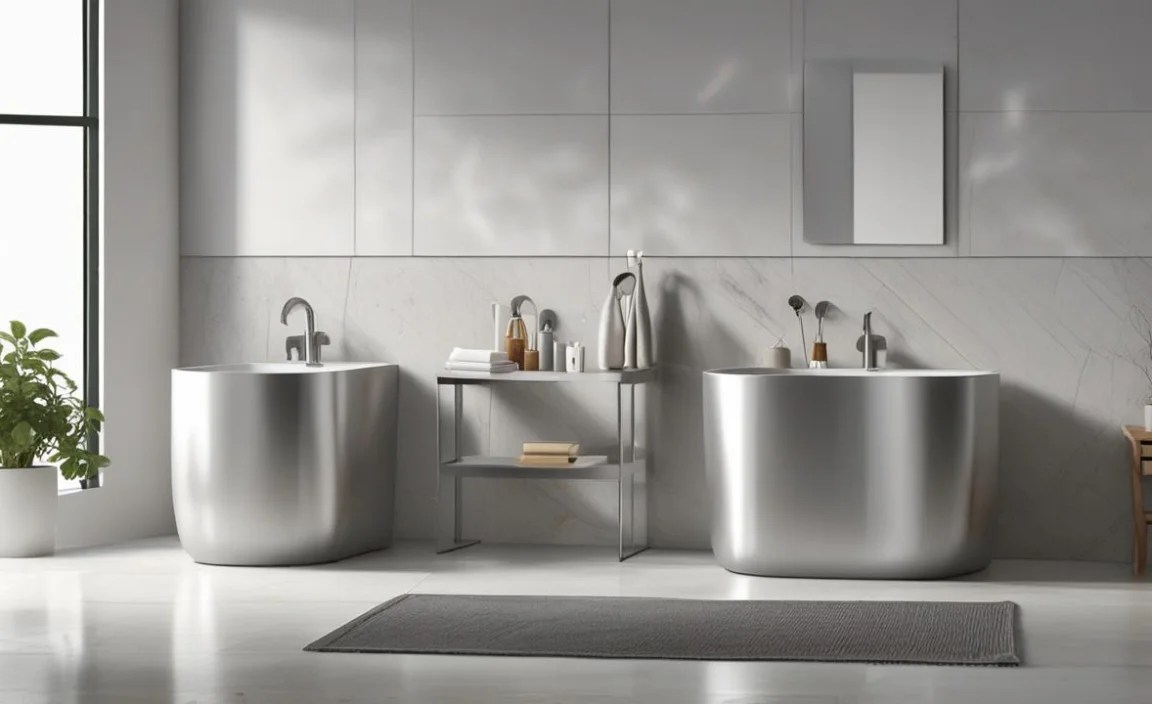
These are fundamental for hanging towels, bathrobes, and other bathroom essentials. A good set should offer a variety of options to suit your space and needs. Towel bars are great for larger towels, while rings are ideal for hand towels. Hooks are perfect for robes or smaller towels.
- Towel Bars: Available in single or double bar designs, offering ample space for drying towels. Look for solid construction that can support the weight of wet towels without bending.
- Towel Rings: Circular fixtures that keep hand towels conveniently accessible. Their compact size makes them suitable for smaller spaces.
- Robe Hooks: Sturdy hooks designed to hold heavier items like bathrobes. Often used near showers or on the back of doors.
2. Toilet Paper Holder
A functional and accessible toilet paper holder is a must-have. Premium sets often feature robust designs that prevent wobbling and ensure the roll is easy to replace.
- Fixed/Wall-Mounted: The most common type, screwed directly into the wall for maximum stability.
- Modern/Concealed Spindle Designs: Some higher-end models feature designs where the spindle holding the roll is less visible, contributing to a cleaner look.
3. Soap Dish or Soap Dispenser
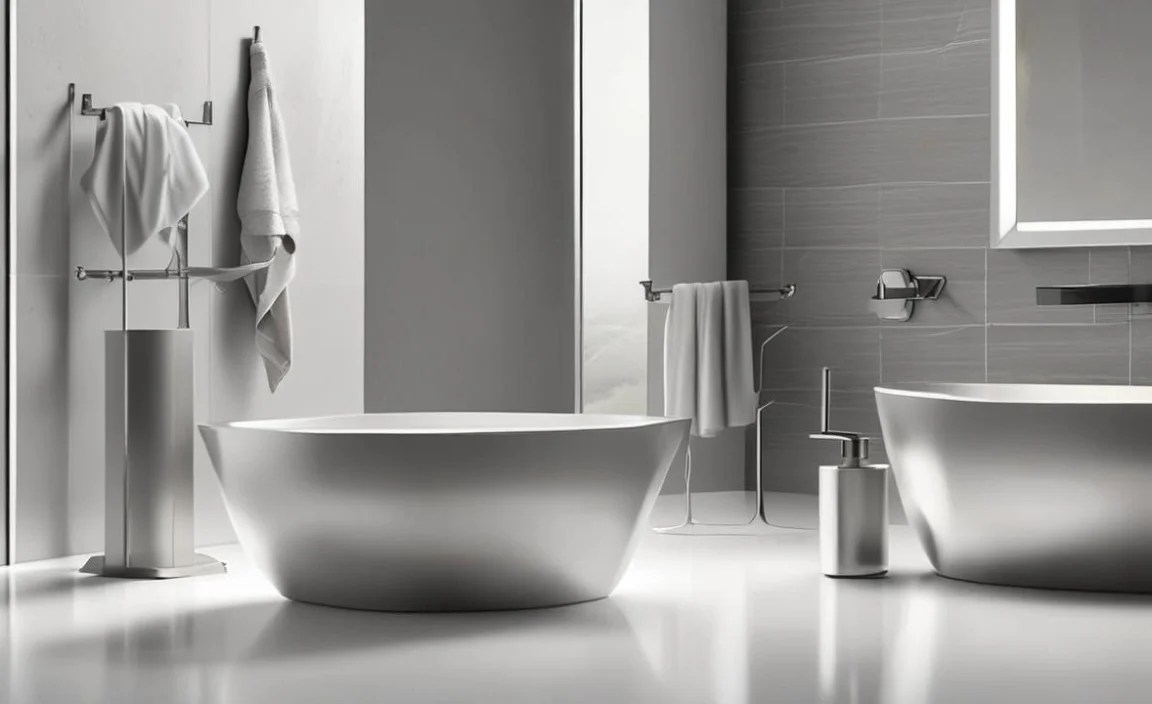
While some prefer liquid soap, a solid soap dish or a sleek dispenser is a staple. Premium stainless steel options often combine functionality with an elegant appearance.
- Wall-Mounted Soap Dish: Designed to hold a bar of soap and allow water to drain away, preventing residue buildup.
- Countertop Soap Dispenser: Freestanding or pump-style dispensers that look sophisticated on the vanity. Look for refillable options.
4. Tumbler/Toothbrush Holder
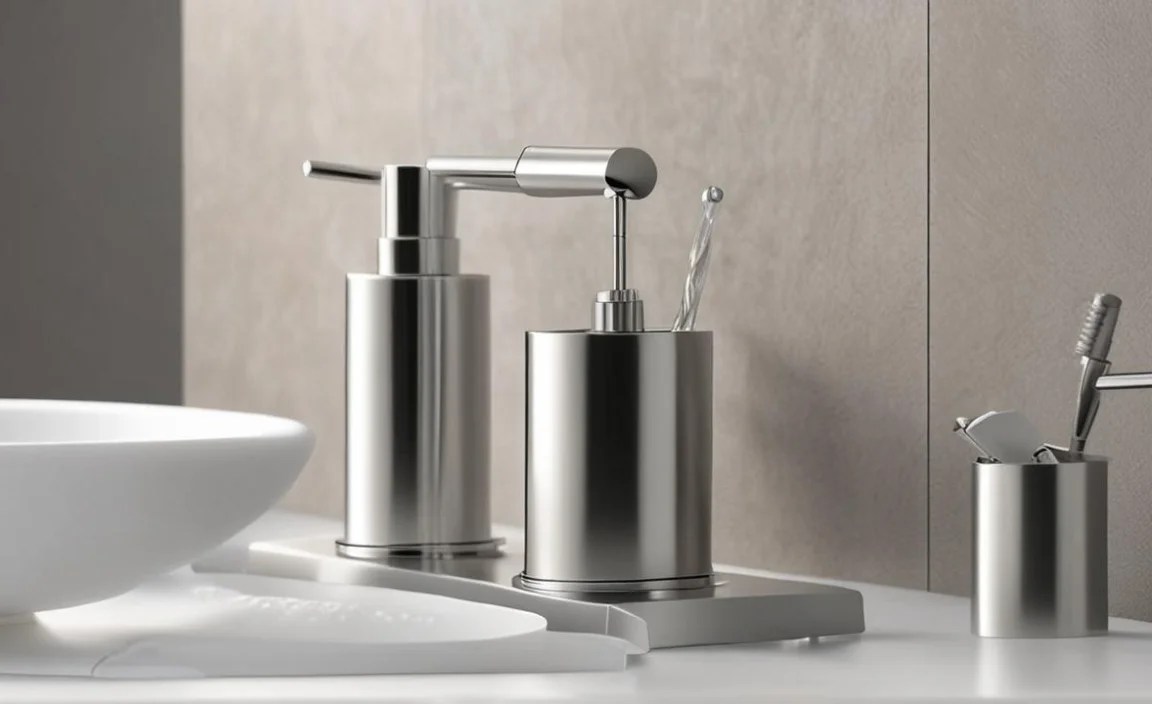
This essential accessory keeps toothbrushes organized and upright, promoting hygiene. Premium sets might offer a stylish tumbler for rinsing or a dedicated toothbrush holder with separate compartments.
- Tumbler: A cup-style holder, often used for rinsing during brushing, but also great for storing toothbrushes and toothpaste.
- Toothbrush Holder: Specifically designed with slots to hold brushes upright.
5. Waste Bin (Trash Can)
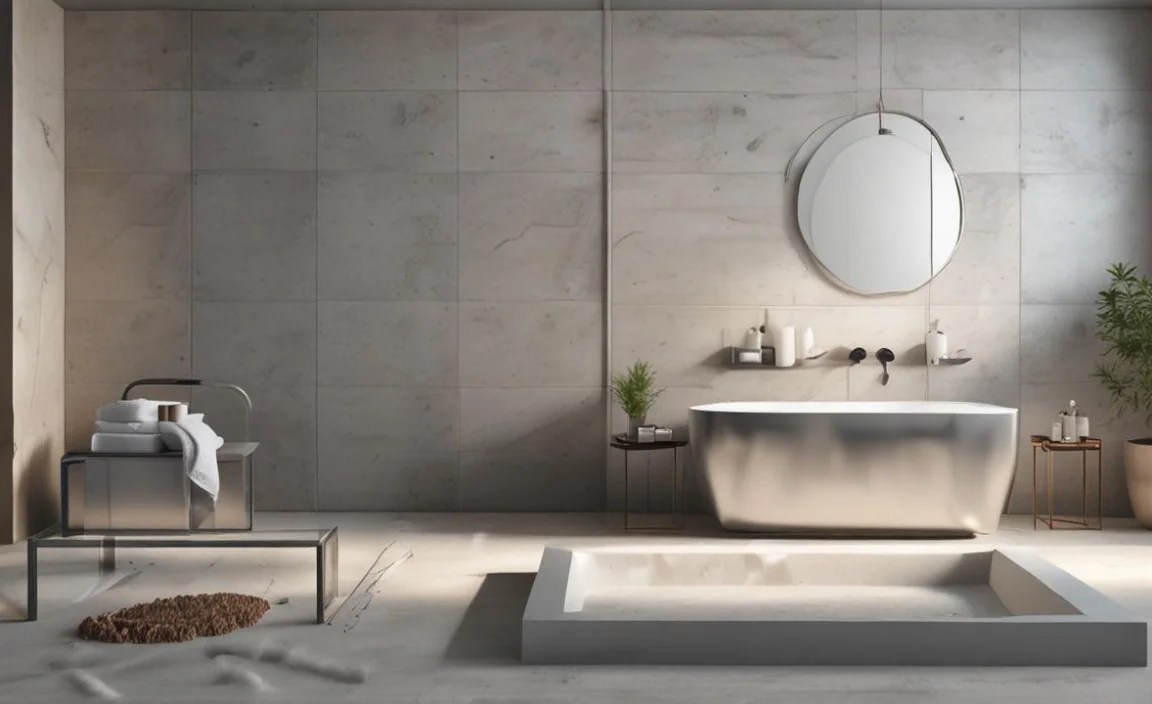
A stylish waste bin is necessary for hygiene and tidiness. Stainless steel bins are durable, easy to clean, and resist odors better than many plastic options.
- Concealed/Swing-Top: Many premium bins feature lids that hide the contents and minimize odor.
- Foot Pedal: For touch-free operation, a foot pedal adds convenience and hygiene.
- Removable Liner: Makes emptying and cleaning much simpler.
6. Toilet Brush Holder
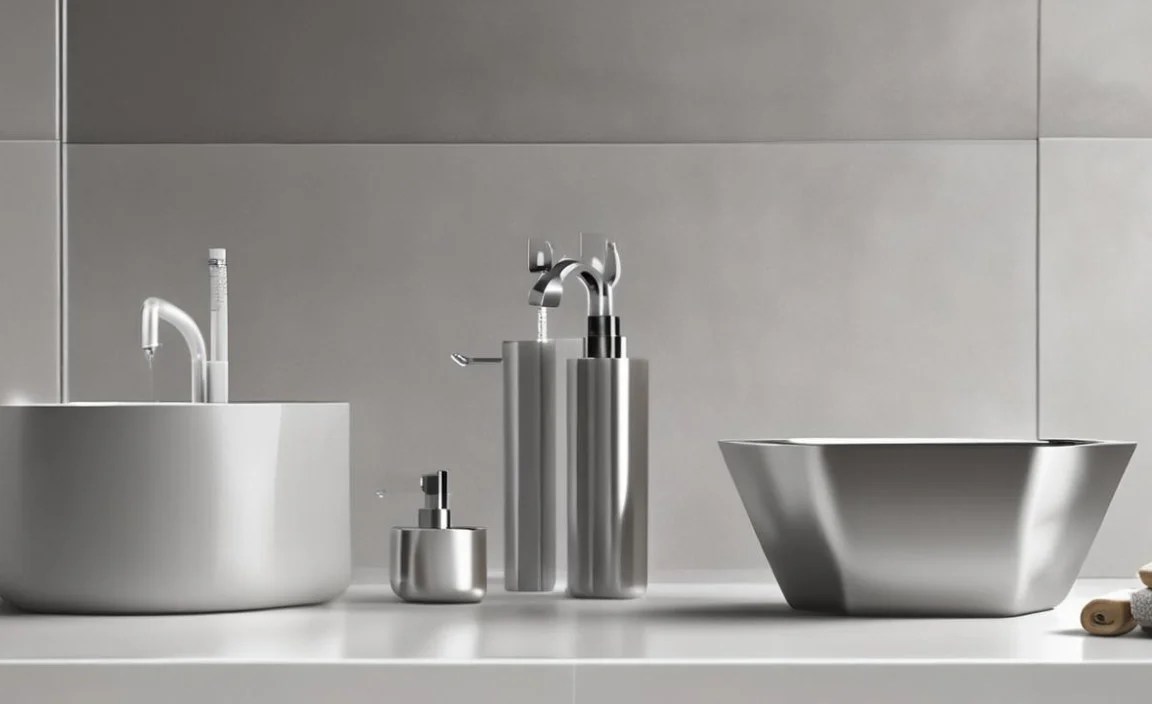
Essential for cleaning the toilet, a discreet and stylish holder keeps the brush stored neatly and hygienically.
- Concealed Holder: Typically a canister that hides the brush and its base.
- Drip Tray: Some designs include a tray at the bottom to catch excess water.
Key Design Considerations for Premium Stainless Steel Sets
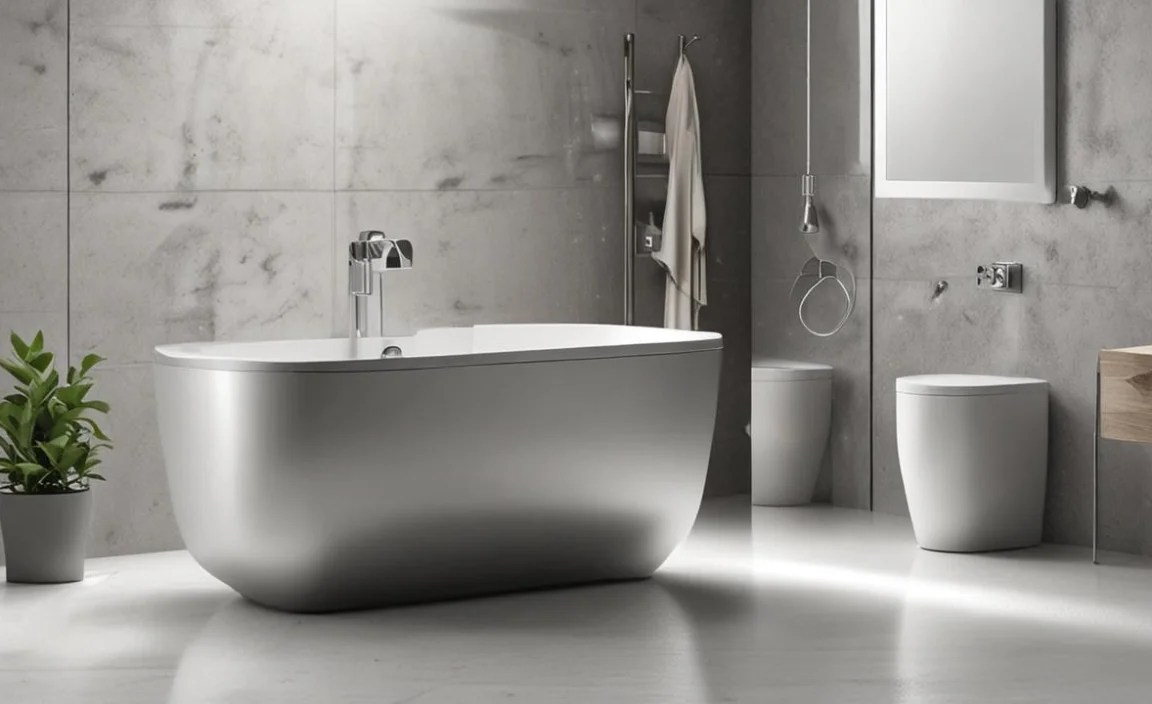
When you’re aiming for a premium stainless steel bathroom set, the design details make all the difference. It’s these thoughtful touches that elevate a functional item into a statement piece. Let’s dive into what makes a set truly premium.
1. Finish Types
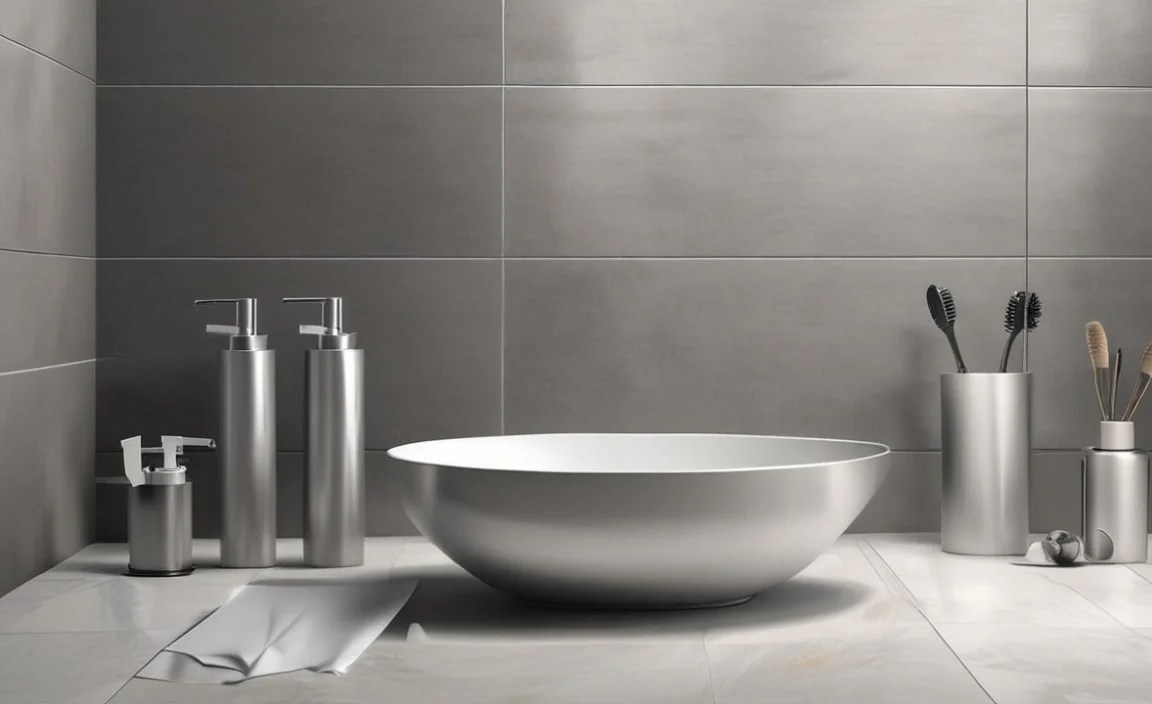
The finish on your stainless steel can dramatically impact the overall look and feel of your bathroom. Premium sets often offer a choice of finishes to match your existing decor or create a specific aesthetic.
- Brushed Stainless Steel: This is the most common finish. It has a matte look with a directional grain, which helps to hide fingerprints and water spots effectively. It offers a soft, elegant sheen.
- Polished Stainless Steel: This finish is highly reflective, similar to chrome. It offers a bright, mirror-like shine and can make a small bathroom feel larger. However, it tends to show fingerprints and smudges more readily.
- Matte Black Stainless Steel: A popular modern choice, this finish offers a sophisticated, bold look. It provides a striking contrast in lighter bathrooms and a sleek integrated feel in darker schemes.
- Other Finishes: Some premium lines might also offer finishes like champagne gold, brushed bronze, or even colored stainless steel for a truly unique touch.
2. Construction and Weight
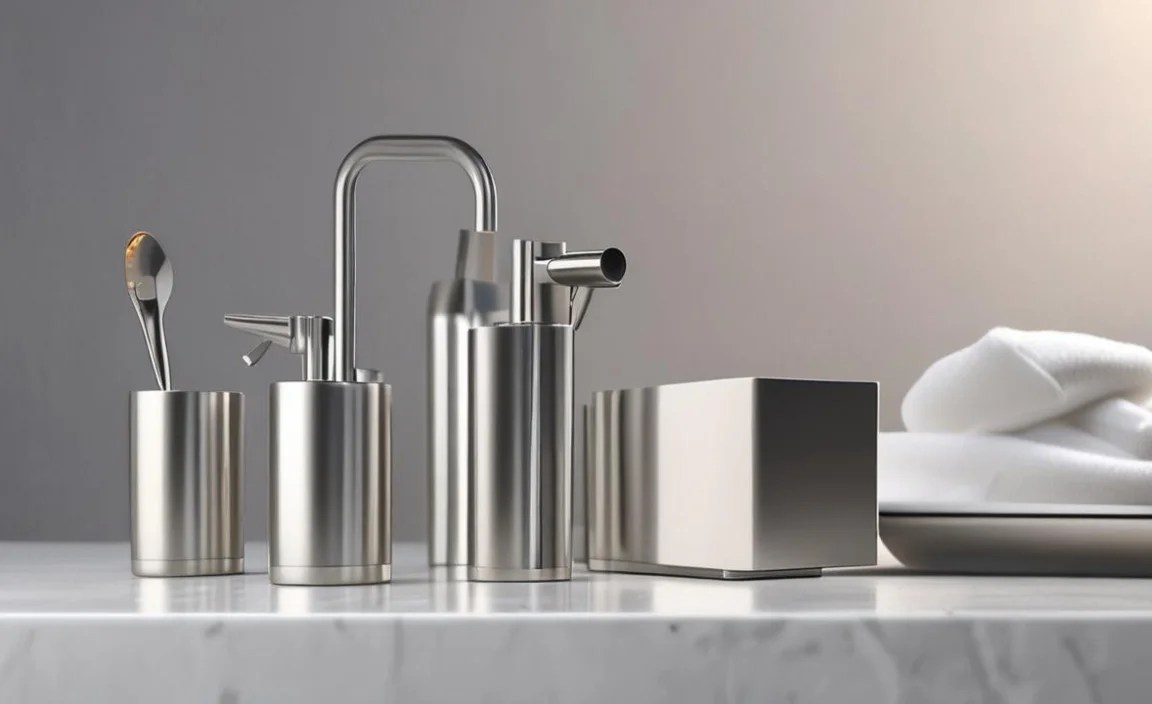
Premium doesn’t just mean it looks good; it means it’s built to last. Pay attention to how the items are constructed. Are they solid and heavy, or do they feel flimsy? Higher quality stainless steel items will have a substantial feel. Look for:
- Solid Metal Construction: Avoid sets with plastic components disguised as metal. True premium sets are made from solid stainless steel throughout.
- Thick Gauge Material: Thicker stainless steel is more durable and less prone to dents or scratches.
- Secure Mountings: For wall-mounted items, ensure the mounting hardware is robust and designed for secure installation.
3. Mounting Styles
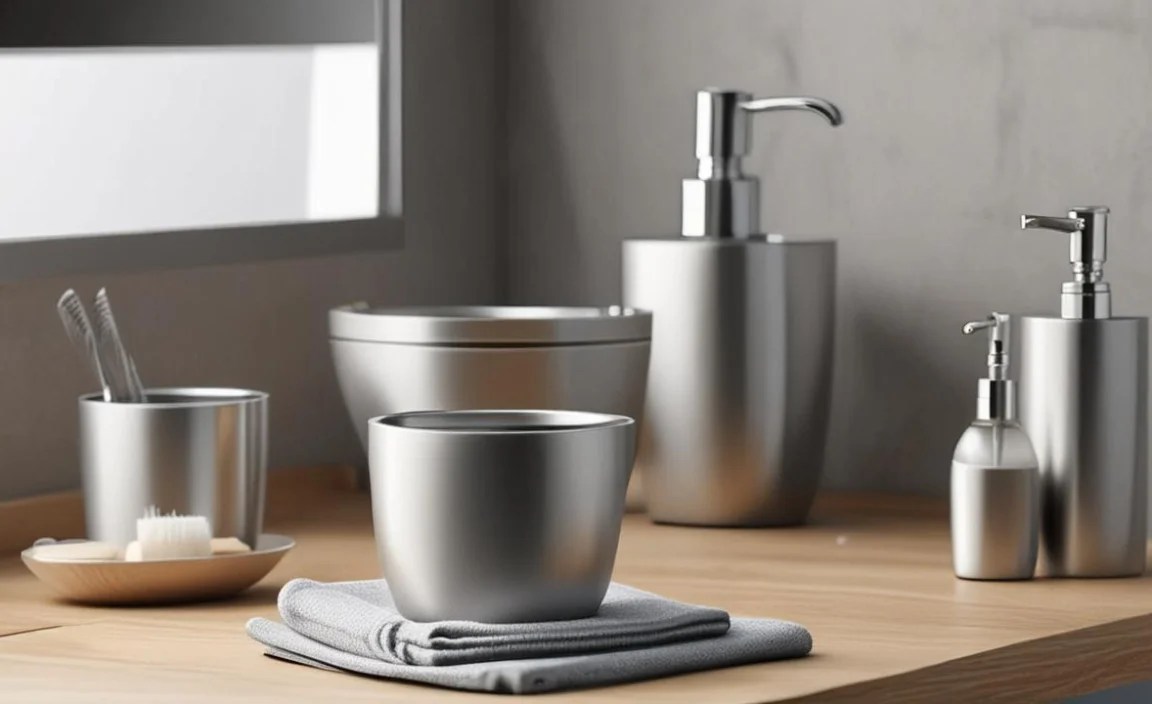
How bathroom accessories are attached to your walls can affect both their stability and the final look. Premium sets offer refined mounting solutions.
| Mounting Style | Description | Best For | Premium Features to Look For |
|---|---|---|---|
| Concealed Screw Mounting | Screws are hidden behind a decorative plate or under the accessory’s base, offering a clean, minimalist look. This is the hallmark of premium fixtures. | Achieving a seamless, high-end appearance. Ideal for modern and minimalist bathrooms. | Flush mounting, no visible screw heads, easy to secure firmly. |
| Exposed Screw Mounting | Visible screws hold the accessory to the wall. This is more common in budget-friendly options. | Temporary installations or when aesthetics are less critical. | N/A (generally less premium) |
| Adhesive Mounting | Uses strong adhesive strips or glue to attach the accessory to the wall. Convenient but less durable. | Rental properties or when drilling is not an option. | Strong, water-resistant adhesive specifically rated for bathroom environments. (Note: Generally not considered premium for permanent fixtures.) |
4. Design Aesthetics
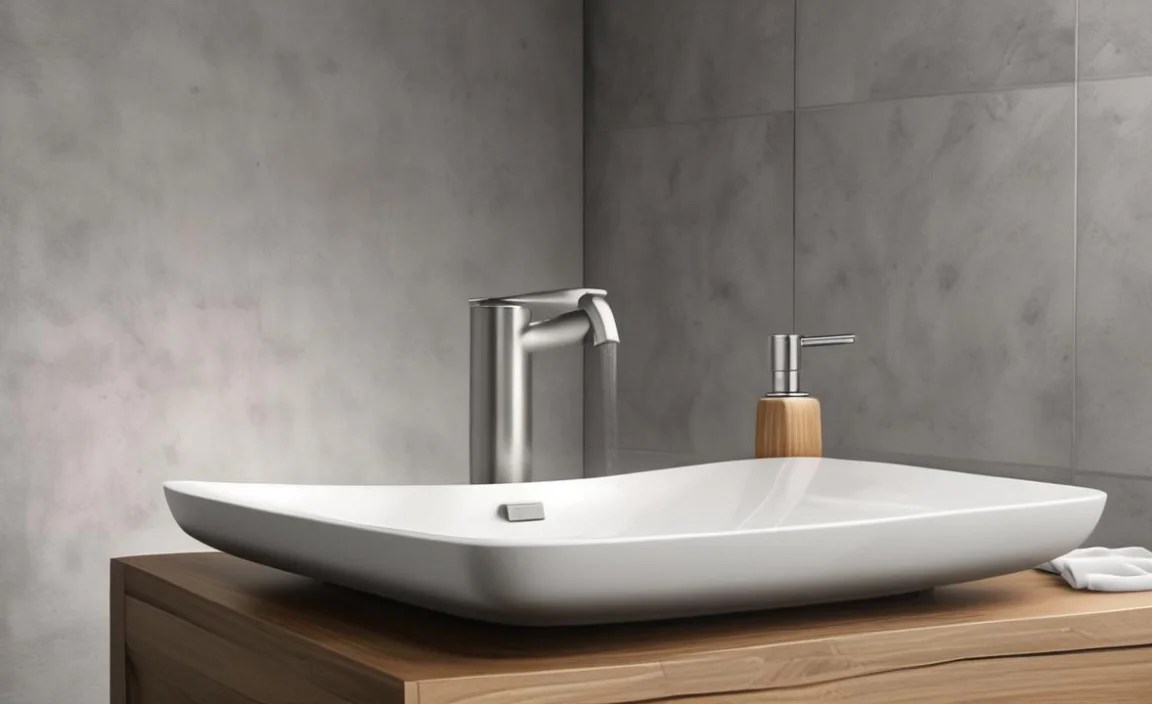
Beyond the material, the actual shape and lines of the accessories contribute to your bathroom’s style. Premium designs are often characterized by:
- Clean Lines and Simple Forms: Think minimalist and geometric shapes. These designs maintain a sophisticated appeal and blend well with various styles.
- Subtle Curves: Some premium sets incorporate gentle curves that add a touch of softness and organic flow to the design.
- Integrated Elements: For example, soap dispensers with seamless pump mechanisms or towel bars with elegantly integrated end caps.
5. Brand Reputation and Warranty

When purchasing premium stainless steel bathroom sets, consider brands known for quality and durability. Established brands often stand behind their products with good warranties, which is a sign of confidence in their craftsmanship.
- Research Brands: Look for manufacturers specializing in bathroom hardware and accessories. Websites like Houzz or reputable home improvement sites often feature reviews and guides from trusted brands.
- Check Warranty Information: A strong warranty (e.g., 5-10 years or lifetime limited) is a good indicator of a product’s durability and the manufacturer’s commitment to quality.
Planning Your Premium Stainless Steel Bathroom Set: What to Consider

Before you buy, some careful planning ensures your new premium stainless steel bathroom set perfectly suits your needs and space. Thinking through these points will help you make the best choice.
1. Measure Your Space
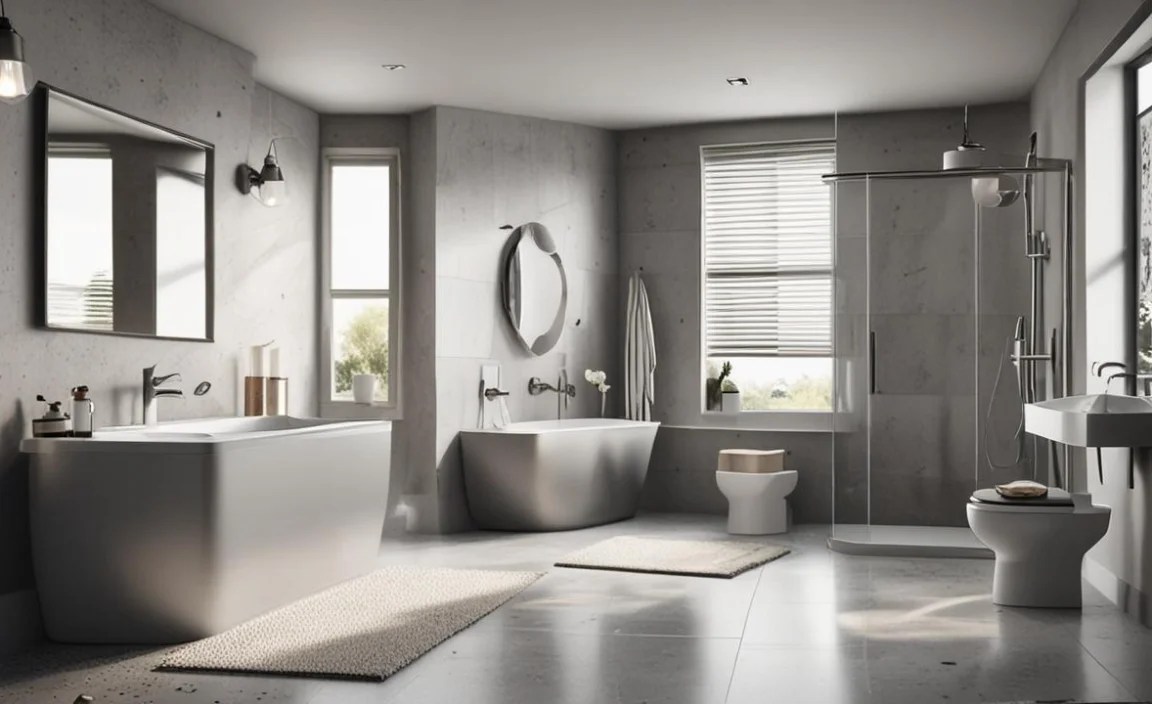
This might seem obvious, but accurate measurements are critical. You don’t want a towel bar that’s too long for your vanity wall or a toilet paper holder that’s awkwardly placed.
- Wall Space: Note the available wall space for towel bars, hooks, and dispensers.
- Clearances: Ensure there’s enough room to swing open doors, use fixtures, and move around comfortably. For example, check clearance around the toilet for the paper holder and brush set.
- Countertop Space: If you’re opting for freestanding items like a soap dispenser or waste bin, measure your vanity top to ensure they fit without overcrowding.
2. Identify Your Needs
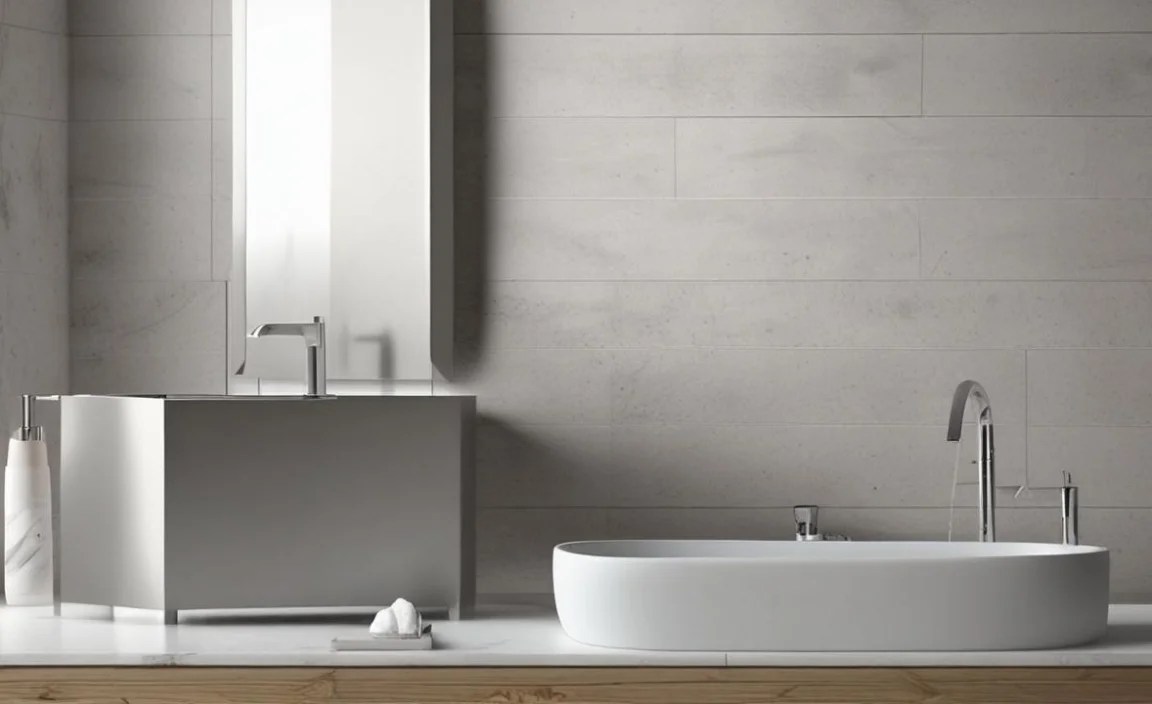
Think about how you use your bathroom and what you really need. Do you hang multiple towels? Do you prefer a soap dispenser over a bar dish? Your daily habits should guide your choices.
- Towel Storage: Single bar, double bar, rings, or hooks? Consider how many towels you typically use and dry.
- Soap Preference: Bar soap dish or liquid soap dispenser?
- Toothbrush Storage: Keep toothbrushes in a tumbler, or are you looking for a dedicated holder?
- Waste Disposal: A small bin for toiletries or a larger one? Do you need a lid?
3. Match Your Existing Decor
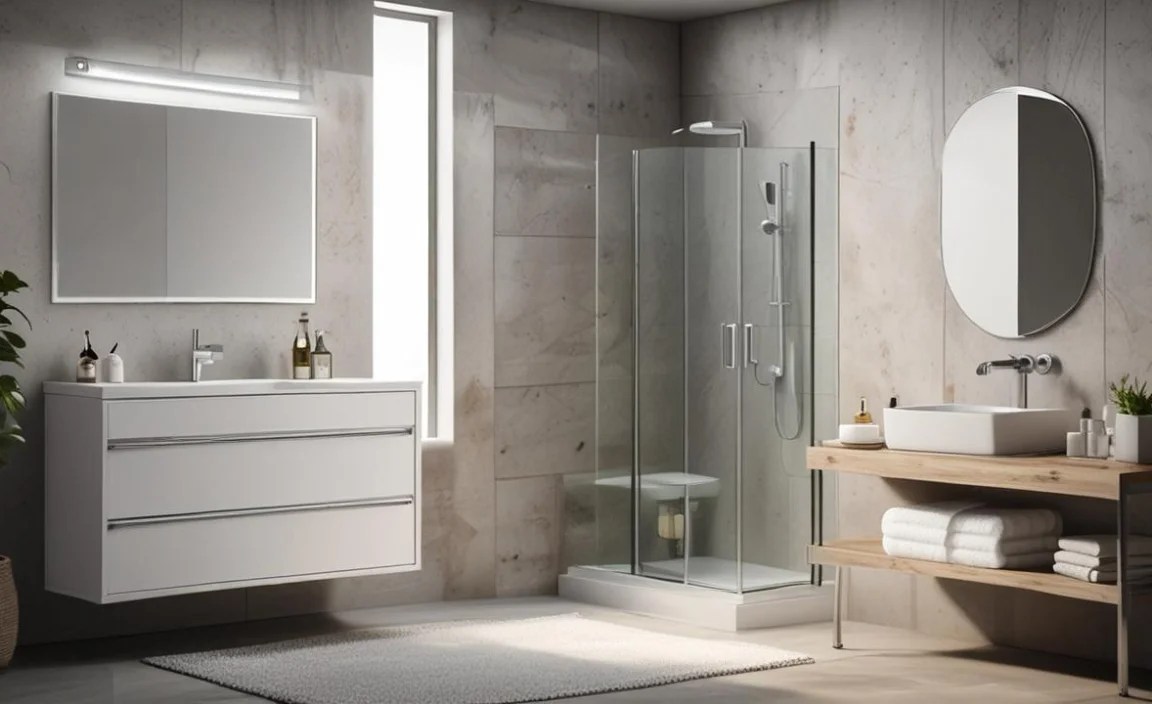
While stainless steel is versatile, the specific finish and style of your set should complement your bathroom’s current look. Consider:
- Color Palette: Is your bathroom light and airy, or dark and moody? Brushed stainless steel is neutral, polished steel can brighten, and matte black offers a bold statement.
- Fixture Finishes: If you have existing faucets, showerheads, or drawer pulls, try to match the finish of your new bathroom set to those for a cohesive look.
- Overall Style: Is your bathroom modern, traditional, rustic, or something else? Choose a design that aligns with the established aesthetic.
4. Consider Installation
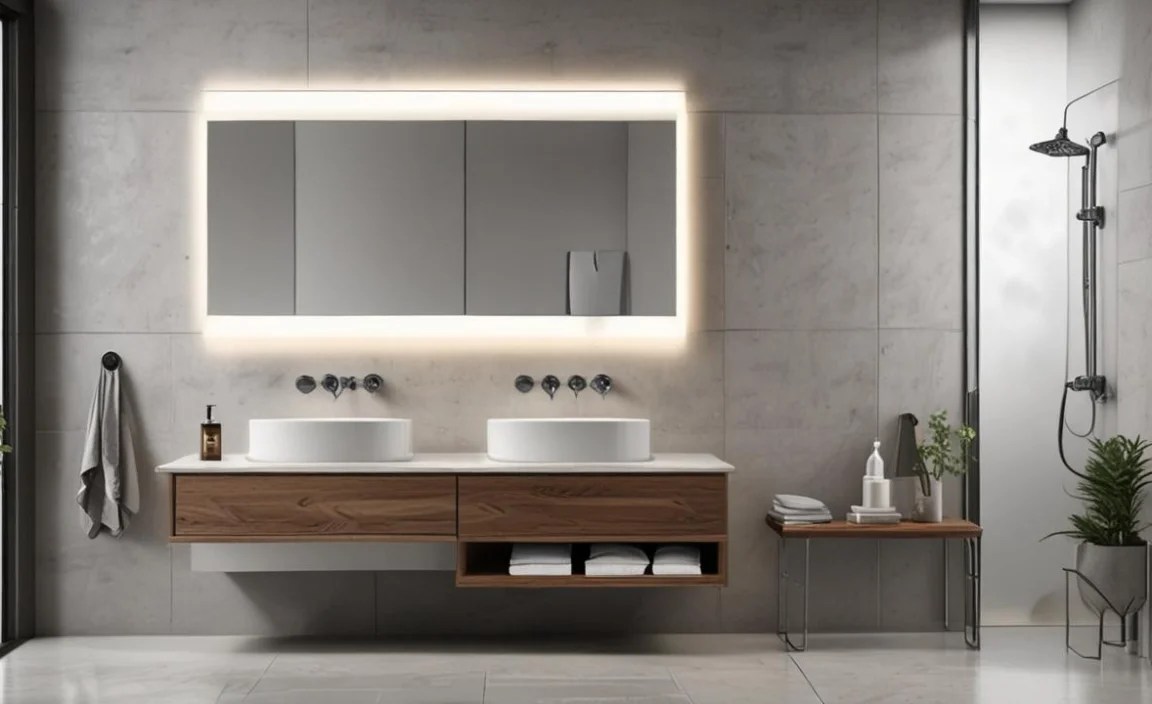
Are you comfortable drilling into your walls, or do you need a no-drill solution? Most truly premium stainless steel bathroom sets are designed for wall-mounting, which offers the best stability and look. However:
- DIY Skill Level: If you’re new to DIY, choose sets with clear instructions and consider practicing on a scrap piece of drywall if possible.
- Tools Required: Ensure you have the necessary tools, such as a drill, level, stud finder, and screwdriver. Resources like This Old House offer excellent guides on tool usage.
- Professional Installation: If you’re unsure, hiring a handyman is a worthwhile investment for a perfect, secure finish.
5. Set vs. Individual Pieces
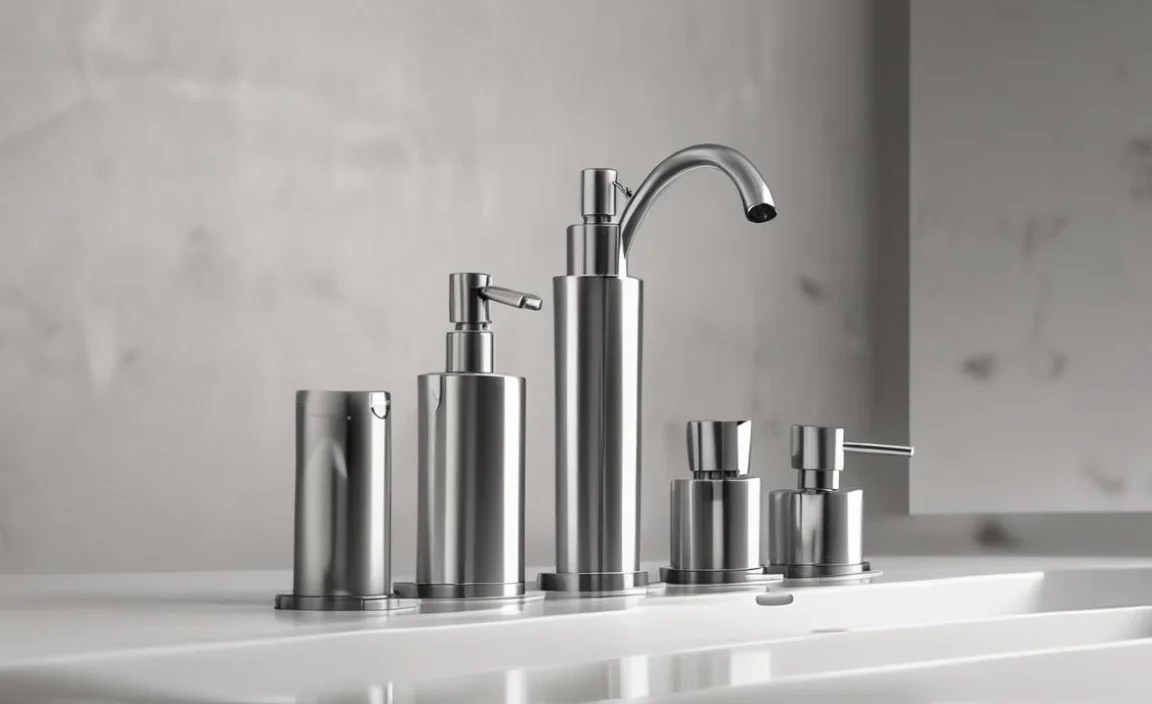
While buying a complete set ensures a consistent look, sometimes purchasing individual pieces allows for more customization. However, for beginners, a curated set simplifies the process and guarantees design harmony.
- For Cohesion: A full set is the easiest way to achieve a coordinated look.
- For Customization: If you have very specific needs or found unique individual pieces you love, you can mix and match, just be mindful of finish and style consistency.
Installation Tips for Your Premium Stainless Steel Bathroom Set

Installing your new premium stainless steel bathroom set can be a rewarding DIY project when done correctly. Following these tips will help ensure a secure and professional-looking finish.
1. Gather Your Tools
Having the right tools ready makes the installation much smoother. You’ll likely need:
- Drill with appropriate drill bits (masonry bits for tile, standard bits for drywall)
- Level
- Tape measure
- Pencil
- Screwdriver (Phillips head is most common)
- Stud finder (recommended for maximum stability)
- Safety glasses
- Gloves
- Optional: Silicone sealant for waterproofing around mounting points (especially on tile)
2. Read the Instructions Carefully
Always start by thoroughly reading the manufacturer’s installation guide. Every set might have slight variations in its mounting hardware or specific steps.
3. Plan Your Placement
Use your tape measure and level to mark precisely where each item will go. Double-check measurements and ensure items are level horizontally and plumb vertically.
- Mark Screw Holes: Hold the mounting bracket or the item itself against the wall at the desired height. Use your level to ensure it’s straight, then mark the center of each screw hole with your pencil.
4. Locate Studs (If Possible)
For maximum strength, especially for towel bars that will hold weight, aim to screw into wall studs. Use a stud finder to locate them behind the drywall. If studs aren’t perfectly aligned with your desired placement, you’ll use drywall anchors.
According to the Popular Mechanics guide, using a stud finder is the most reliable method for locating wall studs.
5. Drill Pilot Holes
Once your marks are made and studs located (or anchors planned), drill pilot holes. The size of the pilot hole should be slightly smaller than the screw diameter. For drywall anchors, drill the size recommended on the anchor packaging.
- Drilling into Tile: If drilling into tile, start with a specialized tile or masonry bit. Drill slowly and apply steady pressure. Consider placing painter’s tape over the spot before drilling to prevent the bit from wandering and chipping the tile.
6. Install Anchors (If Needed)
If you’re not drilling directly into a stud, insert the appropriate drywall anchors into the pilot holes. Tap them gently with a hammer if necessary until they are flush with the wall surface.
7. Mount the Accessories
Align the accessory (or its mounting bracket) with the pilot holes or anchors. Insert the screws and tighten them securely. Ensure the accessory is firmly attached to the wall and doesn’t wobble.
- Decorative Caps: If your set has decorative caps or covers for the screws, install these last for a clean finish.
