
Quick Summary:
A wet room in plumbing means a fully waterproofed bathroom where the shower area isn’t enclosed by a screen or cubicle. All surfaces—walls, floor, and ceiling—are designed to get wet and are typically tiled or covered with waterproof materials, directing water to a central drain. This guide breaks down the essential plumbing terms you need to know for a successful wet room project.
Understanding Wet Room Plumbing Terms for Your Next Project
Planning a wet room can feel a bit daunting, especially when plumbing terms start flying around. You want a bathroom that’s modern, functional, and doesn’t leak, but understanding the jargon can be a hurdle. Don’t worry! We’re here to simplify it all. This guide will walk you through the essential plumbing terms related to wet rooms, making your DIY project or contractor communication much easier. We’ll cover everything from drainage to waterproofing, ensuring you feel confident every step of the way. Let’s dive in and demystify the world of wet room plumbing!
What Exactly is a Wet Room?
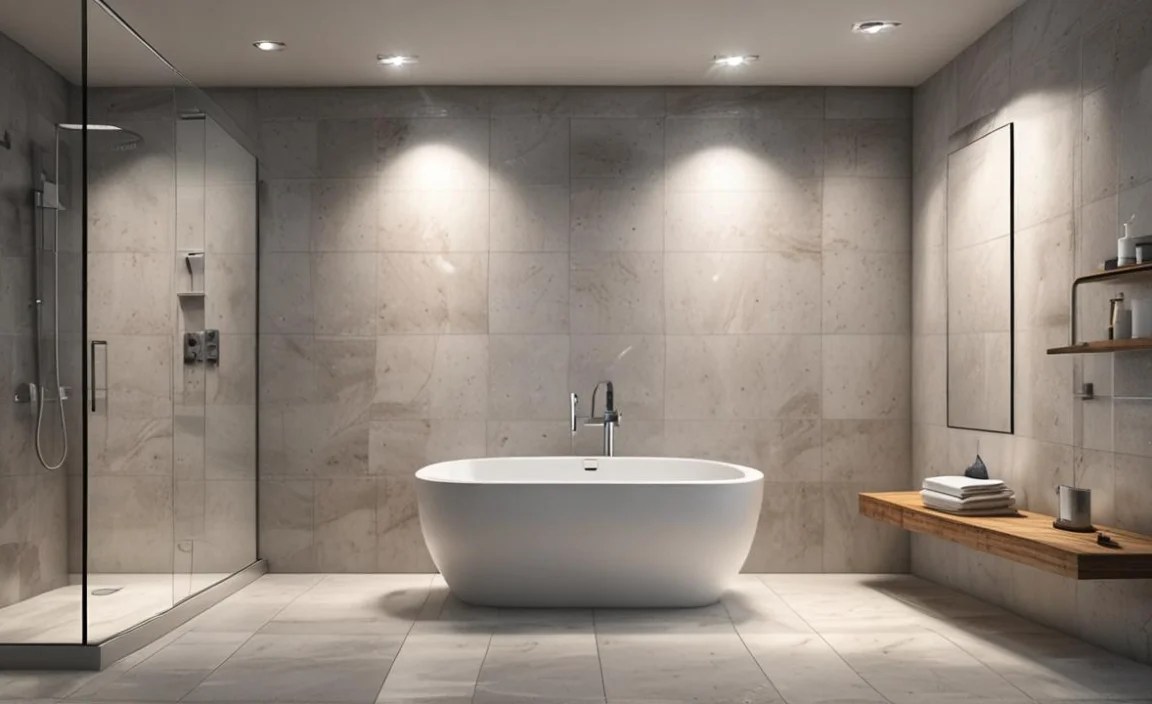
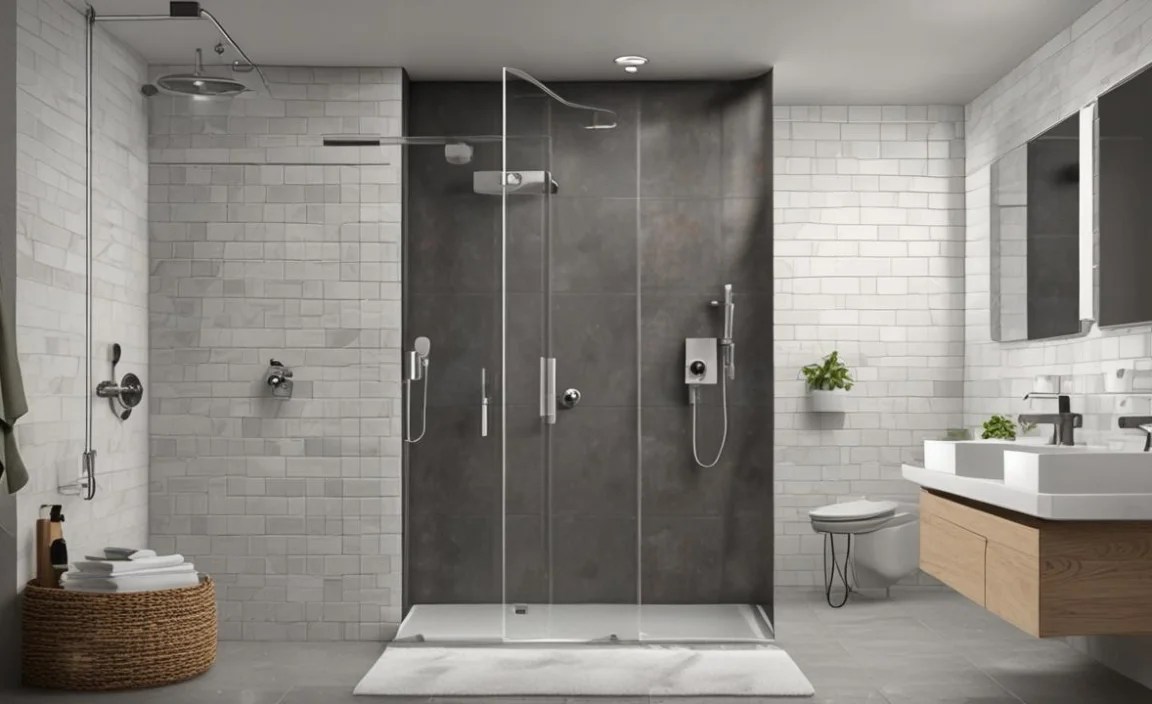
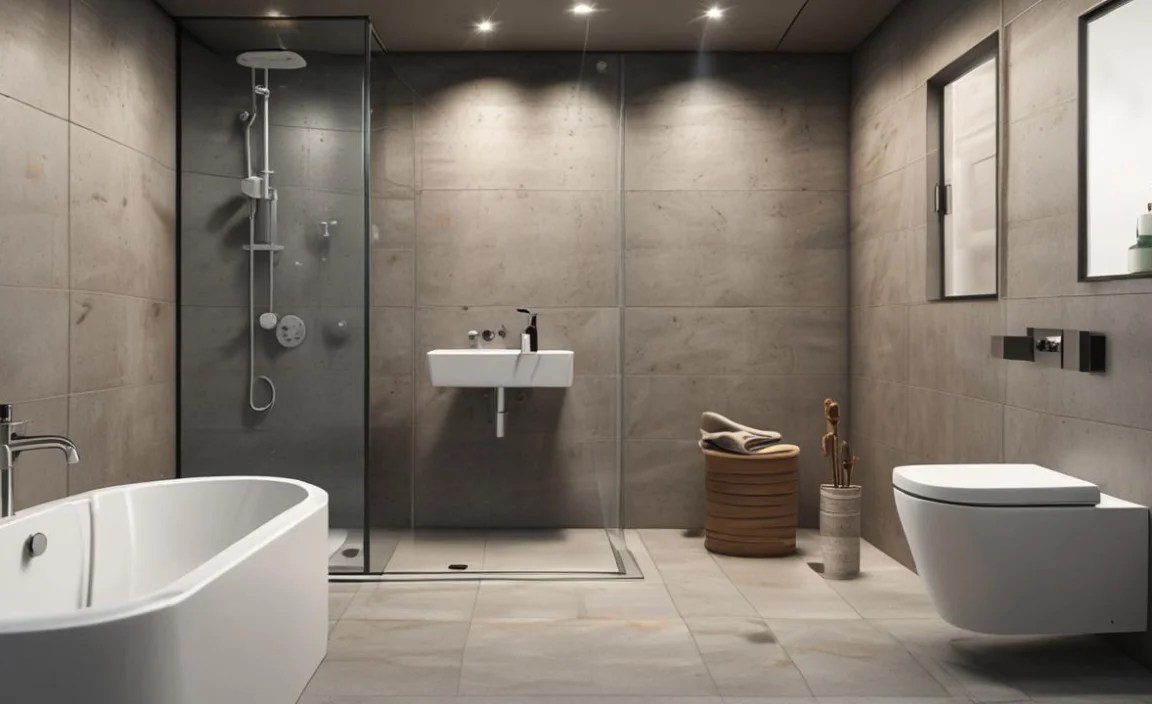
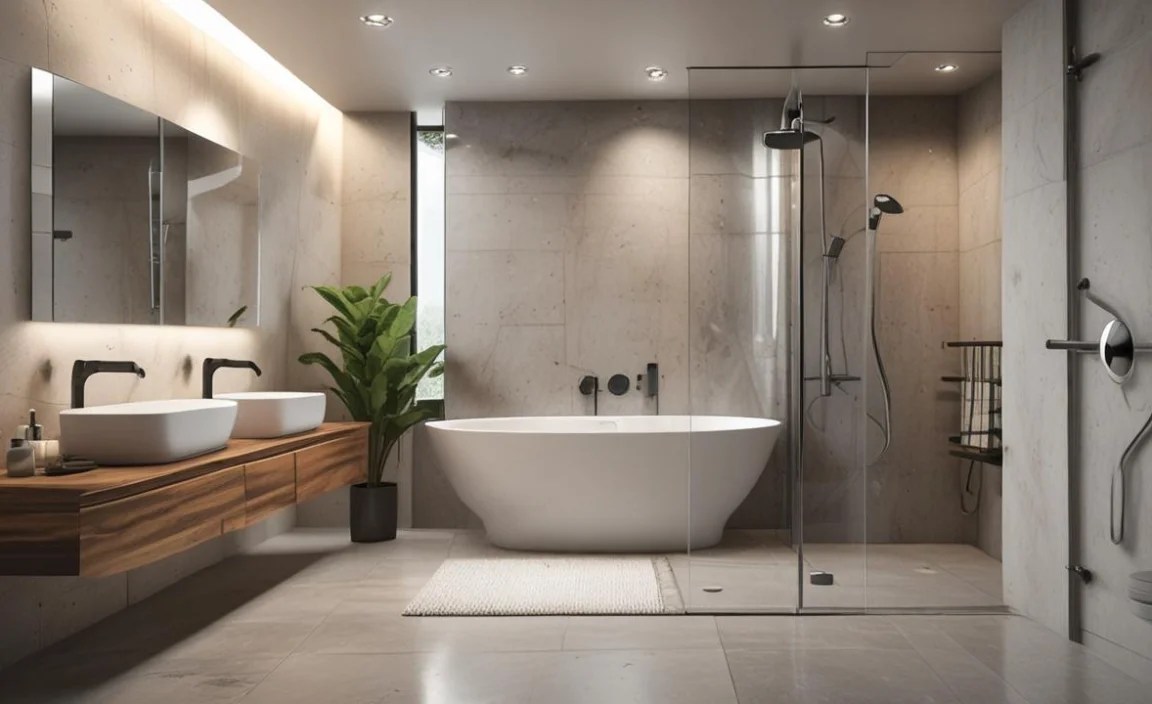
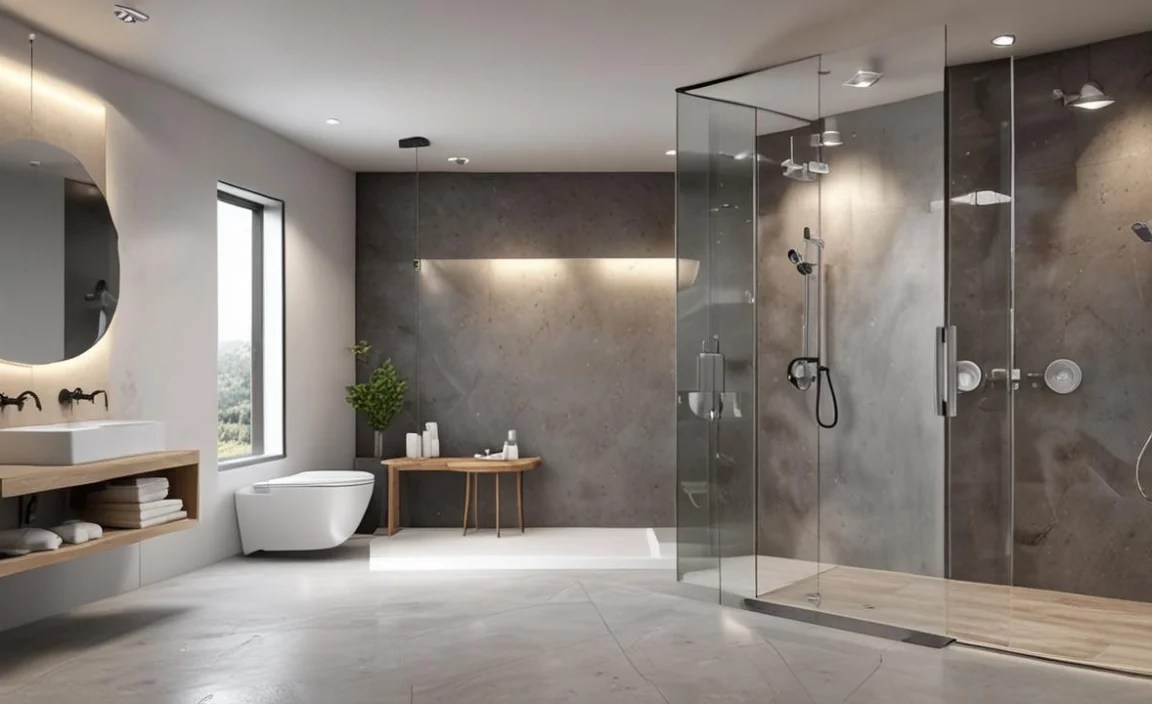
A wet room is a bathroom designed so that the entire space can get wet. Unlike a traditional bathroom with a separate shower enclosure, a wet room has a waterproofed floor that slopes towards a drain. All surfaces—walls, floor, and even sometimes the ceiling—are sealed to prevent water damage. They are a fantastic way to maximize space and create a sleek, contemporary look.
Why are Specific Plumbing Terms Important for Wet Rooms?

Understanding the terms of a wet room in plumbing is crucial for several reasons. Firstly, it helps you communicate effectively with plumbers and contractors, ensuring they understand your vision and that you understand their proposals. Secondly, it empowers you to make informed decisions about materials and installation methods. Knowing the difference between a back-to-wall toilet and a wall-hung toilet, for example, can impact your room’s layout and plumbing requirements. Finally, it’s key to ensuring the longevity and safety of your wet room. Proper installation, using the right terms and techniques, prevents leaks and water damage, which can be costly and destructive.
Essential Wet Room Plumbing Terms You Need to Know

Let’s break down the key terms you’ll encounter when planning or building a wet room.
Waterproofing and Drainage: The Foundation of a Dry Bathroom

These are perhaps the most critical aspects of a wet room. Without proper waterproofing and drainage, your dream wet room will quickly become a damp nightmare.
Waterproofing Membrane: This is a crucial layer applied to surfaces (walls and floor) before tiling. It acts as a barrier, preventing water from seeping into the substrate (like plasterboard or concrete) and causing damage. Common materials include liquid membranes or sheet membranes made from materials like bitumen or PVC.
Tanking: This is the process of applying a waterproofing membrane to all surfaces that will come into contact with water. It’s essential for ensuring a completely watertight environment.
Gradient/Slope: For water to drain effectively, the floor must be sloped towards the drain. This is known as the gradient or slope. Building regulations often specify a minimum slope (e.g., 1:80 or 1:50) to ensure water runs away quickly.
Floor Drain/Waste: This is the receptacle in the floor that collects the water and directs it into the drainage system. There are various types, including traditional push-fit drains, linear drains (channel drains), and point drains.
Linear Drain (Channel Drain): These are long, narrow drains typically installed along one wall or in the center of the room. They offer a more modern aesthetic and can handle high volumes of water efficiently. You can learn more about drainage systems on the EPA WaterSense website, which discusses plumbing efficiency.
Trap (P-trap or S-trap): This is a U-shaped section of pipe under a drain that holds water. This water seal prevents unpleasant sewer gases from entering your bathroom.
Fixture and Fitting Terminology
Knowing the names and functions of various bathroom fixtures will help you plan your layout and understand what’s being installed.
Wall-Hung Toilet (Floating Toilet): This type of toilet is mounted on the wall, with the cistern concealed within the wall cavity. It creates a minimalist look and makes floor cleaning much easier. It requires a special frame (see below) for support.
Concealed Cistern (In-Wall Cistern): This is a cistern (the tank that holds water for flushing) that is hidden behind the wall. It’s commonly used with wall-hung toilets and is accessed via the flush plate.
Concealed Cistern Frame (Concealed Cistern Bracket/Support Frame): This is a metal frame installed within the wall cavity to support the weight of a wall-hung toilet and its concealed cistern.
Back-to-Wall Toilet: Similar to a wall-hung toilet in appearance, but this type rests on the floor while the cistern is concealed within the wall. It still offers a cleaner look than a traditional close-coupled toilet.
Flush Plate (Flush Actuator): This is the panel on the wall that you press to operate the flush for a concealed cistern. They come in various designs and materials.
Shower Valve: This controls the flow and temperature of water to your showerhead. There are different types:
Manual Shower Valve: You manually adjust hot and cold water to achieve the desired temperature.
Thermostatic Shower Valve: This type automatically maintains the set water temperature, preventing sudden changes if someone flushes a toilet or turns on another tap elsewhere in the house. This is a key safety feature for wet rooms.
Shower Head: The part of the shower that sprays the water. Options include fixed heads, adjustable wall-mounted heads, and overhead (rain) shower heads.
Handheld Shower Head (Riser Rail Shower): A shower head on a flexible hose that can be hung on a bracket or held manually.
Bath Filler Tap: Taps designed to fill a bathtub. In a wet room, this might be a wall-mounted spout or a floor-mounted spout.
Vanity Unit: A bathroom cabinet that houses a basin and often provides storage.
Basin Mixer Tap: A tap with single lever or two handles that mixes hot and cold water to supply a basin.
Structural and Installation Terms
These terms relate to how the wet room is built and prepared for plumbing.
Stud Wall: A wall constructed with vertical wooden or metal studs. This type of wall often needs reinforcing or is used in conjunction with a structural floor to support wet room requirements.
Joists: Horizontal structural beams that support floors and ceilings. When planning a wet room on an upper floor, joist strength and potential reinforcement for the floor slope and weight are critical considerations.
Subfloor: The structural base layer of the floor, typically made of plywood or concrete. This is what the waterproofing membrane and final floor covering will be applied to.
Screed: A layer of sand and cement applied over a subfloor before the final floor covering. For wet rooms, a screed is often used to create the necessary floor slope and provide a smooth surface for the waterproofing membrane.
Bonding: In electrical installations, this refers to connecting conductive parts to prevent a dangerous voltage difference. While not strictly plumbing, it’s vital for safety in a wet environment. All metal pipes and fixtures in a wet room should be properly bonded.
Water Seal: The layer of water retained in a trap (like a P-trap) that prevents sewer gases from entering the room.
Pipes and Valves
Understanding basic pipework terms helps in grasping the flow of water.
Plumbing Pipes: These carry water to your fixtures (hot and cold) and waste water away. Common materials include copper, plastic (like PVC or PEX), and iron.
Main Cold Water Supply: The pipe that brings cold water into your home.
Hot Water Cylinder/System: The tank or system that heats and stores your hot water.
Isolation Valve: A valve that allows you to shut off the water supply to a specific fixture or a section of pipe for maintenance or in case of a leak.
Pressure Reducing Valve (PRV): If your mains water pressure is too high, a PRV can be installed to lower it to a safe and manageable level, protecting your plumbing system.
* Overflow Pipe: A pipe designed to safely channel away excess water if a basin or bath fills too high.
Creating the Perfect Wet Room Floor: Sloping and Drainage Explained

The floor is arguably the most critical element of a wet room from a plumbing perspective. Here’s what you need to know about setting it up correctly.
The Importance of the Floor Gradient

As mentioned, a gradient is essential. Without it, water will pool on the floor, which is not only unsightly but can lead to slip hazards and potential (though unlikely, if waterproofed correctly) ingress into lower levels or adjacent rooms. The slope needs to direct water efficiently to the chosen floor drain.
A common gradient for a showering area is a 1:80 slope, meaning for every 80 units of horizontal distance, there is a drop of 1 unit. Some recommend a steeper slope of 1:50 for faster drainage. The exact slope needed also depends on the type of shower valve and shower head you are using – a high-flow rain shower might require a more aggressive slope.
Choosing the Right Floor Drain

The type of floor drain you select impacts both the aesthetics and the ease of installation of your floor slope.
| Drain Type | Description | Pros | Cons |
|---|---|---|---|
| Point Drain | A single drain located in the floor, typically in the center of the showering area. | Simple to install, minimal space required for the drain itself, can be aesthetically pleasing. Requires a conical slope (like a funnel) towards it. |
Can be a focal point, may require more intricate tiling around it for proper drainage. May not handle very high water flow as efficiently as linear drains. |
| Linear Drain (Channel Drain) | A long, narrow channel drain, often installed along a wall or in the middle of the shower area. | Excellent water drainage capacity, modern and sleek appearance, easier tiling as it requires a linear or single-plane slope.
Can be installed under the shower seats without compromising the overall slope. |
Can be more expensive and complex to install correctly.
Requires careful sealing around the edges. |
| Offset Drain | A drain positioned off-center of the main showering area. | Offers flexibility in placement, can aid in creating the necessary slope without major floor build-up. | Still requires adequate slope towards it. Aesthetic might be less appealing than a linear drain for some. |
When choosing a drain, consider its flow rate (litres per minute), the size of the outlet, and the type of trap it uses to prevent odours.
Waterproofing: Your First Line of Defence

Before any tiles go up, the waterproofing system is installed. This is not a DIY job for the faint-hearted unless you have experience. Professional installation guarantees a robust barrier against water.
A typical wet room waterproofing process involves:
- Surface Preparation: Ensure all walls and floors are clean, dry, and free from dust or loose material.
- Application of Primer: A primer is applied to the surfaces to help the waterproofing membrane adhere properly.
- Application of Waterproofing Membrane: This is usually applied in two coats. The first coat is applied, and once dry, a reinforcing mesh is embedded in corners and critical areas before the second coat is applied. The area around the drain requires particular attention to ensure a watertight seal.
- Allowing to Cure: The membrane must be left to cure completely according to the manufacturer’s instructions. This can take 24-72 hours depending on the product and environmental conditions.
High-quality waterproofing membranes are essential. Companies like Schluter-Systems offer comprehensive waterproofing and uncoupling systems specifically designed for wet rooms and tiled areas.
Plumbing Fixtures for Your Wet Room

The choice of fixtures in a wet room needs careful consideration, especially regarding their installation and integration with the waterproofed environment.
Toilets: Wall-Hung vs. Back-to-Wall
Both wall-hung and back-to-wall toilets offer a streamlined look, perfect for a modern wet room. They also make cleaning easier as there are fewer crevices for dirt and water to accumulate.
- Wall-Hung Toilets: These require a sturdy concealed cistern frame, which is bolted to the wall structure and can accommodate the plumbing and cistern. The toilet pan then hangs from this frame. This is the ultimate space-saver and provides a truly minimalist feel.
- Back-to-Wall Toilets: These are simpler in terms of framing. The toilet unit sits on the floor, and the cistern is concealed behind a false wall or panel. The plumbing connections are then hidden within this enclosure.
Both types require access panels for maintenance of the cistern and flush mechanism. This is a critical plumbing consideration.
Showers: Valves and Heads
A thermostatic shower valve is highly recommended for safety in a wet room. This prevents scalding by maintaining a constant water temperature.
- Concealed Shower Valves: Many wet rooms opt for concealed shower valves. The main valve body is hidden within the wall cavity, with only the controls and trim plate visible. This maintains a clean look and protects the valve from wear and tear.
- Overhead (Rain) Showers: These are popular for the luxurious feel they provide. They can be ceiling-mounted or wall-mounted. Ensure your water pressure and the drainage system can cope with the increased water flow.
For more on water efficiency and plumbing standards, resources from organizations like the International Code Council (ICC), which develops plumbing codes, can provide valuable insights into regulatory requirements.
Piping and Waste Management in Wet Rooms

Proper pipework and waste management are vital to prevent blockages and ensure easy maintenance.
Waste Pipe Sizing
The size of your waste pipes is critical. Wet rooms, especially those with high-flow showers, generate a significant amount of water. Undersized waste pipes can lead to slow draining, overflows, and potential blockages. Plumbers often recommend larger diameter waste pipes (e.g., 50mm or even 65mm for showers) compared to standard basins (32mm) to handle the volume efficiently.
Venting and Air Admittance Valves (AAVs)

Plumbing drainage systems need to be vented to allow air into the pipes. This prevents a vacuum from forming when water flows down the drain, which could otherwise siphon water out of the P-traps and allow sewer gases into your home. Traditional venting involves running pipes up to the roofline, which can be impractical in some situations. Air Admittance Valves (AAVs) provide a modern solution. They are one-way valves that open to let air into the drainage system when negative pressure occurs and seal when negative pressure is absent, preventing gases from escaping. Properly installed AAVs can be a very effective and less invasive way to ensure your wet room drainage functions correctly.
Access for Maintenance
It’s essential to plan for maintenance. Even with the best-laid plans, plumbing can sometimes require access. Ensure there are easily accessible inspection points or removable panels for any concealed pipework, cisterns, or valves. This is particularly important behind wall-hung toilets and concealed shower valves.
Safety Considerations in Wet Room Plumbing

Given the prevalence of water, safety is paramount.
- Electrical Bonding: All metal components within the wet room, including pipework, shower frames, and fixtures, should be properly electrically bonded. This prevents static electricity buildup
