
Quick Summary: Understanding tile terms like “subway” or “mosaic” helps you choose the right style and material. Knowing alternatives like peel-and-stick or concrete means you can get a great look for any budget and skill level. This guide explains common tile jargon and explores easy-to-use options.
So, you’re looking at new tiles for your kitchen backsplash or bathroom floor. You see terms like “beveled,” “subway,” “penny,” and suddenly, it feels like a foreign language lesson! It’s easy to get overwhelmed. But don’t worry, choosing beautiful and durable tiles doesn’t have to be complicated. We’re here to break down the common tile terms and explore some fantastic beginner-friendly alternatives.
Knowing your “grout” from your “grout line” makes a big difference in achieving the look you want. Plus, for many DIYers, understanding the options beyond traditional ceramic or porcelain can open up a world of less demanding, more affordable, and equally stylish possibilities. Stick around as we demystify tile speak and introduce you to some great alternatives that will have your projects looking professionally done, with less stress.
Decoding the Tiles Glossary: What Do They All Mean?
When you start shopping for tiles, you’ll encounter a unique vocabulary. Understanding these terms is the first step to making informed decisions. Let’s break down some of the most common ones you’ll see, from the shape of the tile to its finish.
Tile Shapes and Styles
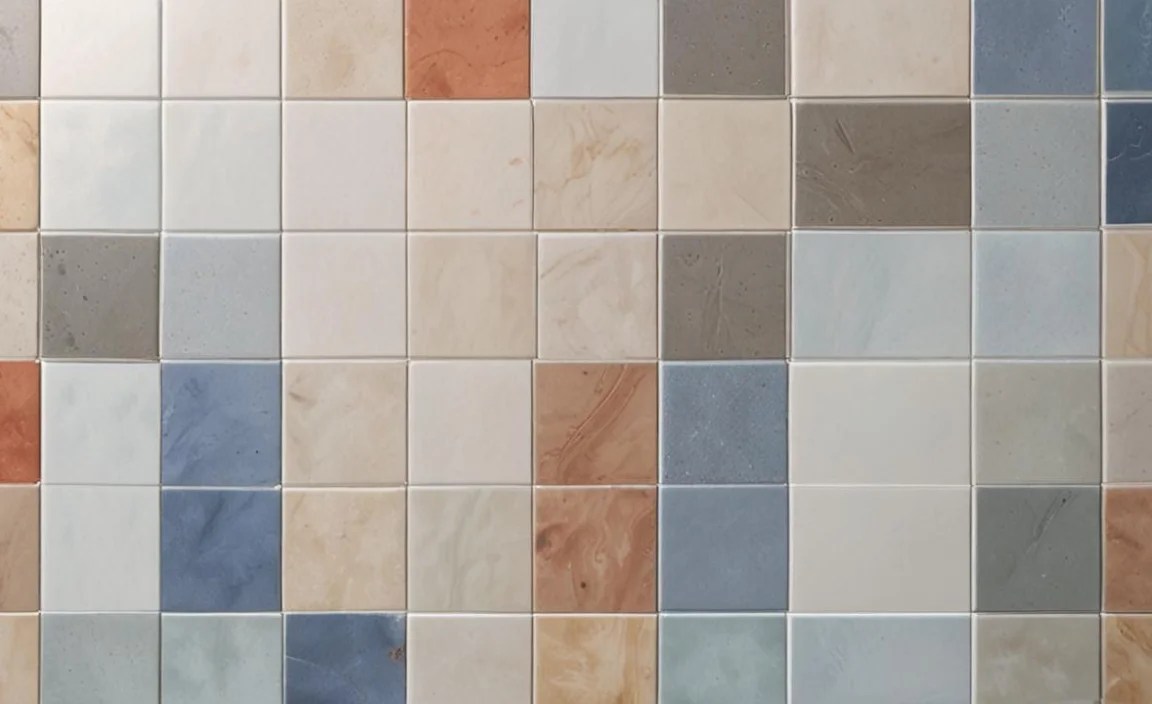
Subway Tile
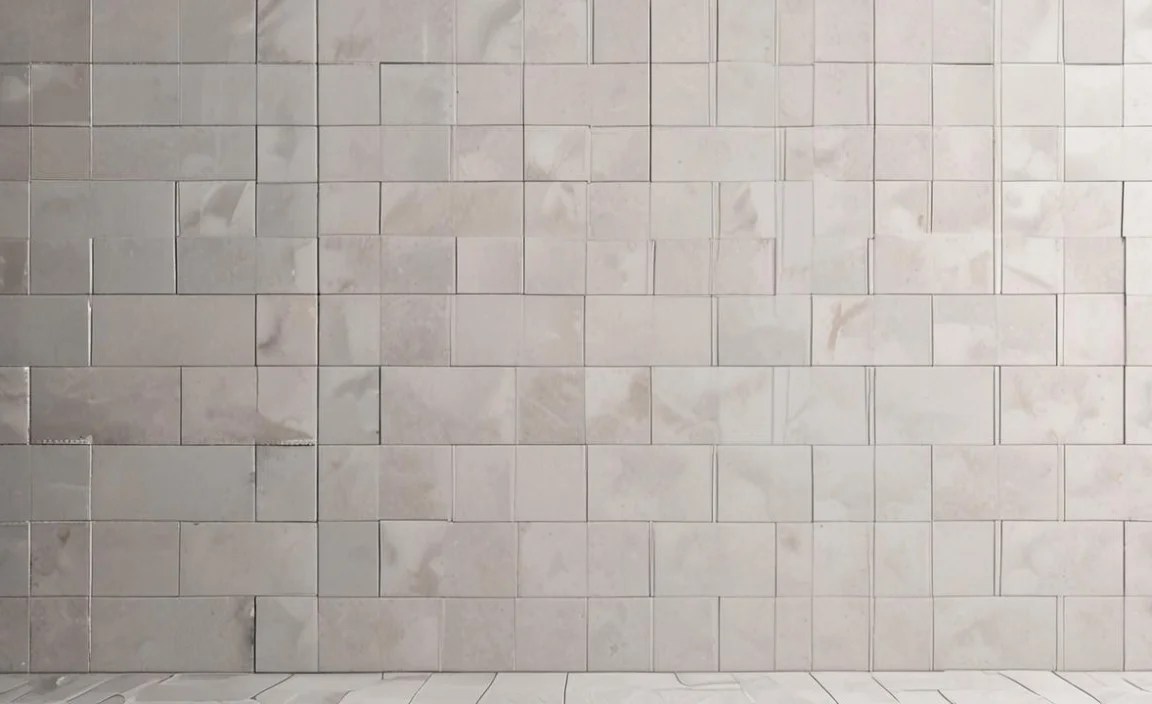
This is perhaps one of the most recognizable tile styles. Subway tiles are rectangular, typically with a glossy finish, and are traditionally laid in a brick-like pattern. They originated from the tiles used in the New York City subway system in the early 1900s. While originally ceramic, they now come in many materials.
Penny Tile (or Coin Tile)
These are small, circular tiles, usually about the size of a US penny. They are often sold mounted on mesh sheets for easier installation in larger areas. Penny tiles are fantastic for creating intricate patterns or adding a vintage touch to floors and walls, especially in bathrooms.
Mosaic Tile
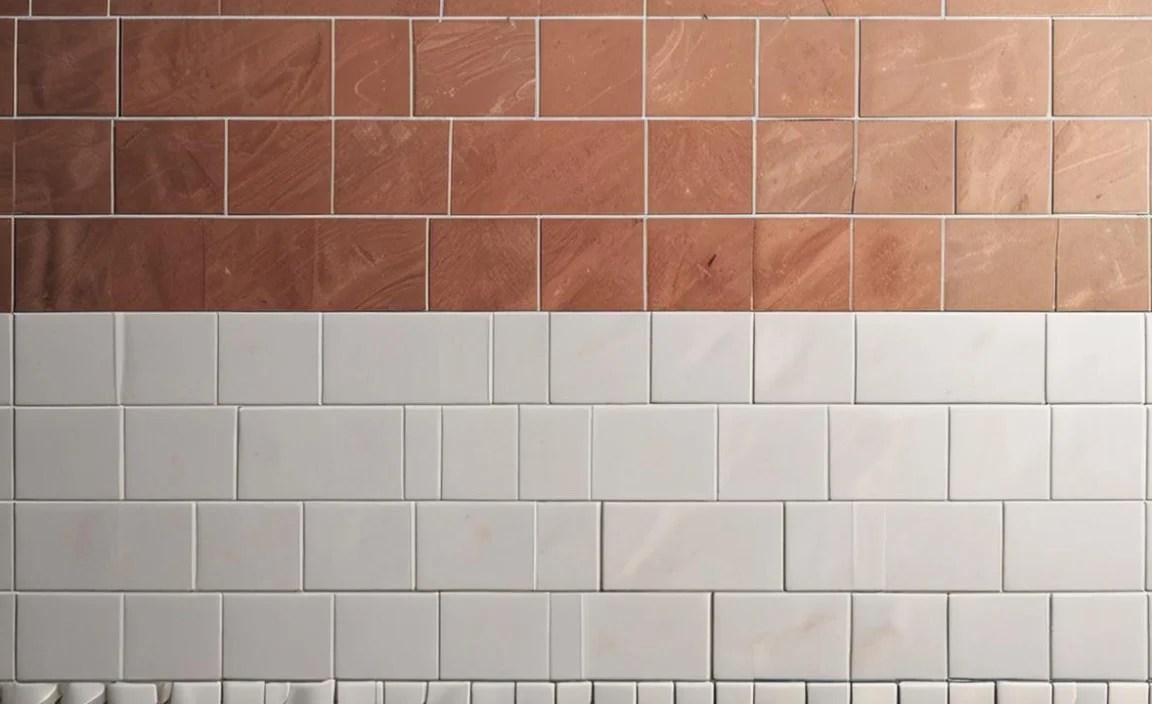
Mosaic refers to a collection of very small tiles (tesserae) that are assembled to form a larger design or pattern. These small tiles can be arranged in various shapes and materials, including glass, ceramic, stone, or metal. Mosaics are excellent for accent areas, borders, or creating a statement look.
Herringbone Tile
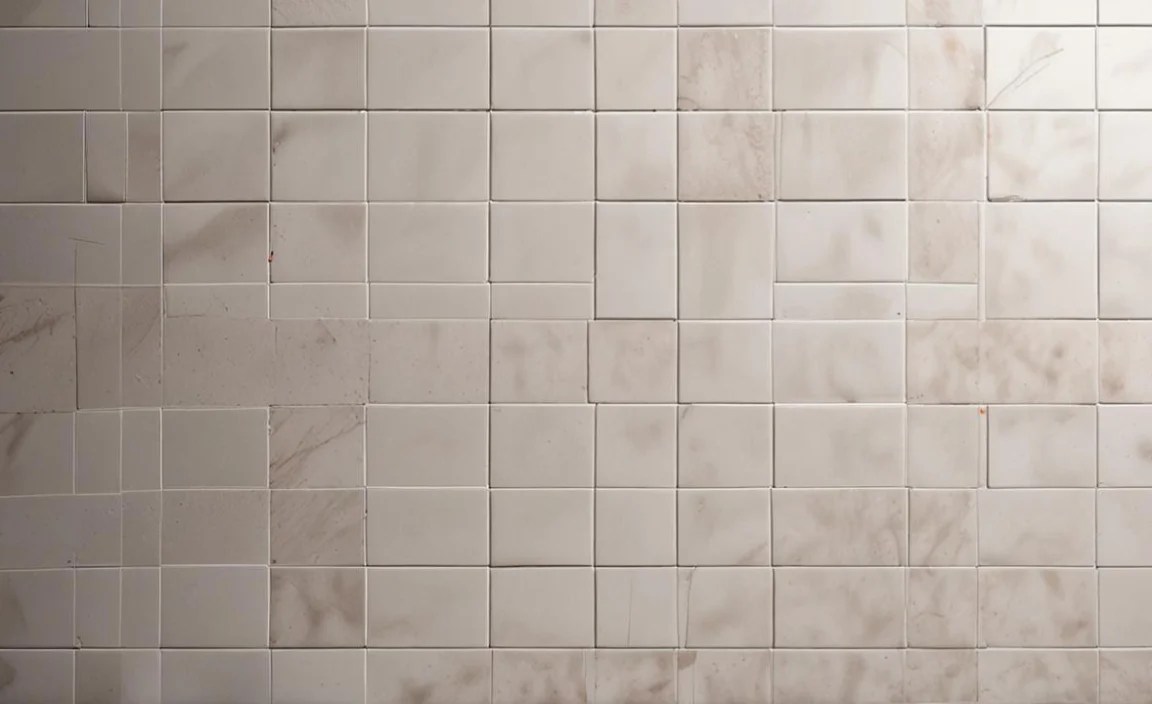
This refers to a V-shaped pattern created by laying rectangular tiles in a staggered, zig-zag arrangement. It’s a classic and dynamic pattern that adds visual interest to any space, from kitchen backsplashes to shower floors.
Hexagon Tile
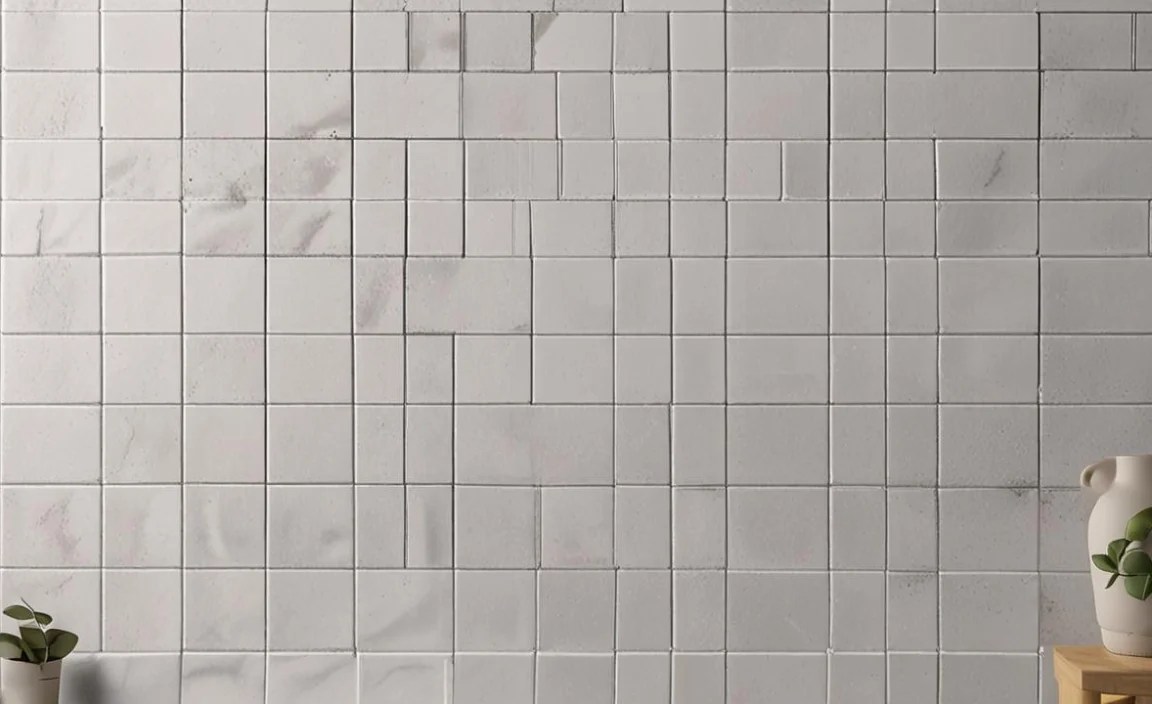
As the name suggests, these tiles are shaped like hexagons (six-sided polygons). They come in various sizes, from tiny mosaics to large statement pieces. Hexagon tiles offer a modern yet timeless feel and can be laid in a grid or a more organic pattern.
Arabesque Tile
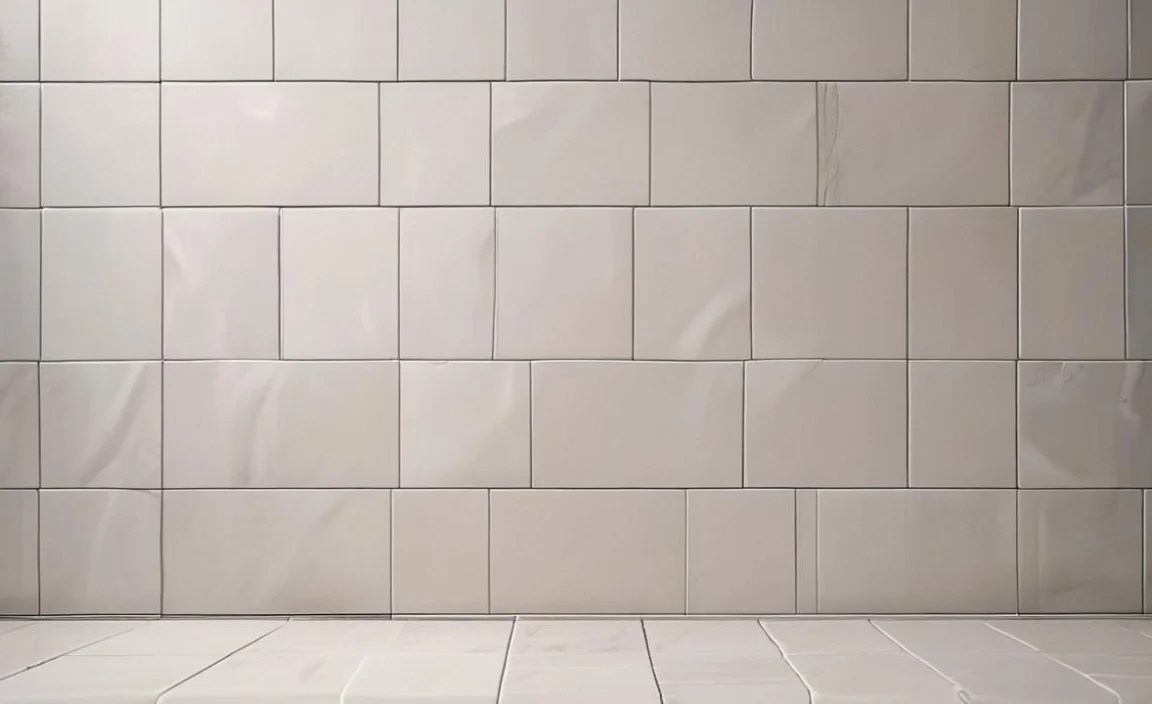
This is a beautiful, intricate curved shape, often compared to a teardrop or a stylized paisley. Arabesque tiles add an elegant and exotic flair to spaces, commonly seen in Moroccan-inspired designs or as decorative accents.
Tile Finishes and Characteristics
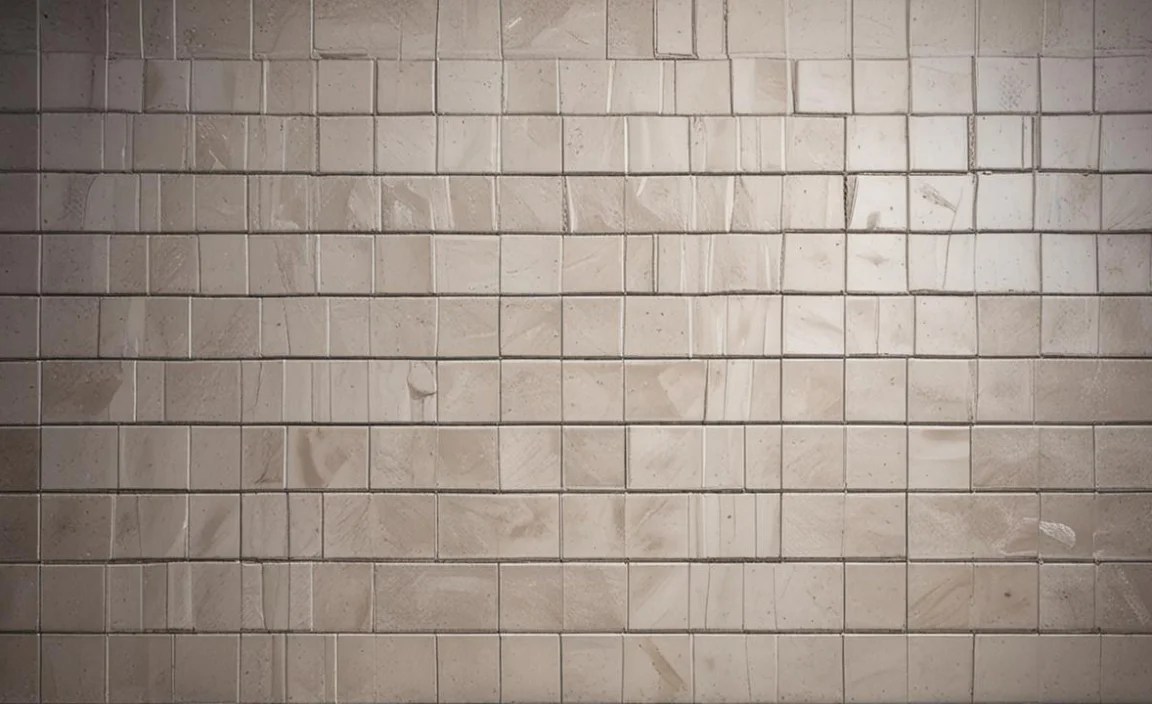
Glossy Finish
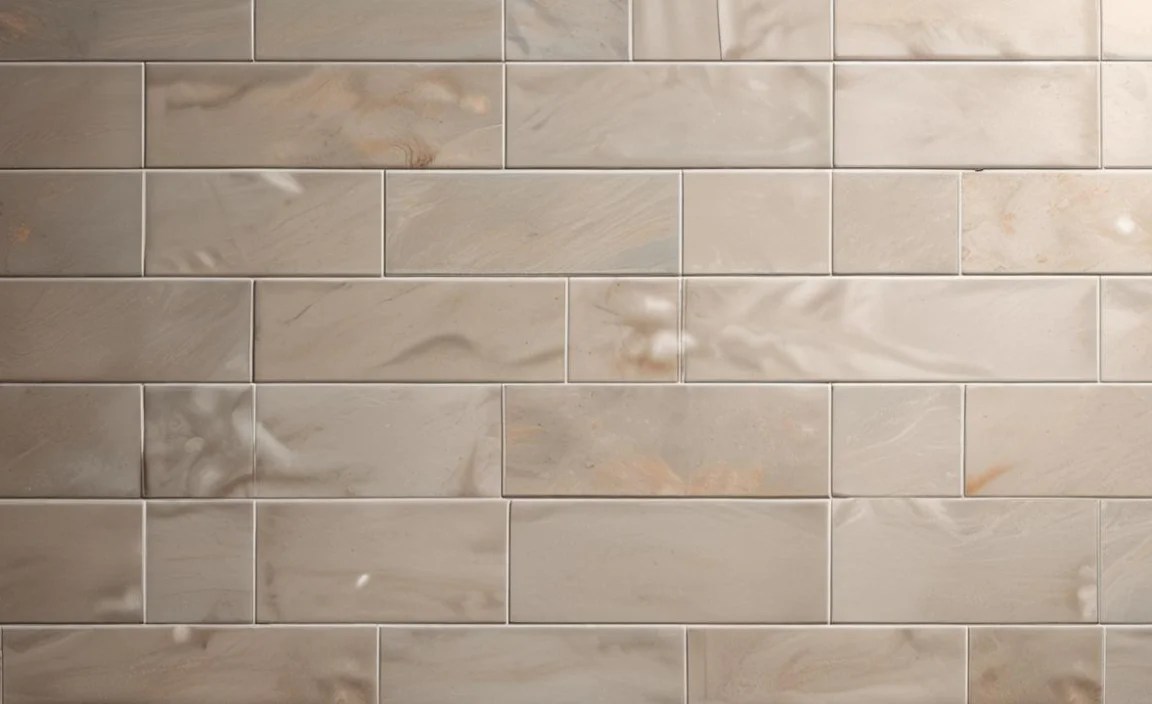
Tiles with a glossy finish have a reflective, shiny surface. They are great for making spaces feel brighter and larger, as they bounce light around. However, they can show water spots and smudges more easily and may be more slippery when wet.
Matte Finish
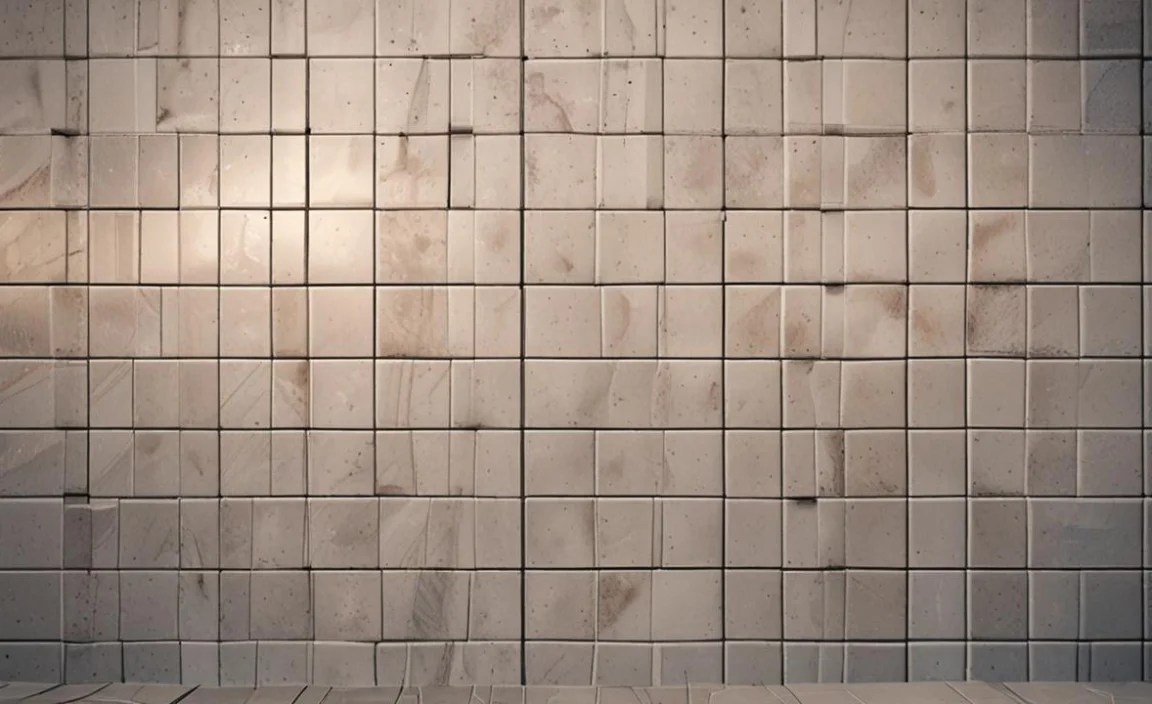
Matte tiles have a non-reflective, smooth surface. They offer a more subdued, natural look and are generally less slippery than glossy tiles, making them a popular choice for floors, especially in bathrooms and kitchens where moisture is present.
Unglazed Tile
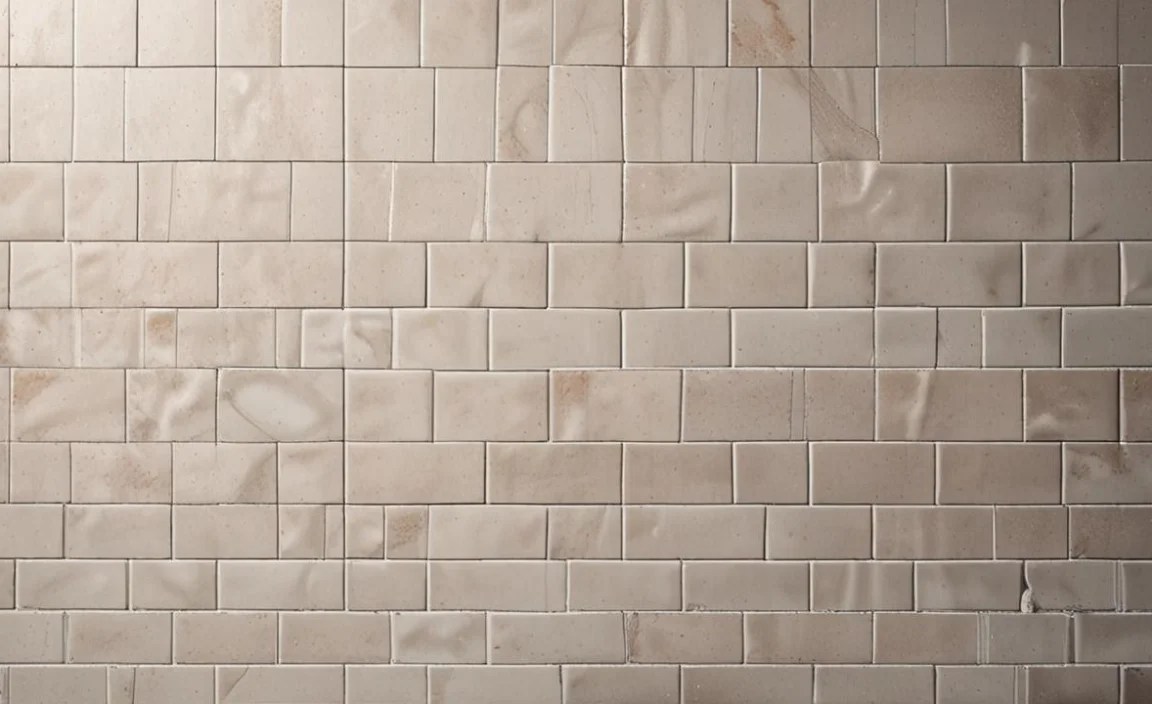
Unglazed tiles do not have a protective glaze layer. This means they are porous and will absorb liquids and stains unless properly sealed. Unglazed tiles, like many natural stones and some terra cotta, have a very natural aesthetic but require more maintenance.
Beveled Edge
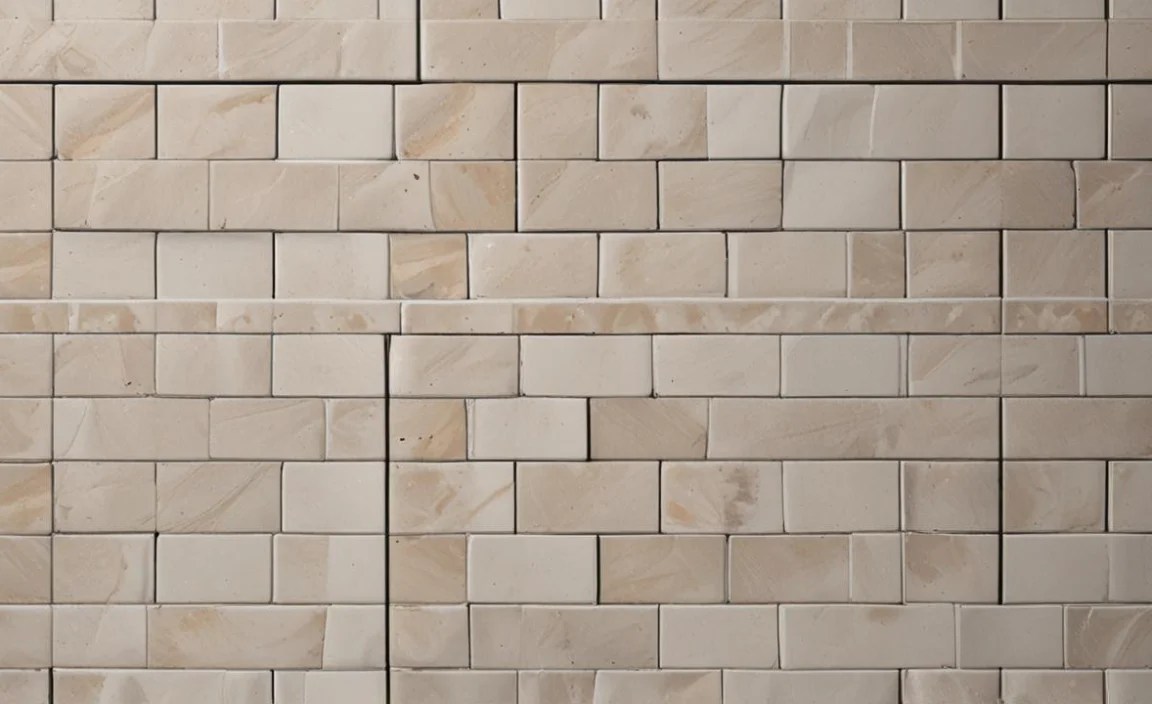
A beveled edge means the edge of the tile has been cut at an angle. This creates a slightly raised profile, adding depth and dimension, especially noticeable with subway tiles. It adds a touch of sophistication and highlights the individual tiles.
Through-Body Porcelain
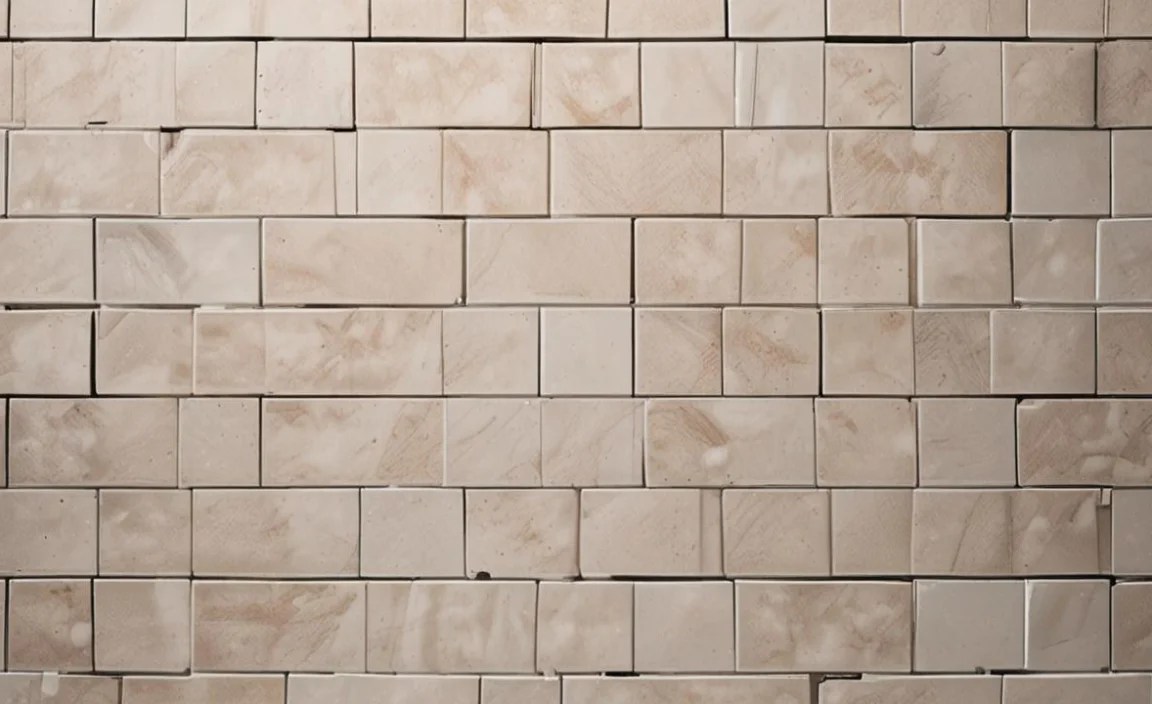
This is a characteristic of porcelain tiles where the color and pattern extend all the way through the tile. If the tile chips, the underlying color will match the surface, making chips less noticeable. This is a sign of high-quality and durable porcelain.
Installation & Material Terms
Grout
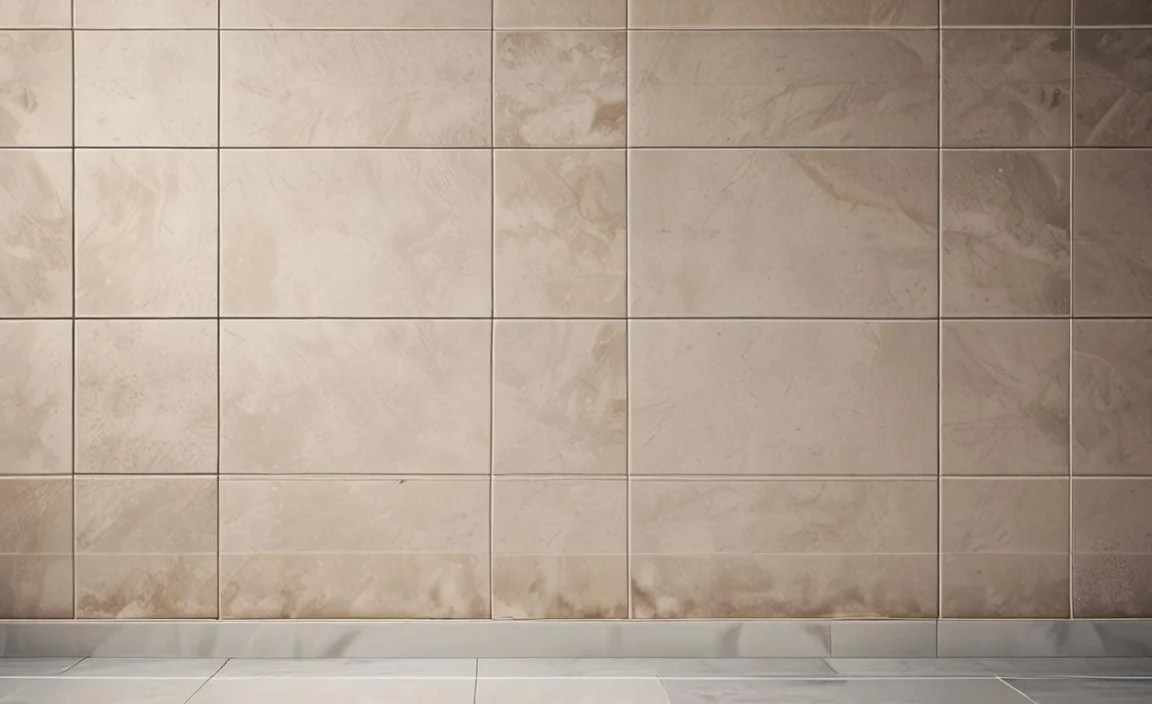
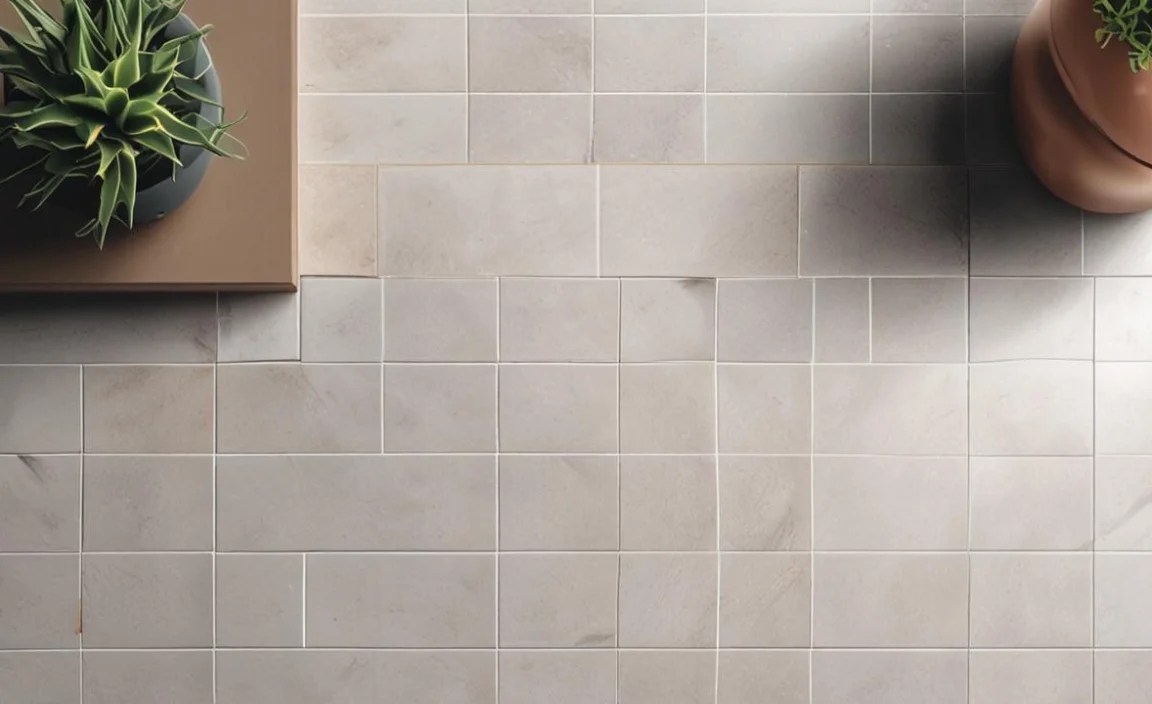
Grout is the cement-like material used to fill the gaps between tiles. It comes in various colors and types (sanded, unsanded, epoxy) and plays a crucial role in both the look and the structural integrity of the tiled surface.
Grout Line
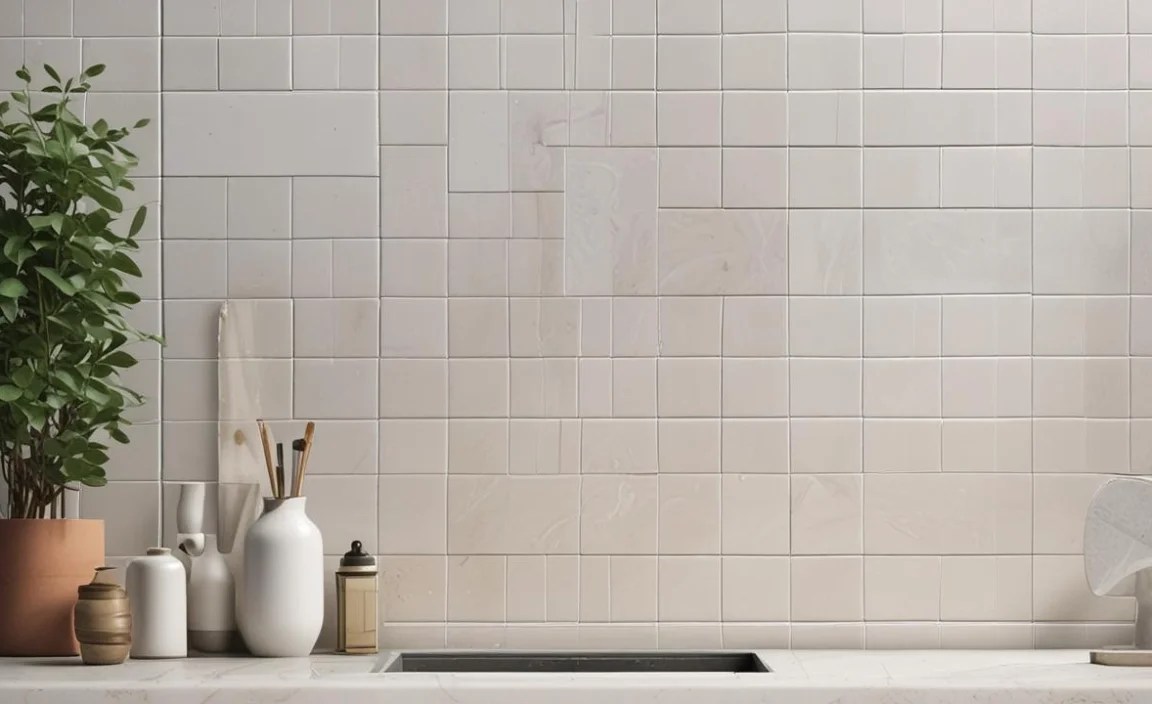
This is the space or gap between individual tiles that is filled with grout.
Substrate
The substrate is the surface beneath the tiles, such as plywood, cement board, or concrete. A stable and prepared substrate is essential for a lasting tile installation. For wet areas like showers, a waterproof membrane is often applied over the substrate.
Tile Backer Board (or Cement Board)
This is a rigid sheet made of cement and reinforcing fibers. It’s installed over the subfloor or wall framing to provide a solid, dimensionally stable surface for tiling. It is resistant to moisture and is crucial in areas prone to water, like bathrooms and kitchens, as a base for thin-set mortar.
According to The Spruce, a reputable home improvement resource, “using cement board is the gold standard for backer board in wet areas because it offers superior support and moisture resistance compared to drywall.”
Thin-set Mortar
This is a premixed adhesive used to bond tiles to the substrate. It’s a cement-based adhesive that provides excellent adhesion and durability. It’s mixed with water to a specific consistency and spread onto the substrate with a notched trowel.
Tiles vs. Alternatives: Making the Best Choice for Your Project

Traditional tile installation, while beautiful and durable, can be a significant undertaking. It often requires specialized tools, patience, and a certain level of skill. For beginners or those on a tight budget or timeline, there are fantastic alternatives that offer similar aesthetics with much simpler installation.
We’ll explore some common tile materials and then dive into some of the most popular and DIY-friendly alternatives that can help you achieve a stunning look without the usual hassle.
Common Tile Materials and Their Pros & Cons
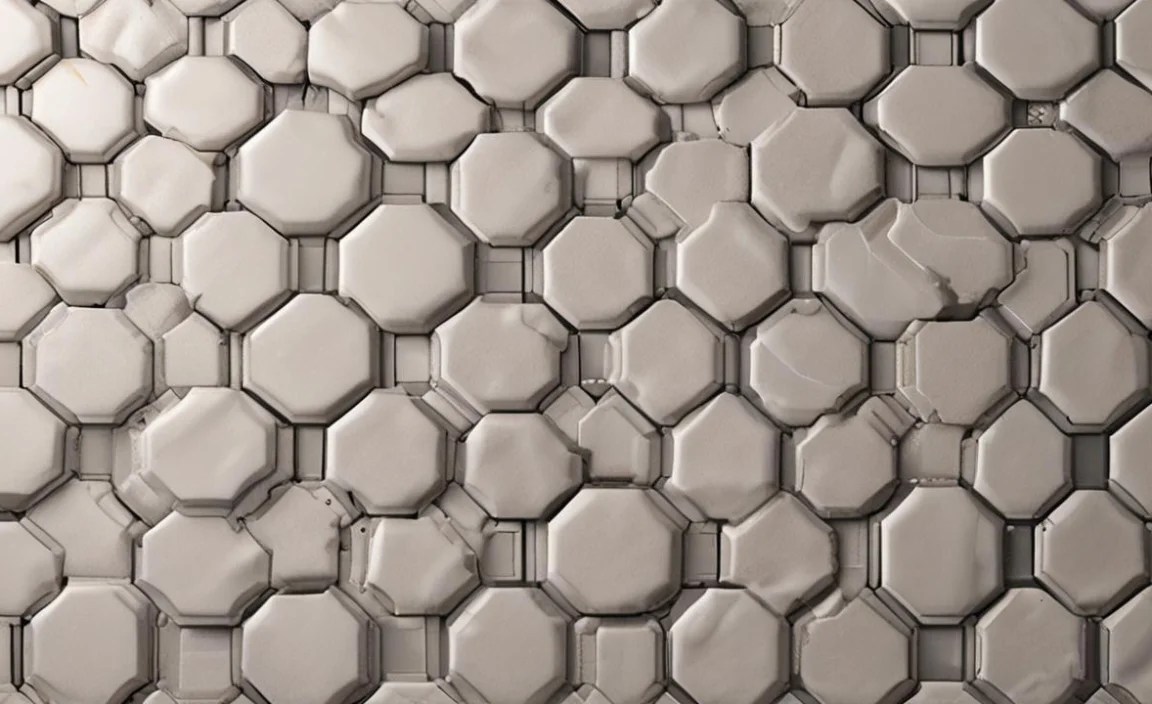
Understanding the basic tile materials is key before you even consider alternatives.
| Tile Material | Pros | Cons | Best For |
|---|---|---|---|
| Ceramic Tile | Affordable, huge variety of colors, styles, and finishes, easy to cut and install, water-resistant. | Can chip or crack if heavy objects are dropped, less durable than porcelain for high-traffic areas. Glazed ceramic is not porous; unglazed can be. | Backsplashes, walls, low-traffic floors, bathrooms. |
| Porcelain Tile | Extremely durable, dense, water-resistant, suitable for heavy-traffic areas and outdoors, stain-resistant. Available in a vast array of designs, including wood and stone looks. | More expensive than ceramic, harder to cut (requires a wet saw), can be cold underfoot. | Floors (kitchens, bathrooms, entryways), high-traffic areas, outdoor patios, showers. |
| Natural Stone (Marble, Granite, Slate, Travertine) | Unique, luxurious look, adds value to a home, durable, each piece is one-of-a-kind. | Expensive, porous (requires sealing), can stain and etch, heavy, difficult to cut, requires specialized care. | Upscale bathrooms, feature walls, areas where natural beauty is a priority. |
| Glass Tile | Beautiful, reflective, modern look, stain-resistant, available in many colors and finishes (transparent, iridescent). | Can be delicate, prone to chipping or scratching, can be slippery when wet, challenging to cut, expensive. | Backsplashes, accent walls, shower niches, decorative borders. |
Beginner-Friendly Tile Alternatives
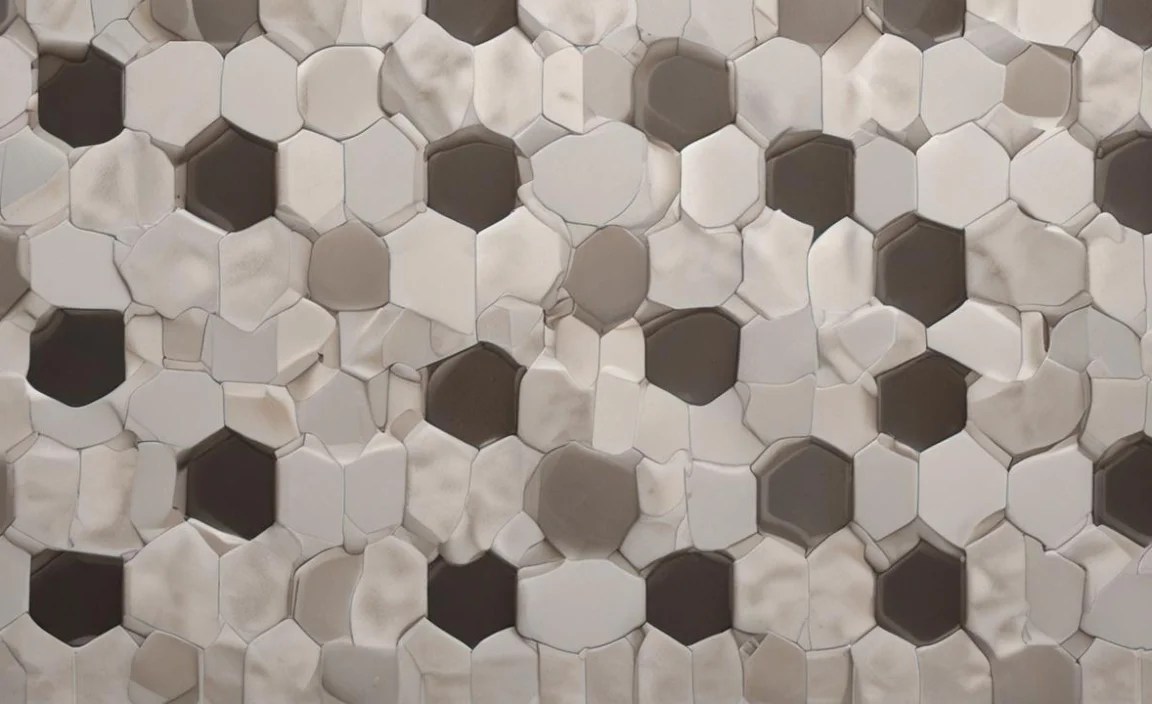
These options are designed for ease of use, making them perfect for DIYers with less experience or those looking for a quicker renovation project.
1. Peel-and-Stick Tiles
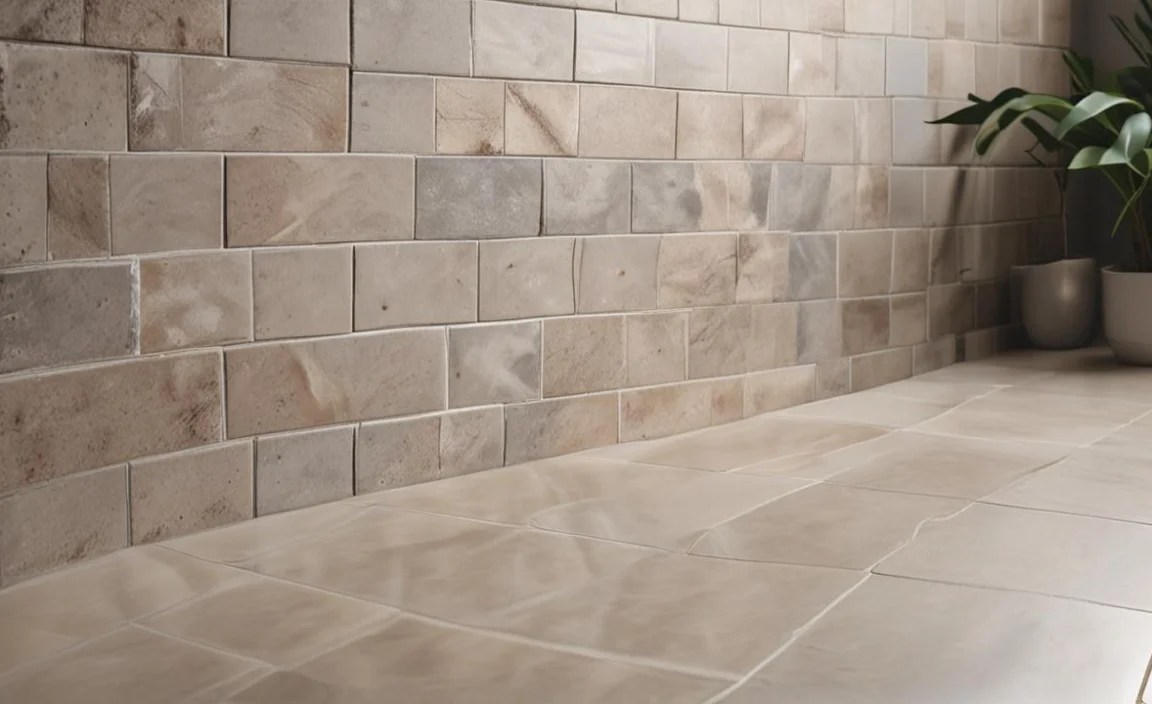
What they are: These tiles are often made from vinyl, gel, or a combination of materials, with a strong adhesive backing. You simply peel off the backing and stick them directly onto a clean, smooth surface. They mimic the look of traditional tiles, from subway to mosaic styles.
Pros:
- Extremely easy to install – no grout, no special tools (just a utility knife and measuring tape).
- Affordable compared to traditional tiling.
- Water-resistant, making them suitable for backsplashes and even some bathroom walls.
- Removable (in many cases), making them great for renters or temporary updates.
- Wide variety of designs and patterns available.
Cons:
- Not as durable as real tile; can be prone to scratches or peeling over time, especially in high-traffic areas or under direct heat.
- May not look as authentic or high-end as traditional tiles.
- Surface must be perfectly smooth and clean for proper adhesion.
Installation Tip: Always test the adhesive in an inconspicuous area first. For stubborn edges, a hair dryer on a low setting can help loosen the adhesive for repositioning.
2. Peel-and-Stick Backsplash Panels
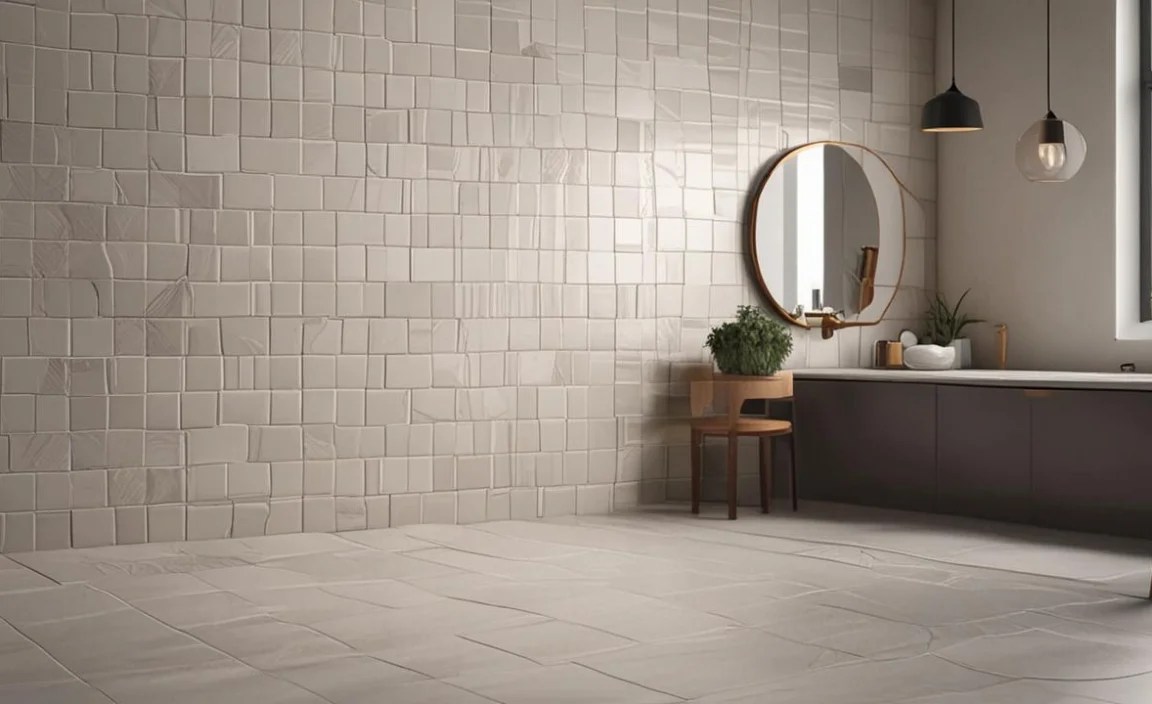
What they are: These are larger panels, often made from metal, acrylic, or a composite material, designed to cover a significant area of a backsplash quickly. They often have a raised or 3D effect that mimics tile patterns like subway or mosaic.
Pros:
- Incredibly fast installation – cover a large area in minutes.
- Minimal mess, no grout required.
- Durable and easy to clean.
- Can provide a high-end look with no tiling expertise needed.
- Often resistant to heat and moisture.
Cons:
- More expensive per square foot than individual peel-and-stick tiles.
- Limited design options compared to individual tiles.
- Installation requires careful alignment to ensure a seamless look.
Installation Tip: Measure twice, cut once! Use a level to ensure the first panel is perfectly straight, as this will affect the alignment of all subsequent panels.
3. Groutless Tile Systems (Interlocking or Snap-Together Tiles)
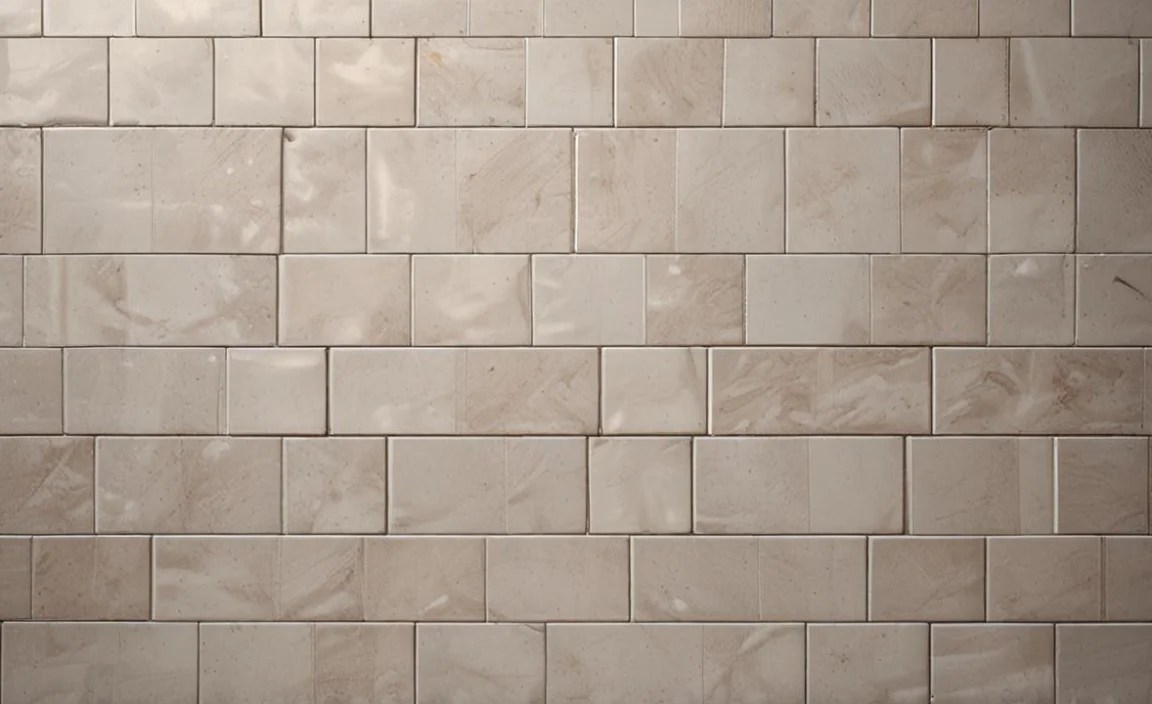
What they are: These systems typically involve tiles that have a built-in interlocking mechanism or a system of clips that snap together securely. They create a tightly sealed surface without the need for traditional grout. Some are designed for floors, while others are for walls.
Pros:
- Drastically reduces installation time and complexity.
- No grout means no grout to clean, stain, or repair.
- Creates a very water-resistant surface, especially for floors.
- Often made from durable materials like PVC or composite stone.
Cons:
- Can be more expensive than traditional ceramic tiles.
- Design options might be more limited than conventional tiles.
- The locking mechanism can sometimes be visible or feel less “authentic” to some.
Installation Tip: Ensure the subfloor is perfectly level. Any imperfections can prevent the interlocking system from locking securely.
4. Tile-Look Vinyl Flooring
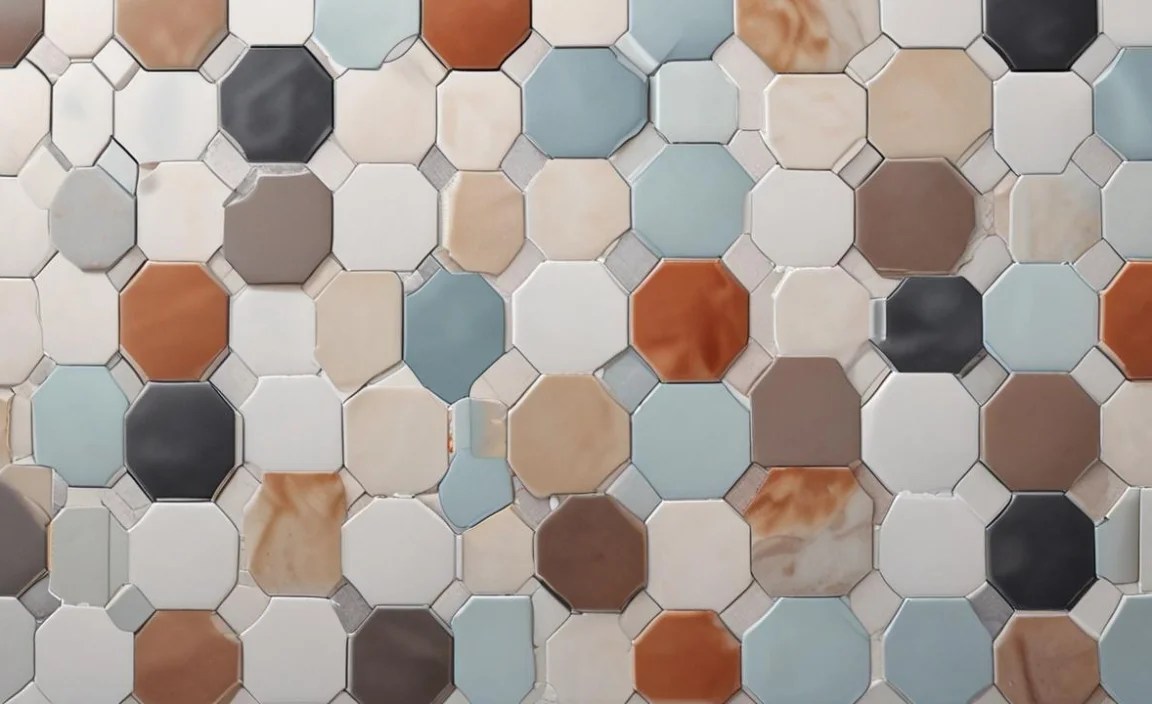
What it is: Vinyl flooring comes in sheets, planks, or tiles that are designed to look exactly like ceramic or porcelain tiles. Luxury Vinyl Tile (LVT) and Luxury Vinyl Plank (LVP) are particularly popular for their realistic designs and durability.
Pros:
- Very easy to cut and install (many are click-lock or peel-and-stick).
- Waterproof and highly durable, excellent for kitchens and bathrooms.
- Warmer and softer underfoot than tile.
- Significantly more affordable than real tile.
- Requires less subfloor preparation than tile.
Cons:
- May not offer the same perceived value or longevity as real tile.
- Can be damaged by sharp objects or excessive heat.
- The “grout lines” are printed or part of the vinyl, not actual grout joints.
Installation Tip: For click-lock vinyl, ensure you have the expansion gap around the perimeter of the room, usually against the walls, as recommended in the manufacturer’s instructions. This allows the floor to expand and contract naturally.
According to the U.S. Environmental Protection Agency (EPA), when working with older homes, it’s crucial to be aware of lead paint hazards, especially when removing old finishes. For DIY projects, always prioritize safety and proper preparation.
5. Concrete or Microcement
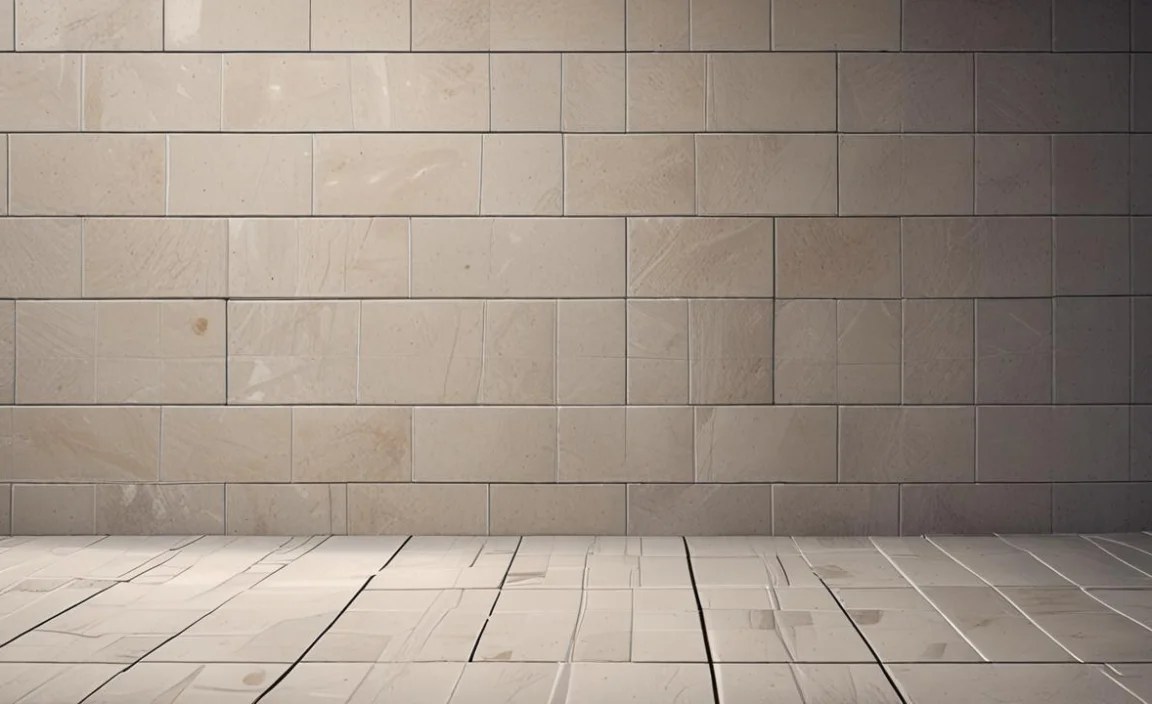
What it is: While often considered a more advanced option, some DIY-friendly microcement products and concrete overlays can be applied by beginners. These create a seamless, modern, and industrial look with a unique texture. They can be applied over existing surfaces.
Pros:
- Extremely durable and long-lasting.
- Seamless, modern aesthetic with a customizable finish.
- Can be applied over existing tiles or subfloors.
- Waterproof and easy to clean when sealed properly.
Cons:
- Requires careful preparation and application technique for best results.
- Can be harder to repair if damaged.
- More expensive than other alternatives like vinyl.
- Can be cold underfoot and is hard.
Installation Tip: Watch detailed video tutorials specific to the product you choose. Practice the application technique on a scrap board before tackling your main project.
Choosing the Right Material and Style for You
The best choice for you depends on several factors:
- Budget: Peel-and-stick options are generally the most budget-friendly, followed by vinyl, then ceramic, and finally porcelain and natural stone.
- Skill Level: Peel-and-stick and panel systems are the easiest for beginners. Traditional tiling requires more skill and tools.
- Location: High-moisture areas like showers need waterproof materials. High-traffic floors need durable options.
- Desired Look: Do you want the authentic texture of stone, the classic subway look, or a modern industrial finish?
- Time Commitment: Are you looking for a weekend project or a longer renovation?
Quick Comparison Table: Alternatives at a Glance
| Alternative | Ease of Installation | Durability | Cost (Relative) | Aesthetics |
|---|---|---|---|---|
| Peel-and-Stick Tiles | Very Easy | Moderate | Low | Mimics various tile styles |
| Peel-and-Stick Panels | Easy | Moderate to High | Medium | 3D effect, mimics tile patterns |
| Groutless Tile Systems | Easy to Moderate | High | Medium to High | Realistic tile look, seamless |
| Tile-Look Vinyl | Easy to Moderate | High | Low to Medium | Realistic tile and wood looks |
| Concrete/Microcement | Moderate (requires practice) | Very High | Medium to High | Seamless, industrial, customizable |
Getting Started: Essential Tools and Preparation
Even with simpler alternatives, preparation is key to a successful project. For traditional tiling, you’ll need more specialized tools. For alternatives, the list is usually much shorter.
For Traditional Tile Installation (Briefly)
- Tape Measure
- Level
- Tile Nippers (for cuts)
- Wet Saw (for accurate, straight cuts on harder tiles like porcelain)
- Notched Trowel (for spreading thin-set)
