
Quick Summary:
Tiles installation offers a durable, beautiful, and water-resistant finish, ideal for kitchens and bathrooms. While the long-term value is high, the initial cost, specialized tools, and potential for errors require careful consideration and patience for a DIY success.
Thinking about adding tiles to your home? Whether it’s a stunning backsplash, a fresh bathroom floor, or a sleek patio area, tiles can really transform a space. But before you grab that trowel, let’s talk about what’s involved. Sometimes, the idea of DIY tiling seems straightforward, but it can quickly become a head-scratcher. Don’t worry! We’re going to walk through the exciting upfront benefits and also look honestly at the challenges. By understanding both the pros and cons of tiles installation, you’ll be well-equipped to decide if tackling this project yourself is the right move for your home and your skills. We’ll cover everything you need to know to make an informed decision.
Tiles Installation: Knowing the Greats and the Gotchas

As Bryan Lee, your go-to guide for all things home and DIY, I’ve seen countless projects, and tile installation is a popular one. It’s a fantastic way to boost your home’s look and value. But like any home improvement project, it’s not all smooth sailing. Understanding the advantages and disadvantages ensures you start with realistic expectations and a plan for success. Let’s dive into why people love tiles and what hurdles you might encounter.
The Proven Pros of Tiles Installation

Tiles bring a lot to the table, making them a top choice for many homeowners. Their appeal lies in a blend of aesthetics, functionality, and long-term performance. Let’s break down the key advantages:
- Durability: Tiles are tough! They stand up well to foot traffic, spills, and everyday wear and tear. This makes them perfect for busy areas like kitchens and entryways. They are resistant to scratches and many common household chemicals.
- Water Resistance: This is a huge win, especially for bathrooms and kitchens. Most tiles, particularly ceramic and porcelain, have very low water absorption rates. When installed with proper grout and sealant, they create a barrier that protects the subfloor and walls from moisture damage.
- Easy to Clean & Maintain: Spills? Stains? No problem! Most tile surfaces wipe clean with a damp cloth and mild cleaner. Unlike carpet or wood, they don’t typically stain easily and are generally hygienic.
- Aesthetic Versatility: The world of tiles is vast! You can find them in an endless array of colors, patterns, sizes, and materials. Whether you want a modern minimalist look, a rustic farmhouse feel, or a classic subway tile, there’s a tile for every style. This allows for immense creativity in design.
- Increased Home Value: A well-installed tile job, especially in kitchens and bathrooms, can significantly enhance your home’s appeal and resale value. It’s a tangible upgrade that buyers often look for.
- Hypoallergenic Properties: For those with allergies or asthma, tiles are a great choice. Unlike carpets, they don’t trap dust mites, pet dander, or other allergens, contributing to better indoor air quality.
- Heat Resistance: Tiles can withstand high temperatures without warping or scorching, making them an excellent choice for kitchen backsplashes behind stoves or for flooring in areas near fireplaces.
- Long Lifespan: When properly installed and cared for, tiles can last for decades – sometimes even longer. This makes it a very cost-effective flooring choice over the long run, despite the initial investment.
The Essential Cons and Challenges of Tiles Installation

While the benefits are plentiful, it’s crucial to be aware of the potential downsides and challenges that come with tiles installation. Being prepared for these will help you avoid common pitfalls and ensure a smoother DIY experience.
- Initial Cost: The price of tiles themselves can vary significantly, from budget-friendly options to luxurious natural stone. Beyond the tile, you also need to factor in the cost of adhesive (thin-set mortar or mastic), grout, sealant, and any necessary tools you don’t already own. For a large area, this can add up quickly.
- Labor-Intensive Process: Tiles installation is not a quick weekend project for beginners. It requires precision, patience, and a good amount of physical effort. You’ll be cutting tiles, mixing mortar, setting tiles precisely, and then grouting and sealing.
- Requires Specialized Tools: While some parts can be done with basic tools, accurate tile cutting often necessitates a wet saw or a snap tile cutter. You’ll also need trowels, buckets, sponges, tile nippers, and possibly a tile drill for outlets. Renting or buying these can add to the expense. For example, a good wet saw is essential for many cuts, especially on hard materials like porcelain.
- Subfloor Preparation is Critical: The success of your tile installation depends heavily on having a stable, level, and clean subfloor. Uneven or weak subfloors can lead to cracked tiles and grout failure down the line. Preparing the subfloor properly, which might involve leveling compounds or backer board, is an extra step that cannot be skipped.
- Complex Cuts and Layouts: Cutting tiles to fit around corners, doorways, fixtures, and curved surfaces can be tricky. Getting these precise cuts and a pleasing layout takes practice and can be frustrating for beginners.
- Grout Maintenance: While tiles themselves are easy to clean, grout can be a different story. Grout is porous and can absorb stains and mildew over time, especially in wet areas like showers. Regular sealing and cleaning are necessary to keep it looking its best.
- Can Be Cold Underfoot: In colder climates or unheated spaces, tile floors can feel quite cold compared to carpet or wood. While radiant heating systems can be installed underneath, this adds significant cost and complexity.
- Risk of Damage During Installation: It’s easy to make mistakes. Chipping tiles during cutting, cracking them while setting, or applying too much or too little adhesive are common beginner errors that can lead to wasted materials and extra work.
- Removal is Difficult: If you ever decide to change your mind or renovate, removing old tiles can be a labor-intensive and messy process. It often involves breaking tiles and scraping off old adhesive, which can damage the subfloor.
Tiles Installation: A Side-by-Side Comparison of Pros and Cons

To help you visualize the trade-offs, here’s a table summarizing the key pros and cons of tiles installation. This can be a great reference point as you weigh your options.
| Category | Pros | Cons |
|---|---|---|
| Durability & Longevity | Extremely durable, long-lasting (decades), resistant to wear, scratches, and heat. | Can crack or chip if heavy objects are dropped on them; replacement of individual tiles can be challenging. |
| Maintenance & Cleaning | Easy to wipe clean, hygienic, resistant to stains and water damage (when sealed). | Grout lines can stain, absorb moisture, and develop mildew if not properly sealed and cleaned; requires periodic re-sealing. |
| Aesthetics & Versatility | Endless design options (color, pattern, size, material); can enhance home value. | Can feel cold underfoot; some natural stones require special care and sealants. |
| Installation Process | Can be a rewarding DIY project for those with patience and attention to detail. | Labor-intensive, requires precise measurements and cutting, needs specialized tools, critical subfloor preparation. |
| Cost Considerations | Low maintenance costs over its lifespan; increases home value. | Significant upfront cost for materials and tools; potential for costly mistakes if done improperly. |
| Environmental Factors | Hypoallergenic, improves indoor air quality. | Manufacturing can be energy-intensive; some materials are sourced globally. |
Getting Started: Essential Tools for Tiles Installation
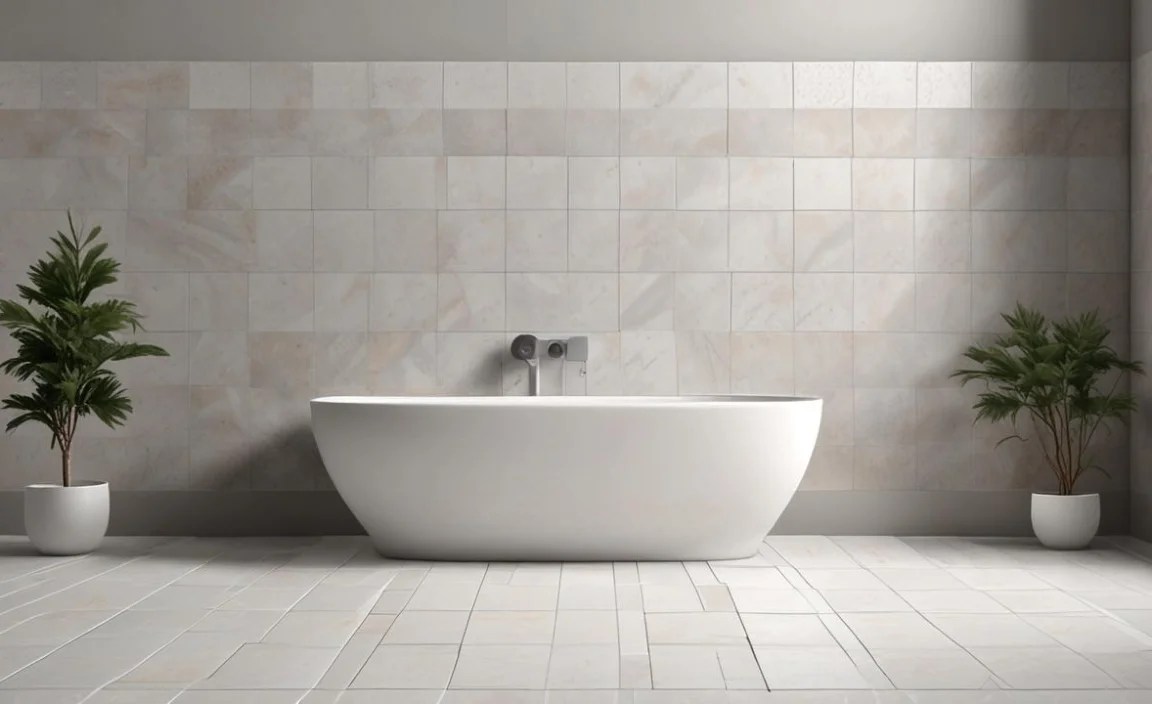
If you decide that tiles installation is for you, being prepared with the right tools is half the battle. Here’s a list of essentials. Remember, investing in quality tools can make the job easier and lead to better results. You can find great resources on tool usage from sites like This Old House.
- Safety Gear: Safety glasses are a must to protect your eyes from dust and debris. Gloves will protect your hands from sharp edges and adhesives.
- Measuring Tape & Pencil: For accurate measurements and marking cut lines.
- Level: To ensure your tiles are perfectly straight and even.
- Trowels: Both a notched trowel (for spreading adhesive) and a margin trowel (for small areas and buttering edges) are needed. The size of the notches on the trowel depends on the tile size.
- Tile Cutter: A manual snap cutter is good for straight cuts on smaller tiles. For harder materials or more complex cuts, a wet saw is highly recommended.
- Tile Nippers: For making curved cuts around pipes or odd shapes.
- Buckets: For mixing mortar and grout, and for water to clean tools and sponges.
- Sponges: Large, dense sponges are best for cleaning excess grout.
- Grout Float: A rubber-faced tool for pressing grout into the joints.
- Utility Knife: Useful for scoring and trimming excess adhesive or caulk.
- Pliers or Tile Grinder: For rough shaping or smoothing chipped edges.
- Caulking Gun: For applying silicone caulk around edges and fixtures to prevent water intrusion.
- Stud Finder: To locate studs if you need to secure backer board or plan for tile cutouts around electrical boxes.
- Dust Mask: Especially when cutting tiles or mixing thin-set mortar, as the dust can be irritating.
Step-by-Step: A Beginner’s Guide to Tiles Installation Basics
Tackling tiles installation for the first time can feel daunting, but breaking it down into manageable steps makes it achievable. Remember, patience and precision are your best friends here. Always follow the specific instructions provided by your tile and adhesive manufacturers.
Step 1: Plan Your Layout
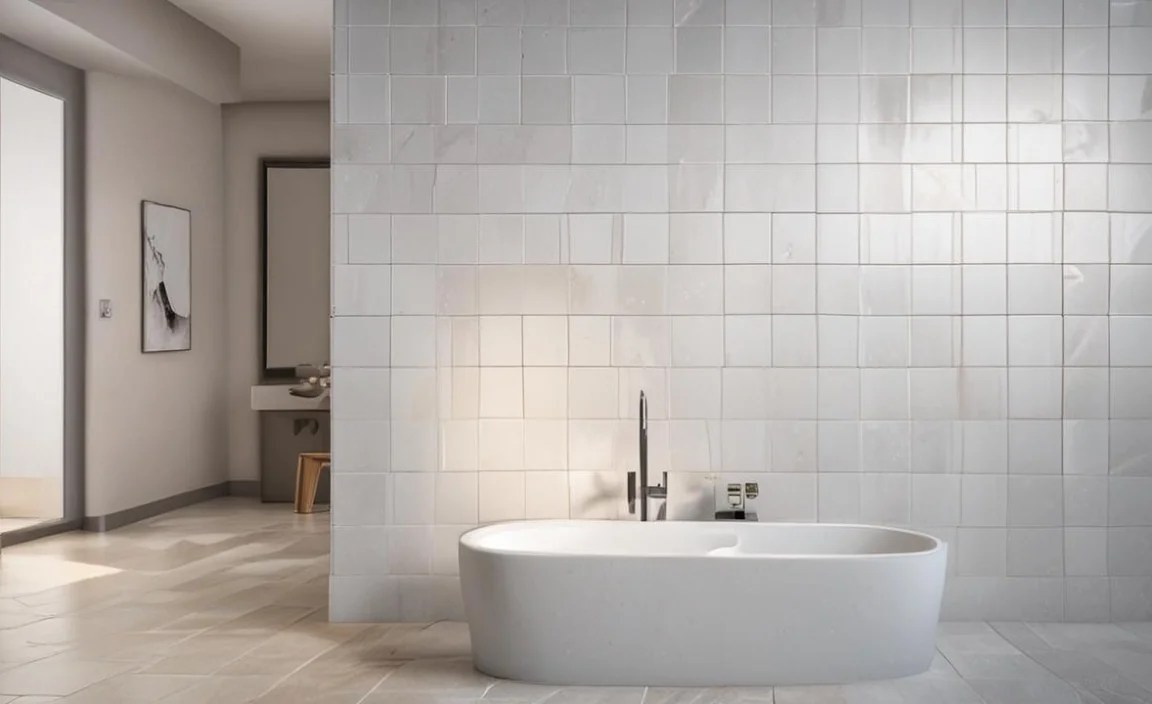
Before you mix any adhesive, plan where your tiles will go. Find the center of the room or wall and work outwards. This helps minimize awkward cuts at the edges. Lay out full tiles in the main visible areas to ensure a pleasing pattern. Understand where your cut tiles will fall and if they look balanced.
Step 2: Prepare the Surface
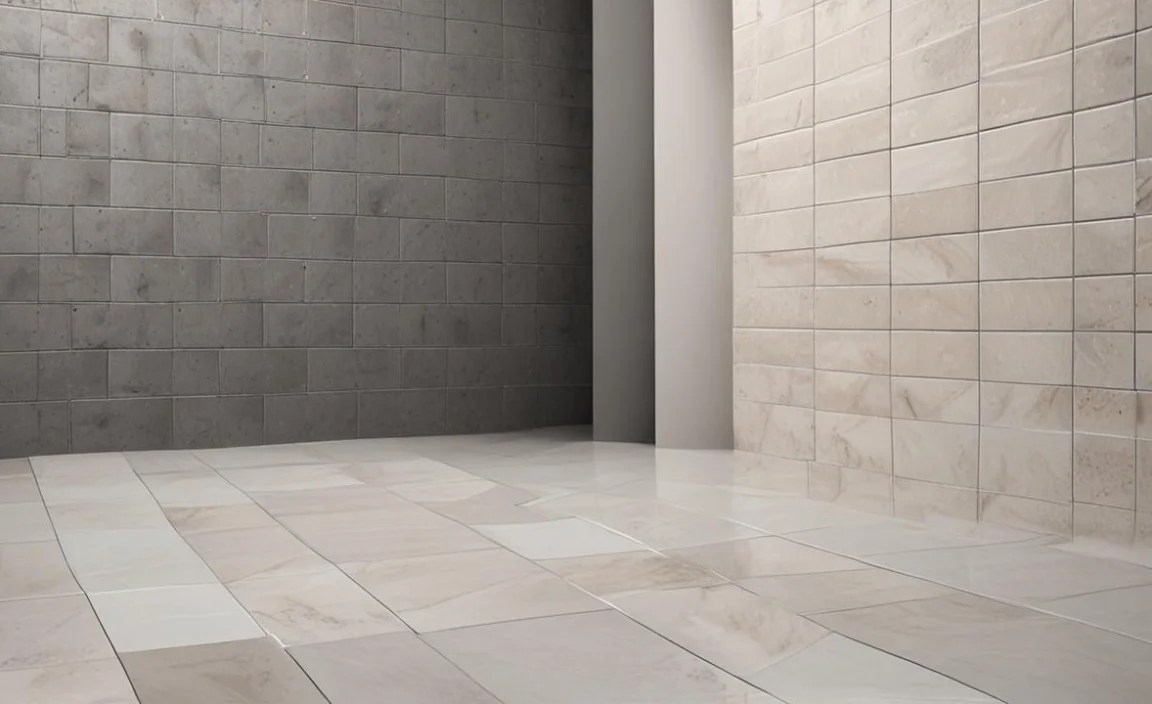
This is arguably the most critical step. The surface (subfloor or wall) must be clean, dry, level, and structurally sound. Remove any old flooring, paint, or debris. For bathrooms or showers, you’ll likely need to install a waterproof backer board, such as cement board. Ensure it’s securely fastened according to manufacturer guidelines. A level surface prevents tile lippage (one tile edge higher than another).
Step 3: Mix the Adhesive
Follow the manufacturer’s instructions precisely. Mix only as much adhesive as you can use within its working time (usually 20-30 minutes). Add water to the powder gradually until you achieve a smooth, creamy consistency, free of lumps. It should be sticky and spreadable but not runny.
Step 4: Apply the Adhesive
Using your notched trowel, spread the adhesive onto a small section of the surface (about 2-3 square feet at a time). Hold the trowel at a 45-degree angle to create uniform ridges. This ensures even adhesion and coverage for the tiles. Don’t cover more area than you can tile before the adhesive skins over.
Step 5: Set the Tiles
Place the first tile firmly into the adhesive with a slight twisting motion. Press down to ensure good contact. Place the next tile right next to it, using tile spacers to maintain an even gap for grout. Work your way across the section, periodically checking with your level. Regularly clean any excess adhesive that squeezes up between tiles or onto the tile face with a damp sponge.
Step 6: Make Cuts
When you reach edges, walls, or fixtures, you’ll need to cut tiles. Measure carefully, mark your cut line, and use your tile cutter or wet saw. For curved cuts, tile nippers can be useful. Always wear safety glasses when cutting. Dry-fit the cut tiles to ensure they fit snugly.
Step 7: Let it Cure
Once all tiles are set, allow the adhesive to cure completely according to the manufacturer’s recommendation. This typically takes at least 24 hours, but can be longer depending on temperature and humidity. Avoid walking on the tiles during this period.
Step 8: Grout the Tiles
Remove all tile spacers. Mix your grout according to instructions. Using a grout float, spread the grout over the tiles, forcing it into the gaps (joints). Work at an angle to fill the joints completely. Scrape off excess grout with the float.
Answer: Rushing the drying time for adhesive or grout can lead to tiles shifting, grout cracking, or mold growth. Always follow manufacturer recommendations for curing (usually 24-72 hours for adhesive, 24-48 hours for grout before light traffic). Full cure can take weeks.
Answer: Skipping layout planning can result in awkward, small cuts at visible edges, which look unfinished. Often, starting from the center and working outwards with a symmetrical layout looks best and minimizes unsightly cuts.
Answer: Different tile materials (ceramic, porcelain, natural stone) and installation locations (wet areas, high traffic) require specific types of adhesive and grout. Using the wrong product can lead to adhesion failure, discoloration, or cracking.
Answer: An uneven, unstable, or wet subfloor is a recipe for tile failure. Tiles can crack, grout can fail, and if water gets underneath, it can cause structural damage and mold. Always ensure your surface is level, rigid, and dry.
Conclusion
Tiles installation is a project brimming with potential to enhance your home’s beauty and functionality. The pros – durability, water resistance, aesthetic flexibility, and increased value – are incredibly compelling reasons to choose tile. However, it’s vital to acknowledge the cons: the initial investment in materials and tools, the labor-intensive nature of the work, the critical need for precise preparation, and the potential for challenging cuts and cleanup. By thoroughly understanding both sides, you can make an informed decision. If you’re up for the challenge, with careful planning, the right tools, and plenty of patience, you can achieve a stunning, professional-looking tile installation that you’ll be proud of for years to come. Remember to tackle each step with attention to detail, and don’t hesitate to consult resources or even seek professional help if you feel overwhelmed. Happy tiling!
