
Understanding common tiles terms in construction empowers DIYers and homeowners. This guide breaks down essential vocabulary, from tile types and materials to installation methods and finishes. Master these terms to confidently discuss projects, select the right materials, and achieve stunning results in your next tiling endeavor.
Ever found yourself staring at a tile catalog or talking to a contractor, feeling completely lost in a sea of unfamiliar words? You’re not alone! The world of tiles and construction can sometimes feel like a secret language. Words like “grout,” “subfloor,” or “bullnose” might pop up, leaving you scratching your head. This guide is here to demystify those terms. We’ll break down the essential tiles terms in construction so you can feel confident when choosing, buying, or discussing your next tiling project. Get ready to transform your confusion into clarity and your DIY dreams into reality!
Understanding Tiles Terms in Construction: Your Essential Guide
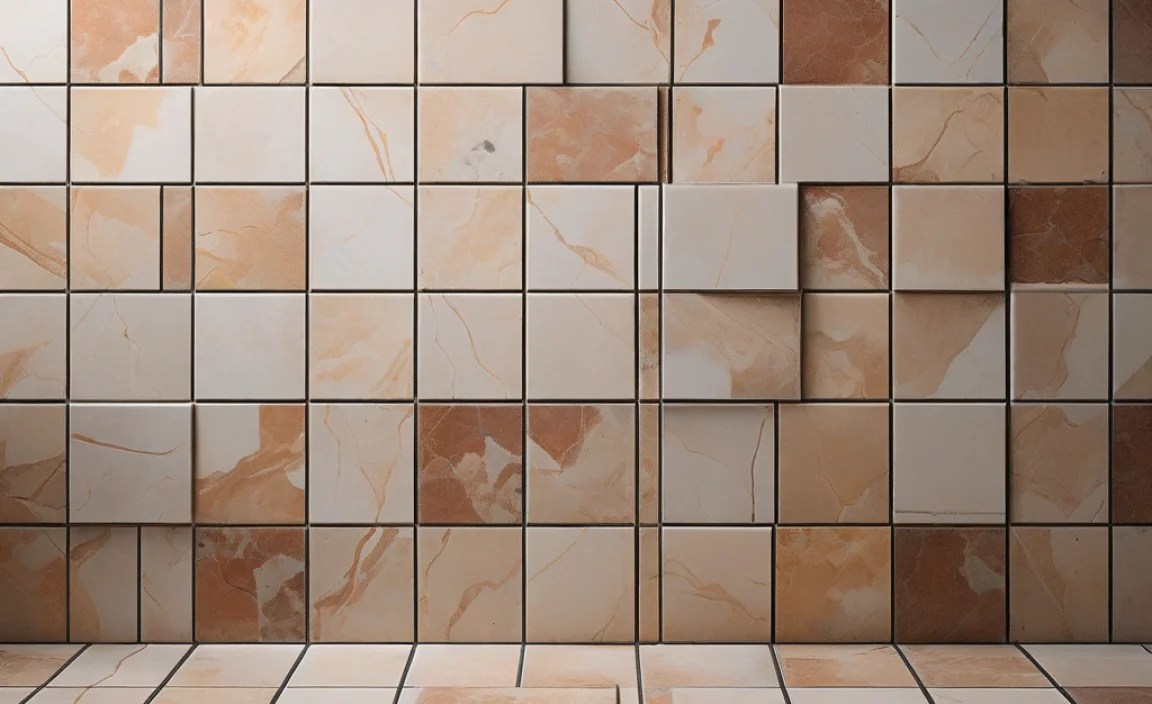
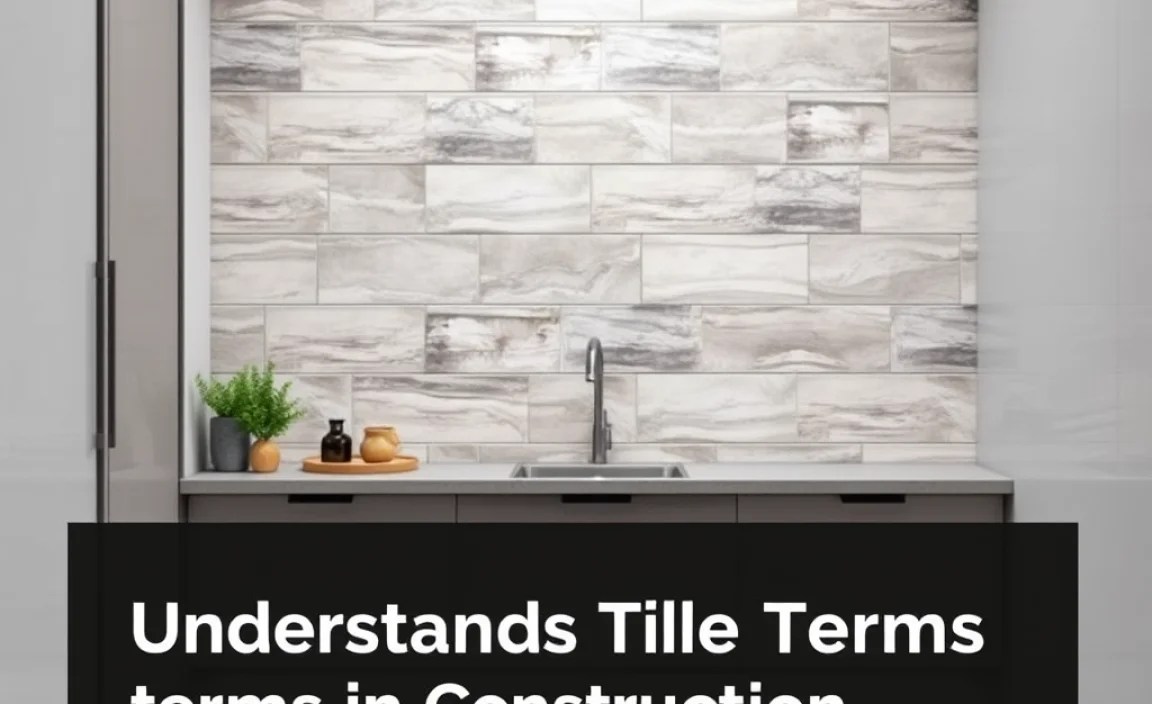
Tiling a floor, a backsplash, or a shower can dramatically enhance your home’s look and feel. But before you can pick out those perfect ceramic squares or natural stone slabs, you need to understand the language. Knowing the right terms helps you communicate effectively with professionals, make informed purchasing decisions, and avoid costly mistakes. Let’s dive into the essential tiles terms in construction that every DIYer and homeowner should know.
Types of Tiles & Materials
The first step in understanding tiling is knowing the different materials and types of tiles available. Each has unique properties that make them suitable for different applications.
| Tile Type | Description | Common Uses | Pros | Cons |
|---|---|---|---|---|
| Ceramic Tile | Made from clay, fired in a kiln, and often glazed. Glazes add color, texture, and protection. | Floors, walls, backsplashes, bathrooms, kitchens. | Affordable, versatile, water-resistant, easy to clean. | Can chip or crack, some types are slippery when wet, can be porous if unglazed. |
| Porcelain Tile | A denser, less porous type of ceramic tile made from refined clay fired at higher temperatures. | High-traffic floors, bathrooms, kitchens, outdoor areas (if rated for it). | Extremely durable, water-resistant, stain-resistant, suitable for heavy use. | Harder to cut, can be more expensive than standard ceramic, can be slippery. |
| Stone Tile (Natural Stone) | Includes marble, granite, slate, travertine, and limestone. Each has unique veining and natural beauty. | Floors, walls, countertops, luxury bathrooms and kitchens, fireplaces. | Unique, natural aesthetic, durable (varies by stone type), can increase home value. | Can be expensive, porous (requires sealing), can stain or etch, requires specific cleaning. |
| Glass Tile | Made from glass, often comes in mosaic sheets. Offers a reflective, modern look. | Backsplashes, accent walls, pool tiles, shower walls. | Waterproof, easy to clean, visually striking, reflective. | Can be delicate, prone to scratching, expensive, difficult to repair if broken. |
| Cement Tile | Made from a blend of cement, pigment, and sand. Offers a vintage or contemporary look. | Floors, walls, backsplashes (often requires sealing). | Durable, unique patterns, eco-friendly (minimal firing). | Porous (needs sealing), can stain, can be susceptible to acid etching. |
| Vinyl Tile (LVT/LVP) | Synthetic material, durable, often designed to mimic wood or stone. | Kitchens, bathrooms, basements, high-traffic areas. | Waterproof, durable, affordable, easy to install (especially LVP). | Can be punctured, might look less premium than natural materials, can fade in direct sunlight. |
Key Installation & Preparation Terms
Getting the surface ready and installing tiles properly is crucial for a long-lasting and beautiful finish. These terms are vital for understanding the installation process.
- Subfloor: The foundational layer beneath your finished flooring. For tile, it needs to be rigid and stable to prevent cracking. Common subfloor materials include plywood or concrete.
- Underlayment: A layer installed on top of the subfloor to provide a stable, moisture-resistant, and often sound-dampening surface for tile. Examples include cement board or specific membranes.
- Mortar (Thin-set Mortar): A cement-based adhesive used to bond tiles to the subfloor or underlayment. It’s mixed with water to form a paste.
- Grout: A cementitious material used to fill the spaces (joints) between tiles after they are set. It helps bind the tiles together and prevents moisture from seeping underneath.
- Joints/Grout Lines: The spaces between individual tiles where grout is applied. The width of these lines is often a design choice.
- Leveling Compound: Also known as self-leveling underlayment, this is a cementitious mixture poured over a subfloor to create a perfectly flat and smooth surface before tiling. Essential for large-format tiles.
- Spacers: Small plastic tools inserted between tiles during installation to ensure consistent grout lines.
- Backer Board (Cement Board): A rigid sheet made of cement and reinforcing fibers, commonly used as an underlayment for tiled walls and floors, especially in wet areas like bathrooms and kitchens. It provides a stable, moisture-resistant base.
Terms Related to Tile Edges and Finishes
The edges and finishes of your tiles determine how they meet walls, corners, and other surfaces, impacting both aesthetics and functionality.
- Bullnose: A rounded edge profile on a tile. It’s often used on the edges of steps, countertops, or wall transitions to provide a smooth, finished look without needing a separate trim piece.
- Schluter Strip (Edge Profile): Metal or PVC strips installed at tile edges to create a clean, finished border. They protect the tile edge while providing a decorative transition. Schluter offers a wide range of profiles for various applications.
- Coping: A top-finishing edge, often rounded or beveled, used on things like the top edge of a pool waterline tile or a cap on a garden wall.
- Trim/Mosaic Tile: Smaller, decorative tiles used to create borders, accents, or to finish edges.
Tile Buying & Performance Terms
When selecting tiles, understanding these terms will help you choose the right product for its intended use and ensure its longevity.
- PEI Rating (Porcelain Enamel Institute Rating): A measurement of the durability and abrasion resistance of glazed ceramic and porcelain tiles. This rating is crucial for floors, especially in high-traffic areas.
- Class I: Wall use only.
- Class II: Walls and residential floors with light traffic.
- Class III: All residential areas and light commercial use.
- Class IV: Moderate to heavier commercial traffic.
- Class V: Heavy commercial traffic.
- Slip Resistance (Coefficient of Friction – COF): An important safety measure, especially for floors in wet areas. A higher COF means the tile is less slippery. Look for tiles with a suitable COF rating for your specific application. The ANSI standard provides guidance.
- Water Absorption Rate: Indicates how much water a tile can absorb. Lower absorption rates are better for areas prone to moisture, like bathrooms and kitchens. Porcelain tiles typically have very low water absorption.
- Shading/Lot Number: Tiles are manufactured in batches called “lots.” There can be slight color variations between different lots. Always purchase enough tile for your project from the same lot to ensure color consistency.
- First Quality/Commercial Grade: Refers to tiles that meet strict manufacturing standards with minimal to no defects.
Things You Might Hear During Installation
Contractors and tile setters use specific terms during the installation process. Knowing these can help you follow along and understand what’s happening.
- Layout: The plan for how tiles will be arranged on the floor or wall, including starting points, patterns, and cuts. A good layout minimizes awkward cuts and looks intentional.
- Dry Layout: A planning step where tiles are laid out on the surface without adhesive to visualize the pattern, spacing, and cuts before permanent installation.
- Cutting Tiles: This involves using specialized tools like a wet saw or tile nippers to resize tiles or create specific shapes for edges, corners, or around fixtures.
- Lippage: When one tile edge is higher than an adjacent tile edge. This is undesirable and indicates an installation issue, often due to an uneven subfloor or improper setting.
- Curing Time: The period during which thin-set mortar and grout harden and reach their full strength. It’s important to avoid walking on or exposing the tiles to moisture during this time.
- Setting Material: A general term that can refer to thin-set mortar or adhesive used to stick tiles.
Essential Tools for Tiling Projects
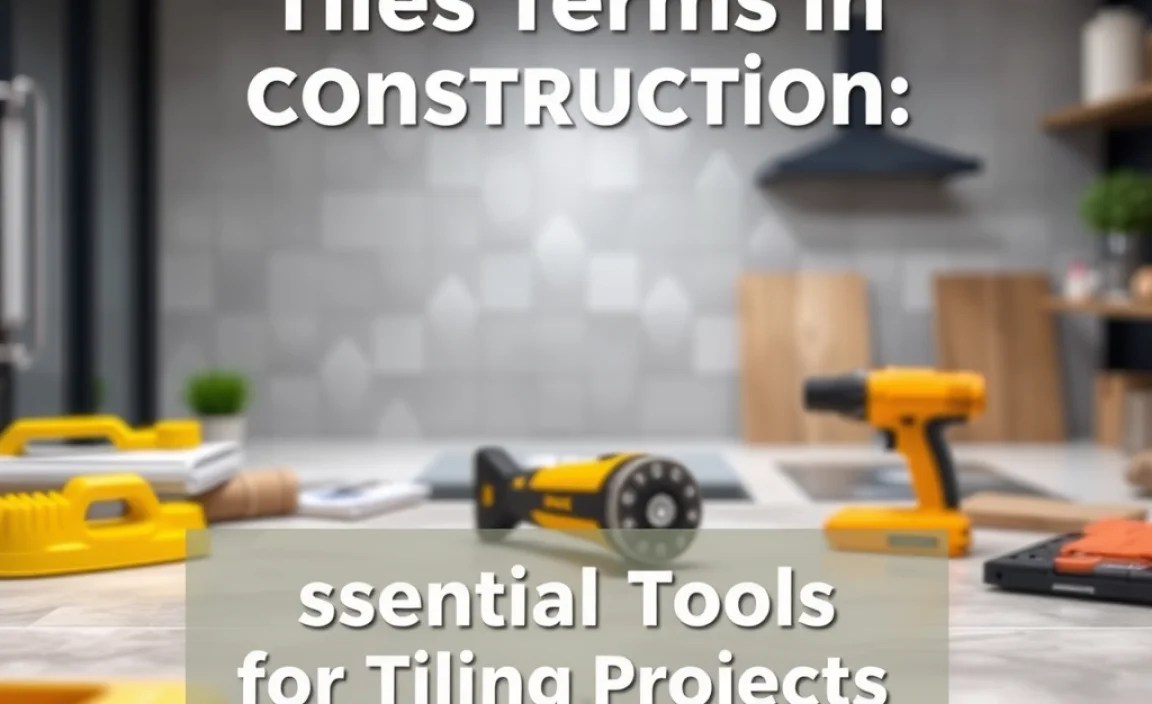
To tackle a tiling project, having the right tools makes all the difference. Here’s a list of essentials:
Tools for Preparation:
- Measuring tape
- Level
- Utility knife
- Screwdriver (for removing fixtures)
- Bucket and mixing tools (for mortar/grout)
- Notched trowel (for spreading mortar)
- Grout float
Tools for Cutting:
- Tile cutter (manual)
- Wet saw (for precise or difficult cuts, especially in large format or dense tiles)
- Tile nippers or glass cutters (for intricate shapes)
Tools for Installation & Finishing:
- Tile spacers
- Rubber mallet
- Sponge
- Clean cloths
- Grout sealer
- Safety glasses and gloves
Conclusion
Navigating the terminology around tiles in construction doesn’t have to be daunting. By familiarizing yourself with these essential terms—from understanding the different tile materials like ceramic and porcelain, to grasping installation concepts like subfloor and grout, and knowing terms related to finishes such as bullnose—you’re well-equipped to embark on your next tiling project with confidence.
You can now have more productive conversations with suppliers and installers, make informed decisions about materials, and be a more capable DIYer. Remember, knowledge is power, especially when it comes to creating beautiful and lasting tile work in your home. Happy tiling!
Frequently Asked Questions About Tile Terms
What’s the difference between ceramic and porcelain tile?
Ceramic tile is made from clay and fired. Porcelain tile is a denser, less porous, and harder type of ceramic made from refined clay fired at higher temperatures. Porcelain is generally more durable and water-resistant, making it better for high-traffic areas and potentially outdoors.
Why is the subfloor so important when tiling?
The subfloor is the base for your tiles. If it’s not strong, stable, and level, the tiles can crack or grout lines can fail over time. A solid subfloor ensures the longevity and appearance of your tiled surface.
What is grout used for in tiling?
Grout fills the gaps between tiles. It prevents dirt, moisture, and debris from getting under the tiles. It also helps to hold the tiles in place and contributes to the overall look of the tiled area.
When should I use a bullnose tile versus a Schluter strip?
Bullnose tiles have a naturally rounded edge and are often used on outside corners or stair treads for a smooth finish. Schluter strips are metal or PVC profiles that create a clean, protected edge and are frequently used where tile meets a different surface, like a wall or floor transition.
How do I know if a tile is good for my bathroom floor?
For bathroom floors, look for tiles with a good slip resistance rating (high COF) and low water absorption. Porcelain tiles are often a great choice due to their durability and water resistance. Always check the tile’s specifications for suitability in wet areas.
What does “lippage” mean in tiling?
Lippage refers to an uneven surface where one tile edge is higher than an adjacent tile edge. It’s a sign of poor installation and can create a tripping hazard and make cleaning difficult.
Why is buying tiles from the same lot important?
Tiles are produced in batches, known as lots. Slight variations in color and texture can occur between different lots. Buying all your tiles from the same lot ensures a uniform appearance for your finished project.
