
Confused by tile lingo? Our Genius Guide breaks down essential tile terms and their practical alternatives, making your DIY projects clear and stress-free. Learn what you need to know to choose and install tiles with confidence, skipping the jargon and getting straight to the job.
Choosing tiles can feel like learning a new language, right? You’re at the store, or browsing online, and suddenly you’re faced with terms like “Béton,” “Calacatta,” “Bullnose,” or “Mosaics.” It’s enough to make anyone’s head spin! But don’t worry, it doesn’t have to be complicated.
Understanding these terms isn’t just about sounding smart; it’s about making the best choices for your home. It means getting the right look, ensuring a durable installation, and avoiding costly mistakes. This guide is designed to be your friendly translator, demystifying tile jargon and offering practical alternatives you can easily understand. We’ll walk through the essential terms and what they really mean for your project, so you can tackle your tiling with confidence.
Let’s dive in and make tile talk easy!
Decoding Tile Talk: Your A-to-Z Guide to Common Tile Terms
Navigating the world of tiles can be a challenge, especially with the unique terminology used. This section breaks down key tile terms, explaining what they mean and why they matter for your DIY projects. We’ll also offer simpler alternatives or explanations to make your choices easier.
Tile Materials & Finishes
The base material and the surface treatment of a tile significantly impact its look, durability, and application.
When we talk about tiles, the first thing to consider is what they’re made of and how that material is finished. This affects everything from how they look to how they hold up over time. Let’s break down some common terms you’ll hear.
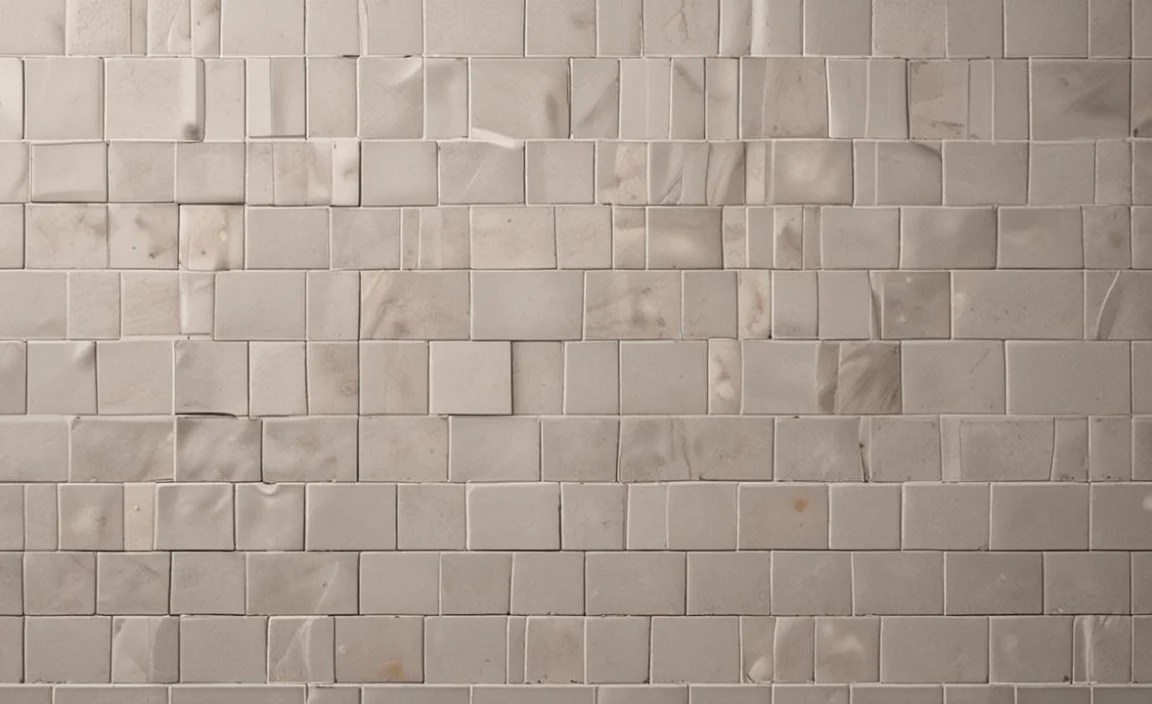
Porcelain vs. Ceramic
These are the two most common types of tiles. They’re both made from clay fired in a kiln, but porcelain is fired at a much higher temperature and is denser, making it less porous (meaning it absorbs less water).
- Porcelain Tile:
- Pros: Extremely durable, water-resistant (ideal for bathrooms, kitchens, and outdoor use), stain-resistant, frost-proof.
- Cons: Can be harder to cut and install, often more expensive than ceramic.
- Think of it as: The tough athlete of the tile world – strong, resilient, and can handle anything.
- Ceramic Tile:
- Pros: More affordable, easier to cut and install, wide variety of styles and colors.
- Cons: Less dense and more porous than porcelain (can be prone to chipping or cracking if heavily stressed or in freezing temperatures), not as stain-resistant as porcelain.
- Think of it as: The versatile and friendly option, great for many common areas and easier to work with.
Simple Alternative: When choosing, think about where the tile will go. For wet areas or high-traffic zones like floors, porcelain is usually the better, longer-lasting choice. For walls or less demanding areas, good quality ceramic can be a fantastic and budget-friendly option. Always check the tile’s PEI rating (see below) to understand its durability.
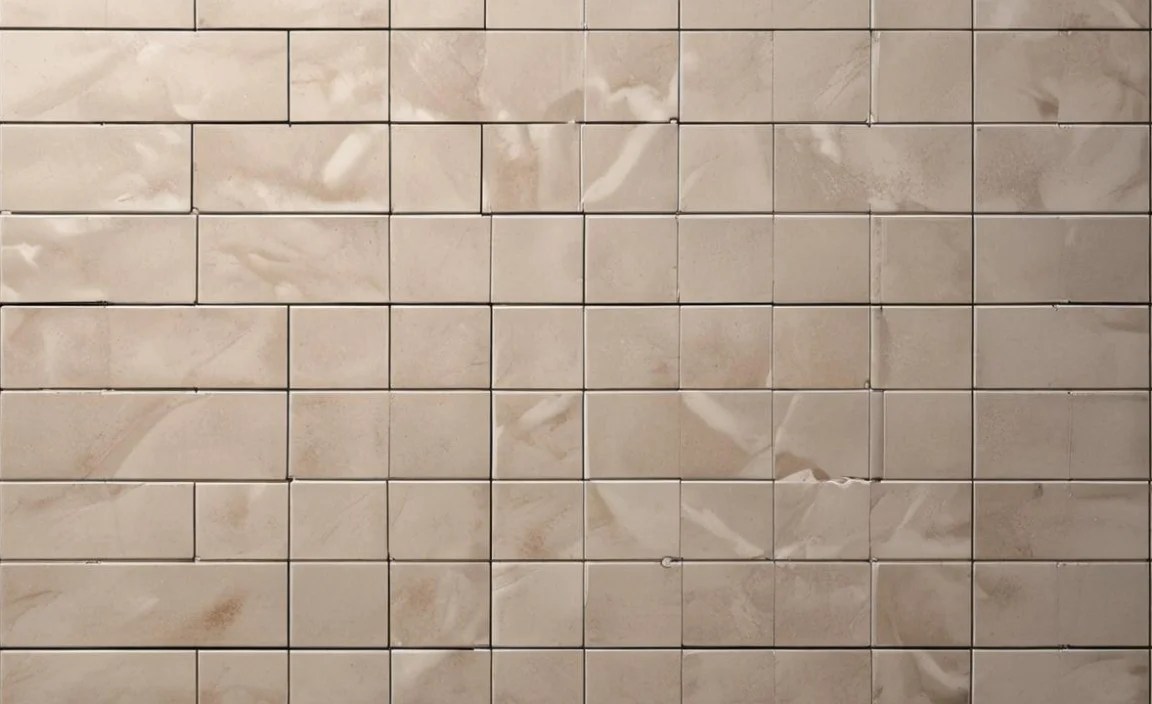
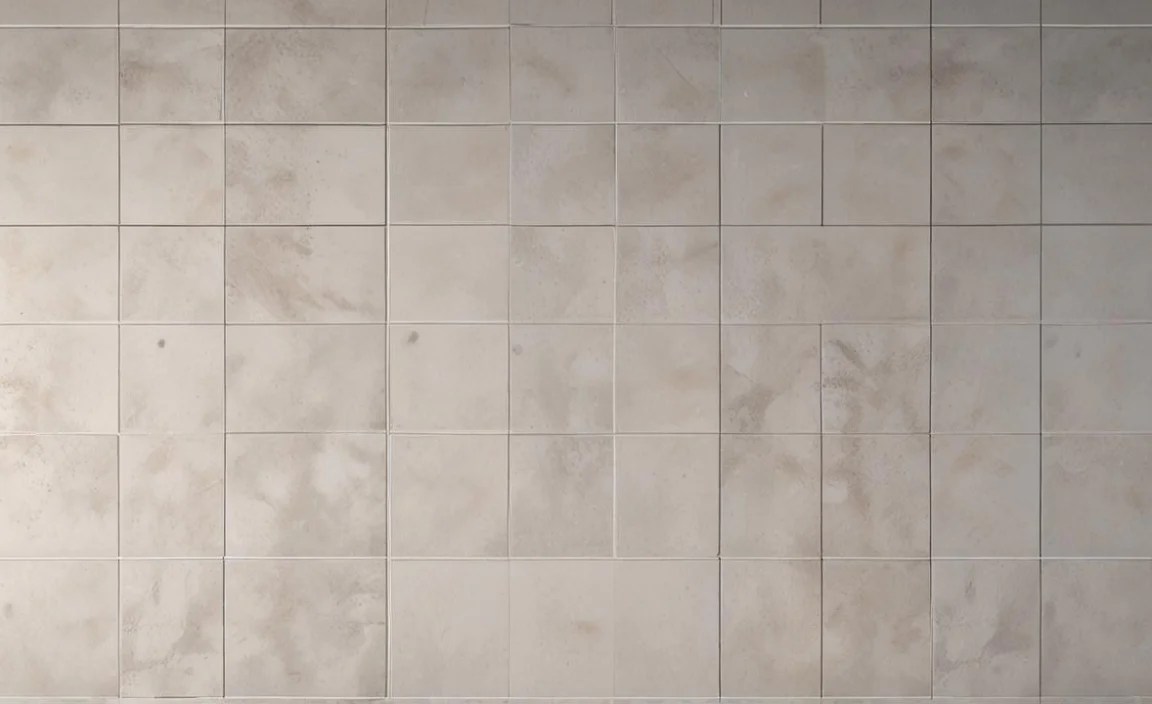
Glazed vs. Unglazed
The glaze is a liquid coating applied to the tile’s surface before firing. It adds color, pattern, and a protective layer.
- Glazed Tiles:
- Have a glassy surface layer applied.
- Pros: Excellent stain and moisture resistance, easier to clean, come in endless colors and finishes (matte, gloss, textured).
- Cons: The glaze can chip or scratch if impacted, especially on matte finishes.
- Think of it as: A painted and sealed surface.
- Unglazed Tiles:
- The color and texture are inherent to the clay body itself.
- Pros: Color goes all the way through, so chips are less obvious, often have a more natural, earthy look (like terracotta or natural stone tiles).
- Cons: Can be more porous and prone to staining if not sealed properly, require regular sealing to maintain performance.
- Think of it as: A solid block of colored material.
Simple Alternative: Most tiles you see are glazed. If you want a natural stone look or a very rustic vibe, you might consider unglazed tiles, but be prepared for a bit more maintenance (like sealing). For virtually all DIY projects, glazed offers more protection and easier care.
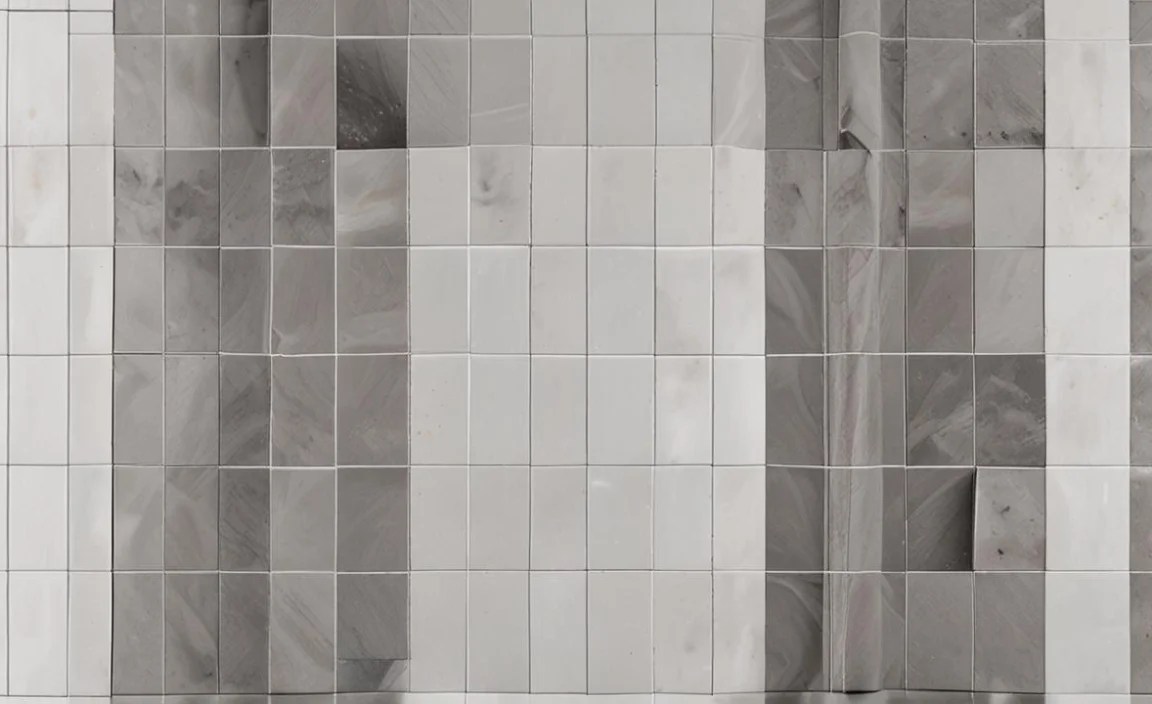
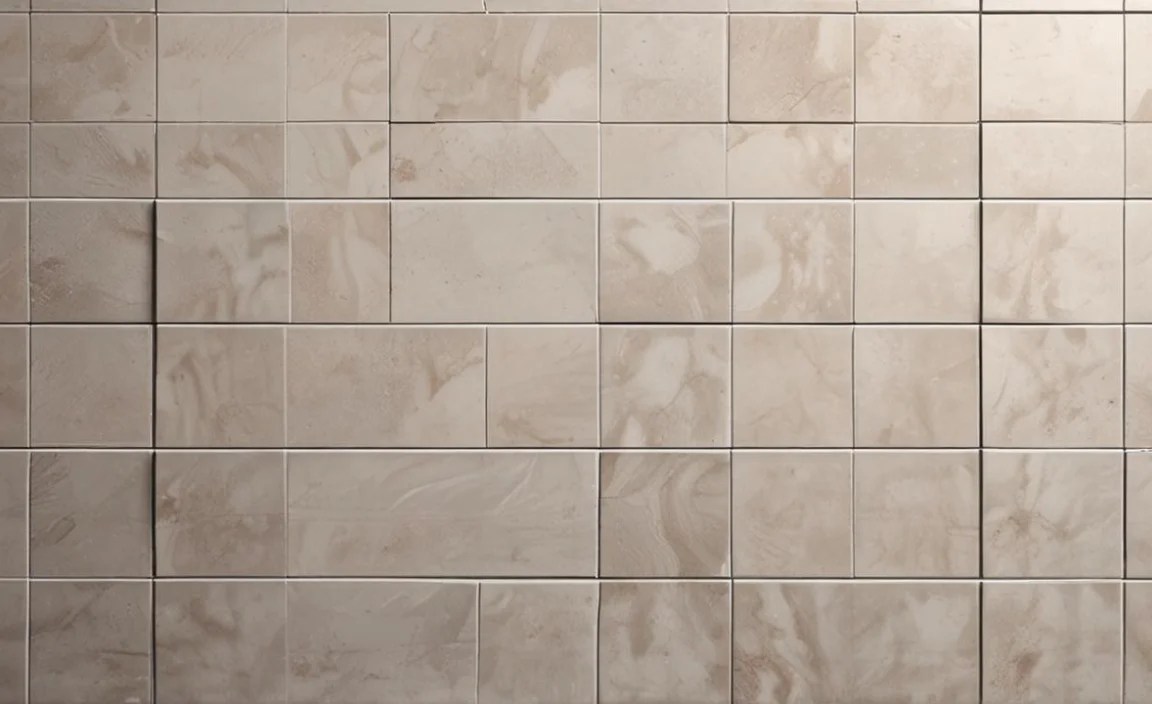
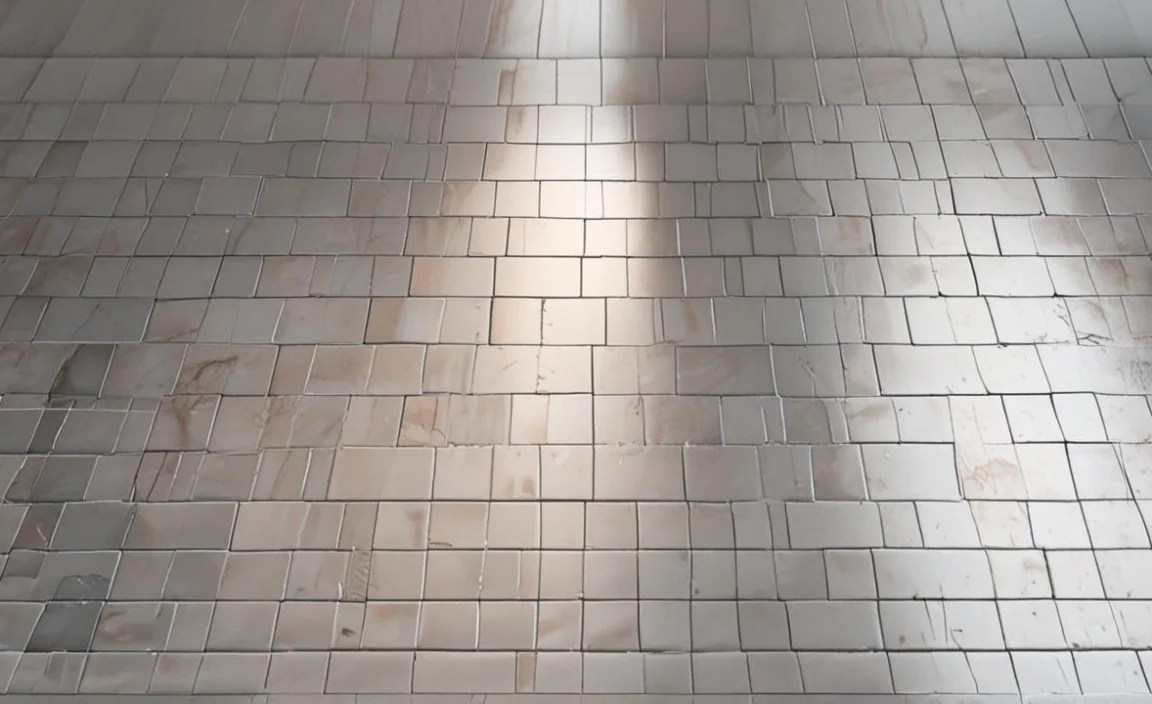
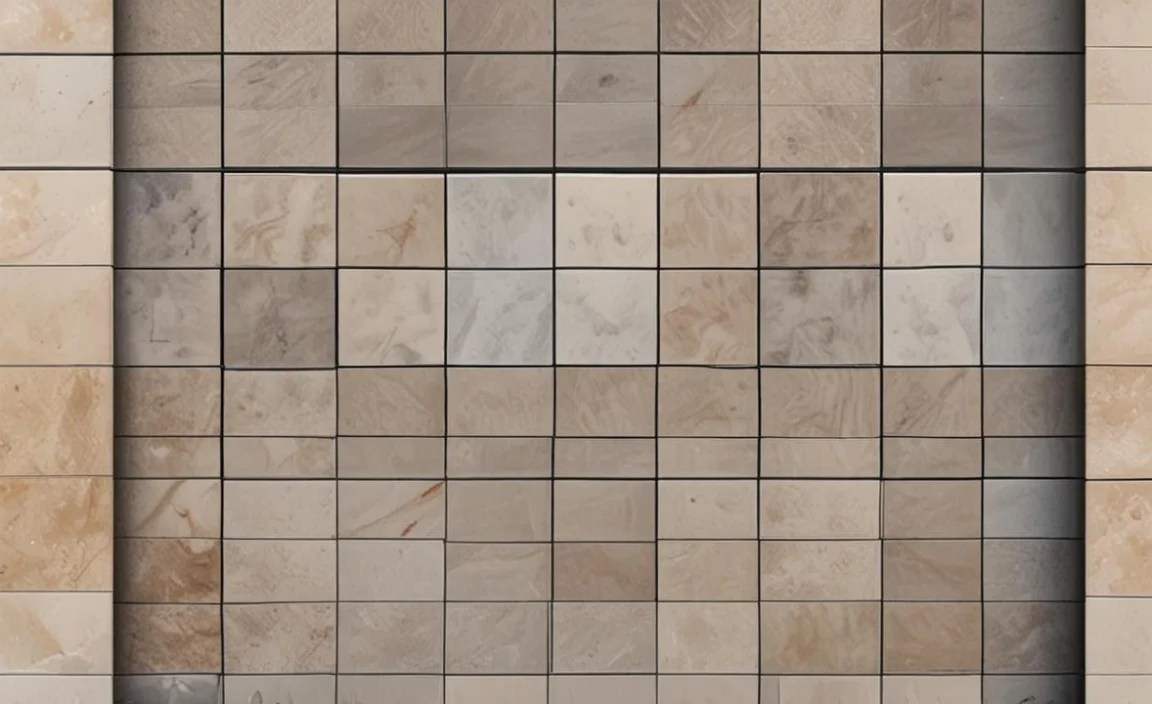
Matte vs. Glossy Finish
This refers to the sheen of the tile’s surface, usually determined by the glaze.
- Matte Finish:
- A non-reflective, smooth surface.
- Pros: Hides water spots and smudges better, provides better slip resistance (especially important for floors).
- Cons: Can sometimes be harder to clean if the material really adheres to the surface.
- Think of it as: A smooth, non-shiny finish.
- Glossy Finish:
- A shiny, reflective surface.
- Pros: Makes spaces feel brighter and larger, very easy to wipe clean, makes colors pop.
- Cons: Can be slippery when wet, shows water spots, smudges, and scratches more easily.
- Think of it as: Like a mirror or polished stone.
Simple Alternative: For bathroom floors or kitchen backsplashes where you deal with water, matte is often safer. For shower walls or decorative accents where you want to maximize light and have an easy-to-clean surface, glossy can be beautiful. Consider where light will hit the tile – a glossy tile can create glare.
Other Common Tile Materials
Beyond ceramic and porcelain, you’ll encounter other materials, each with unique properties.
- Natural Stone Tiles (Marble, Granite, Travertine, Slate):
- These are quarried from the earth.
- Pros: Unique, natural beauty; can be very durable (granite, slate); adds a luxurious feel.
- Cons: Expensive, porous (require sealing), can be sensitive to acids (like lemon juice or vinegar), heavy, and can be difficult to cut.
- Think of it as: A piece of nature in your home.
- Glass Tiles:
- Made from glass, often in small mosaic formats.
- Pros: Beautiful, reflective, can add a high-end look, waterproof.
- Cons: Can be fragile, requires specialized tools and techniques to cut and install, grout lines are often very visible.
- Think of it as: Sparkling jewels for your walls.
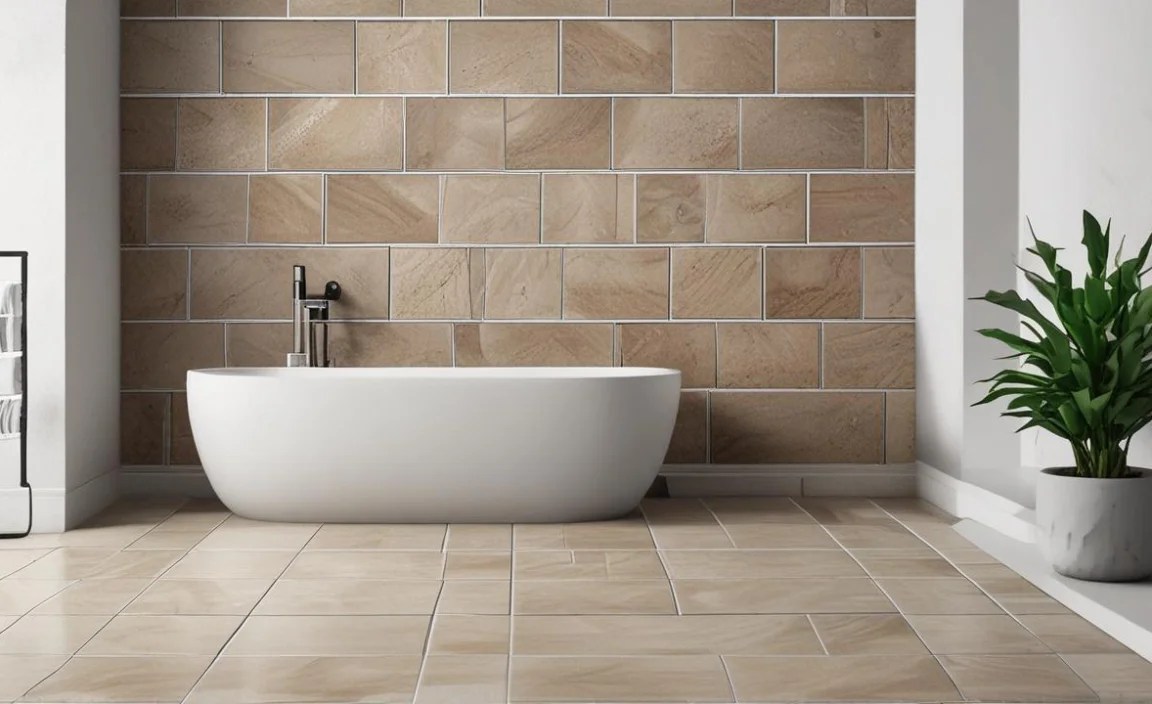
- Subway Tiles:
- This refers to the shape and style rather than the material. Traditionally, they are 3×6 inch rectangular ceramic tiles.
- Pros: Classic, versatile look that fits many décors; easy to install.
- Cons: Can look dated if not laid creatively; standard size might not suit all spaces.
- Think of it as: The iconic rectangle tile.
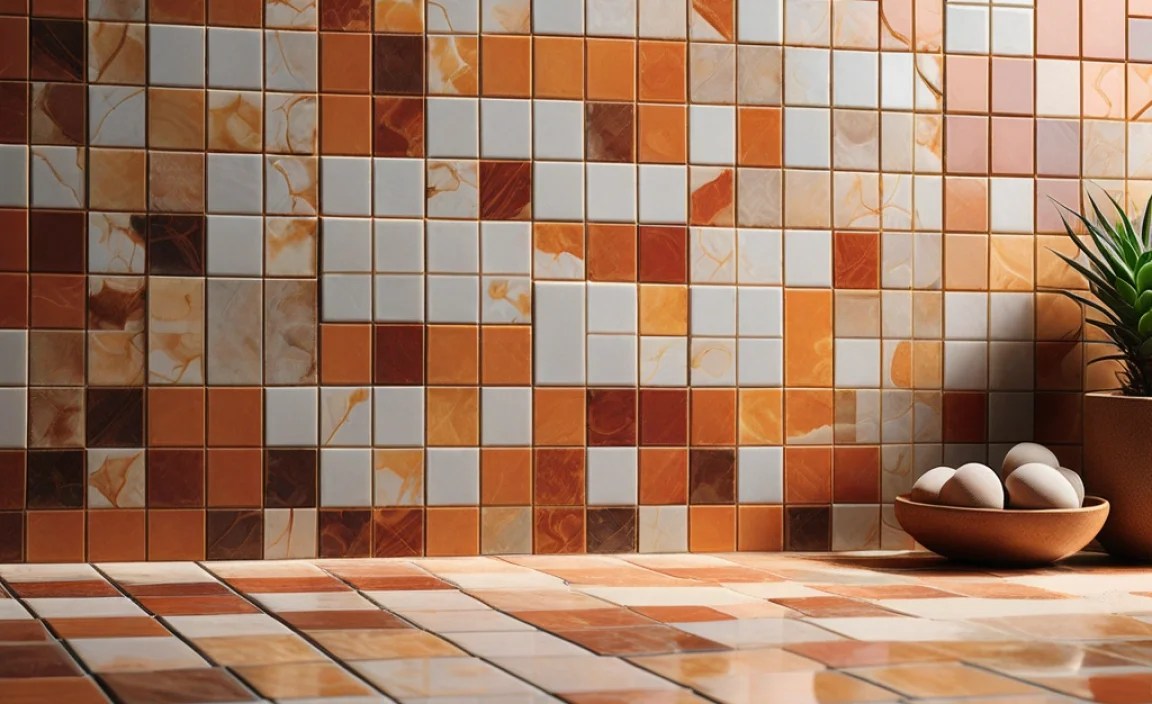
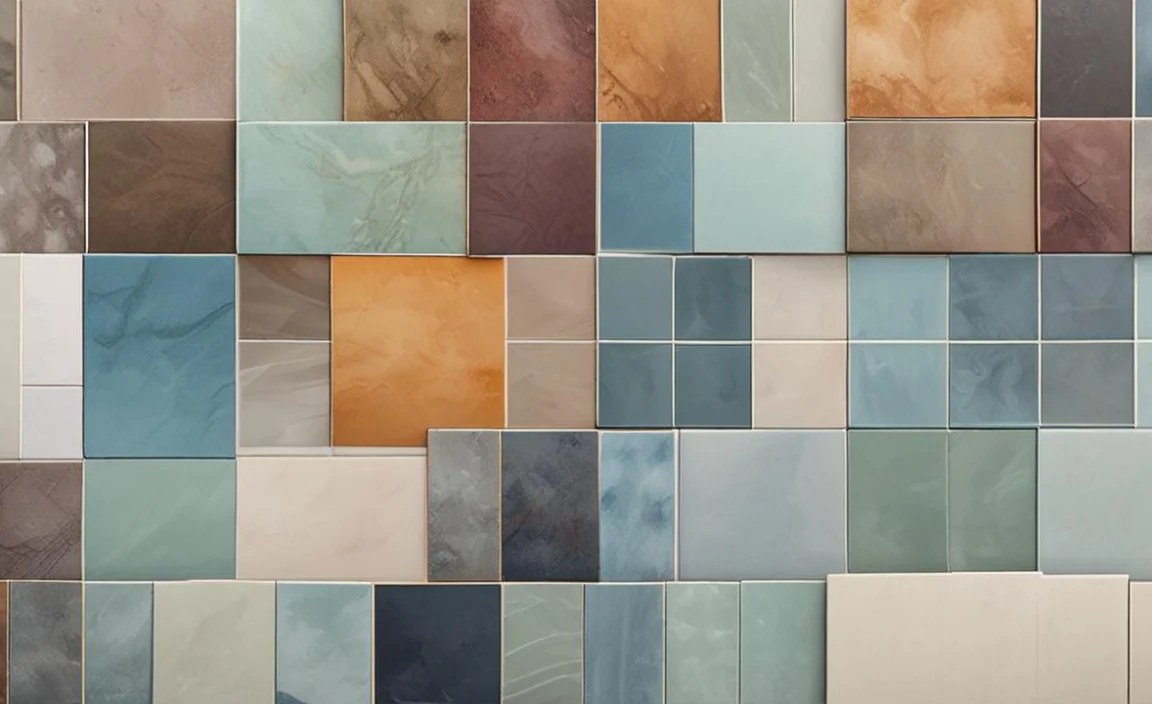
- Mosaics:
- Small tiles (often less than 4 square inches) that are usually pre-mounted on mesh sheets for easier installation. They can be made from ceramic, glass, stone, or metal.
- Pros: Great for accents, borders, or curved surfaces; can create intricate patterns; easy to cut sheets to fit.
- Cons: Lots of grout lines can make cleaning more work; can be tricky to get perfectly flat.
- Think of it as: Small tiles working together.
Simple Alternative: For stunning looks without extreme cost or maintenance, consider porcelain tiles that mimic the look of marble or wood. For a similar ease of installation as subway tiles, explore other classic rectangular formats like 2×4 or 4×4 inches.
Tile Installation & Design Terms
These terms relate to how tiles are laid, cut, and finished, impacting the final appearance and functionality of your tiled surface.
Once you’ve picked your tiles, how they’re installed is just as important as what they’re made of. These terms help you understand the shape, edges, and how the tiles come together.
Edge Profiles & Trim Tiles
When tiles are installed on a surface that has a visible edge, like a countertop that extends beyond the cabinet or a wall corner, you need a finished edge. Trim tiles and specific edge profiles provide this.
- Bullnose:
- A rounded edge profile. It can be applied to the top edge of a tile to create a smooth, soft finish when a tiled surface meets an open edge or wall.
- Pros: Creates a very finished and safe edge, eliminating sharp corners.
- Cons: Limited styles available, often specific to certain tile lines.
- Think of it as: A gentle, curved edge.
- Schluter Strip (or Edge Profile):
- A manufactured metal or PVC strip that is installed at the edge of the tile. It sits flush with the tile surface and provides a clean, straight finished edge.
- Pros: Very clean modern look, durable, available in many materials and finishes (chrome, brushed nickel, bronze, etc.), protects the tile edge.
- Cons: Can be more visible than a bullnose, requires careful installation to align perfectly with tile.
- Think of it as: A metal or plastic trim for sharp edges.
- Cove Base:
- A curved tile accessory, usually installed at the junction of a floor and a wall, creating a smooth, easy-to-clean transition.
- Pros: Hygienic and easy to clean, provides a seamless look where floor meets wall.
- Cons: Primarily functional, not decorative; specific to floor-to-wall transitions.
- Think of it as: A curved trim for the very bottom of your wall.
Simple Alternative: If you’re tiling a wall that ends mid-air (like a shower niche or a tiled backsplash that stops before a corner), you’ll need a way to finish that edge. A bullnose tile offers a soft, rounded look, while a Schluter strip provides a sharp, modern metal finish. For floor-to-wall transitions, a cove base is standard in more commercial or utilitarian settings, but a simple tile edge finished with grout or a Schluter strip can work too.
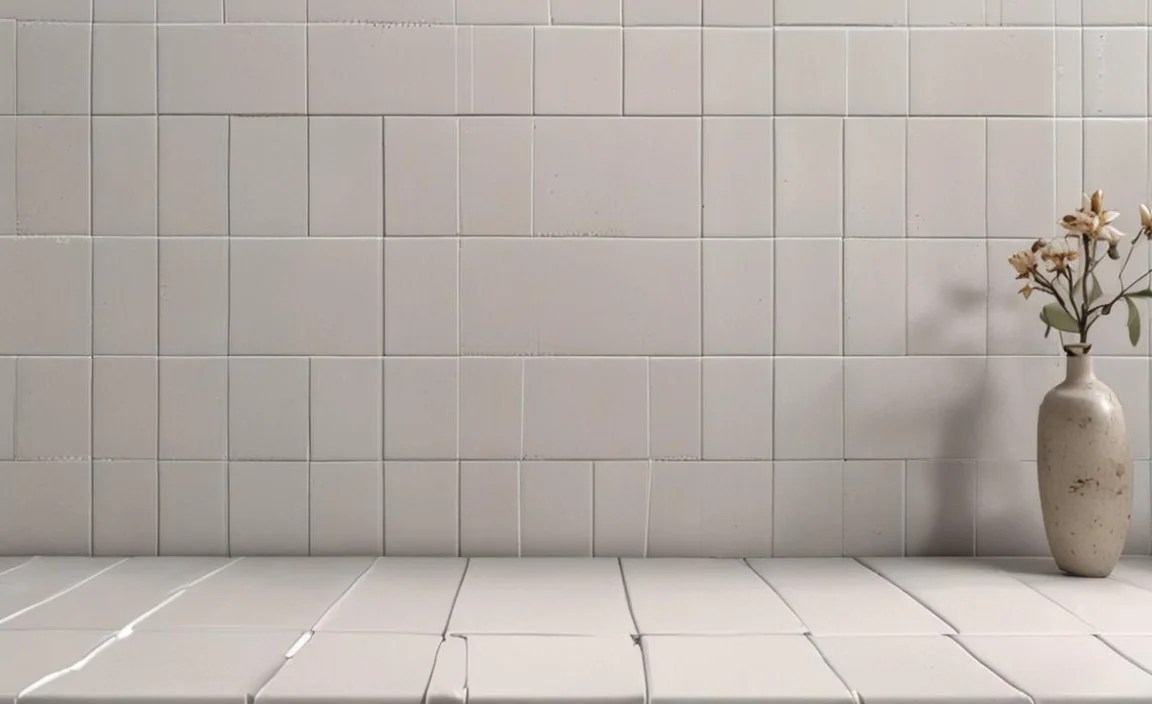
Grout & Spacing
Grout is the material used to fill the spaces between tiles. Spacing refers to how far apart you decide to place your tiles.
- Grout:
- The cementitious (cement-like) or epoxy material used to fill the gaps between tiles.
- Pros: Prevents dirt and moisture from getting under tiles, adds structural integrity, can be a design element (contrasting grout makes tiles pop, matching grout blends in).
- Cons: Can stain, crack, or mildew over time if not sealed or maintained.
- Think of it as: The “filler” that holds your tile puzzle together.
- Grout Lines:
- The actual gaps between the tiles that are filled with grout.
- Pros: Allow for expansion and contraction of tiles, create a pattern.
- Cons: Can be difficult to clean, can contribute to a busy look if too wide.
- Think of it as: The visible lines between your tiles.
- Tile Spacers:
- Small plastic pieces inserted between tiles during installation to ensure consistent and even grout lines.
- Pros: Essential for professional-looking, uniform spacing.
- Cons: Must be removed after the adhesive sets.
- Think of it as: Little plastic guides for perfect gaps.
Simple Alternative: For a seamless look, “no grout” is often desired, but in reality, you always need a tiny gap for expansion and to prevent cracking. Using very thin tile spacers (like 1/16 inch) and a fine-grained grout that closely matches your tile color will give a near-seamless effect. For a bolder look, choose a grout color that deliberately contrasts with your tiles.
Pattern & Layouts
The way tiles are arranged can completely change the look of a room.
- Running Bond (or Brick Lay):
- Tiles are offset by half their length, similar to how bricks are laid.
- Pros: Classic, easy to achieve for most tile sizes, visually pleasing, can make a room feel wider.
- Cons: Susceptible to “lippage” (where one tile edge sits higher than the next) on longer format tiles if the substrate isn’t perfectly flat.
- Think of it as: The staggered brick pattern.
- Offset:
- Similar to running bond but the offset is less than half the tile’s length (e.g., a 1/3 offset).
- Pros: Less predictable than a full running bond, can look more modern.
- Cons: Requires careful planning to avoid columns of seams.
- Think of it as: A less symmetrical brick pattern.
- Herringbone:
- A V-shaped pattern created by laying rectangular tiles at a 90-degree angle to their neighbors.
- Pros: Visually striking, adds movement and sophistication, makes spaces feel larger.
- Cons: More complex and time-consuming to lay, requires precise cuts, often uses more tile.
- Think of it as: A classic fishbone pattern.
- Basketweave:
- A pattern that mimics the look of woven material, usually created with square tiles or a combination of rectangular and square tiles.
- Pros: Unique, classic look; adds texture.
- Cons: Can be tricky to lay perfectly; lots of grout lines.
- Think of it as: A braided or woven look.
- Herringbone vs. Chevron:
- Herringbone: Rectangular tiles laid at 90 degrees to each other, creating a zig-zag effect.
- Chevron: Rectangular tiles cut at an angle (usually 45 degrees) on each end so they meet perfectly to form a continuous V-shape.
- Pros (Chevron): Creates a sharper, more modern V-shape than herringbone.
- Cons (Chevron): Requires precision cuts at precise angles, more waste of tile.
- Think of it as: Herringbone is zig-zag; Chevron is a clean V.
Simple Alternative: Start with a running bond or a simple grid pattern (straight across, no offset) for an easy DIY success. If you want something more dynamic but not overly complicated, a 1/3 offset is a good middle ground. Herringbone and Chevron are beautiful but definitely advanced patterns best tackled after mastering the basics.
Tile Quality & Performance Terms
These terms help you evaluate the durability and suitability of a tile for its intended location.
When buying tiles, you want to make sure they’ll last and perform well where you plan to put them. These ratings and terms give you clues about a tile’s toughness.
PEI Rating (Porcelain Enamel Institute)

The PEI rating is a standardized test that rates the abrasion resistance of glazed ceramic and porcelain tiles. It’s crucial for floor tiles.
| PEI Rating | Traffic Level | Typical Application |
|---|---|---|
| PEI I (Lightest) | Very Light | Wall tiles only. |
| PEI II (Light) | Light | Residential bathrooms, areas with light foot traffic. |
| PEI III (Moderate) | Moderate | Residential floors with normal foot traffic (e.g., kitchens |
