
Have you ever walked into your bathroom to find a puddle around the toilet? It isn’t just annoying; it could mean you have a toilet base leaking problem. Wouldn’t it be great to fix that yourself? Many people assume repairs are hard and costly. But fixing a leaking toilet base can be much simpler than you think.
Imagine having friends over and feeling embarrassed about a wet floor. You might even wonder who could help or what it will cost. The good news is that most toilet leaks can be fixed quickly. With a few tools and some simple skills, you can take charge of the situation.
In this article, we will explore the steps to fix your leaking toilet base. It’s easier than it looks and can save you money on plumber fees. So, let’s find out how to stop that leak and keep your bathroom dry!
Toilet Base Leaking Fix: Effective Solutions To Resolve Issues
Introduction A Leaking Toilet Base Can Be A Frustrating Issue For Any Homeowner. Not Only Can It Lead To Water Damage On Your Floors And Potentially Higher Water Bills, But It May Also Indicate Underlying Plumbing Problems. In This Article, We’Ll Explore Various Methods To Fix A Leaking Toilet Base, Ensuring That Your Bathroom Remains Dry And Functional. Understanding The Problem To Effectively Tackle The Issue Of A Leaking Toilet Base, It’S Essential To Understand The Common Causes Of The Leak. Here Are A Few Culprits: 1. **Worn Wax Seal**: The Wax Seal Underneath The Toilet Often Degrades Over Time, Leading To Leaks. 2. **Cracked Toilet Base**: A Visible Crack In The Toilet Can Allow Water To Escape. 3. **Loose Bolts**: The Bolts That Secure The Toilet To The Floor May Become Loose, Resulting In Instability And Leakage. 4. **Faulty Supply Line**: Sometimes, The Issue Stems From The Supply Line Connecting The Toilet To The Water Source. How To Identify A Leak Before You Attempt A Toilet Base Leaking Fix, It’S Vital To Identify The Source Of The Leak: 1. **Check For Water Pooling**: Look For Pools Of Water Around The Toilet Base. 2. **Inspect The Wax Seal**: Remove The Toilet To Inspect The Wax Seal For Signs Of Wear. 3. **Tighten Bolts**: Ensure That The Bolts At The Base Of The Toilet Are Tight And Secure. Steps To Fix A Leaking Toilet Base If You’Ve Identified That Your Toilet Is Leaking, Here’S A Step-By-Step Guide On How To Fix It: 1. **Turn Off The Water Supply**: Before Making Any Repairs, Turn Off The Water Supply To The Toilet. 2. **Drain The Toilet**: Flush The Toilet To Empty The Tank And The Bowl. You May Need To Sponge Out Any Remaining Water. 3. **Remove The Toilet**: Disconnect The Supply Line And Remove The Nuts Securing The Toilet To The Floor. Carefully Lift The Toilet Off The Wax Seal. 4. **Replace The Wax Seal**: Clean The Area Where The Wax Seal Sits And Place A New Wax Seal On The Flange. 5. **Reinstall The Toilet**: Carefully Lower The Toilet Back Into Place, Ensuring It Sits Evenly On The New Seal. Tighten The Bolts Securely. 6. **Reconnect The Supply Line**: Reattach The Supply Line And Turn The Water Supply Back On. 7. **Test For Leaks**: Check Around The Base For Any Signs Of Leakage. If Everything Looks Good, You Have Successfully Completed The Toilet Base Leaking Fix! Conclusion Fixing A Leaking Toilet Base May Seem Daunting, But By Following These Steps, You Can Resolve The Issue Efficiently. Regular Maintenance And Inspections Can Help Prevent Leaks From Occurring In The Future. If You Find That The Problem Persists Despite Your Efforts, It May Be Time To Call A Professional Plumber To Assess The Situation. Remember, A Dry Bathroom Is A Happy Bathroom!
Toilet Base Leaking Fix
A leaking toilet base can create a mess and lead to costly water damage. First, check for loose bolts or deteriorated wax rings. Simply tightening bolts or replacing the wax can help. Remember to shut off the water before starting repairs! If the floor is wet, it might indicate a bigger issue. Did you know a small leak can waste hundreds of gallons of water a year? Fix it quickly to save money!
Identifying the Cause of the Leak
Common causes of toilet base leaks. Signs indicating a leak around the toilet base.
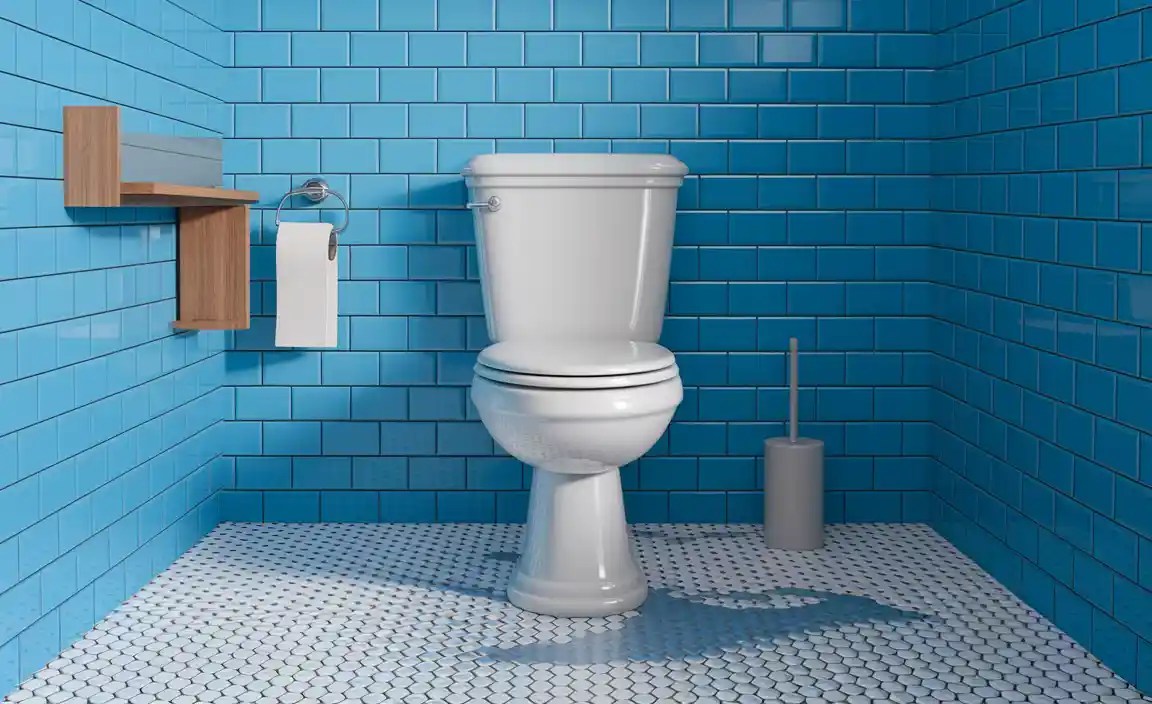
Toilet base leaks can happen for many reasons. Common causes include loose bolts, damaged wax seals, or cracks in the toilet itself. You might notice a leak if you see water pooling around the base. It’s important to act fast. Look for any stains on your floor or a musty smell. These signs mean it’s time to check your toilet.
What are the signs of a toilet base leak?
Signs of a toilet leak include:
- Water around the base
- Stains on the floor
- An unusual smell
Staying alert to these signs can save you from big problems later!
Essential Tools and Materials Needed
List of tools required for the repair. Recommended materials to effectively fix the leak.
Fixing a toilet leak isn’t magic, but it does require some wizard-like tools! You’ll need a few simple items to get the job done. Here’s what you’ll want to gather:
| Tools | Materials |
|---|---|
| Adjustable wrench | New wax seal |
| Screwdriver | Teflon tape |
| Bucket | Plumber’s putty |
| Cloth or sponge | Replacement bolts (if needed) |
Gathering these tools and materials is like preparing for a mini adventure. Grab your trusty wrench and let the toilet game begin! Remember, a little preparation can save you from a splash zone!
Step-by-Step Guide to Fixing a Leaking Toilet Base
Detailed instructions for turning off the water supply. Steps for removing the toilet from the floor. First, find the valve behind the toilet and turn it clockwise. This shuts off the water supply, so you won’t make a splash. Next, grab a wrench to remove the nuts holding the toilet to the floor. Be careful and move slow; this isn’t a race! Set the toilet aside on a towel to catch any drips. You want to keep it dry, not swimming!

| Step | Action |
|---|---|
| 1 | Turn off the water supply. |
| 2 | Use a wrench to remove nuts. |
| 3 | Carefully move the toilet aside. |
Repairing the Wax Ring Seal
Importance of the wax ring in preventing leaks. How to properly install a new wax ring. The wax ring seal is like the superhero of your toilet. It prevents leaks by creating a tight seal between the toilet base and the floor.
Without it, you might as well have a mini swimming pool in your bathroom, and nobody wants that! To install a new wax ring, first, remove the toilet. Clean the old wax off the flange. Next, place the new wax ring evenly on the flange. Then, carefully set the toilet back and tighten the bolts. Make sure it’s snug, but don’t Hulk-smash it! You want the seal tight, not cracked. Happy fixing!

| Steps to Install a Wax Ring |
|---|
| 1. Remove the toilet. |
| 2. Clean the old wax seal. |
| 3. Place the new wax ring on the flange. |
| 4. Set the toilet back in place. |
| 5. Tighten the bolts gently. |
Adjusting the Toilet Bolts
How to inspect and tighten existing bolts. When to replace the toilet bolts and how to do it. Have you ever walked into a bathroom, only to find a small lake around your toilet? Yikes! It might be time for some bolt action.
First, check if the existing bolts are snug. Grab a wrench and give them a gentle twist. If they wiggle, you’re in for a quick fix! But if the bolts are rusted or just plain sad, it’s time for a replacement. Loosen the old ones, swap them out, and tighten the new ones. Easy peasy! Here’s a handy table to help you remember your next steps:

| Step | Action |
|---|---|
| 1 | Check existing bolts for tightness. |
| 2 | If loose, tighten gently, but not too much. |
| 3 | If rusted, remove and replace them. |
| 4 | Tighten new bolts until secure. |
Now you’re set to enjoy a leak-free throne! Remember, you’ve got this!
Reinstalling the Toilet
Steps for successfully placing the toilet back on the floor. Tips for ensuring a secure and stable installation. First, carefully line up the toilet with the wax seal. Gently press it down to seal it. Then, attach the nuts to the bolts. Tighten them evenly to avoid wobbling. Make sure not to overtighten, as this can crack the porcelain. After that, reconnect the water supply and turn it on slowly. Watch for leaks as the tank fills. Remember, a stable toilet is a secure toilet!
How do I make sure my toilet is secure?
Ensure the bolts are tight, but not too tight. Level the toilet and check for any rocking. If it rocks, add shims to balance it out. This will help prevent leaks in the future.
Steps for secure installation:
- Align toilet with the wax seal.
- Attach nuts to bolts evenly.
- Reconnect water supply carefully.
- Check for stability and leaks.
Additional Considerations and Prevention Tips
Maintenance tips to prevent future leaks. Importance of regular checks on toilet components.
Keeping a watchful eye on your toilet can save you from unexpected flooding! Regular checks can help you catch leaks before they turn into mini geysers. Check the base, bolts, and seals often. If something looks off, don’t ignore it! A small drip today could lead to an indoor water park tomorrow. Here’s a quick tip table to keep in mind:
| Maintenance Tip | Frequency |
|---|---|
| Inspect bolts and seals | Every 3 months |
| Check for cracks | Monthly |
| Test toilet flush | Weekly |
Remember, a little prevention goes a long way in keeping your bathroom dry and leak-free!
Conclusion
In summary, fixing a toilet base leak is important for preventing water damage. First, identify the leak source. Then, replace the wax seal or tighten the bolts as needed. Always turn off the water supply before starting. If you’re unsure, don’t hesitate to call a plumber. For more tips, check online resources or ask a friend for help!
FAQs
What Are The Common Causes Of A Toilet Base Leak, And How Can I Identify The Source Of The Problem?
Toilet base leaks often happen because of a broken wax ring, loose bolts, or cracks in the toilet. You can find the problem by looking for water around the base. Check if the bolts are tight and feel for damp spots. If you see water or have a musty smell, it’s time to fix it.
What Materials And Tools Do I Need To Fix A Leaking Toilet Base Effectively?
To fix a leaking toilet base, you need a few materials and tools. First, get a new wax ring to help seal the toilet. You will also need a wrench to tighten the bolts. A screwdriver can help remove parts if needed. Finally, have some towels handy to clean up any water!
How Do I Properly Tighten Or Replace The Wax Seal If My Toilet Is Leaking At The Base?
First, turn off the water to the toilet and flush it to remove most of the water. Next, you need to unbolt the toilet from the floor. Carefully lift the toilet off and set it aside. Remove the old wax seal and clean the area. Place a new wax seal on the floor, then carefully put the toilet back down over it. Bolt it back into place, and reconnect the water. Turn the water back on and check for leaks.
Should I Consider Replacing The Entire Toilet If The Base Is Leaking, Or Can It Be Repaired?
If your toilet’s base is leaking, you can often fix it. First, check the seals and bolts to see if they need tightening or replacing. If it’s still leaking after that, you might need to replace the whole toilet. Repairing can be cheaper, but sometimes getting a new toilet is better in the long run.
What Steps Can I Take To Prevent Future Leaks Around The Toilet Base After Making Repairs?
To prevent future leaks around the toilet base, you can follow these steps. First, make sure the toilet is tight and secure. You can do this by checking the bolts and tightening them if needed. Next, use a good sealant around the base. This helps stop water from getting under the toilet. Lastly, check for any cracks in the toilet or the floor. If you find any, fix them right away.
Resource:
- Understanding Bathroom Water Damage: https://www.familyhandyman.com/project/how-to-prevent-bathroom-water-damage/
- Plumbing Tools Every Homeowner Should Own: https://www.thisoldhouse.com/plumbing/21016748/10-plumbing-tools-every-homeowner-should-have
- When to Call a Plumber for Leaks: https://www.homedepot.com/c/ab/when-to-call-a-plumber/9ba683603be9fa5395fab90125ef0c2
- How to Use a Wax Ring Properly: https://www.bobvila.com/articles/how-to-install-a-toilet-wax-ring/
