
A toilet flange is a critical, often overlooked component that securely attaches your toilet to the drainpipe in the floor, ensuring a watertight seal. Understanding its parts and function is key to preventing leaks and ensuring proper toilet stability. This guide demystifies the toilet flange for easy DIY understanding and troubleshooting.
Ever noticed a little wiggle in your toilet, or worse, a mysterious puddle around its base? These common frustrations often point to a simple, yet important, plumbing part: the toilet flange. It might sound technical, but understanding this part is your first step to a stable, leak-free bathroom. Don’t worry, we’ll break down exactly what a toilet flange is, why it matters, and how you can identify and handle common issues with confidence. Ready to take control of your bathroom’s plumbing?
What is a Toilet Flange? Your Essential Bathroom Neighbor

Think of your toilet flange as the unsung hero of your bathroom. It’s a circular fitting, usually made of PVC, ABS, brass, or cast iron, that connects your toilet to the sewer pipe. This crucial piece sits at the base of the toilet, bridging the gap between the porcelain throne and the plumbing system hidden beneath your floor. Without a properly functioning toilet flange, your toilet wouldn’t stand upright, and worse, water and waste could leak into your bathroom. It’s the silent guardian of a dry and sanitary bathroom.
Why the Toilet Flange is So Important

The toilet flange does more than just hold your toilet in place. Its primary jobs are:
- Securing the Toilet: On top of connecting to the drain, the flange has bolt slots that allow you to anchor your toilet securely to the floor. This prevents wobbling and ensures stability.
- Creating a Watertight Seal: This is where the wax ring comes in. The flange provides a flat surface for the wax ring to seal against the bottom of the toilet bowl, preventing any water or sewer gases from escaping into your bathroom.
- Positioning the Valve: It effectively positions the toilet over the drainpipe, ensuring waste flows correctly into the sewer system.
A damaged or improperly installed flange can lead to leaks, odors, and a wobbly toilet, all of which are signals that it’s time to investigate. Thankfully, identifying and even replacing a toilet flange is a manageable DIY task for many homeowners, and understanding its description is the first step.
Anatomy of a Toilet Flange: Parts You Need to Know

To truly understand a toilet flange, let’s break down its typical components. While styles can vary slightly, most flanges share these key features:
- Flange Body: This is the main ring that attaches to the subfloor. It typically has screw holes or is designed to be glued or cemented onto the drainpipe.
- Closet Flange Ring (or Spigot): This is the section that inserts into the drainpipe. Some flanges are “inside fit” (inserting into the pipe), while others are “nohub” or “super flange” types that clamp around the outside of the pipe, often used with no-hub couplings.
- Bolt Slots/Holes: These are the crucial openings on the flange body where the toilet bolts (closet bolts) are inserted to secure the toilet to the floor. Most flanges have two such slots.
- Horn/Outlet: This is the downward-facing part of the flange that connects to the sewer line. It’s designed to accept the discharge from the toilet bowl and direct it into the drainpipe.
Understanding these parts helps when you’re looking at your flange or perhaps shopping for a replacement. It gives you the vocabulary to describe what you’re seeing and what you might need.
Materials and Types of Toilet Flanges

Toilet flanges aren’t one-size-fits-all. They come in various materials and designs, each suited for different installation scenarios:
Common Flange Materials:
- PVC (Polyvinyl Chloride): This is the most common material for newer installations. It’s lightweight, durable, and easy to work with, especially for DIYers. PVC flanges typically require solvent cement for a secure connection to PVC drain pipes.
- ABS (Acrylonitrile Butadiene Styrene): Similar to PVC, ABS is also a plastic used for drain and waste pipes. ABS flanges are connected using ABS cement.
- Brass: Brass flanges are more traditional and very durable. They are often used in situations where extra strength or longevity is desired, or in older homes where the piping might be metal.
- Cast Iron: These are found in older homes and are very robust. They connect to cast iron pipes, often using a rubber gasket and clamp system or lead and oakum for very old installations.
Types of Flange Designs:
The type of flange you have often depends on the type of pipe it connects to and how it’s installed:
- Standard PVC/ABS Flange: These are designed to be glued directly onto the spigot end of a PVC or ABS pipe. They have an integral ring and bolt holes.
- Offset Flange: This type allows you to adjust the position of the toilet slightly. If the drainpipe isn’t perfectly centered under where you want the toilet, an offset flange can shift the attachment point by a couple of inches. They can be straight or offset.
- Extra-Thick Flange: Used when the flange needs to sit slightly higher than the finished floor (e.g., when you have a thicker subfloor or tile). These have a thicker base that lifts the toilet’s position.
- Adjustable Flange: These allow for some horizontal or vertical adjustment after installation, often useful when precise placement is tricky.
- Trapway Flange: Some flanges have an integrated trapway, resembling a mini-U-bend, to help further prevent sewer gases from entering the home. This is less common for standard toilet installations today.
- No-Hub (or Super) Flange: These are often used with cast iron or plastic pipes that don’t have a spigot end. They typically consist of a flange ring, a rubber gasket, and a metal shield with a tightening mechanism (like a compression clamp) that secures the flange around the pipe.
Choosing the right flange material and type is crucial for a successful and long-lasting installation. Always ensure your new flange is compatible with your existing drainpipe material.
The Toilet Flange and the Wax Ring: A Dynamic Duo

You can’t talk about a toilet flange without mentioning the wax ring. This humble, greasy ring is the essential intermediary between the flange and the bottom of your toilet bowl. Its job is vital:
- Creating the Seal: The wax ring compresses when the toilet is installed, creating a watertight and airtight seal. This prevents toilet water from leaking onto your floor and, critically, blocks sewer gases from escaping into your bathroom.
- Accommodating Imperfections: Floors aren’t always perfectly level, and flanges aren’t always perfectly flat. The pliable nature of wax allows it to conform to minor irregularities, ensuring a complete seal.
The toilet flange provides the flat, stable surface the wax ring needs to do its job effectively. If the flange is cracked, uneven, or too low, the wax ring cannot create a proper seal, leading to leaks and odors. This is why a good flange is the foundation for a good wax seal.
When to Inspect Your Toilet Flange

You don’t need to tear apart your bathroom to inspect your toilet flange. Here are common signs that might indicate a problem:
- Wobbly Toilet: If your toilet feels loose or rocks when you sit on it, the closet bolts might be loose, or the flange itself could be damaged or not properly secured to the floor.
- Water Leaks Around the Base: This is a classic sign. Leaks can be slow drips or more significant puddles, often indicating a failed wax ring or a cracked flange.
- Lingering Sewer Odors: A persistent unpleasant smell around the toilet, even when it’s clean, strongly suggests that the seal is broken, allowing sewer gases to escape.
- Visible Damage: If you can see any cracks, breaks, or corrosion on the flange (sometimes visible by looking down the pipe if the toilet is removed), it definitely needs attention.
Catching these issues early can save you from more extensive water damage and unsanitary conditions. Inspecting your flange is a proactive step in maintaining a healthy home.
DIY: Inspecting and Replacing a Toilet Flange

Replacing a toilet flange is a project many homeowners can tackle. It requires a few basic tools and some patience. Here’s a breakdown of the process.
Tools and Materials You’ll Need:
- New Toilet Flange (ensure it matches your pipe type and size)
- Toilet Wax Ring (or wax-free seal)
- Closet Bolts (usually come with new flanges or wax rings)
- Putty Knife or Scraper
- Adjustable Wrench or Pliers
- Screwdriver (Phillips and Flathead)
- Hammer
- Reciprocating Saw (if cutting is needed) or specific pipe cutter for PVC/ABS
- Primer and Cement (for PVC/ABS flanges)
- Rags
- Gloves
- Safety Glasses
- Bucket
Step-by-Step Guide to Replacing a Toilet Flange:
Step 1: Prepare the Area and Turn Off Water

Close the flapper valve in the toilet tank to prevent any remaining water from draining, and then turn off the water supply valve behind the toilet. Flush the toilet to drain as much water as possible from the tank and bowl. Use a sponge or wet vacuum to remove the remaining water from the bowl.
Step 2: Remove the Toilet
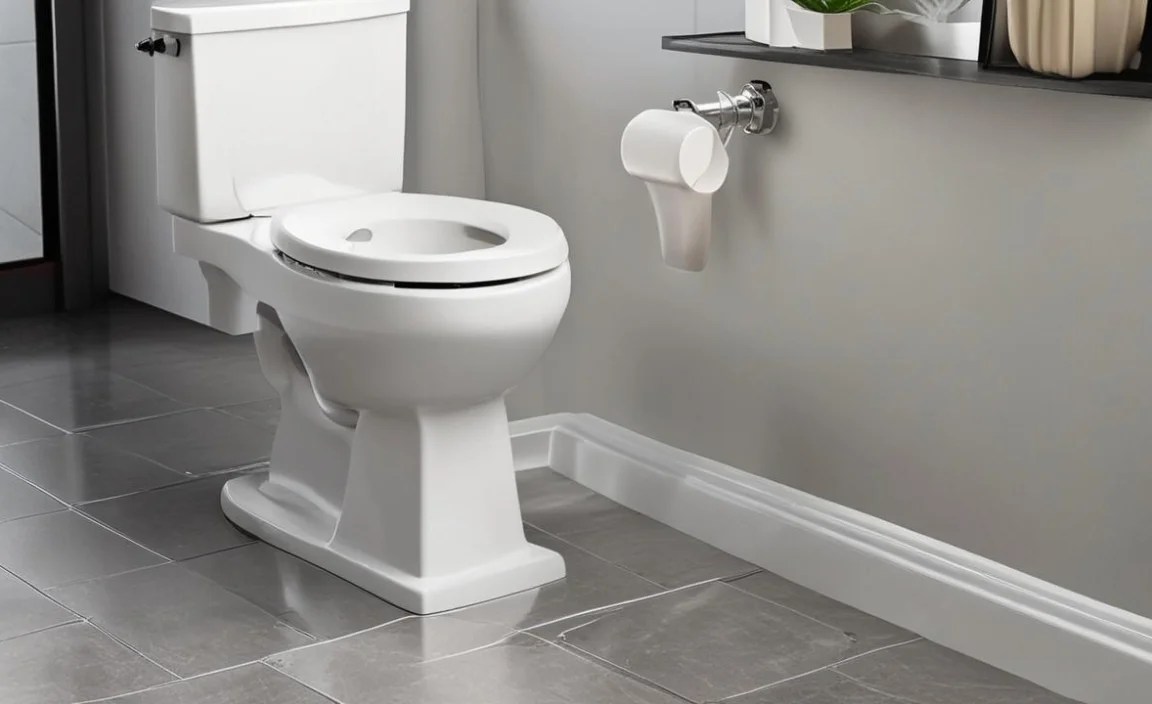
Remove the decorative caps covering the closet bolts at the base of the toilet. Loosen and remove the nuts from the closet bolts using an adjustable wrench or pliers. Gently rock the toilet to break the wax seal. Lift the toilet straight up and away from the flange, being careful as it’s heavy and still contains some water. Place it on old towels or newspaper, away from the work area.
Step 3: Remove the Old Wax Ring
With the toilet removed, you’ll see the old wax ring sitting on the old flange. Use a putty knife or scraper to carefully remove the old wax. Clean the area around the flange and the exposed part of the drainpipe.
Step 4: Inspect and Remove the Old Flange
Examine the old flange for cracks, breaks, or signs of rot. If it’s intact and just needs cleaning, you might be able to reuse it. However, if it’s damaged, it needs replacement. How you remove it depends on its type:
- PVC/ABS Flanges: These are usually glued onto the pipe. You may need to cut the flange from the pipe using a reciprocating saw or a pipe cutting tool. Cut just above the level of the pipe.
- Flanges screwed to the subfloor: Unscrew the screws holding the flange to the subfloor. You might need to gently tap the flange with a hammer to loosen it from the pipe.
- Cast Iron Flanges: These can be more complex. Some might be leaded and caulked, requiring heating or specialized tools. Others might have a rubber gasket and clamp, which can be loosened. If you are unsure, consult a professional plumber.
Once free, pull the old flange out. If you had to cut a PVC/ABS flange, ensure the pipe end is clean. You can buy a specific flange removal tool for stubborn PVC flanges that are deeply set.
Step 5: Prepare and Install the New Flange
Clean any debris from the drainpipe opening. For PVC/ABS flanges, ensure the pipe end is clean and dry. Apply primer to the inside of the new flange and the outside of the drainpipe (or just inside if it’s a spigot-type flange). Then, apply the appropriate cement and quickly insert the flange, twisting it slightly to ensure even coverage. Hold it firmly in place for about 30 seconds. Ensure the flange is oriented correctly, with the bolt slots positioned for your toilet.
If you’re using a flange that screws to the subfloor, position it so the bolt slots are parallel to the back of the toilet and secure them with appropriate screws. For no-hub flanges, slide the rubber gasket into the pipe, then place the flange over the pipe and secure with the clamp mechanism as per the manufacturer’s instructions.
Important Note on Flange Height: Ensure the new flange sits flush with or slightly above the finished floor level. If the flange is too low (below the floor), you’ll need a thicker wax ring or an extender ring. If it’s too high, the toilet might rock. For a guide on plumbing codes and flange installation, refer to resources like the International Code Council (ICC), which provides comprehensive building standards.
Step 6: Reinstall the Toilet
Place a new wax ring onto the base of the toilet bowl (or onto the flange, depending on your preference and the wax ring type). Carefully position the toilet over the flange, aligning the closet bolt holes with the slots in the flange. Lower the toilet straight down onto the wax ring and flange. Press down firmly on the toilet to seat it and compress the wax ring.
Step 7: Secure the Toilet and Reconnect Water

Place the washers and nuts onto the closet bolts and tighten them securely, alternating between the two nuts to ensure even pressure. Do not overtighten, as this can crack the porcelain. Reattach the tank if you removed it separately. Turn the water supply back on and check for leaks.
Step 8: Test and Final Checks
Flush the toilet several times and check the base for any signs of leaks. Also, check for stability. If everything is secure and leak-free, you’ve successfully replaced your toilet flange!
When to Call a Professional Plumber
While many flange replacements are DIY-friendly, there are times when calling a plumber is the safer and more effective option:
- Unsure about Pipe Type: If you have old, unknown pipe materials (like lead) or are unsure how to properly connect the new flange to existing pipes.
- Damaged Drainpipe: If the drainpipe itself is damaged, cracked, or corroded, it will need professional repair or replacement before a new flange can be installed.
- Inaccessible Flange: If the flange is located in a difficult-to-reach spot, such as under a floor with limited access or in a tight corner.
- Multiple Failed Attempts: If you’ve tried to fix the issue yourself and are still experiencing leaks or odors, a plumber has the expertise and specialized tools to diagnose and resolve complex problems.
- Concerns about Codes: If you want to ensure the installation meets all local plumbing codes and regulations. A professional will guarantee compliance.
Don’t hesitate to seek professional help. It can save you time, money, and prevent bigger problems down the line.
Troubleshooting Common Toilet Flange Issues

Even with a properly installed flange, issues can arise. Here are some common problems and how to address them:
Wobbly Toilet Diagnosis:
Cause: Loose closet bolts are the most common culprit. However, a flange that is cracked, broken, or not securely fastened to the subfloor can also cause wobbling, even if the bolts are tight.
Solution: First, try tightening the nuts on the closet bolts. If that doesn’t work, and you suspect a flange issue, you’ll need to remove the toilet to inspect and potentially replace the flange and wax ring.
Leaking at the Base:
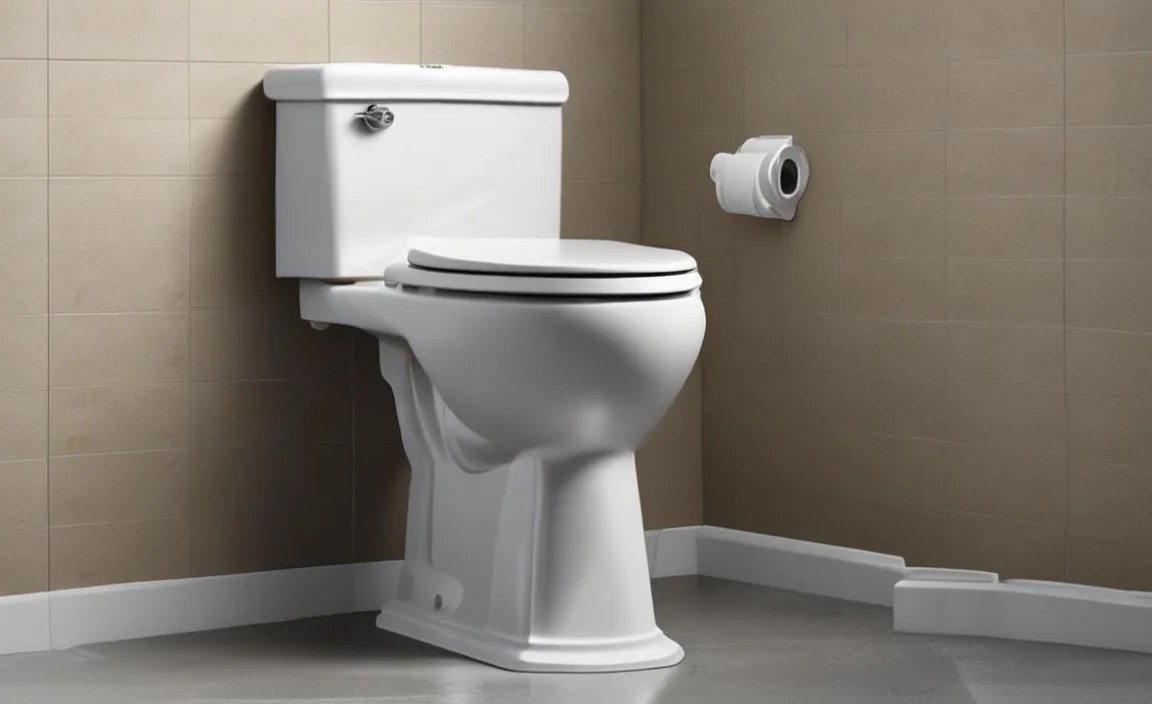
Cause: This is almost always due to a faulty wax ring, a damaged flange, or a flange that sits too low relative to the toilet base. A damaged wax ring can occur if the toilet has been moved or shaken in its seal. A low flange means the wax ring cannot create a proper compression seal. If the flange is cracked, water will seep through the crack.
Solution: Remove the toilet, clean off the old wax, inspect the flange. If the flange is good, use a new, thicker wax ring or a wax-free seal with a built-in horn. If the flange is cracked or too low, it needs to be replaced, potentially with an extender or by shimming it up as described in the installation guide.
Sewer Gas Odors:
Cause: This is a strong indicator of a broken seal. It could be a dried-out or damaged wax ring, a cracked flange, or a flange that is too high, preventing the wax ring from sealing properly against the toilet. In rare cases, the trap arm of the drainpipe might be siphon-damaged, allowing gases to enter, but a bad flange seal is much more common.
Solution: Inspect and likely replace the wax ring and flange. Ensure the new wax ring is installed correctly and the flange sits at the appropriate height for a good seal. A plumber can also check the integrity of the P-trap in the drainpipe.
