
Designing a toilet in construction involves crucial considerations for functionality, comfort, and code compliance. This guide covers essential design elements like trap type, flush mechanisms, bowl shape, seat comfort, ventilation, and accessibility, ensuring a well-built, user-friendly restroom for any project.
Ever feel a bit… lost when thinking about the toilet in a construction project? It might seem like a simple fixture, but getting its design right in a new build or renovation is super important for comfort and function. Bad placement or the wrong type can lead to headaches down the line. Don’t worry, though! This guide breaks down everything you need to know about toilet design in construction, making it easy to understand. We’ll walk through the key decisions, from how it flushes to how it fits in the space.
Choosing the Right Toilet: Key Design Principles

When you’re building or designing a space, the toilet isn’t just a porcelain bowl; it’s a core part of the bathroom’s functionality. Making informed design choices ensures longevity, ease of use, and adherence to building standards. Let’s dive into the essential design aspects you’ll need to consider.
Understanding Toilet Types and Their Functionality
Toilets come in various forms, each with its own advantages. Knowing these types helps in selecting the best fit for your construction project’s needs and intended use.
Siphon Jet Toilets
This is a very common type, especially older models. Water is released into the bowl, creating a siphon action that pulls waste down the drain pipe. They are generally reliable but can sometimes use more water than newer, more efficient designs. The sound of the flush is often quite distinct due to the siphon action.
Washdown Toilets
These toilets rely on gravity and the direct force of water to push waste down. They tend to be quieter than siphon jet toilets and are often considered more reliable in terms of flushing power. They are prevalent in many parts of the world and are known for their straightforward flushing mechanism.
Dual-Flush Toilets
A star player in water conservation, dual-flush toilets offer two flushing options: one for liquid waste (using less water) and one for solid waste (using more water). This design is excellent for reducing water bills and environmental impact. They typically have two buttons or a lever with two positions. The U.S. Environmental Protection Agency’s WaterSense program promotes water-efficient fixtures like these. You can learn more about water-saving technologies on the EPA WaterSense website.
One-Piece Toilets
In these units, the tank and bowl are molded into a single, seamless piece. This design is aesthetically pleasing, as there are no gaps or crevices where dirt can accumulate, making them easier to clean. They often have a sleeker, more modern look. However, if a part breaks, the entire unit might need replacement.
Two-Piece Toilets
These are the more traditional style, where the tank and bowl are separate pieces bolted together. They tend to be less expensive upfront and easier to repair, as individual components can be replaced. They are very common and widely available.
The Importance of Trapway Design
The trapway is the curved pipe at the bottom of the toilet bowl that holds water. This standing water is crucial for two main reasons:
- Preventing Sewer Gases: The water effectively creates a seal, blocking unpleasant and potentially harmful sewer gases from entering your bathroom.
- Assisting in Flushing: The shape and size of the trapway play a significant role in how effectively waste is removed from the bowl.
Toilet trapways come in different diameters, with larger diameters generally being more resistant to clogging. Common sizes are 2 inches or 3 inches. Always check local plumbing codes, as they often specify minimum trapway dimensions to ensure proper waste removal and sanitation.
Flush Mechanism: Efficiency and Power
The flush mechanism is the heart of the toilet’s operation. Modern designs have evolved considerably to improve water efficiency and flushing power.
Gravity-Fed Flushing
This is the most common and simplest type. When you flush, a valve opens, and the weight of the water in the tank rushes down into the bowl, creating the force needed to clear the trapway and pipes. These are generally reliable and easy to maintain.
Pressure-Assisted Flushing
These toilets use a sealed, high-pressure tank that stores air. When flushed, the compressed air forces water into the bowl at a much higher velocity than a gravity-fed system. This results in a more powerful flush, often clearing waste more effectively and using less water per flush. They can be noisier than gravity-fed toilets, and the mechanism is typically more complex.
Dual-Pipe Flush (for certain water-saving systems)
While not a primary mechanism, some systems might incorporate dual-pipe setups for optimized water flow during different flush types, especially in industrial or highly water-conscious commercial settings. This is less common in standard residential construction.
Bowl Shape: Elongated vs. Round
The shape of the toilet bowl directly impacts user comfort and the amount of space the toilet occupies.
Elongated Bowls
These bowls are oval-shaped and generally provide more seating area, offering increased comfort for users. They also tend to project a bit further from the wall. In public restrooms and many modern homes, elongated bowls are preferred for their comfort and are often mandated by accessibility standards for commercial buildings.
Round Bowls
Round bowls are more compact, making them suitable for smaller bathrooms where space is a significant constraint. They offer less seating surface area compared to elongated bowls but are a practical choice when space is limited.
Rough-In Measurement: The Critical Spacing
The “rough-in” measurement is the distance from the finished wall behind the toilet to the center of the drainpipe or floor flange. This is arguably the most critical dimension in toilet installation and design for construction.
- Standard Rough-In: The most common rough-in measurement is 12 inches.
- Variations: In some cases, a 10-inch or 14-inch rough-in might be required due to specific plumbing layouts or space limitations.
It is absolutely vital to measure this correctly before framing walls and setting floors. An incorrect rough-in measurement can lead to significant problems, such as the toilet being too close to the wall or too far away, making it unusable or requiring costly rework. Always verify local plumbing codes and consult with your plumber to confirm the correct rough-in for your project.
Ensuring Proper Ventilation and Clearance
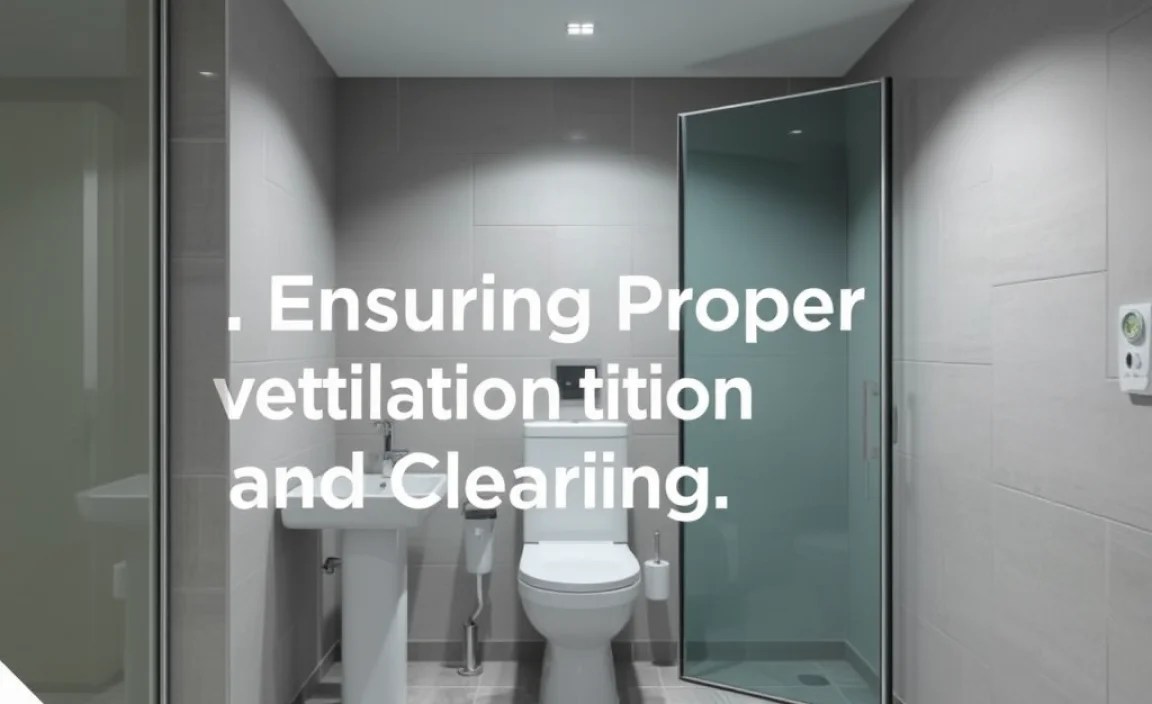
Beyond the toilet unit itself, adequate ventilation and clearance around the toilet are essential for a functional and comfortable bathroom.
Bathroom Ventilation: Battling Humidity and Odors
Proper ventilation in a bathroom is non-negotiable. It helps remove moisture, prevent mold and mildew growth, and eliminate unpleasant odors.
- Exhaust Fans: Installing an appropriately sized exhaust fan is the primary method for ventilation. The capacity of the fan is measured in Cubic Feet per Minute (CFM). For most bathrooms, a fan with 50-100 CFM is recommended. Refer to Energy.gov’s guidance on ventilation fans for more details.
- Ventilation Grilles and Ducts: Ensure that the exhaust fan is properly ducted to the exterior of the building, not just into the attic space.
- Natural Ventilation: If feasible, a window that can be opened also contributes to air circulation.
Clearance for Comfort and Code Compliance
Ensuring sufficient space around the toilet is crucial for ease of use and meeting building codes. The International Plumbing Code (IPC) and Uniform Plumbing Code (UPC) provide guidelines. Key clearances typically include:
- In Front: At least 21 inches of clear space in front of the toilet bowl rim.
- To the Sides: At least 15 inches of clear space from the center of the toilet to any side wall or obstruction.
- Behind: Obstructions behind the toilet (like a wall) should allow for the tank to function, but the primary concern is user access.
These clearances are not just about comfort; they are essential for accessibility and can be critical for inspections.
Accessibility Considerations in Toilet Design
Designing for accessibility ensures that people of all abilities can use the bathroom comfortably and safely. This is particularly important for commercial construction and in homes where individuals with mobility challenges might reside.
ADA Guidelines for Commercial Restrooms
The Americans with Disabilities Act (ADA) sets specific standards for accessible restrooms in public and commercial spaces.
- Clear Floor Space: Accessible toilets require a minimum clear floor space of 30 by 48 inches to allow for wheelchair maneuverability.
- Grab Bars: Installation of grab bars is mandatory. These should be securely anchored to the wall and meet specific height, length, and diameter requirements.
- Toilet Height: Accessible toilets often have a different seat height than standard toilets. The ADA specifies a requirement for an accessible stall to contain either an elongated toilet with a seat height between 17 and 19 inches measured from the floor to the top of the toilet seat (not including a raised seat), or a standard height toilet.
- Flush Controls: Flush mechanisms must be accessible, typically mounted on the side of the tank or bowl and operable with a closed fist, without tight grasping, pinching, or twisting of the wrist.
For detailed information, consult the official 2010 ADA Standards for Accessible Design.
Designing for Universal Access in Residential Homes
In residential construction, even if not strictly mandated by ADA for private homes, incorporating universal design principles for toilets is a wise investment. This means designing spaces that can be easily adapted as needs change.
- Space for Future Grab Bars: Even if not installed initially, framing for future grab bar installation can be done unseen, making retrofitting much simpler.
- Consider Height and Lever Handles: Opting for toilets with lever handles and considering slightly higher bowls can be beneficial over time.
- Ample Clearance: Ensuring generous clearance around the toilet, even beyond minimum code requirements, provides greater flexibility.
Materials, Installation, and Maintenance Considerations
The choice of materials and proper installation are fundamental to a long-lasting and functional toilet. Maintenance planning should also be part of the initial design.
Common Toilet Materials
The vast majority of toilets are made from ceramic or porcelain. These materials are favored for their durability, non-porous nature (which resists stains and odors), and ease of cleaning.
- Porcelain/Vitreous China: This is the standard. It’s fused with glass during firing, creating a hard, glossy, and waterproof surface.
- Plastic (for tanks and components): While the bowl is almost always ceramic, internal tank components and sometimes the entire toilet seat are made of durable plastics.
- Specialty Materials: In high-end or specialized applications, stainless steel might be used, particularly in public or industrial settings where extreme durability and hygiene are paramount.
Installation Best Practices
Proper installation is crucial to prevent leaks and ensure the toilet functions correctly for years to come.
- Flange and Wax Ring: The toilet must be securely bolted to a floor flange, and a wax ring (or wax-free seal) must be used between the toilet base and the flange to create a watertight seal.
- Water Supply Line: Ensure the water supply line is flexible and correctly connected to the fill valve in the tank and the shut-off valve. Use appropriate connectors and sealant.
- Leveling: The toilet must be level. Shims can be used under the base if the floor is uneven, but this should ideally be avoided by ensuring a level subfloor.
- Seating the Toilet: Gently setting the toilet onto the wax ring and then carefully tightening the bolts ensures a good seal without cracking the porcelain.
It’s often recommended to have a licensed plumber handle the installation, especially for new construction, to ensure it meets all codes and operates perfectly. For a detailed installation guide, resources like This Old House often provide excellent DIY-friendly walkthroughs.
Designing for Ease of Maintenance
Think about future maintenance when designing. Easy access to shut-off valves and ample space for cleaning around the toilet will make life easier.
- Accessible Shut-Off Valve: Ensure the water shut-off valve behind or beside the toilet is easily reachable without needing to move the toilet.
- Space for Cleaning: As mentioned, the 15-inch side clearance is vital for simply being able to clean the exterior of the toilet and the surrounding floor area.
- Choosing Simple Designs: While fancy toilets can be appealing, simpler, well-established flushing mechanisms often prove more reliable and easier to repair.
Toilet Design Specifications: A Quick Reference Table
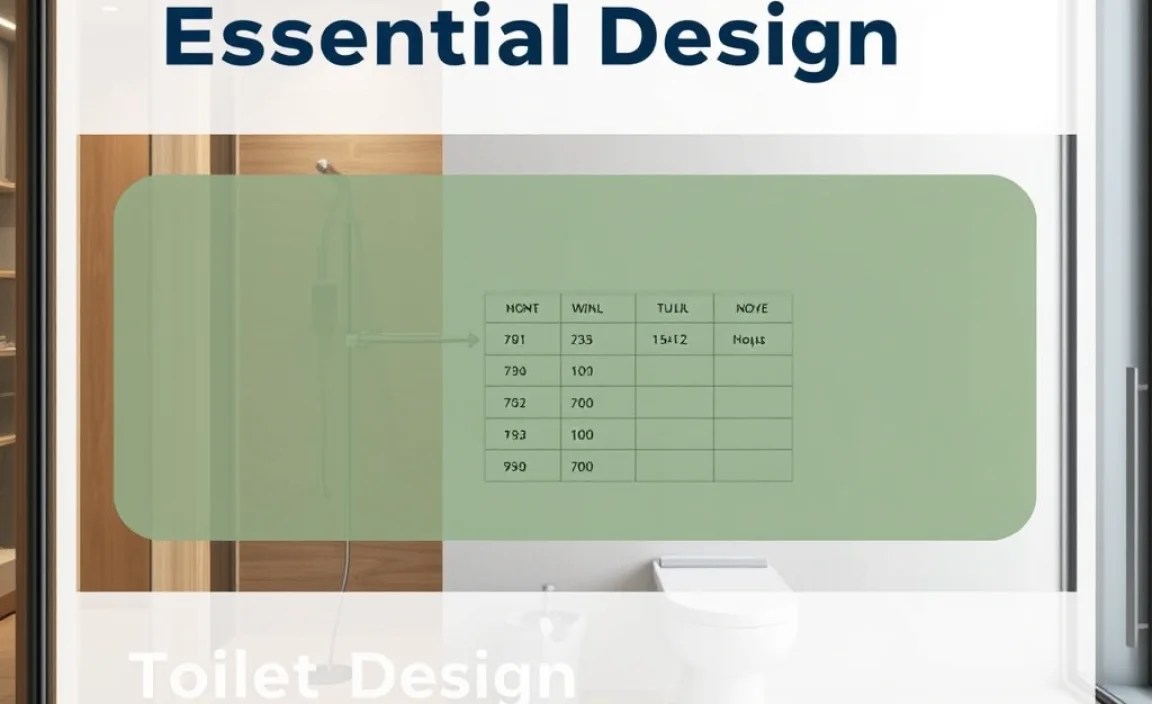
To help visualize the key design considerations, here’s a table summarizing some essential specifications:
| Design Element | Standard Specification | Key Considerations |
|---|---|---|
| Rough-In Measurement | 12 inches (center of drain to finished wall) | Crucial for placement; verify local codes. 10″ or 14″ are less common alternatives. |
| Front Clearance | Minimum 21 inches | Ensures comfortable use and maneuverability. |
| Side Clearance | Minimum 15 inches (from toilet center) | Allows for cleaning and user comfort; important for ADA compliance. |
| Bowl Shape | Elongated (preferred for comfort) or Round (for space-saving) | User preference, available space, and code requirements (e.g., ADA). |
| Flush Type | Gravity-Fed, Dual-Flush, Pressure-Assisted | Water efficiency, flushing power, noise level, maintenance complexity. |
| Water Usage (per flush) | Current EPA standard: 1.28 GPF (Gallons Per Flush) or less. Older toilets may be 1.6 GPF or higher. | Water conservation, cost savings, environmental impact. Look for WaterSense label. |
| ADA Compliant Seat Height | 17-19 inches (from floor to top of seat) for accessible stalls | Crucial for public/commercial buildings; beneficial for aging-in-place in homes. |
Frequently Asked Questions (FAQs)
Q1: What is the most important thing to get right when designing for a toilet in construction?
A1: The rough-in measurement is paramount. It’s the distance from the finished wall to the center of the drain. Get this wrong, and the toilet won’t fit correctly, potentially requiring major rework.
Q2: What does “GPF” mean, and is it important for toilet design?
A2: GPF stands for Gallons Per Flush. It’s a measure of how much water a toilet uses. Modern, water-efficient toilets use 1.28 GPF or less, which saves water and money. It’s definitely important for sustainability and compliance with modern standards.
Q3: Do I need special ventilation for a toilet?
A3: Yes, good ventilation is essential. A bathroom exhaust fan, properly vented to the outside, helps remove moisture and odors, preventing mold and maintaining air quality. This is a building code requirement in most places.
Q4: What’s the difference between an elongated and a round toilet bowl?
A4: An elongated bowl is oval-shaped and larger, offering more seating comfort. A round bowl is more compact, saving space. Elongated bowls are generally preferred for comfort and are often required for ADA compliance.
Q5: How much space do I need around a toilet?
A5: You need at least 15 inches of clear space from the center of the toilet to any side wall or obstacle, and at least 21 inches of clear space in front of the bowl. This ensures comfort and accessibility.
Q6: Are dual-flush toilets worth the extra cost in construction?
A6: For new construction or major renovations, dual-flush toilets can offer significant long-term savings on water bills and are better for the environment. While they might have a slightly higher upfront cost, the water savings often make them a smart investment.
Q7: What is a floor flange, and why is it important?
A7: The floor flange is the fitting that connects the toilet directly to the drainage system.
