
This toilet guide in plumbing breaks down how your toilet works, common issues, and simple maintenance. Learn to identify parts, troubleshoot clogs, fix leaks, and keep your toilet running smoothly with easy, DIY-friendly tips, saving you time and money.
Let’s face it, toilets can be mysterious. When they work, we don’t think about them. But when they don’t, it’s a major inconvenience! A clogged or leaky toilet is a common household frustration, but understanding the basics can turn a plumbing panic into a simple fix. This guide is designed to demystify your toilet, offering clear, step-by-step advice for common issues and essential maintenance. We’ll cover everything from identifying the parts to performing basic troubleshooting, empowering you to tackle minor issues confidently.
Your Toilet’s Anatomy: Understanding the Key Parts

Before we dive into fixing things, it’s helpful to know what’s what. Your toilet is a surprisingly simple system, but each component plays a crucial role in its operation. Understanding these parts will make troubleshooting much easier.
The Tank: The Water Reservoir

The tank is the box on the back of your toilet. Its job is to hold a specific amount of water, ready to flush the bowl clean. Inside this tank are several important parts:
- Flapper: This is a rubber seal at the bottom of the tank that lifts when you flush, allowing water to rush into the bowl. When it’s worn out, it can cause leaks.
- Ball Float or Cup Float: This mechanism controls the water level in the tank. As the tank fills, the float rises and signals the fill valve to shut off.
- Fill Valve (or Ballcock): This is the device that refills the tank with water after each flush and stops the water flow when the tank is full.
- Overflow Tube: A tall, vertical pipe inside the tank. If the fill valve malfunctions and overfills the tank, the excess water drains down this tube into the toilet bowl, preventing a flood.
- Handle and Chain/Lift Wire: The handle you push or pull on the outside. It’s connected to the flapper via a chain or wire to lift it for flushing.
The Bowl: Where the Magic Happens

The toilet bowl is the ceramic basin. It has a trapway, a U-shaped passage hidden within the ceramic, that holds water to prevent sewer gases from escaping into your bathroom. The water in the bowl is essential for this seal.
The Base and Supply Line
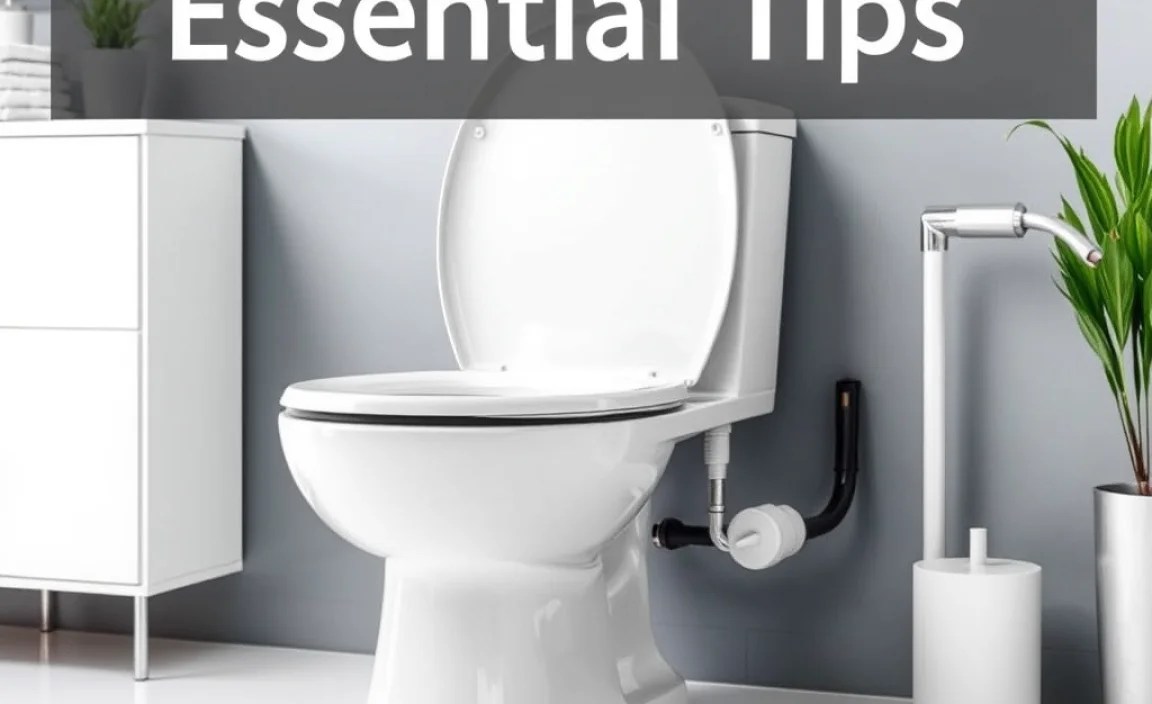
The base of the toilet is secured to the floor with bolts, creating a seal with the wax ring underneath. A water supply line, usually a flexible hose, connects the toilet tank to the shut-off valve on the wall, bringing fresh water into the tank.
Common Toilet Problems and How to Fix Them
Even the best toilets can encounter issues. Fortunately, most common problems are relatively easy to fix with a few basic tools and a little know-how. Here’s a breakdown of frequent culprits and their solutions.
1. The Leaky Toilet: The Silent Water Waster
A leaky toilet is more than just annoying; it wastes a significant amount of water. You might hear running water, see water constantly trickling into the bowl, or notice the tank taking a long time to refill. The most common causes are a worn-out flapper or an improperly set float.
Troubleshooting a Leaky Tank:
Issue: Water constantly running into the bowl.
Cause: The flapper isn’t sealing correctly. It might be old, warped, or have sediment preventing a tight seal. The chain connecting the handle to the flapper might also be too tight, preventing it from fully closing.
Solution: Replace the Flapper.
- Turn off the water supply: Locate the shut-off valve behind the toilet and turn it clockwise until it stops.
- Flush the toilet: This will drain most of the water from the tank. You can use a sponge or towel to soak up any remaining water at the bottom.
- Remove the old flapper: Most flappers have hooks or clips that attach to the overflow tube. Detach the chain from the flush lever arm.
- Install the new flapper: Attach the new flapper to the overflow tube. Connect the chain to the flush lever arm, ensuring there’s a little slack (about half an inch). Too much slack and it won’t lift properly; too little and it won’t seal.
- Turn on the water supply: Slowly turn the shut-off valve counter-clockwise.
- Test the flush: Flush the toilet and listen for any running water. Check that the tank refills properly and the water level is correct.
Issue: Tank overfills and water goes down the overflow tube.
Cause: The fill valve is set too high, or it’s not shutting off completely. The float might be set incorrectly, or the fill valve itself is faulty.
Solution: Adjust or Replace the Fill Valve.
- Adjusting the Float: Many modern fill valves have an adjustment screw or a clip that allows you to lower the float. Look for instructions specific to your fill valve model. The water level should typically be about 1/2 to 1 inch below the top of the overflow tube.
- Replacing the Fill Valve: If adjustment doesn’t work, the fill valve might need replacement. This is a more involved job but still very DIY-friendly. You’ll need to shut off the water, disconnect the supply line, remove the old valve, install the new one according to its instructions, reconnect the supply line, and turn the water back on.
For guidance on specific toilet parts and replacements, the Family Handyman offers excellent visual guides.
2. The Clogged Toilet: The Most Common Headache
A clogged toilet is a plumbing rite of passage. It happens when too much toilet paper or foreign objects block the trapway or the drainpipe. Fortunately, most clogs can be cleared with simple tools.
Tools for Clearing a Clog:
- Plunger: The most essential tool! Ensure you have a flange plunger, which is designed for toilets with its extended rubber seal.
- Toilet Brush: For cleaning after clearing the clog.
- Bucket and Towels: To catch any spills.
- Optional: Toilet Auger (or Snake): For tougher clogs.
Step-by-Step Clog Clearing:**
- Assess the Situation: If the bowl is overflowing, stop flushing! Gently remove some water if needed to prevent a mess.
- Use the Plunger:
- Ensure there’s enough water in the bowl to cover the rubber cup of the plunger. If not, add some water from a bucket.
- Place the plunger over the drain opening, creating a tight seal.
- Give it a few firm, up-and-down plunges (about 6-8 times), maintaining the seal.
- Break the seal with a quick upward pull.
- Repeat if necessary. If the water starts to drain, you’ve likely cleared it.
- Using a Toilet Auger (Snake): If plunging repeatedly doesn’t work, a toilet auger can reach deeper clogs.
- Insert the auger’s rubber-covered end into the drain opening.
- Crank the handle to slowly feed the cable into the drain.
- When you hit resistance, continue cranking and gently pushing to break up or hook the clog.
- Once you feel the clog break free or you’ve snagged it, slowly retract the auger.
- Flush the toilet to test.
- Flushing Clean: After a successful clog clear, let the toilet refill and give it a good flush. Use your toilet brush to clean the bowl.
Important Note: Never use chemical drain cleaners for toilet clogs. They can damage your pipes, be harmful to the environment, and pose significant safety risks if they splash. A Consumer Product Safety Commission alert highlights the dangers of some household chemical products.
3. The Double Flush or Weak Flush: Not Enough Power
A weak flush or a flush that requires two tries indicates that not enough water is reaching the bowl, or it’s not reaching with enough force. This is often related to the tank’s water level or the flush mechanism’s efficiency.
Diagnosing and Fixing Weak Flushes:
- Check the Water Level: Ensure the water level in the tank is at the manufacturer’s recommended line (usually indicated by a mark or a float stop). If it’s too low, adjust the float as described in the “Leaky Toilet” section.
- Inspect the Flapper: A partially stuck flapper or a flapper that closes too quickly won’t allow enough water to escape. Ensure the chain has a little slack and the flapper moves freely.
- Clear the Rim Jets: Small holes under the rim of the toilet bowl force water into the bowl to aid flushing. Over time, mineral deposits can clog these.
- Solution: Turn off the water supply. Use a coat hanger wire or a small drill bit to carefully clear out each jet. You can also pour a cup of vinegar into the overflow tube to let it sit overnight to help dissolve mineral buildup.
- Check the Flush Valve Opening: The flush valve is the opening at the bottom where the flapper sits. If it’s partially obstructed by debris or a corroded flush valve seat, it can impede water flow. Cleaning this area is crucial.
4. The Sweating Toilet: Condensation Problems
On humid days, you might notice condensation forming on the outside of your toilet tank, dripping onto the floor. This is known as “toilet sweating.” It happens when cold tank water cools the tank exterior below the dew point of the bathroom air, causing moisture to condense.
Solutions for a Sweating Toilet:
- Insulate the Tank: The most effective solution is to install a tank insulation kit. These kits, available at most hardware stores, consist of foam panels that line the inside of the tank, preventing the cold water from directly cooling the tank’s exterior.
- Increase Ventilation: Improve bathroom ventilation with an exhaust fan to reduce overall humidity levels.
- Raise Toilet Tank Temperature: While less common, you can adjust the fill valve to allow the tank to fill to a slightly higher level, warming the water slightly.
- Check for Leaks: Ensure there aren’t any slow residual leaks from the tank into the bowl, which can cause the fill valve to run more frequently, keeping the water colder.
Essential Toilet Maintenance Tips
Preventative maintenance is key to a long-lasting, trouble-free toilet. A little regular attention can save you from bigger headaches down the line.
Regular Cleaning: More Than Just Aesthetics
Cleaning your toilet regularly is crucial for hygiene and preventing buildup that can lead to clogs or damage. Use a toilet bowl cleaner and a brush to scrub the bowl at least once a week. Don’t forget to clean the tank’s interior when you replace the flapper or perform other maintenance – a buildup of sediment can affect the fill valve.
Checking for Leaks: The Silent Culprits
Even if you don’t hear running water, a silent leak can occur. To check:
Food Coloring Test:
- Add a few drops of food coloring to the water in the toilet tank.
- Do not flush.
- Wait 10-15 minutes.
- If the color appears in the toilet bowl, you have a leak, most likely from the flapper.
Understanding Water Usage: Efficiency Matters
Modern toilets are designed to be water-efficient. Older toilets can use up to 3.5 gallons per flush (GPF), while newer ones use 1.6 GPF (low-flow) or even 1.28 GPF (high-efficiency toilets or HETs). If you have an older, water-guzzling toilet, consider upgrading. The EPA WaterSense program offers information on water-efficient fixtures.
When to Call a Professional Plumber
While this guide covers many common DIY fixes, some issues are best left to the pros:
- Persistent clogs that even an auger can’t clear.
- Leaking from the base of the toilet (which may indicate a bad wax seal).
- Cracked porcelain.
- Issues with the main sewer line affecting multiple fixtures.
- If you’re uncomfortable or unsure about any repair.
Common Toilet Parts and Their Lifespans
Understanding how long certain parts typically last can help you anticipate replacements and avoid unexpected failures.
Here’s a general overview of the lifespan for common toilet components:
| Component | Typical Lifespan | Signs of Wear | Maintenance Tip |
|---|---|---|---|
| Flapper | 1-5 years | Leaking into bowl, running water, discolored | Replace when leaking; clean if slightly worn |
| Fill Valve (Ballcock) | 5-10 years | Tank not filling, overfilling, noisy, constant running | Adjust float; replace if malfunctioning |
| Flush Valve Seal (under flapper) | 10+ years | Leaking into bowl (less common than flapper issue) | Usually replaced with flush valve assembly |
| Supply Line Hose | 5-10 years | Cracks, kinks, bulges, visible corrosion on fittings | Replace proactively if showing signs of aging |
| Wax Ring | 15-20 years | Leaking at the base, floor is wet around toilet | Replace seal if leaks occur at the base |
Remember, these are averages. Factors like water quality (hard water can accelerate wear) and usage frequency can affect component longevity.
Toilet Maintenance Checklist
To keep your toilet in top shape, consider following this simple checklist:
- Weekly:
- Clean the toilet bowl, rim, and exterior.
- Check the base for any signs of moisture.
- Monthly:
- Perform the food coloring test to check for tank leaks.
- Listen for any unusual noises during flushing or filling.
- Every 6 Months:
- Inspect the supply line for cracks or wear.
- Check the flapper for signs of wear or hardening.
- Clean the rim jets with a small brush or wire.
- Annually (or as needed):
- Wipe down or clean the inside of the tank.
- Consider flushing the toilet with a bit more water to ensure the trapway is clear.
By incorporating these simple checks into your routine, you can catch potential problems early and ensure your toilet functions efficiently for years to come.
Frequently Asked Questions (FAQ)
Q1: How often should I flush my toilet if I’m going on vacation?
If you’re leaving for an extended period (more than a week), it’s a good idea to add a small amount of water (about a cup) to the tank after the last flush to ensure the water in the bowl doesn’t evaporate and allow sewer gases to enter your home. Some experts also suggest adding a tiny amount of bleach to the tank (but not flushing) before leaving to prevent stagnant water issues; however, be cautious with bleach as it can degrade some rubber parts over time, so use it sparingly.
Q2: What’s the best way to clean a toilet bowl without harsh chemicals?
For a natural clean, try using a cup of white vinegar. Pour it into the bowl, let it sit for about 30 minutes (or overnight for tougher stains), and then scrub with a toilet brush. Baking soda can also be used as a gentle abrasive; sprinkle it in the bowl, add a bit of water to make a paste, scrub, and then flush.
