
Toilet meaning for beginners: This guide breaks down essential toilet parts, functions, and basic maintenance. Understand your toilet’s anatomy and common issues to confidently handle simple repairs and upkeep.
Ever found yourself staring at your toilet and wondering exactly what each part does? It’s a mystery that can be both puzzling and a little frustrating, especially when something isn’t quite right. But don’t worry! Understanding your toilet is simpler than you think. This guide will demystify toilet terminology and functions, making you feel more in control of your home’s plumbing. We’ll walk through each component, explain how they work together, and even touch on common hiccups and how to spot them. Get ready to gain a new appreciation for this everyday essential!
What Exactly is a Toilet? A Simple Breakdown

At its core, a toilet is a fixture designed to safely and hygienically dispose of human waste using water. It’s a crucial part of any modern plumbing system, connecting directly to a sewer or septic system to carry waste away from your home. The seemingly simple flush is actually a clever interplay of gravity, water pressure, and mechanics designed for efficiency and sanitation.
The Toilet Bowl: Where the Magic Happens

The bowl is the most visible part of the toilet. It’s shaped to hold a small amount of water between flushes, creating a seal that prevents sewer gases from entering your bathroom. When you flush, this water, along with the waste, is rapidly emptied into the drainpipe. The shape of the bowl, known as the trapway, is also designed to ensure waste flows in the right direction and to help keep odors contained.
The Toilet Tank: The Water Reservoir

The tank, that rectangular box behind the bowl, is essentially a water storage unit. It holds several gallons of water, ready to be released with a flush. Inside the tank is where most of the “magic” happens to prepare for that flush. When you lift the tank lid, you’ll see a collection of parts working in harmony. We’ll dive into those components next.
Understanding the Parts: Inside the Toilet Tank

The tank is a marvel of simple engineering. It contains a few key components that work together to manage water flow and refill the tank after each use. Let’s explore them:
1. The Flush Handle and Lever
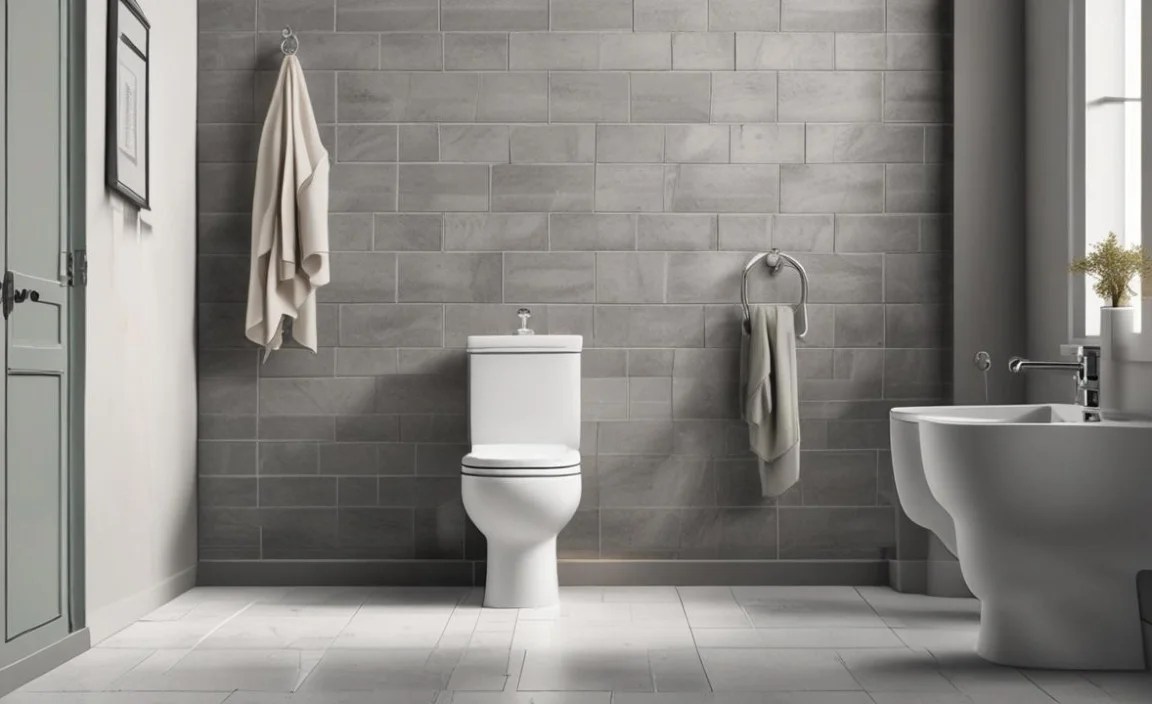
This is the part you interact with most! When you push down or lift the handle, it’s connected to a lever inside the tank. Its job is simple: to initiate the flushing process. It pulls up a mechanism that opens the way for water to rush from the tank into the bowl. Sometimes, this handle might get loose or stiff, affecting your flush.
2. The Flapper or Flush Valve Seal
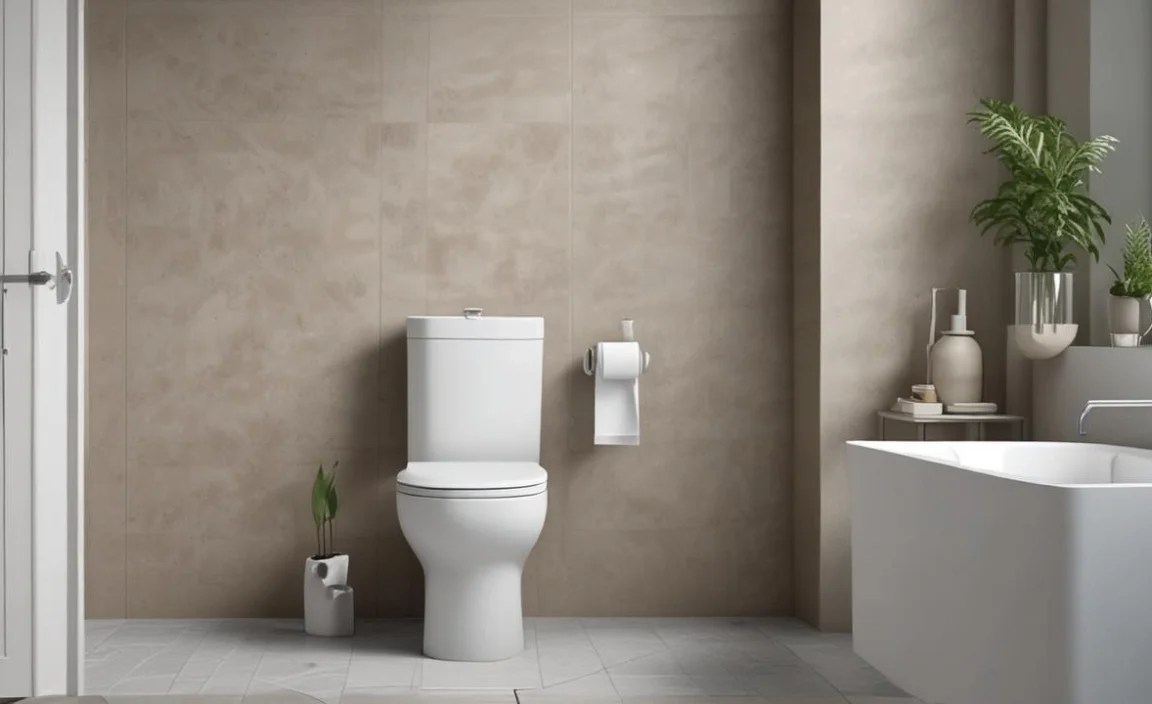
This is a crucial part that sits at the bottom of the tank, covering the opening to the bowl. When you flush, the handle lifts this flapper, allowing the water stored in the tank to flow down into the bowl. Once the tank is empty, the flapper drops back down, sealing the opening. If your toilet runs continuously, the flapper is often the culprit; it might be worn out or not sealing properly. For more on common toilet issues, you can check out the U.S. Environmental Protection Agency’s guidance on water-saving tips, which often includes toilet leak detection: EPA WaterSense Fix a Leak.
3. The Fill Valve (Ballcock)
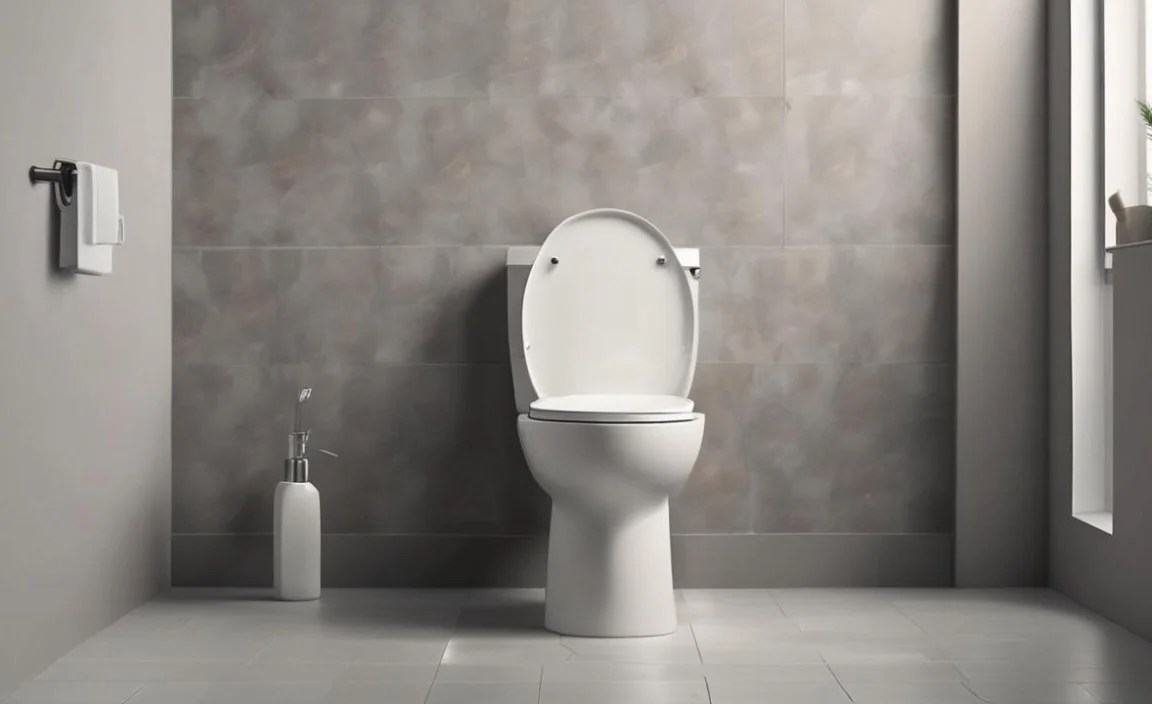
This ingenious device controls how and when your tank refills with water after a flush. When the water level in the tank drops after a flush, the fill valve senses this and opens to let fresh water in. Once the water reaches a pre-set level (often indicated by a fill line), a float mechanism tells the valve to shut off, preventing overflow. Modern fill valves are often more efficient and adjustable than older ballcock designs.
4. The Float Ball or Cup
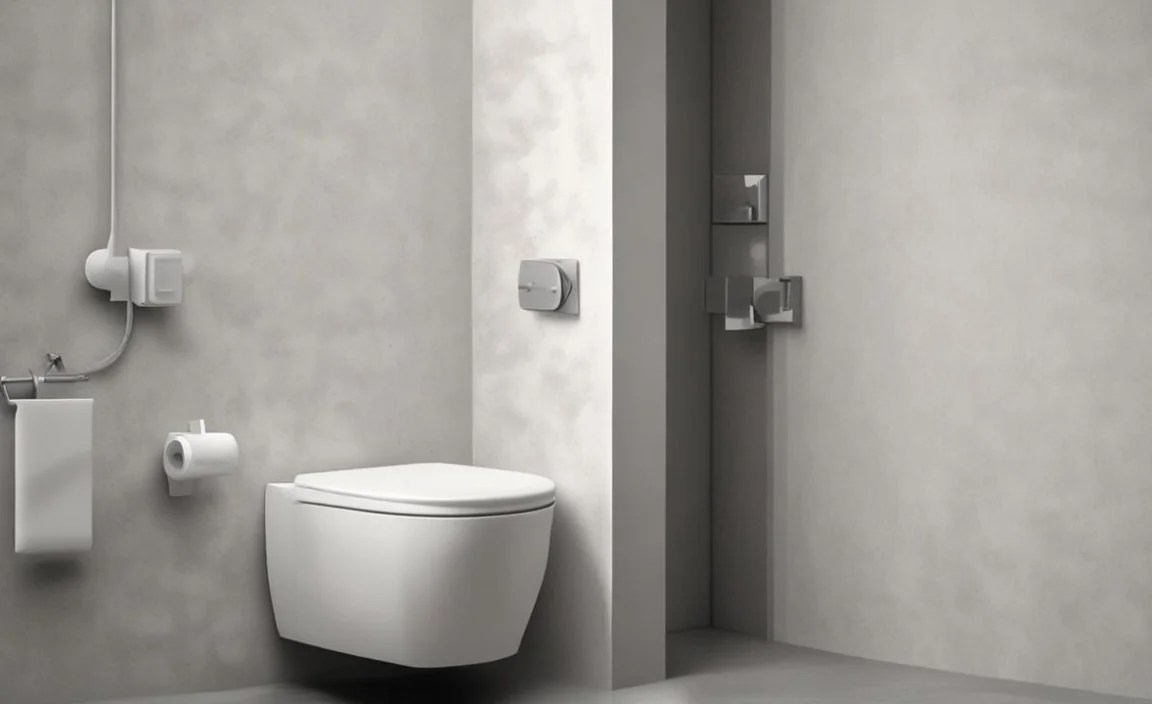
Attached to the fill valve, the float is what senses the water level. In older toilets, this is usually a large, round ball on an arm. In newer models, it’s more commonly a cup that slides up and down the fill valve stem. As the water rises, the float rises with it. When it reaches the desired water level, it triggers the fill valve to close. If the float is set too high or too low, it can affect how much water is in your tank and how well your toilet flushes.
5. The Overflow Tube
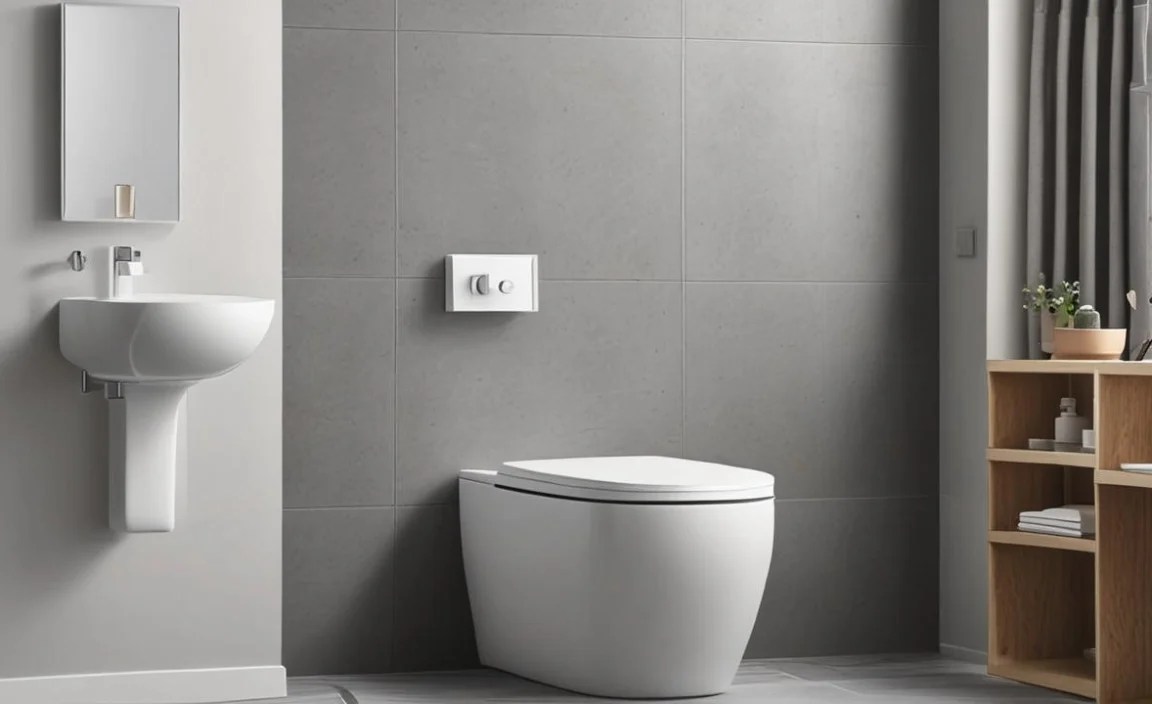
This is a vertical pipe inside the tank. Its primary purpose is safety. If the fill valve malfunctions and overfills the tank, the excess water will flow down this tube directly into the toilet bowl, preventing your tank from overflowing onto the bathroom floor. It’s a critical safety feature.
6. The Refill Tube
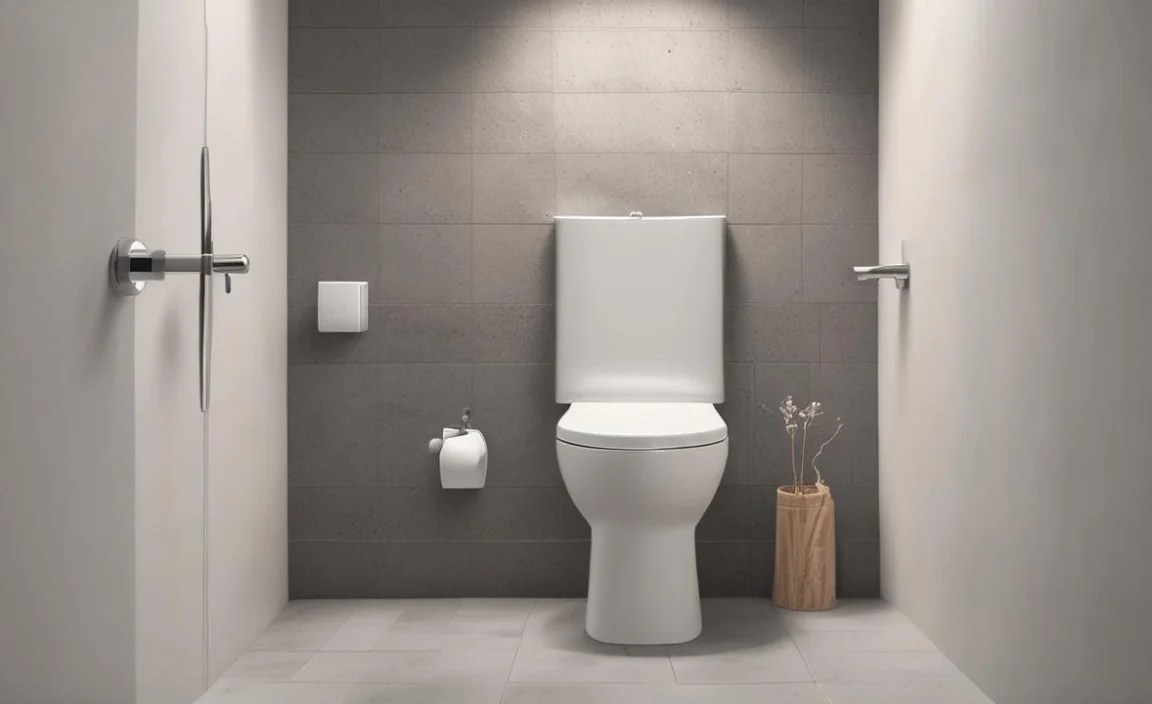
Often a small, flexible tube attached to the fill valve, the refill tube directs a small amount of water into the overflow tube. This is important for refilling the toilet bowl itself to establish the water seal after a flush. This is separate from the main tank refill.
Decoding Toilet Bowl Components
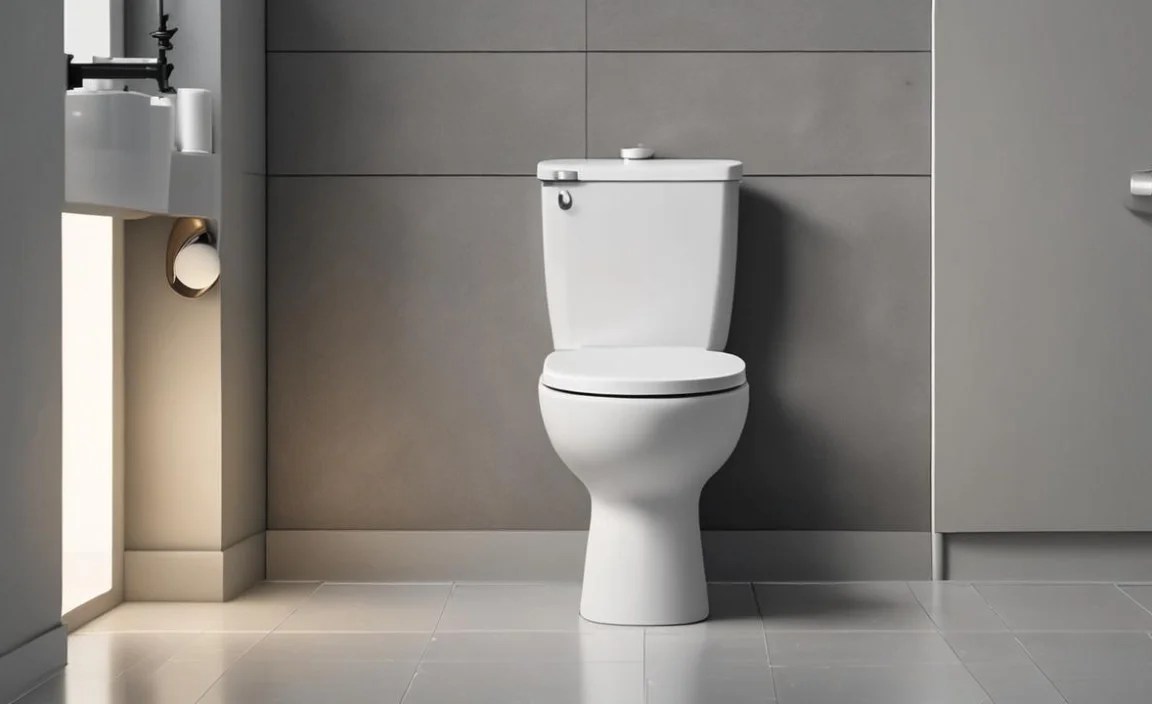
The bowl itself has a few subtle but important features that contribute to its function:
1. The Water Surface
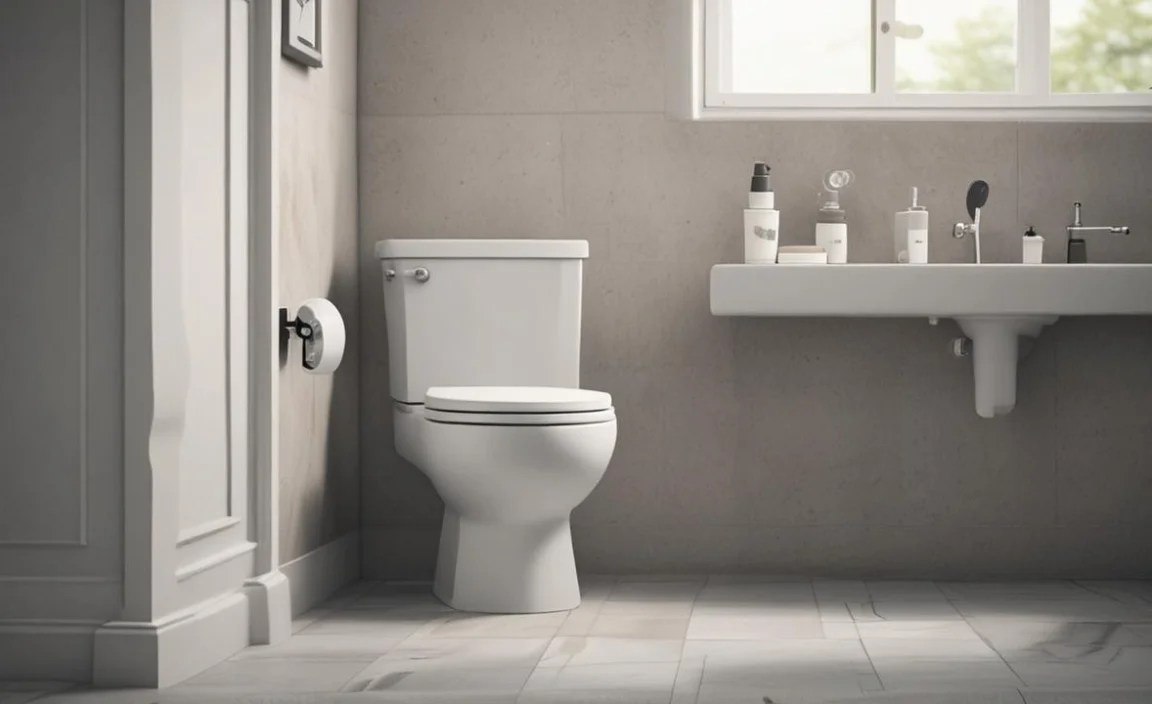
This is the visible water sitting in the bowl. As mentioned, it acts as a seal against odors. Its depth and surface area influence the effectiveness of the flush.
2. The Rim Jets
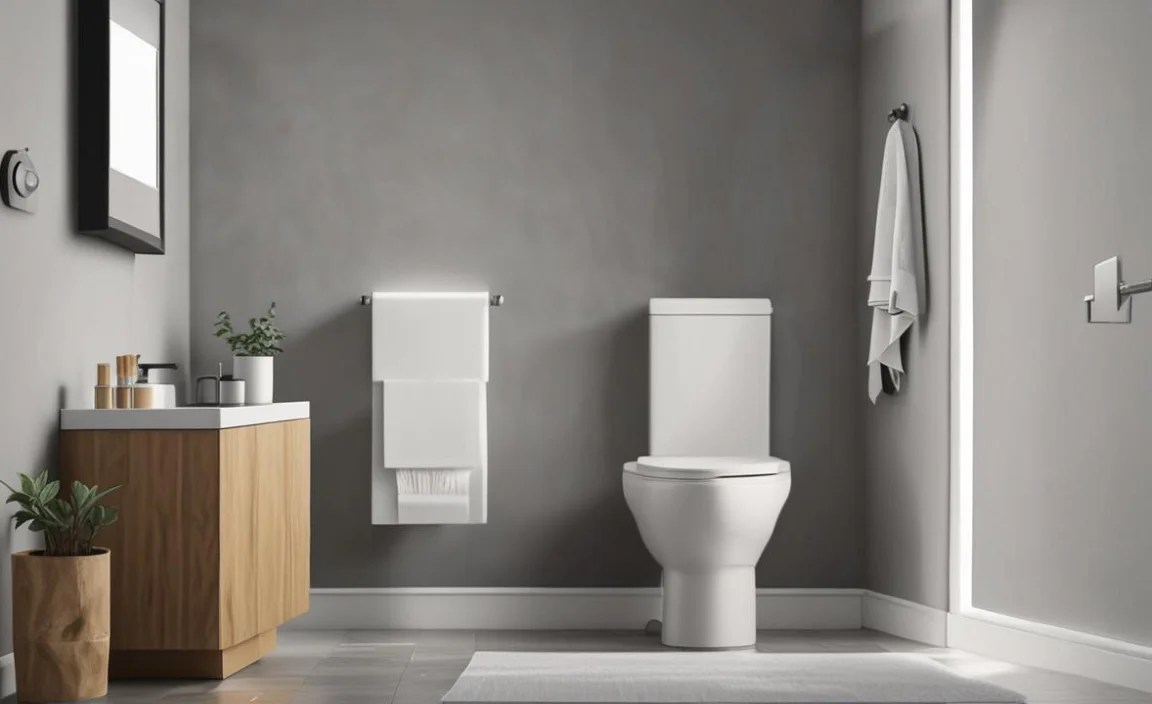
These are small holes located under the rim of the toilet bowl. When you flush, water is forced through these jets, helping to rinse the entire inner surface of the bowl, clearing away residue. The number and size of these jets can affect how thoroughly the bowl is cleaned.
3. The Trapway
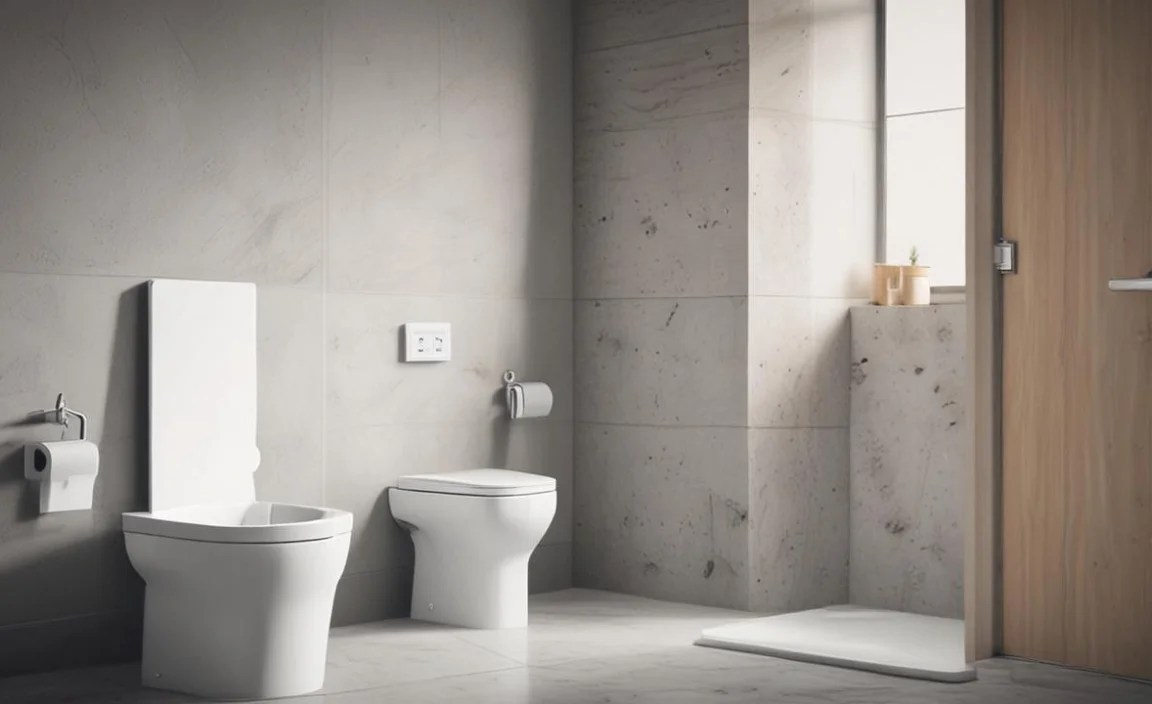
This is the S-shaped or P-shaped channel at the bottom of the toilet bowl that leads to the drainpipe. The curve of the trapway creates the water seal. It’s designed to be wide enough to carry waste away efficiently but curved enough to hold water. The diameter of the trapway is a key factor in a toilet’s waste-removal performance.
How a Toilet Flush Works: The Step-by-Step Process
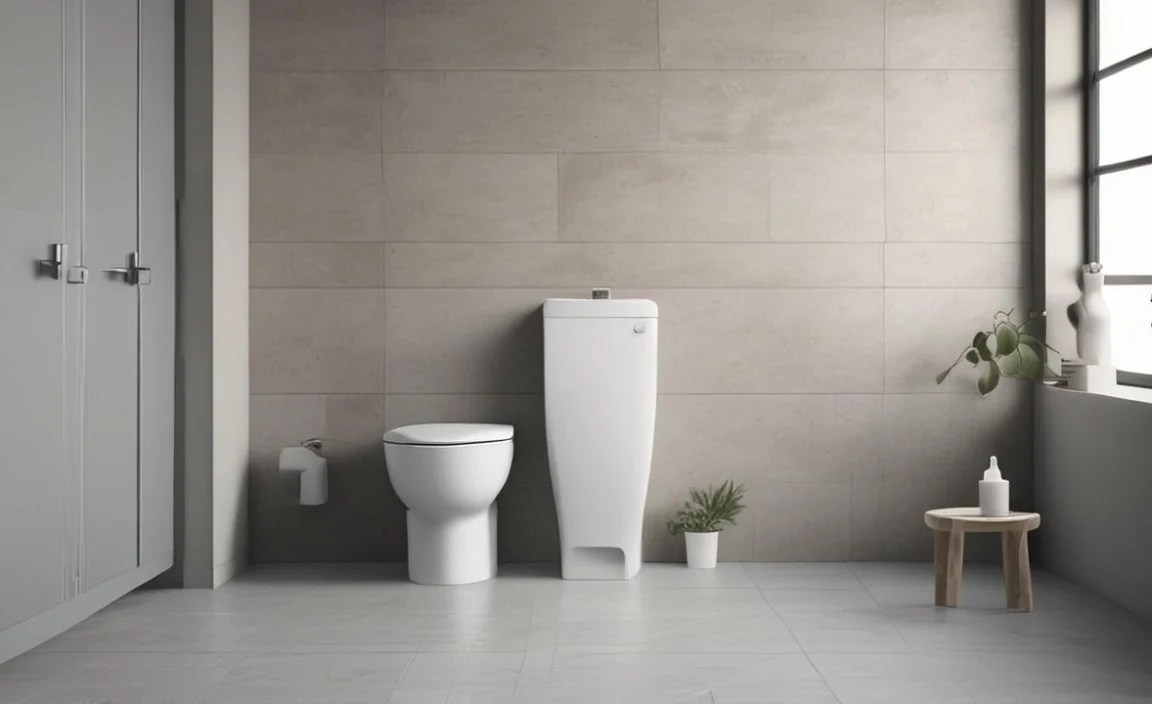
Understanding the sequence of events during a flush can help you troubleshoot issues. Here’s a simplified walkthrough:
- Initiation: You lift the flush handle.
- Lever Action: The handle pulls a chain or arm connected to the flapper (or flush valve seal) at the bottom of the tank.
- Water Release: The flapper lifts, allowing the water stored in the tank to rush through the opening into the toilet bowl.
- Syphon Action: As water fills the bowl, it rises high enough to enter the trapway. This creates a syphon effect, pulling waste and water rapidly out of the bowl and into the drainpipe.
- Flapper Closes: Once most of the water has drained from the tank, the flapper falls back into place, sealing the opening.
- Tank Refill: The drop in water level in the tank causes the float to lower, opening the fill valve.
- Bowl Refill: Water flows into the tank. A small portion of this water is diverted by the refill tube into the overflow tube, replenishing the water level in the bowl and re-establishing the seal.
- Valve Closes: As the tank fills to the set level, the float rises and signals the fill valve to shut off.
Types of Toilet Mechanisms

While the basic principles are the same, there are a few variations in how toilets are designed to flush and operate:
Gravity-Fed Toilets
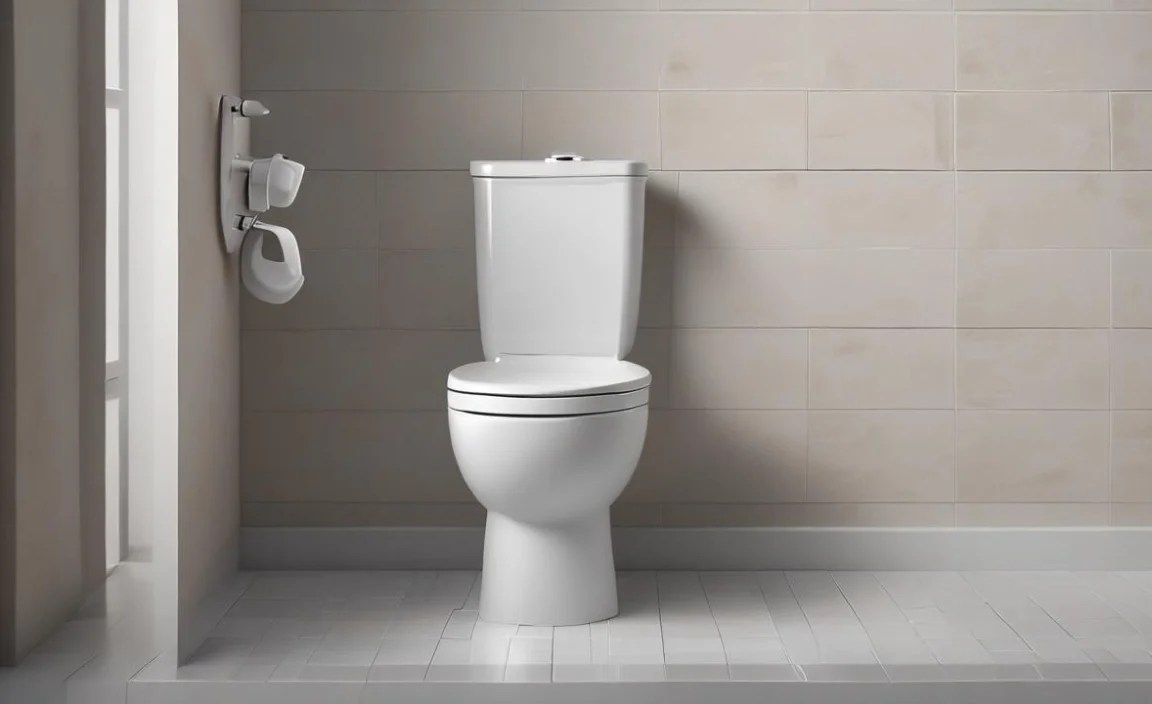
This is the most common type, especially in older homes. They rely solely on gravity and water pressure to remove waste. The tank holds a large volume of water, and when flushed, this water drops into the bowl, creating the siphon. They are generally reliable but can sometimes require more water per flush.
Pressure-Assisted Toilets
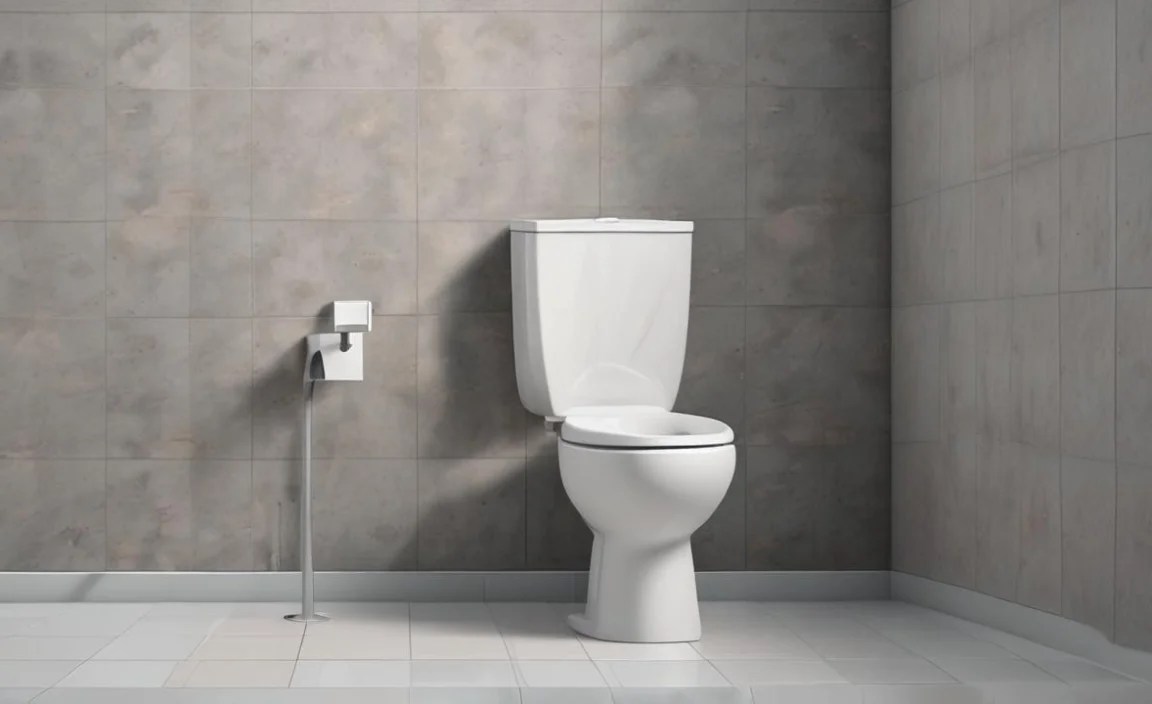
These toilets have a special tank that incorporates a sealed, air-filled chamber. When flushed, this chamber releases compressed air, forcing water into the bowl with much greater force than a gravity-fed system. This results in a more powerful and often more efficient flush, using less water per use. They can be a bit louder than gravity-fed toilets.
Dual-Flush Toilets
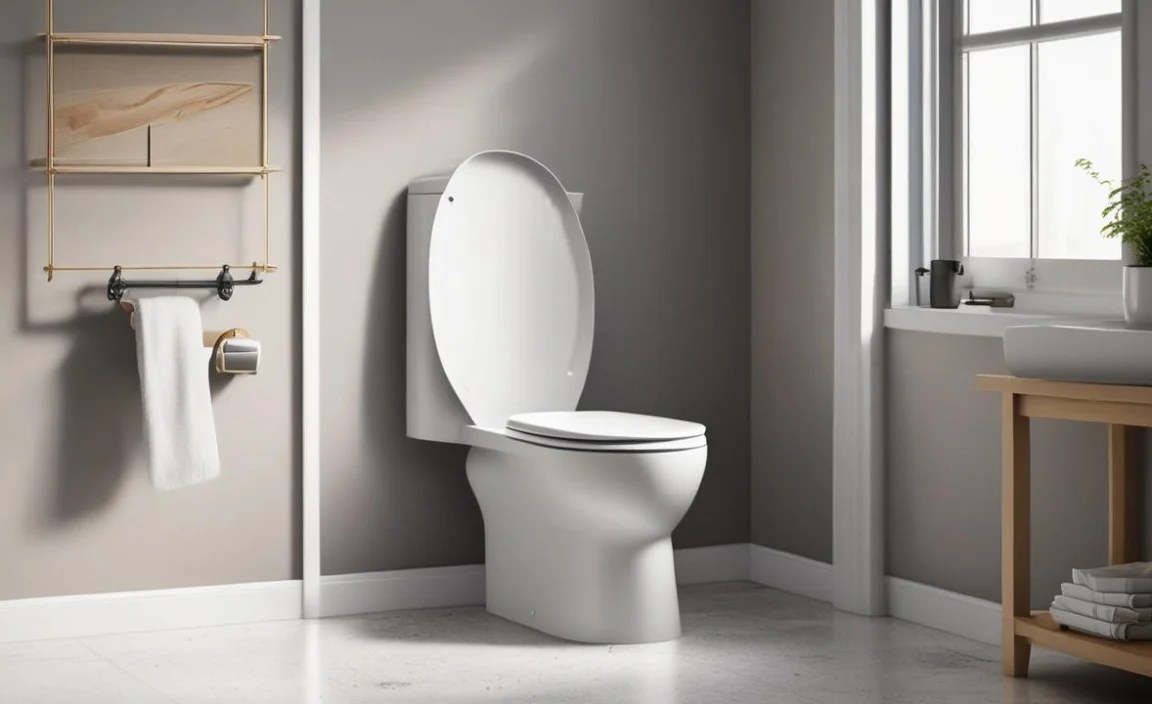
Designed for water conservation, dual-flush toilets offer two flushing options: a partial flush for liquid waste and a full flush for solid waste. This allows you to significantly reduce water usage over time. The controls are usually two buttons on top of the tank or a lever with two positions.
Common Toilet Problems and What They Mean
Even the best-designed toilets can encounter issues. Understanding what these problems signify can help you address them quickly.
Toilet Running Continuously
Meaning: Water is constantly trickling from the tank into the bowl. This is usually because the flapper isn’t creating a proper seal at the bottom of the tank, or the fill valve isn’t shutting off correctly.
Fix: Check the flapper for wear or debris. Ensure the chain isn’t too tight or too loose. For fill valve issues, adjust the float or replace the valve if worn.
Weak Flush
Meaning: The toilet doesn’t clear the bowl effectively, often leaving waste behind. This can be due to low water level in the tank, clogged rim jets, or a blocked trapway.
Fix: Ensure the tank fills to the proper level. Clean rim jets with a small brush or wire. For blockages, a plunger or auger might be needed (see tools below).
Leaking Toilet
Meaning: Water is visible around the base of the toilet or from the tank connections. This could be a faulty wax ring seal at the base, a loose tank-to-bowl connection, or a cracked tank/bowl.
Fix: Tighten tank bolts carefully. If the leak is at the base, the wax ring may need replacement, which is a more involved DIY task. Leaks from tank connections might involve replacing gaskets.
Toilet Won’t Flush
Meaning: Pressing the handle does nothing, or only a little water comes out. This might be a broken handle, a disconnected flush lever, or a completely blocked flush valve.
Fix: Check if the handle is loose or if the chain/arm to the flapper is detached. Ensure the flapper is not stuck closed.
Essential Tools for Beginner Toilet Maintenance
You don’t need a full professional toolkit to handle basic toilet upkeep. Here are a few essential items:
- Adjustable Wrench: For tightening or loosening nuts on water supply lines or tank bolts.
- Screwdriver Set: Phillips head and flathead screwdrivers are useful for various small repairs.
- Plunger: A flange plunger (with an extended horn at the bottom) is best for toilets to create a good seal in the drainpipe.
- Toilet Brush: For regular cleaning of the bowl.
- Small Utility Brush or Wire: For cleaning rim jets.
- Gloves: Disposable or reusable rubber gloves for hygiene.
- Bucket: To catch any water when working on the tank.
- Towel or Rags: For cleaning up spills.
Basic Maintenance Tips for Longevity
Keeping your toilet in good working order is simple with a little regular attention:
- Regular Cleaning: Use a toilet brush and appropriate cleaner to keep the bowl sanitized and free of buildup. This also allows you to spot any early signs of wear or leaks.
- Check the Tank: Periodically remove the tank lid and visually inspect the parts. Look for corrosion, wear, or loose connections.
- Listen for Running: Pay attention to whether your toilet runs continuously after a flush. This is the most common sign of a problem and often an easy fix.
- Conserve Water: If you have an older, less efficient toilet, consider installing a water-saving device or upgrading to a low-flow model. The EPA’s WaterSense program offers excellent resources for water-efficient fixtures.
- Don’t Ignore Small Leaks: A small drip can waste a significant amount of water over time and can be a sign of a larger issue developing.
When to Call a Professional
While many toilet issues are DIY-friendly, some situations require the expertise of a plumber:
- Major Leaks at the Base: A leak from the floor flange usually means the wax ring needs replacing, which can be tricky for beginners.
- Persistent Clogs: If a plunger or auger doesn’t clear a clog, it might be further down the main drain line.
- Cracked Porcelain: A crack in the tank or bowl is a serious issue that requires replacement.
- Low Water Pressure Issues: If multiple fixtures in your home have low pressure, it might indicate a problem with your main water line.
- Uncertainty: If you attempt a repair and are unsure if it’s done correctly, it’s always best to consult a professional to avoid further damage.
Toilet Parts and Functions Compared
Here’s a quick reference table summarizing the main components and their roles:
| Toilet Part | Primary Function | Common Issues |
|---|---|---|
| Flush Handle/Lever | Initiates the flush | Loose, stiff, or detached from flush mechanism |
| Flapper/Flush Valve Seal | Seals the tank opening; lifts to allow flush | Worn out, not sealing, causing running toilet |
| Fill Valve (Ballcock) | Refills tank after flush; stops water flow | Fails to shut off (running toilet), faulty float |
| Float Ball/Cup | Measures water level to control fill valve | Set too high/low, faulty mechanism |
| Overflow Tube | Safety feature to prevent tank overflow | (Rare failure) Could lead to constant bowl refill if fill valve fails |
| Toilet Bowl | Holds water, receives waste, flushes via trapway | Clogs, cracks, dirty rim jets |
| Trapway | Creates water seal, carries waste to drain | Blockages |
Conclusion
You’ve now got a solid understanding of what your toilet is, how it works, and some basic maintenance you can perform. From the simple push of a handle to the complex interplay of water and gravity within the tank and bowl, each part plays a vital role in a surprisingly efficient system. Knowing the names and functions of these components, like the flapper, fill valve, and trapway, empowers you to diagnose common issues and tackle simple fixes. Remember, regular cleaning and observant maintenance are your best allies in keeping your toilet functioning reliably. Don’t hesitate to use your newfound knowledge to identify problems and even perform minor repairs. For more complex issues, a quick call to a trusted plumber ensures everything stays in working order. Happy maintaining!
Frequently Asked Questions (FAQ)
Q1: What’s the most common reason a toilet runs constantly?

A: The most frequent cause is a worn or improperly seated flapper (flush valve seal). This seal is located at the bottom of the tank and is responsible for holding water in. If it’s old, damaged, or has debris on it, it won’t create a tight seal, allowing water to constantly leak into the bowl.
Q2: How can I tell if my toilet is leaking water from the tank to the bowl?

A: A simple test is to add a few drops of food coloring or a dye tablet to the water in your toilet tank. Wait about 15-20 minutes without flushing. If the color appears in the toilet bowl water, you have a leak from the tank (likely the flapper). If the color stays in the tank, the leak is elsewhere or there isn’t a tank-to-bowl leak.
Q3: My toilet isn’t flushing very well. What could be wrong?
A: Several things can cause a weak flush. It could be that the water level in the tank isn’t high enough (check the float adjustment), the rim jets under the bowl’s rim are clogged with mineral deposits (clean them with a brush), or there’s a partial clog in the trapway itself. Ensure the handle and chain are properly connected and taut enough.
Q4: What is the deal with the float ball or cup inside my toilet tank?
A: The float is linked to the fill valve. Its job is to rise with the water level in the tank. Once the water reaches the preset height, the float signals the fill valve to shut off, stopping the flow of water into the tank. If the float is set too low or is damaged, it can lead to an insufficient water level for flushing or continuous refilling.
Q5: Can I adjust the water level in my toilet tank?
A: Yes,
