
Quick Summary:
Discover clever and affordable toothbrush holder designs, all under $20, that organize your bathroom without breaking the bank. These space-saving and stylish solutions enhance your daily routine with smart, budget-friendly finds.
Tired of clutter on your bathroom counter? A messy toothbrush situation can start your day off feeling a little chaotic. Loose brushes, dried toothpaste, and limited space can add unnecessary stress to your morning routine. But don’t worry! You don’t need a big budget to get a neat and functional bathroom space. We’re going to explore some fantastic toothbrush holder designs that are not only practical and stylish but also incredibly affordable, all under the $20 mark. Get ready to transform your bathroom with simple, smart solutions.
Why a Good Toothbrush Holder Matters
A toothbrush holder is more than just a place to stash your brush; it’s a crucial element for bathroom hygiene and organization. Keeping your toothbrush upright and away from moisture helps it dry properly, which is essential for preventing the growth of bacteria. A well-designed holder also keeps your toothpaste and other small dental essentials in one convenient spot, reducing counter clutter and making your bathroom look tidier. For beginners in home upkeep, even these small accessories can make a big difference in creating a functional and pleasant living space.
Smart Toothbrush Holder Designs Under $20: Must-Have Finds

Finding affordable, effective solutions for everyday items is key. When it comes to toothbrush holders, the market offers a surprising array of options that blend functionality with style, all while keeping your wallet happy. These aren’t just basic plastic cups; we’re talking about innovative designs that solve common bathroom problems.
1. Adhesive Wall-Mounted Holders: The Space Savers
These are fantastic for small bathrooms or for anyone who hates counter clutter. They stick directly onto your tile or mirror, freeing up valuable counter space. Installation is typically a breeze – just peel and stick!
- Pros: Maximizes counter space, easy to install, often have drainage features to keep brushes dry, variety of styles (from minimalist to fun designs).
- Cons: Relies on strong adhesive; may not work on textured surfaces, potentially difficult to reposition.
Look for versions that include compartments for different brushes or even a small slot for toothpaste tubes. Many come in packs, so you can outfit the whole family. Brands like simplehuman (though some models exceed $20, look for their more basic adhesive options) or generic brands on Amazon offer excellent value.
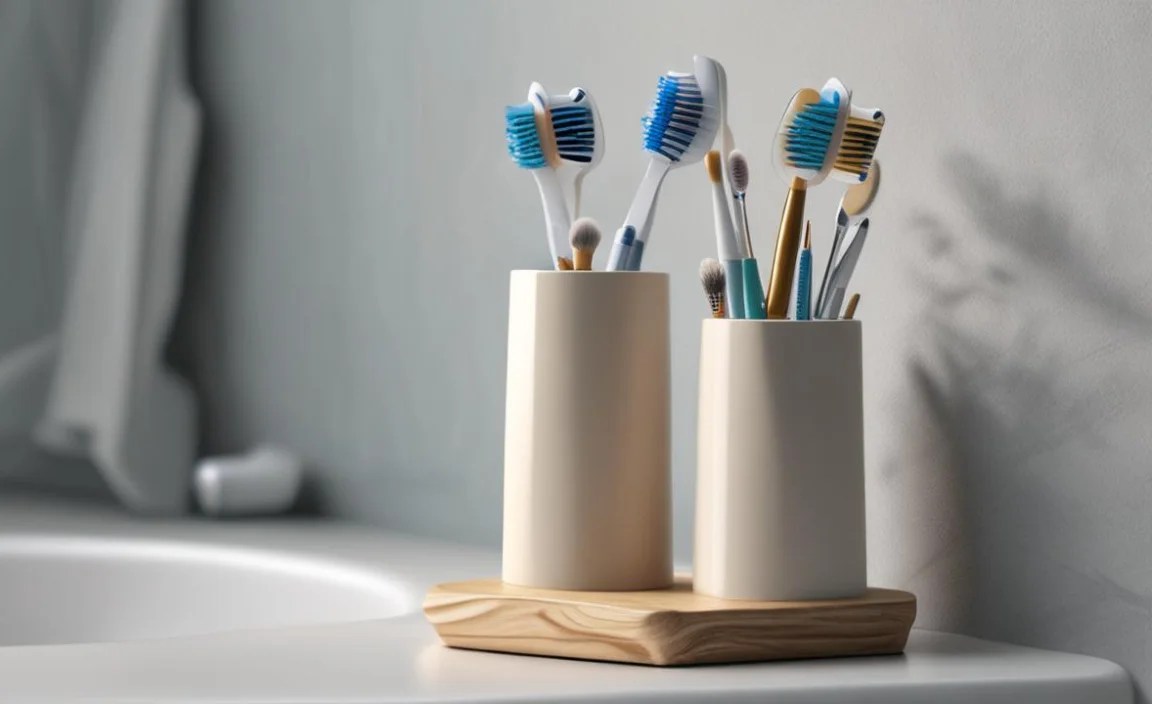
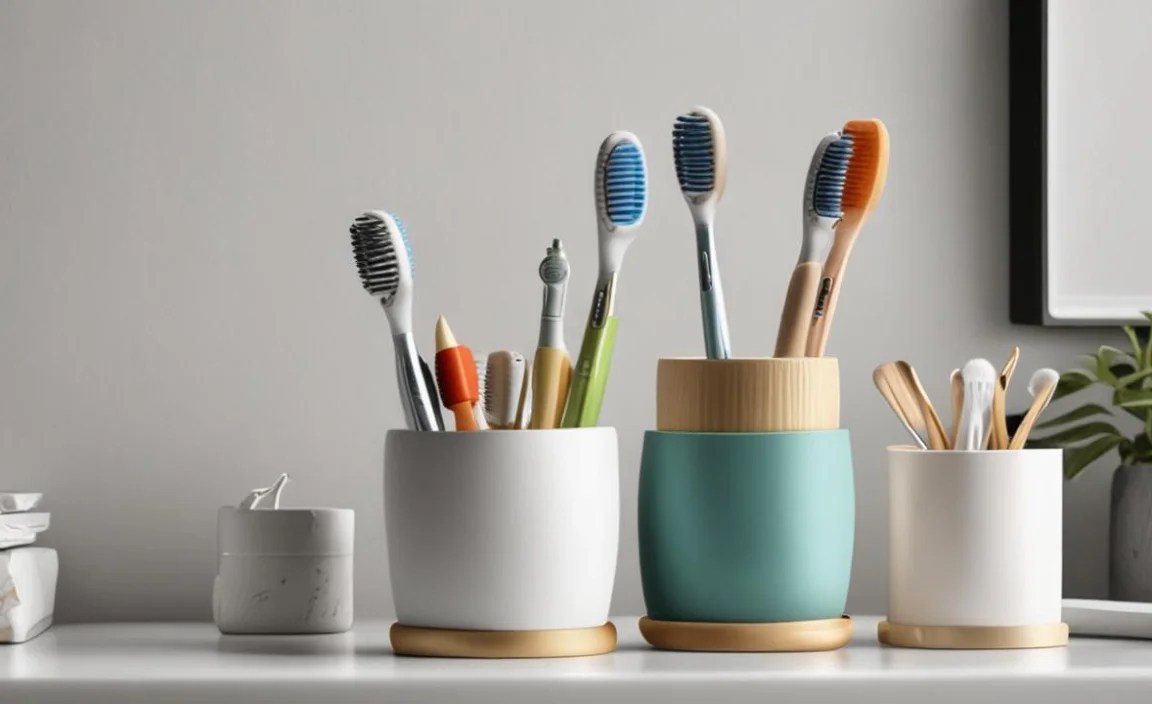
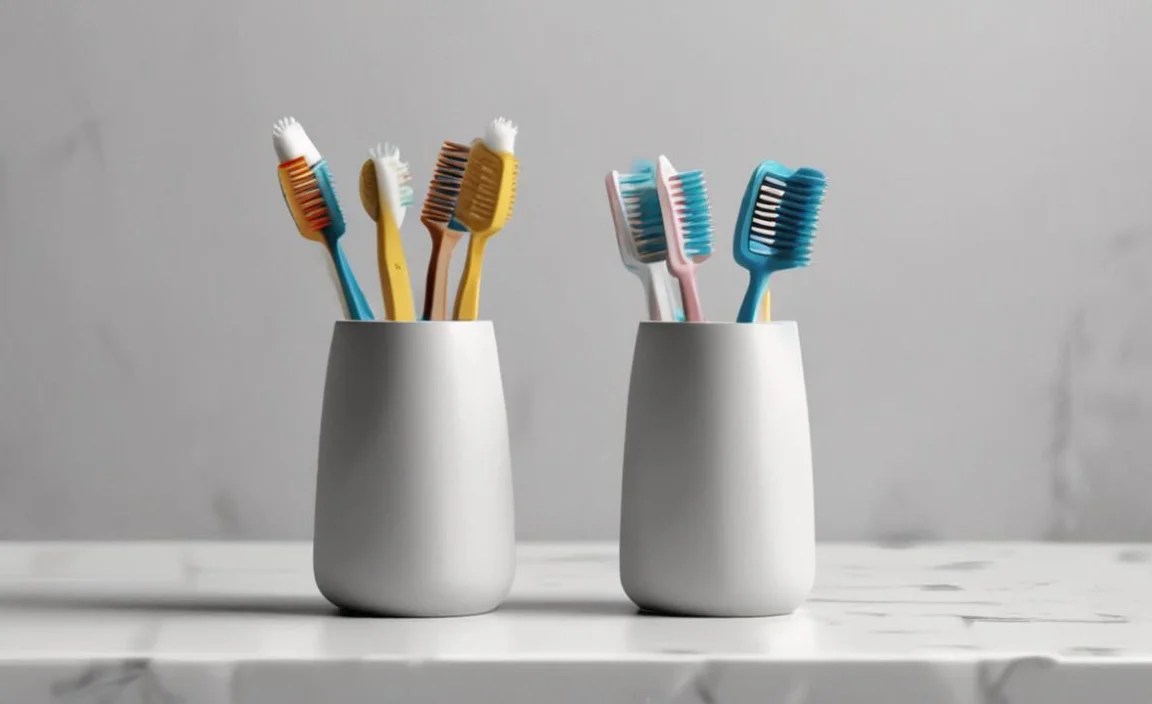
2. Countertop Caddies with Compartments: The Organizers

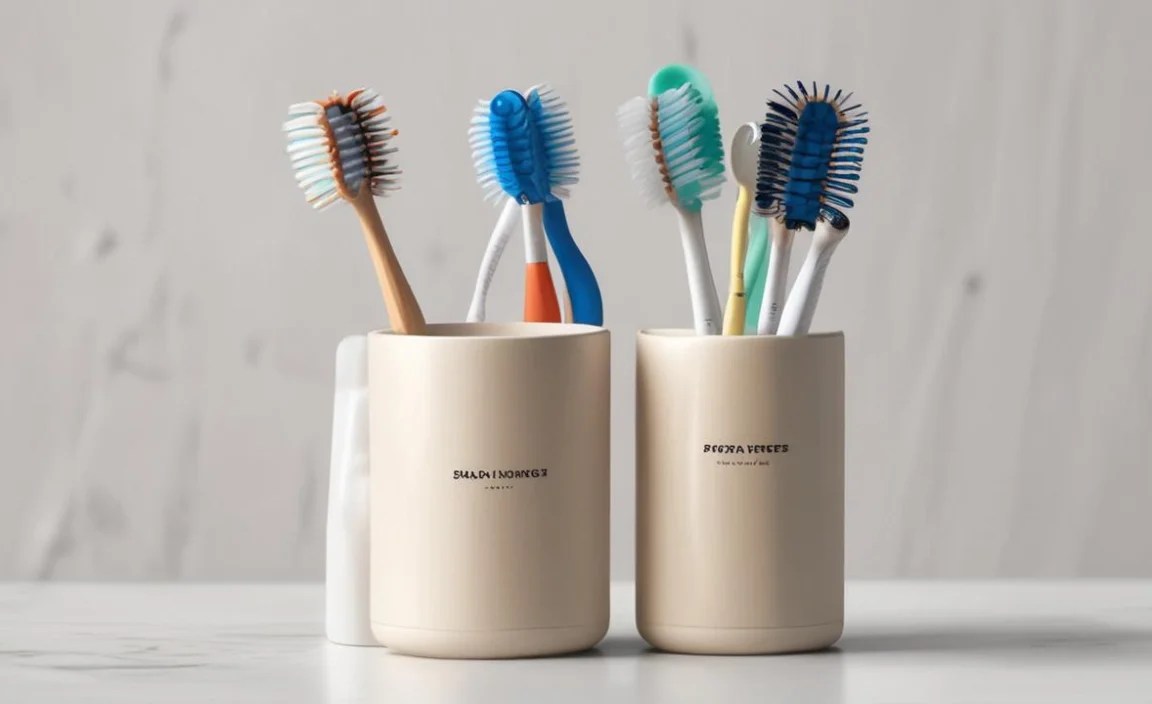
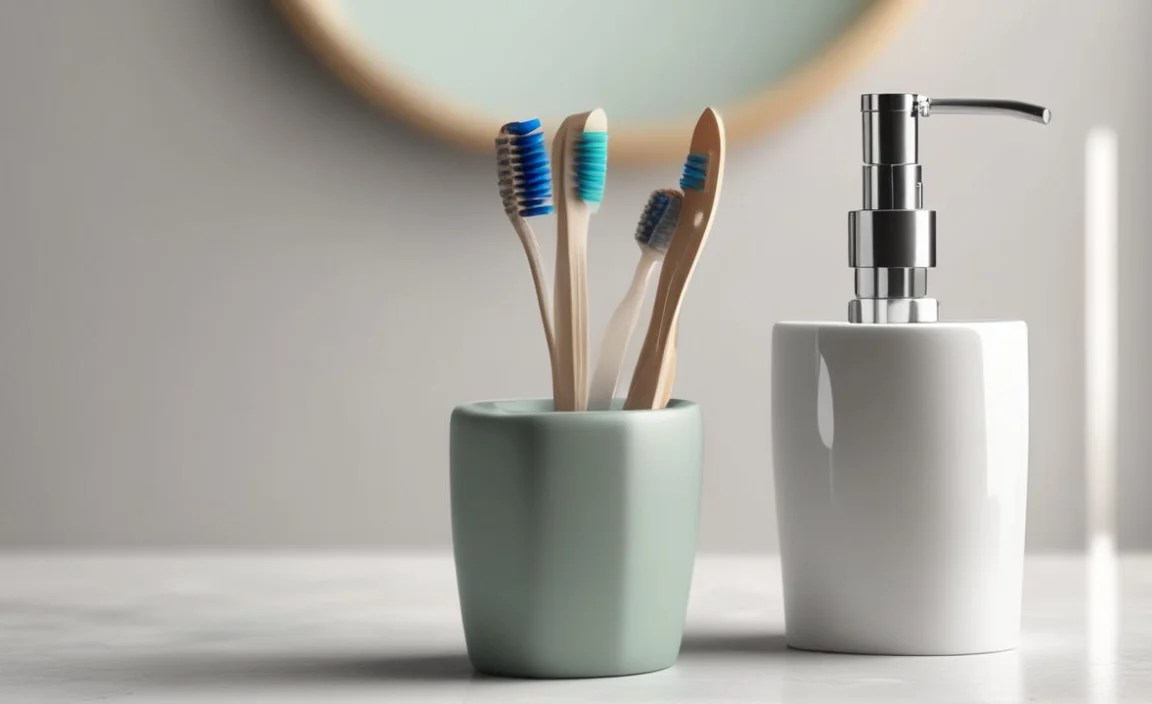
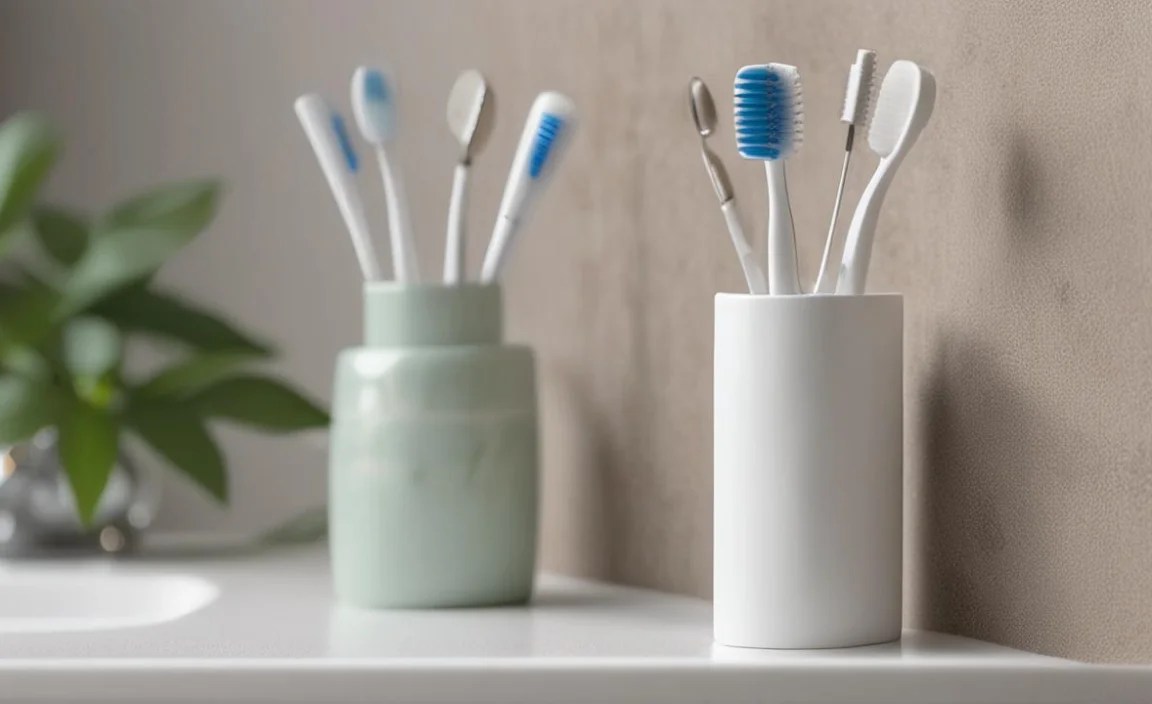
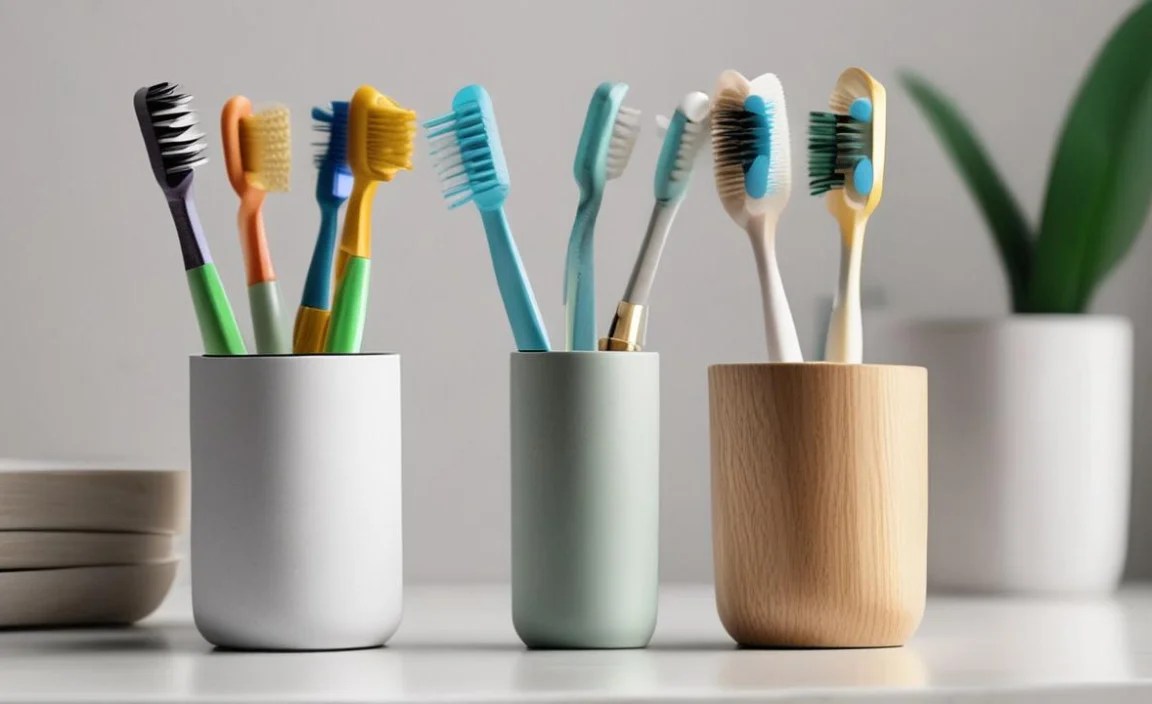
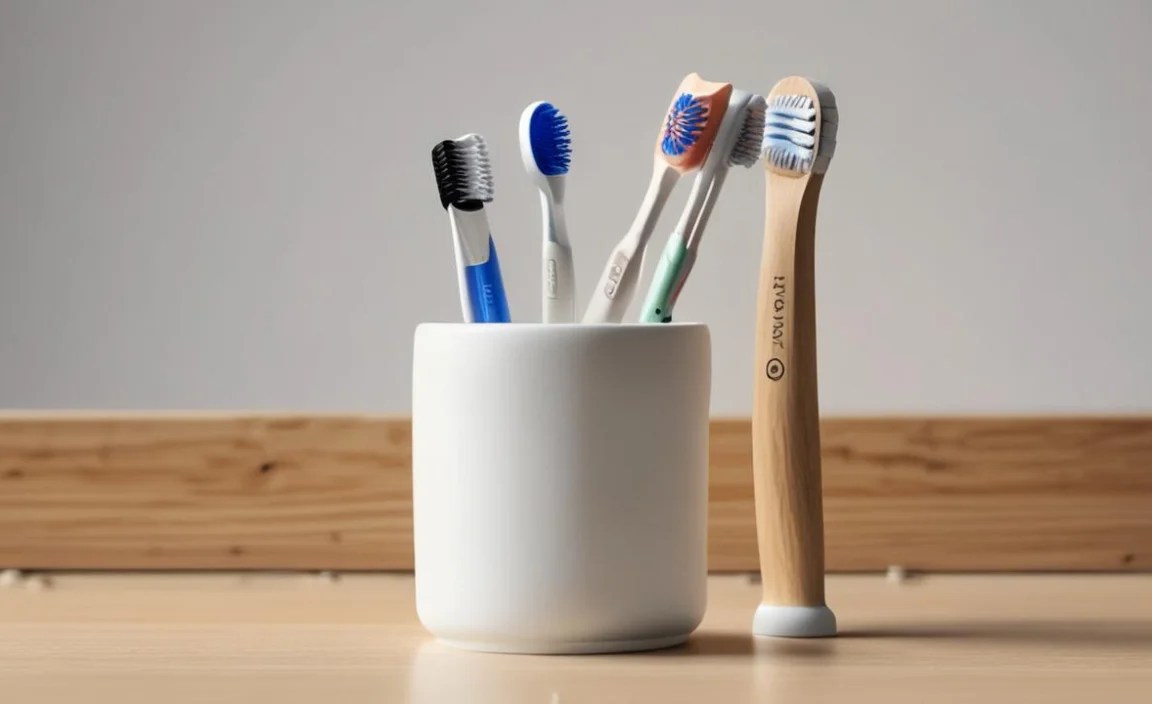
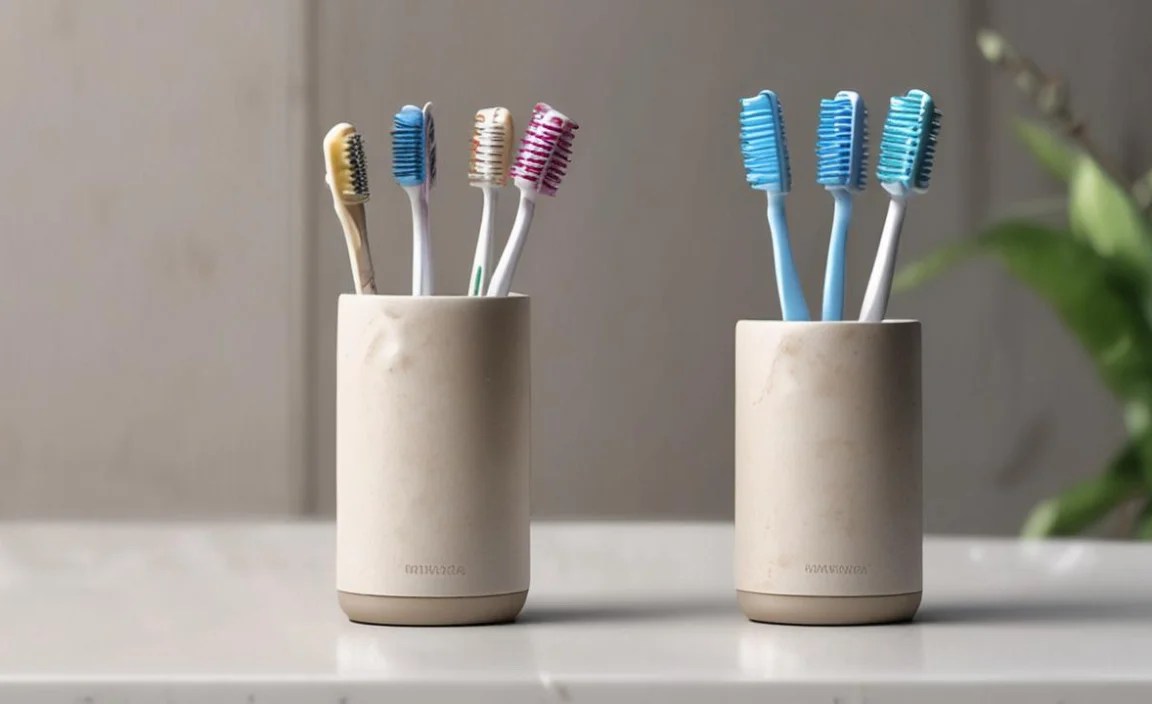
If you have a bit more counter space, a caddy can be a great option. These are usually small containers with multiple sections designed to hold toothbrushes upright, along with toothpaste, razors, or even small bottles. They keep everything together and prevent brushes from falling over.
- Pros: Keeps all dental items consolidated, offers stable storage, easy to move if needed, available in many materials like bamboo, ceramic, or plastic.
- Cons: Takes up counter space, requires regular cleaning to prevent grime buildup.
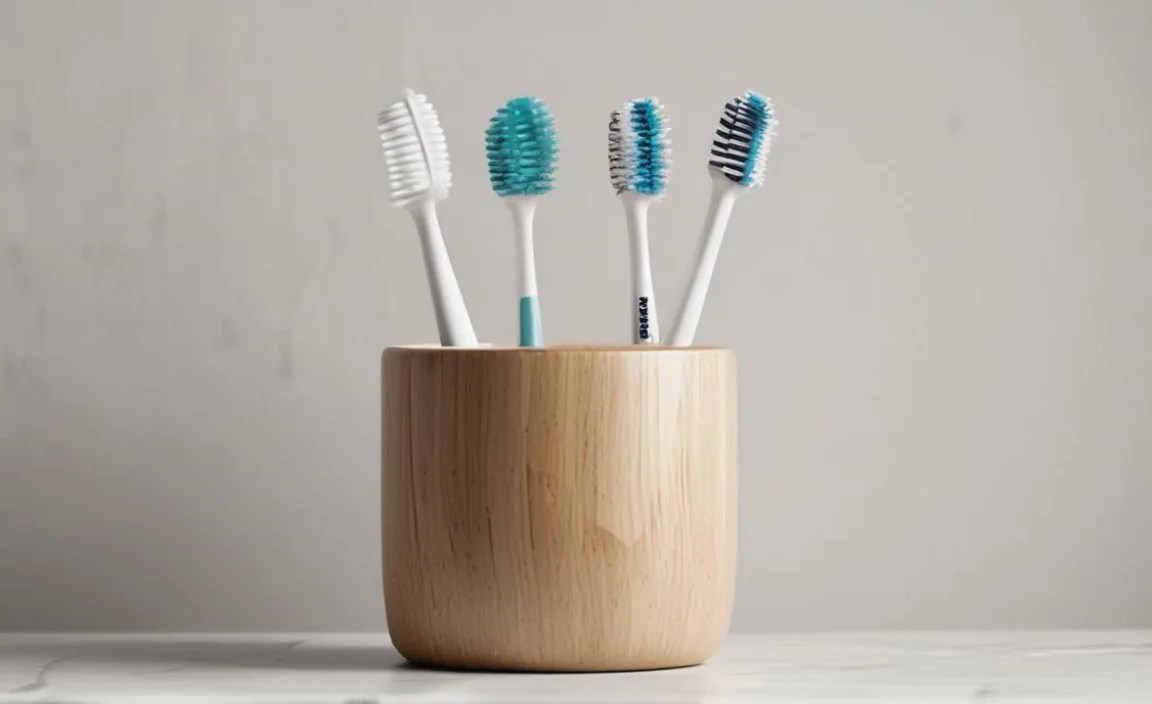
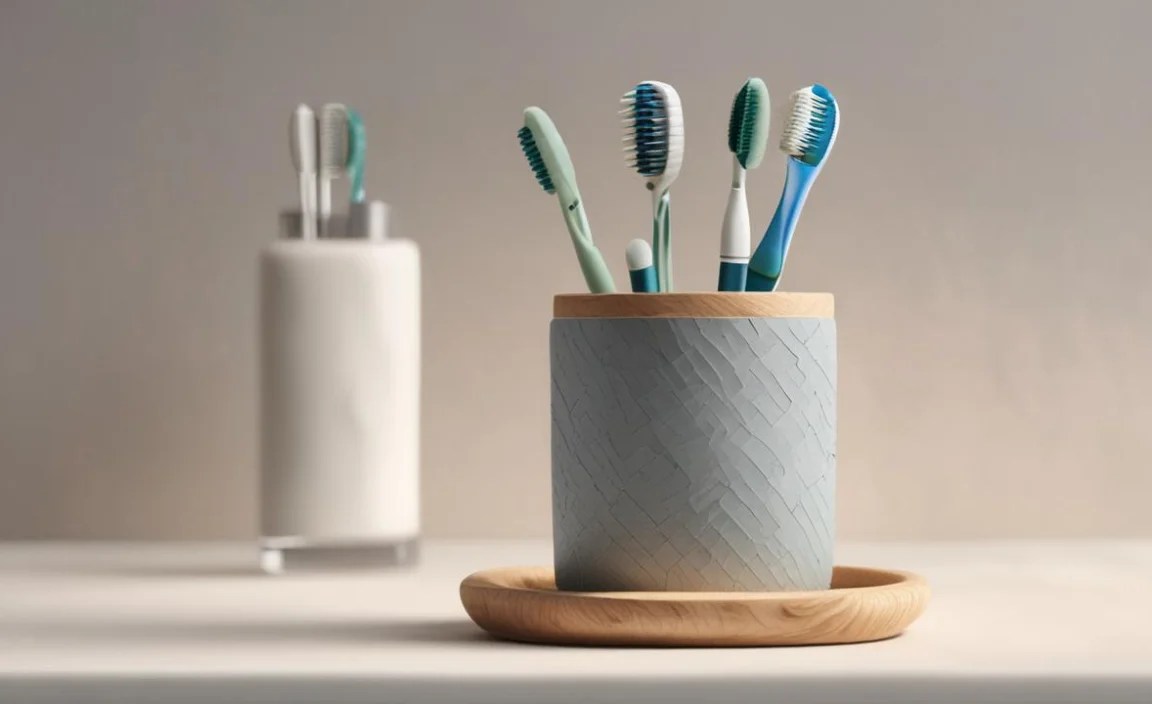
Bamboo caddies, in particular, are very popular for their natural look and good durability, often falling well within the $20 budget. You can find these at home goods stores or online retailers.
3. Magnetic Holders: The Modern Marvel
A truly innovative solution! Magnetic toothbrush holders use a small magnetic disc that attaches to the toothbrush handle. This magnetic piece then snaps onto a holder mounted on the wall, often near your mirror. It keeps the toothbrush suspended and airy.
- Pros: Extremely hygienic as brushes are suspended and dry quickly, sleek and modern look, very easy to use.
- Cons: Requires toothbrushes with metal in the handle or requires the included magnetic adaptor, potential for magnets to lose strength over time (rare).
Some kits come with multiple magnetic adapters, ensuring all family members can use the system. These are perfect for achieving a minimalist aesthetic in your bathroom. Search for “magnetic toothbrush holder” and you’ll find many options under $20.
4. Travel-Friendly Holders: The Versatile Choice
Even if you’re not frequent traveler, a travel toothbrush holder can be a great bathroom accessory. These are typically cases that enclose the toothbrush, protecting the bristles and keeping them clean. Many are designed with ventilation holes or a stand-up feature.
- Pros: Excellent for hygiene and bristle protection, portable, good for small spaces or apartments where a permanent holder might not be ideal.
- Cons: Can sometimes trap moisture if not designed well, single brush capacity.
They often come in bright colors or transparent designs. You can find these at most drugstores or online, making them a very accessible option under $20.
5. DIY and Upcycled Solutions: The Creative Approach
For the truly budget-conscious or crafty individual, a DIY toothbrush holder can be both functional and unique. Repurposing everyday items can lead to some surprisingly genius finds.
- Ideas:
- Mason Jars: A small mason jar with a few holes punched in the lid can hold toothbrushes upright.
- Tin Cans: Cleaned and decorated tin cans can serve as rustic holders. Ensure no sharp edges remain.
- Wooden Blocks: Drill holes into a small block of wood to create a sturdy, natural-looking holder.
- Scrap PVC Pipe: Cut pieces of PVC pipe and mount them vertically on the wall.
Safety Note: When upcycling, always ensure there are no sharp edges or materials that could leach chemicals. Smooth down any rough spots, especially on metal or wood.
Factors to Consider When Choosing Your Toothbrush Holder

Selecting the right toothbrush holder involves a few practical considerations to ensure it fits your needs and bathroom space perfectly. While price is a major factor (and we’re focusing on under $20!), don’t overlook these points for long-term satisfaction.
| Factor | Description | Why It Matters | Budget Friendly Aspect |
|---|---|---|---|
| Size & Capacity</strong | How many people will use it? How much counter space do you have? | Prevents overcrowding and ensures it fits your bathroom layout. | Smaller, simpler designs are usually cheaper. |
| Material</strong | Plastic, bamboo, ceramic, metal, or silicone. | Affects durability, aesthetics, ease of cleaning, and potential for mold/mildew. | Plastic and basic metal are often the most affordable. |
| Mounting Type</strong | Adhesive, suction cup, freestanding, or magnetic. | Determines how it stays in place and if it modifies your wall. | Adhesive and freestanding are typically less expensive than complex mounting systems. |
| Drainage & Ventilation</strong | Does it have holes or a design that allows air to circulate? | Crucial for drying toothbrushes and preventing bacteria growth. | Look for simple designs with inherent airflow rather than powered features. |
| Ease of Cleaning</strong | Can it be easily wiped down or disassembled? | Maintains hygiene and keeps your bathroom looking fresh. | Simple shapes without too many nooks and crannies are easier to clean. |
Step-by-Step Installation: Adhesive Wall-Mounted Holder Example
Let’s walk through installing one of the most popular budget-friendly options: an adhesive wall-mounted toothbrush holder. This is a straightforward process that requires minimal tools.
Tools You’ll Need:
- Your chosen adhesive toothbrush holder
- A clean, dry cloth (microfiber is ideal)
- Rubbing alcohol (optional, for better adhesion)
- A level (optional, for perfect placement)
Installation Steps:

- Choose the Location: Decide where you want the holder. Consider ease of access, height, and proximity to your sink. Ensure the surface is smooth and clean.
- Clean the Surface: Wipe the area thoroughly with a damp cloth to remove any dust, soap scum, or residue. For enhanced adhesion, lightly dampen the cloth with rubbing alcohol and wipe the spot. Let it air dry completely.
- Prepare the Holder: Peel off the protective backing from the adhesive strip on the back of the toothbrush holder. Be careful not to touch the adhesive part with your fingers, as oils can reduce its stickiness.
- Position and Press: Carefully align the holder on the wall where you want it. If you have a level, use it to ensure it’s straight. Once in position, press firmly against the wall, especially around the edges of the adhesive, for at least 30 seconds.
- Wait Before Use: This is crucial! Most adhesives need time to bond properly. Check the manufacturer’s instructions, but generally, it’s best to wait at least 24 hours before placing toothbrushes or other items in the holder. This ensures maximum holding power.
- Add Your Toothbrushes: After the waiting period, your new holder is ready to use! Place your toothbrushes in their designated spots.
Following these steps ensures your holder stays put and functions effectively. For more advanced mounting techniques on challenging surfaces, you might explore options recommended by organizations like This Old House, though for most basic installations, this method is sufficient.
Maintaining Your Toothbrush Holder for Longevity
Even the most genius toothbrush holder design needs a little care to keep it functioning well and looking good. Regular cleaning is key to preventing grime buildup and ensuring your dental tools are stored hygienically. For beginners, think of it like washing any other bathroom accessory.
Simple Cleaning Routine:
- Daily: Briefly rinse the holder and wipe away any visible toothpaste residue or water spots.
- Weekly: Give the holder a more thorough cleaning. Depending on the material:
- Plastic/Metal: Use warm, soapy water and a soft brush or cloth.
- Bamboo: Wipe with a damp cloth and mild soap. Avoid prolonged soaking, as it can damage the wood. Dry thoroughly.
- Ceramic: Wash with soapy water. For stubborn stains, a paste of baking soda and water can be effective.
- Drying: Ensure the holder is completely dry before placing dry toothbrushes back in. This prevents mildew.
For adhesive holders, periodically check the adhesion. If it seems to be loosening, you might need to re-clean the wall area and reapply or replace the adhesive strip (if possible). Most well-maintained holders, even inexpensive ones, can last for years.
Addressing Common Issues with Toothbrush Holders
While toothbrush holders are generally simple items, a few minor issues can crop up. Understanding these and how to fix them can save you frustration.
| Problem | Possible Cause | Solution | Beginner Tip |
|---|---|---|---|
| Adhesive Holder Falling Off</strong | Surface not clean, moisture, adhesive aged, improper installation. | Clean surface with rubbing alcohol, ensure it’s dry. Reapply if possible, or use a stronger alternative like a command strip adapter. | Always follow the waiting period after installation before putting weight on it. |
| Mold or Mildew Growth</strong | Poor ventilation, constant moisture, infrequent cleaning. | Clean thoroughly with a mild bleach solution (diluted) or vinegar. Ensure good airflow. | Let your toothbrushes air dry completely outside the holder for a while if needed. |
| Holder Feels Unstable</strong | Uneven surface, not fully secured, base is worn. | For freestanding holders, ensure it’s on a flat surface. For mounted, check screws or adhesive. | Rotate the holder occasionally to see if any part feels loose. |
| Toothbrush Bristles Touching</strong | Holder too narrow, too many brushes in one slot. | Use a holder with individual slots for each brush. Consider a different style if this is a persistent issue. | Looking for “individual compartment” holders can solve this. |
FAQ: Your Toothbrush Holder Questions Answered
Q1: What is the best material for a toothbrush holder?

A: Materials like silicone, plastic, and even some metals are easy to clean and resist moisture well. For a more natural look, bamboo is popular, but it requires more careful drying to prevent mold.
Q2: How often should I clean my toothbrush holder?

A: It’s best to give it a quick wipe-down daily to remove toothpaste residue. A more thorough cleaning with soap and water should be done at least once a week.
Q3: Can I put my electric toothbrush in a regular holder?

A: Some electric toothbrushes are bulky. Make sure the holder has wide enough slots or compartments, or consider specialized electric toothbrush holders, though these might exceed the $20 budget.
Q4: How do I prevent bacteria from growing on my toothbrush holder?

A: Ensure good ventilation so brushes can dry completely. Clean the holder regularly and rinse it after each use to remove debris.
Q5: Are suction cup holders reliable?
A: Suction cup holders can be reliable on very smooth, non-porous surfaces like glass or high-gloss tile. However, they can lose suction over time, especially in humid bathrooms. Adhesive holders are generally more stable long-term.
Q6: Where is the best place to put a toothbrush holder?

A: Generally, near the sink for easy access. Wall-mounted options save counter space. Ensure it’s not so close to the toilet that it can be contaminated by splashback, as recommended by dental professionals.
Q7: What if my bathroom tiles are textured? Can I still use an adhesive holder?

A: Textured tiles can be tricky for standard adhesives. You might need to use a strong, double-sided mounting tape designed for textured surfaces, or consider a freestanding countertop holder instead.
Conclusion
Keeping your bathroom tidy and your toothbrushes hygienic doesn’t require expensive renovations or fancy accessories. With a budget of under $20, you can find ingenious toothbrush holder designs that solve clutter problems and add a touch of style to your space. From space-saving wall-mounted options to sleek magnetic systems, there’s a perfect, affordable solution waiting for you. By choosing wisely and following simple maintenance tips, you can ensure your bathroom remains an organized and refreshing sanctuary, making your daily routine a little bit smoother, one brush at a time.
