
A well-designed toothbrush holder is a simple yet genius storage solution for keeping your bathroom tidy, hygienic, and organized. It prevents counter clutter, promotes faster drying of bristles, and protects your toothbrush from germs, ensuring a cleaner and more pleasant oral care routine for everyone in the family.
Keeping your bathroom sparkling clean and organized can feel like a constant battle, especially when it comes to those everyday essentials like toothbrushes. They tend to roam free on the counter, collecting dust and moisture, which isn’t ideal for something that goes in your mouth twice a day. But what if there was a simple fix? Genius toothbrush holder designs offer a brilliant way to store your brushes, keeping your sink area neat, your toothbrushes hygienic, and your morning routine running smoothly. Let’s dive into how the right holder can transform your bathroom space and make oral care that much better.
Why Toothbrush Holder Design Matters

It might seem like a small detail, but the design of your toothbrush holder plays a surprisingly big role in your bathroom’s overall functionality and cleanliness. A good design isn’t just about aesthetics; it’s about practicality and hygiene. Think about it: your toothbrush is exposed to air, moisture, and all sorts of bathroom particles. Without proper storage, it can become a breeding ground for bacteria, which is the last thing you want before brushing your teeth.
Beyond hygiene, an effective toothbrush holder combats clutter. Loose toothbrushes scattered across the sink can make even a tidy bathroom look messy. This is where smart design comes in, offering a designated, structured place for each brush. This simple organization can make cleaning your bathroom easier and create a more serene environment.
Common Toothbrush Storage Problems
Before we look at solutions, let’s acknowledge the common issues people face:
- Countertop Clutter: Toothbrushes taking up precious counter space, making it hard to clean around them.
- Moisture Buildup: Brushes not drying properly, leading to a damp, unhygienic environment around the holder.
- Germ Exposure: Bristles exposed to airborne particles, toilet spray (yes, it’s a thing!), and general bathroom grime. The U.S. Department of Health and Human Services suggests that toothbrush contamination can occur from contact with fecal matter, especially if the toilet is flushed with the lid up.
- Toothbrushes Falling Over: Holders that are too shallow or unstable causing brushes to fall onto the sink.
- Difficulty Cleaning: Holders that are hard to clean themselves, accumulating grime and mold.
These problems are relatable for many, but they all have elegant solutions with the right toothbrush holder design.
Types of Toothbrush Holders: Finding Your Perfect Fit

The world of toothbrush holders is surprisingly diverse, with designs catering to different needs, bathroom styles, and storage preferences. Choosing the right one can elevate your bathroom’s organization and hygiene.
Wall-Mounted Toothbrush Holders
These are fantastic space-savers, mounting directly onto your bathroom wall, typically near the sink or mirror. They keep brushes elevated and out of the way.
Pros:
- Maximizes Counter Space: Frees up your sink area.
- Easy Access: Usually positioned at eye level.
- Various Styles: From simple adhesive strips to screw-in units.
- Hygienic: Keeps brushes elevated and away from sink splashback.
Cons:
- Requires Installation: Some may need drilling.
- Adhesive Issues: Cheaper adhesive models might fall over time, especially in humid environments.
- Limited Portability: Not easily moved around.
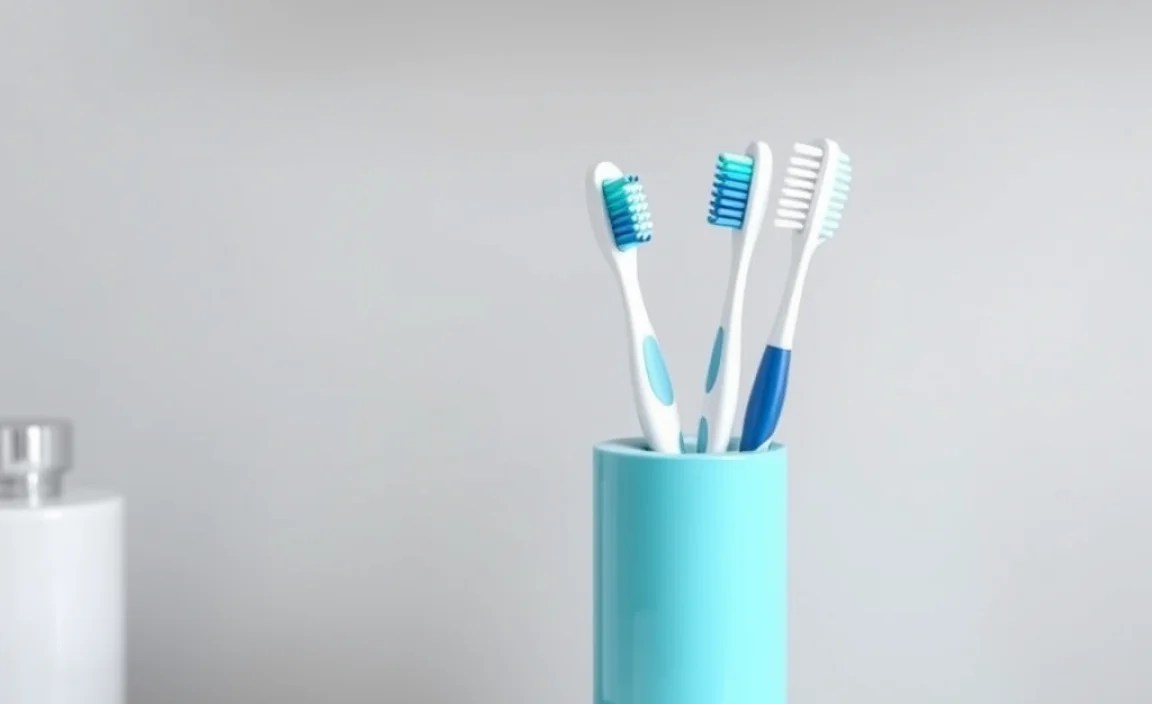
Countertop Toothbrush Holders & Cups
The classic choice, these holders sit directly on your sink counter. They come in many forms, from simple ceramic cups to elaborate multi-compartment organizers.
Pros:
- No Installation Needed: Ready to use right out of the box.
- Portable: Easy to move for cleaning or rearranging.
- Variety: Huge range of materials, sizes, and capacities.
- Can Hold More: Some can store toothpaste, floss, or other dental accessories.
Cons:
- Takes Up Counter Space: Can contribute to visual clutter if not well-designed.
- Moisture Traps: Bases can collect water, leading to mold if not cleaned regularly.
- Less Hygienic: Brushes might be closer to sink splashes.
Adhesive/Suction Cup Toothbrush Holders
These are a great option for renters or those who don’t want to drill holes. They attach to smooth surfaces like mirrors or tiles using strong adhesive or suction cups.
Pros:
- Easy to Install & Remove: No damage to walls.
- Flexible Placement: Can be attached to tiles, glass, or mirrors.
- Space-Saving: Often compact and wall-mounted.
Cons:
- Reliability Concerns: Suction cups can lose grip over time, especially in steamy bathrooms.
- Surface Limitations: Only work on smooth, non-porous surfaces.
- Weight Limits: May not hold very large or heavy items.
Toothbrush Holders with Drying Features (Ventilation & UV)
These are the high-tech solutions for maximum hygiene. They incorporate features to ensure brushes dry quickly or even undergo sanitization.
Pros:
- Superior Hygiene: Promotes faster drying, reducing bacteria.
- UV Sanitization: Kills germs on toothbrush heads.
- Reduced Odor: Properly dried brushes are less likely to develop mildew smells.
Cons:
- Higher Cost: Electronic features increase the price.
- Requires Power: Many need batteries or to be plugged in.
- Complexity: More parts to potentially break or clean.
Travel Toothbrush Holders
Designed for portability, these cases protect your toothbrush while you’re on the go. They often have vent holes to allow the brush to dry between uses.
Pros:
- Portability: Ideal for travel, gym bags, or overnight stays.
- Protection: Keeps toothbrush clean and bristles intact.
- Compact: Easy to fit into small spaces.
Cons:
- Can Trap Moisture: If not allowed to air out, can become damp.
- Not for Regular Use: Best used for travel, not as a permanent bathroom fixture.
Key Design Elements for the Perfect Toothbrush Holder
When you’re looking for a toothbrush holder that’s both practical and effective, several design elements stand out. These features make a holder genuinely “genius,” solving common problems and enhancing your daily routine.
Material Matters
The material of your toothbrush holder influences its durability, hygiene, and aesthetics.
Here’s a quick look at common materials:
| Material | Pros | Cons | Best For |
|---|---|---|---|
| Ceramic/Porcelain | Durable, easy to clean, classic look, heavyweight (stable). | Can chip or break if dropped, can be heavy. | Traditional or spa-like bathrooms. |
| Plastic (ABS, Acrylic, Silicone) | Lightweight, affordable, many colors/designs, water-resistant. Silicone can offer grip. | Can look cheap, may stain or scratch over time, some plastics can harbor bacteria if not cleaned. | Budget-friendly, modern bathrooms, kids’ bathrooms. |
| Stainless Steel | Durable, rust-resistant, sleek modern look, easy to sanitize. | Can be prone to fingerprints, can be more expensive. | Modern, minimalist, or industrial bathrooms. |
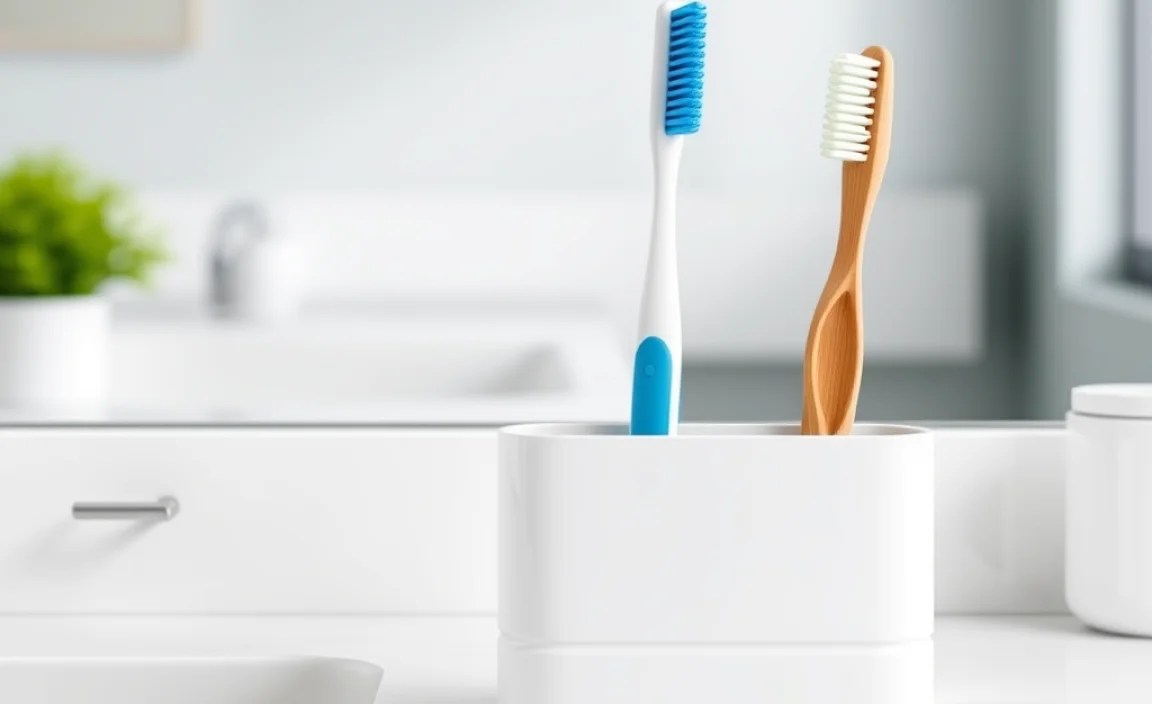
| Wood/Bamboo | Natural aesthetic, eco-friendly option (bamboo), can be stylish. | Can be susceptible to water damage/mold if not sealed properly, requires more careful cleaning. | Eco-conscious homes, rustic or bohemian bathrooms. |
| Glass | Elegant, easy to see dirt build-up, easy to sanitize. | Fragile, can break if dropped. | Upscale or minimalist bathrooms. |
Compartmentalization and Slot Design
A genius holder provides adequately sized slots for each toothbrush. These slots should:
- Keep Brushes Separate: Prevents bristles from touching, which is crucial for hygiene.
- Allow Airflow: Slots should be open enough at the top or sides for air to circulate, helping brushes dry faster.
- Secure Grip: Hold toothbrushes upright without them tipping over.
- Accommodate Different Sizes: Some holders have varying slot sizes or flexible silicone to fit electric toothbrush heads and manual brushes.
Drainage and Ventilation
This is a game-changer for hygiene. Holders with built-in drainage holes at the bottom or open slots allow water to escape, preventing standing water that can lead to mold and bacteria growth. Good ventilation helps the toothbrush bristles dry completely between uses. This is especially important for preventing the growth of odor-causing bacteria.
According to the National Center for Biotechnology Information (NCBI), toothbrush contamination is a prevalent issue, and proper drying is a key factor in minimizing it.
Ease of Cleaning
A holder that’s difficult to clean will inevitably become a source of grime. Genius designs are often:
- Dishwasher Safe: Many plastic or ceramic models can go straight into the dishwasher.
- Disassemblable: Holders with removable parts (like a base tray) make it easy to wash away soap scum or toothpaste residue.
- Smooth Surfaces: Materials like stainless steel or glazed ceramic are non-porous and easier to wipe down.
Stability and Mounting
Whether it’s a countertop model or a wall-mounted one, stability is key. A holder that wobbles or falls is both annoying and potentially unhygienic. Look for:
- Weighted Bases: For countertop holders, a heavier base prevents tipping.
- Non-Slip Feet: Rubber or silicone feet grip surfaces.
- Secure Wall Mounts: Strong adhesives, reliable suction cups, or secure screws for wall-mounted options.
Aesthetics and Bathroom Harmony
While functionality is paramount, a toothbrush holder is also a visible bathroom accessory. A genius design integrates seamlessly with your bathroom’s decor. Whether you prefer minimalist, modern, rustic, or playful styles, there’s a holder to match.
Step-by-Step Guide: Choosing and Installing Your Toothbrush Holder
Selecting and setting up your new toothbrush holder is straightforward. Follow these steps to ensure you get the best solution for your bathroom.
Step 1: Assess Your Needs
Before you buy, think about:
- How many toothbrushes need storing? (Include electric toothbrush heads, manual brushes, and any others like tongue scrapers).
- How much space do you have? Measure your counter space or available wall area.
- What’s your bathroom style? Modern, traditional, rustic, fun?
- Your budget? Holders range from a few dollars to over $50 for high-tech models.
- Do you have young children? Kid-friendly designs can make brushing more fun and ensure brushes are stored safely.
Step 2: Choose the Right Type and Material
Based on your assessment, decide which type of holder (wall-mounted, countertop, adhesive, etc.) and material (plastic, ceramic, stainless steel, etc.) best suits your needs. For maximum hygiene, prioritize designs with good ventilation and drainage.
Step 3: Installation (If Necessary)
For Wall-Mounted Holders (Non-adhesive):
- Mark the Spot: Hold the holder against the wall where you want to install it. Use a pencil to mark the screw holes.
- Drill Pilot Holes: Use a drill with an appropriate bit size for your screws and wall anchors. If you’re drilling into tile, use a tile drill bit first and then switch to a masonry bit. If you’re unsure about drilling into tiles, there are great guides like this one from Family Handyman.
- Insert Anchors: If drilling into drywall or plaster, insert wall anchors into the pilot holes.
- Attach the Holder: Align the holder with the holes and screw it securely into place.
For Adhesive or Suction Cup Holders:
- Clean the Surface: Ensure the wall or tile area is completely clean, dry, and free of grease or soap residue.
- Apply Adhesive/Suction Cup: Follow the manufacturer’s instructions. For adhesives, this usually means peeling off a backing and pressing firmly for a set amount of time. For suction cups, press firmly to create a seal.
- Allow Adhesive to Set: If using strong glue, some manufacturers recommend letting it cure for up to 24 hours before hanging anything on it.
For Countertop Holders:
- Simply Place: Position the holder on a flat, stable surface on your counter.
Step 4: Load Your Toothbrushes
Place your toothbrushes into their designated slots. If you have an electric toothbrush, ensure the charging base fits or that you have separate charging docks if needed.
Step 5: Regular Cleaning and Maintenance
Daily: Rinse the holder if it’s removable, or wipe down surfaces accessible with a cloth. Ensure brushes are positioned to dry.
- Weekly: Deep clean the holder. Use a toothbrush or small brush to scrub any nooks and crannies. If it’s dishwasher safe, run it through a cycle.
- Monthly/As Needed: Check wall mounts for stability. Re-apply adhesive or tighten screws if necessary, especially if you notice any slipping.
Creative Toothbrush Holder Ideas
Beyond the standard options, some creative designs can add personality and improved function to your bathroom storage.
Integrated Bathroom Storage
Some modern vanity units and medicine cabinets come with built-in toothbrush holders or compartments designed specifically for oral hygiene tools. These offer a streamlined look and keep everything consolidated.
Magnetic Holders
These systems often involve a magnetic cap that attaches to your toothbrush handle and a wall-mounted base. The toothbrush then “sticks” magnetically to the wall, keeping it elevated and dry. This offers a futuristic look and excellent separation.
“Smart” Holders with Timers or Dispensers
For the tech-savvy, some advanced holders incorporate features like automatic toothpaste dispensers, timers to ensure you brush for the recommended two minutes, or even UV sanitizing compartments. For example, some UV sanitizers claim to kill up to 99.9% of germs. Companies like Steriking offer such solutions, though for consumer-grade products consider brands like VIOlight or Philips Sonicare. Ensure you are familiar with the hygiene claims of any UV product you consider.
DIY Toothbrush Holders
For the crafty and budget-conscious, a DIY project can be rewarding. Simple ideas include:
- Repurposing small jars or vases and drilling holes in the lid.
- Attaching PVC pipes or small containers to a piece of wood or a backsplash.
- Using a block of wood with holes drilled to the appropriate size.
Always ensure your DIY creation allows for drainage and ventilation.
FAQ: Toothbrush Holder Design
Q1: How often should I clean my toothbrush holder?
A1: It’s best to clean your toothbrush holder weekly. This prevents the buildup of soap scum, toothpaste residue, and potential mold growth, ensuring a hygienic storage space for your toothbrushes.
Q2: What is the most hygienic type of toothbrush holder?
A2: Holders that promote fast drying and ventilation are most hygienic. Designs with open slots, drainage holes, or those that utilize UV sanitization (though less common for basic holders) are excellent choices. Keeping bristles separate is also key.
