
Get a tidy bathroom fast with toothbrush holder designs that include smart storage. These clever solutions keep your toothbrushes neat, dry, and your counter clutter-free, making your morning routine smoother. Explore functional and stylish options that organize more than just your brushes.
Tired of messy bathroom counters? Toothbrushes rolling around, toothpaste tubes scattered, and that general feeling of disarray can really start your day off on the wrong foot. It’s a common problem, but the good news is that a simple change can make a huge difference. You don’t need a complete bathroom remodel to achieve harmony; often, a smart toothbrush holder is all it takes.
We’ll walk you through clever toothbrush holder designs that do more than just hold brushes. They’re about intelligent organization, bringing a sense of calm and efficiency to your daily routine. Get ready to discover how a small, functional item can transform your bathroom space.
Why a Toothbrush Holder with Storage is a Game-Changer

Think about your typical bathroom sink area. It’s a high-traffic zone, especially in the morning. Toothbrushes, toothpaste, floss, mouthwash, razors – they all need a home. Without a proper system, these essentials can quickly create an eyesore.
A traditional toothbrush holder might just keep your brushes upright, but what about everything else? That’s where the “genius organization” comes in. A toothbrush holder with built-in storage is designed to tackle multiple needs at once. It’s about maximizing vertical space, keeping items separate and hygienic, and eliminating that persistent counter clutter.
Benefits to Consider:
- Hygiene: Keeping toothbrushes separate and allowing them to air dry helps prevent the spread of germs.
- Organization: Everything has its place, making it easy to find what you need.
- Space-Saving: Many designs utilize vertical space, freeing up valuable counter real estate.
- Aesthetics: A well-designed holder can actually enhance your bathroom’s look.
- Reduced Clutter: No more searching for toothpaste or misplaced floss.
Types of Toothbrush Holder Designs with Storage

The world of toothbrush holders has evolved far beyond simple cups. Today, you can find a variety of designs tailored to different needs and bathroom styles. Let’s explore some of the most popular and effective options:
1. Wall-Mounted Dispensers with Compartments
These are incredibly popular for a reason. Typically mounted to the wall using adhesive or screws, they often feature a toothpaste dispenser and multiple slots for toothbrushes. Some even include small drawers or shelves for other essentials.
- How they work: You load your toothpaste tube into the dispenser, which then provides a measured amount with a push. The toothbrush slots are usually divided, keeping each brush separate.
- Storage capabilities: Often hold 2-5 toothbrushes, dispense toothpaste, and sometimes have small nooks for cotton swabs or small items.
- Pros: Excellent space-savers, keep counters clear, often have a streamlined, modern look, automatic toothpaste dispensing is convenient and reduces waste.
- Cons: Requires wall mounting (though most are easy to install), might not fit all toothpaste tube sizes, dispensers can occasionally clog if not cleaned regularly.
- Best for: Small bathrooms, families, those who value a minimalist aesthetic and convenience.
2. Countertop Organizers with Drawers and Shelves
If you prefer not to mount anything to your walls, countertop organizers are a fantastic alternative. These are freestanding units that sit on your counter and offer a combination of brush holders and various storage compartments.
- How they work: These are essentially small vanity organizers. They typically have dedicated slots or cups for toothbrushes, often with lids to keep them dust-free. They then incorporate small drawers, open shelves, or divided sections for items like toothpaste, floss, razors, small bottles of mouthwash, or hair ties.
- Storage capabilities: Varies widely, but can typically hold 2-4 toothbrushes, a tube of toothpaste, floss, razors, and other small toiletries.
- Pros: No installation required, portable, offer flexibility in organization, can be very stylish and decorative.
- Cons: Take up counter space, can be a bit harder to clean around than wall-mounted units.
- Best for: Larger bathrooms, renters, those who like to frequently rearrange their space, people who need to store a variety of small items.
3. Over-the-Sink Caddies
These clever designs hang over the edge of your bathroom sink, utilizing otherwise unused space. They often feature a combination of toothbrush holders and small tray areas or cups.
- How they work: They have hooks or a lip that rests over the sink’s edge. The part of the caddy hangs down and can be used to hold brushes, toothpaste tubes, and other small items, keeping them within reach but off the counter.
- Storage capabilities: Usually designed for 2-4 brushes and a few smaller items like toothpaste tubes or floss.
- Pros: Excellent for small sinks, keeps items handy and off the counter, easy to remove for cleaning.
- Cons: Can sometimes get wet if splashed, might not fit all sink types, can look a bit less integrated than other solutions.
- Best for: Tiny bathrooms, RVs, dorm rooms, or anywhere sink space is at a premium.
4. Multi-Functional Bathroom Trays with Integrated Holders
These are less about a specific “holder” and more about a curated organization station. Think of a stylish tray that comes with or has integrated compartments for specific bathroom items, including toothbrushes and toothpaste.
- How they work: These might include a designated toothbrush cup or slot, a space for a toothpaste tube, a trough for razors, and perhaps a small dish for soap or rings. They are designed to corral all your daily-use items into one attractive grouping.
- Storage capabilities: Highly variable, but typically designed for 2-4 toothbrushes, toothpaste, razors, and small accessories.
- Pros: Can be very aesthetically pleasing and tie together the look of your vanity, keeps all essentials in one convenient spot, easy to move.
- Cons: Takes up counter space, may not have as much storage as dedicated organizers.
- Best for: Those who prioritize bathroom decor, want to group their most-used items attractively, and have adequate counter space.
5. Electric Toothbrush Specific Holders with UV Sanitizers
For those who have invested in electric toothbrushes, dedicated holders offer tailored solutions. Many come with specialized charging ports and, increasingly, UV sanitizing features to kill bacteria.
- How they work: These are designed to securely hold the electric toothbrush base and its heads. Some integrate chargers, while others focus on sanitation. UV sanitizers use ultraviolet light to bombard the toothbrush heads, killing up to 99.9% of germs in a short cycle.
- Storage capabilities: Typically designed for 1-2 electric toothbrushes and their heads. Some may have a small additional compartment for manual toothbrushes or toothpaste.
- Pros: Keeps expensive electric toothbrushes organized and charged, UV sanitizing offers an extra layer of hygiene, often sleek and modern designs.
- Cons: Can be more expensive, requires a power outlet for charging/sanitizing models, specific to electric toothbrushes.
- Best for: Owners of electric toothbrushes who want dedicated storage and enhanced hygiene.
Key Design Features to Look For
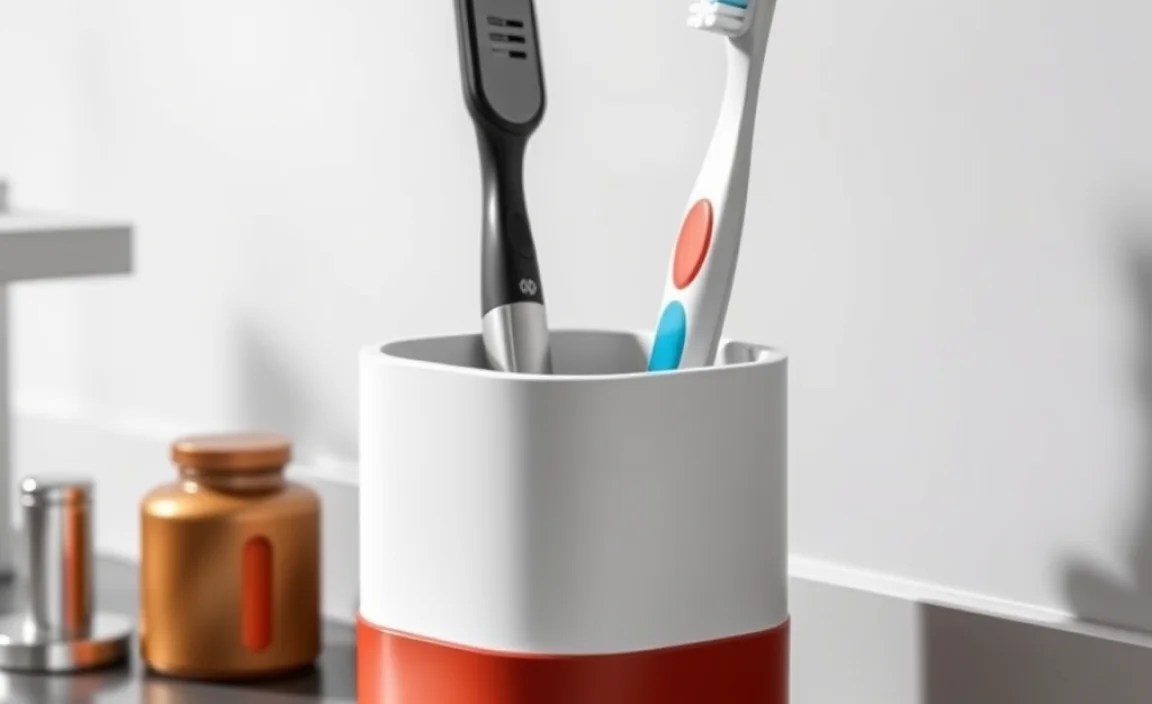
When you’re shopping for a toothbrush holder with storage, consider these important features to ensure you get the best fit for your needs:
Material Matters: Durability and Hygiene
The material of your toothbrush holder affects its longevity, ease of cleaning, and overall hygiene. Common options include:
- Plastic: Lightweight, affordable, and comes in many colors. Look for BPA-free plastics. Easier to clean but can scratch or stain over time.
- Stainless Steel: Durable, rust-resistant, and has a modern look. Very easy to clean and sanitize. Can be heavier and more expensive.
- Ceramic: Offers a classic, heavier feel. Looks elegant but can chip or break if dropped. Smooth surfaces are generally easy to wipe down.
- Bamboo/Wood: Eco-friendly and adds a natural, spa-like feel. Requires more care to prevent moisture damage and mold growth. Needs to be kept dry.
- Silicone: Flexible, often non-slip, and easy to clean. Good for travel or less formal settings.
Capacity: How Many Brushes (and What Else)?
Consider the number of people in your household and the number of toothbrushes you need to store. Also, think about what other items you want to keep organized: floss, toothpaste, razors, hair ties, lip balm, etc. Ensure the holder has enough slots and compartments for your specific needs.
Mounting Options: Wall or Counter?
Decide if you prefer a wall-mounted solution to free up counter space or a freestanding countertop unit. Wall-mounted options usually use strong adhesives (like 3M Command strips) or screws for a more permanent fixture. Countertop models are simply placed on your vanity.
Ease of Cleaning
This is crucial for hygiene. Look for designs with smooth surfaces, removable parts (like cups or trays), and materials that don’t harbor mold or mildew. Toothbrush holders can become quite grimy if not cleaned regularly, so opt for something you can easily wipe down or wash.
Ventilation
Good airflow is essential for drying toothbrushes and preventing bacterial growth. Holders with open slots or ventilation holes are better than completely enclosed containers that trap moisture.
Aesthetics and Style
Your toothbrush holder is a visible part of your bathroom decor. Choose a design, color, and material that complements your existing style, whether it’s modern, minimalist, farmhouse, or traditional.
Step-by-Step Guide: Installing and Using Your New Holder
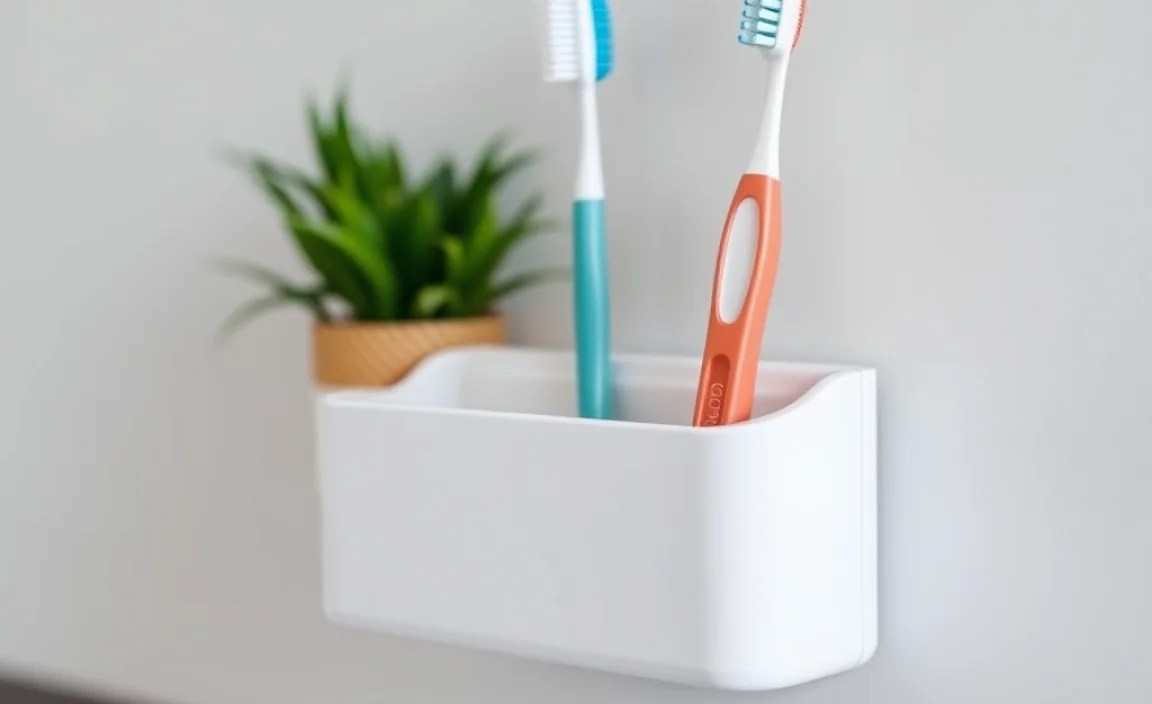
Let’s say you’ve chosen a popular wall-mounted toothpaste dispenser and toothbrush holder. Here’s a general guide to getting it set up and ready to go:
Step 1: Choose the Right Location
Select a spot on your bathroom wall near the sink. Ensure it’s at a comfortable height for all users. Make sure the surface is clean and dry. For wall-mounted types, consider proximity to electrical outlets if you have a model with a light or charging feature (though most don’t require this).
Step 2: Prepare the Surface
Clean the wall where you will install the holder thoroughly with an alcohol-based cleaner. This removes any soap scum, dust, or grease that could prevent the adhesive from sticking properly. Let the surface dry completely.
Step 3: Install the Holder (Adhesive Method)
Most modern adhesive holders come with pre-applied strips. Peel off the backing from the adhesive strips (often on the back of the main unit and any separate mounting plates). Carefully position the holder on the wall and press firmly for at least 30 seconds to ensure a strong bond. Manufacturers often recommend waiting 24 hours before use to allow the adhesive to cure fully.
Step 3b: Install the Holder (Screw Method)
If your holder comes with screws, you’ll typically need a drill and a screwdriver. Use a level to ensure the holder is straight. Mark the screw hole positions on the wall. Drill pilot holes if necessary (especially for drywall) and then secure the holder with the provided screws. Using wall anchors might be recommended for drywall to ensure stability.
Step 4: Load the Toothpaste
Unscrew the cap from your toothpaste tube. Insert the open end of the tube into the dispenser mechanism. Screw on the dispenser cap or mechanism that grips the tube. Some dispensers have a slot where you simply push the tube in.
Step 5: Load Toothbrushes
Insert your toothbrushes into their designated slots. If your holder has a UV sanitizer, close the lid after placing the brushes inside and activate the sanitizing cycle according to the manufacturer’s instructions.
Step 6: Use and Maintain
To dispense toothpaste, place your toothbrush head into the dispensing slot and press down firmly. For hygiene, periodically remove the holder’s parts (cups, trays) and wash them with soap and water. For dispensers, you might occasionally need to flush the mechanism with hot water if it gets clogged. Refer to your specific product’s manual for detailed cleaning and maintenance instructions.
Maintaining Hygiene: Keeping Your Holder Clean
A great organizer is only effective if it’s clean. Here’s how to keep your toothbrush holder with storage spick-and-span:
- Daily: Wipe down any visible toothpaste or water droplets. If you have a UV sanitizer, run a cycle after use.
- Weekly: Remove toothbrush cups or compartments. Wash them thoroughly with warm, soapy water. Rinse and dry completely before returning them to the holder. Wipe down the exterior of the holder.
- Monthly (or as needed): For toothpaste dispensers, check for any buildup. You might need to unscrew parts and soak them in warm water or use a small brush to clean any nooks. Some manufacturers recommend flushing the dispenser by running a bit of hot water through it. If your holder is made of stainless steel or ceramic, a mild disinfectant can be used.
Following manufacturer guidelines is always the best approach. For example, some sources, like the CDC’s guidelines on oral hygiene, emphasize keeping toothbrushes separate and allowing them to air dry to minimize germ transfer, which a good holder design facilitates.
Making the Most of Your Bathroom Space
Beyond just holding toothbrushes, these intelligent organizers can help declutter your entire bathroom. Consider how you can:
- Store Floss: Many designs have small nooks perfect for a single container of floss.
- Organize Razors: Dedicated slots or trays can keep razors secure and dry (ensure edges are protected if covered).
- Hold Mouthwash: Some larger countertop units have space for a small bottle of mouthwash.
- Keep Small Items Together: Think about storing hair ties, bobby pins, cotton swabs, or small tubes of lip balm in any extra compartments.
This holistic approach to bathroom organization turns a simple toothbrush holder into a central command for your daily grooming essentials.
Table: Pros and Cons of Different Holder Materials
Choosing the right material can make a difference in durability, hygiene, and appearance. Here’s a quick comparison:
| Material | Pros | Cons | Best Use Cases |
|---|---|---|---|
| Plastic (BPA-free) | Lightweight, affordable, wide variety of colors/designs, easy to clean. | Can scratch, stain, or degrade over time; some people prefer to avoid plastic in bathrooms. | Budget-friendly options, bright colors for kids’ bathrooms, everyday use. |
| Stainless Steel | Durable, rust-resistant, modern look, very easy to sanitize, long-lasting. | Can be heavier, more expensive, might show water spots if not dried. | Modern or minimalist bathrooms, high-traffic family bathrooms, long-term investment. |
| Ceramic | Elegant, heavy (stable), easy to wipe clean, classic look. | Can chip or break if dropped, heavier to install if wall-mounted component requires it. | Traditional or spa-like bathrooms, for those who prefer a heavier, more substantial feel. |
| Bamboo/Wood | Eco-friendly, natural aesthetic, warm feel. | Requires careful drying to prevent mold/mildew, can absorb moisture leading to damage, may stain. | Bathrooms with natural or bohemian decor, limited use where moisture can be managed. |
| Silicone | Flexible, non-slip, very easy to clean, water-resistant. | Can sometimes look less premium, may attract dust. | Travel holders, modern kitchens/bathrooms, for those who prioritize ease of cleaning above all. |
Table: Feature Comparison of Holder Types
Not all storage toothbrush holders are created equal. This table helps highlight the key differences:
| Holder Type | Primary Storage | Space Saving | Ease of Installation | Aesthetic Versatility | Typical Capacity |
|---|---|---|---|---|---|
| Wall-Mounted Dispenser | Toothbrushes, Toothpaste | High (frees up counter) | Moderate (adhesive/screws) | Modern, Sleek | 2-5 brushes |
| Countertop Organizer | Toothbrushes, Toothpaste, Razors, Small Items |
