
Brush up your bathroom organization with top toothbrush holder designs: essential picks for a tidy, hygienic space. Discover simple, stylish, and functional solutions perfect for any bathroom, making your daily routine smoother and your counters clutter-free.
Tired of that chaotic bathroom counter? Bristles clashing, toothpaste tubes toppling – it’s a small problem that can really add up. Keeping your toothbrushes tidy isn’t just about looks; it’s about hygiene too. A well-designed toothbrush holder is a simple yet crucial accessory for a clean, organized bathroom. It keeps your brushes upright, dry, and away from germs. Don’t worry if you feel overwhelmed by options; I’m here to guide you through the best toothbrush holder designs, making it easy to find the perfect fit for your space and needs.
We’ll explore a variety of styles, from minimalist mounts to multi-brush stations, focusing on what makes them practical and stylish. You’ll learn what to look for, whether you’re dealing with a small ensuite or a busy family bathroom. Get ready to transform your daily routine with these proven essentials!
Why a Toothbrush Holder Matters: More Than Just a Cup

You might think, “It’s just a place to put my toothbrush.” But a good toothbrush holder does a lot more than simply house your dental tools. It plays a key role in maintaining a hygienic bathroom environment and keeping your personal space neat and tidy.
Consider this: your toothbrush is often stored near the toilet. While this is common, it means it can be exposed to microscopic particles from flushing. A holder that keeps your brush elevated and ideally covers the bristles can significantly reduce this exposure. According to the Centers for Disease Control and Prevention (CDC), maintaining good oral hygiene is essential for overall health, and that starts with keeping your toothbrush clean.
Beyond germ protection, a dedicated holder brings order to your bathroom. It prevents toothbrushes from falling over, keeps tubes of toothpaste from rolling away, and generally creates a more pleasant and less cluttered sink area. This is especially helpful in shared bathrooms where space is at a premium and multiple toothbrushes need a designated spot.
Key Features to Look For in a Toothbrush Holder
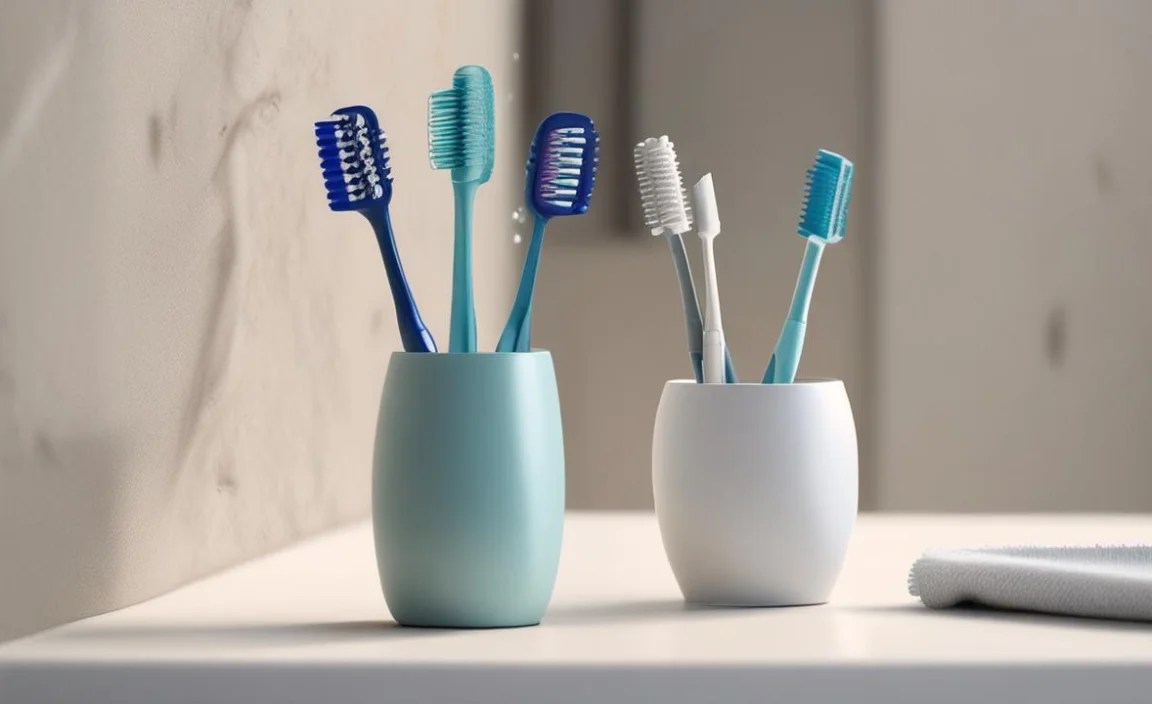
When you’re choosing a toothbrush holder, it’s not just about how it looks. Several practical features can make a big difference in its usefulness and longevity. Thinking about these aspects will help you select a holder that fits your lifestyle and bathroom perfectly.
Material and Durability
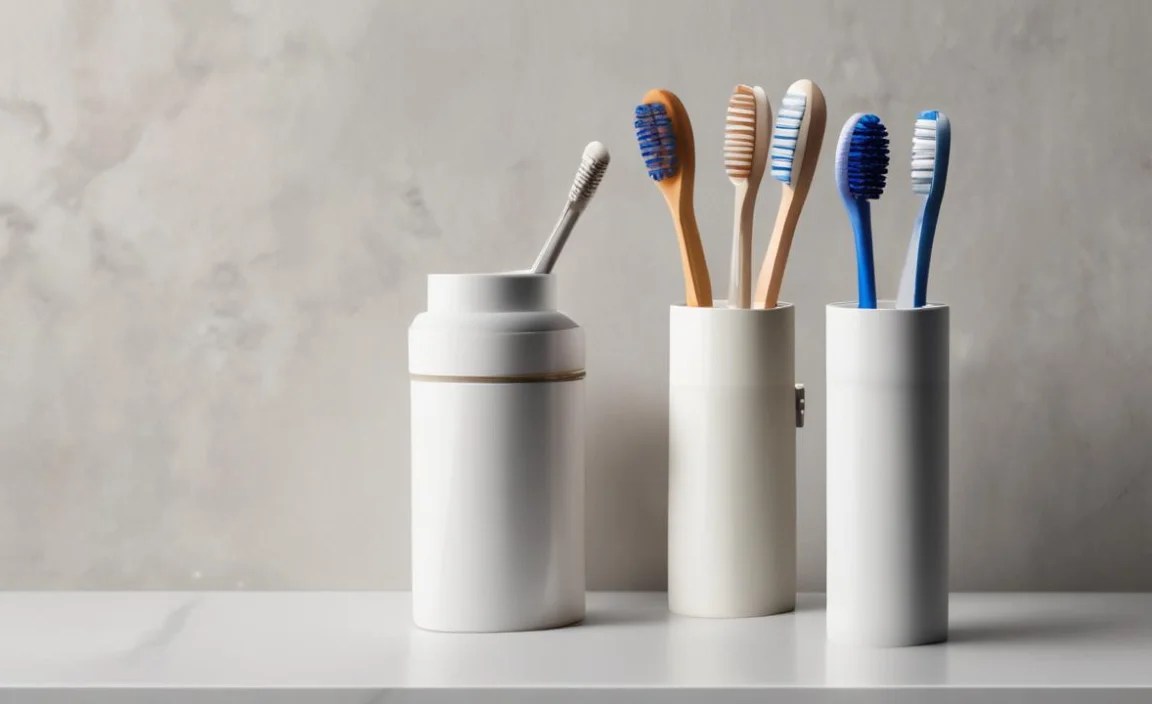
The material of your toothbrush holder impacts its appearance, ease of cleaning, and how long it lasts. Common materials include:
- Plastic: Lightweight, affordable, and available in many colors. Look for BPA-free plastics for safety. Can sometimes look less premium and may scratch over time.
- Ceramic: Offers a classic, elegant look. It’s durable and easy to clean but can chip or break if dropped.
- Stainless Steel: Modern, sleek, and highly durable. It’s rust-resistant and easy to sanitize, making it a hygienic choice. It can be heavier and sometimes shows water spots.
- Bamboo: A sustainable and natural option. It adds a warm, spa-like feel to the bathroom. It requires proper drying to prevent mold and requires more maintenance than other materials.
- Glass: Provides a sophisticated appearance and is easy to clean. However, it’s fragile and can break if knocked over.
Capacity and Size
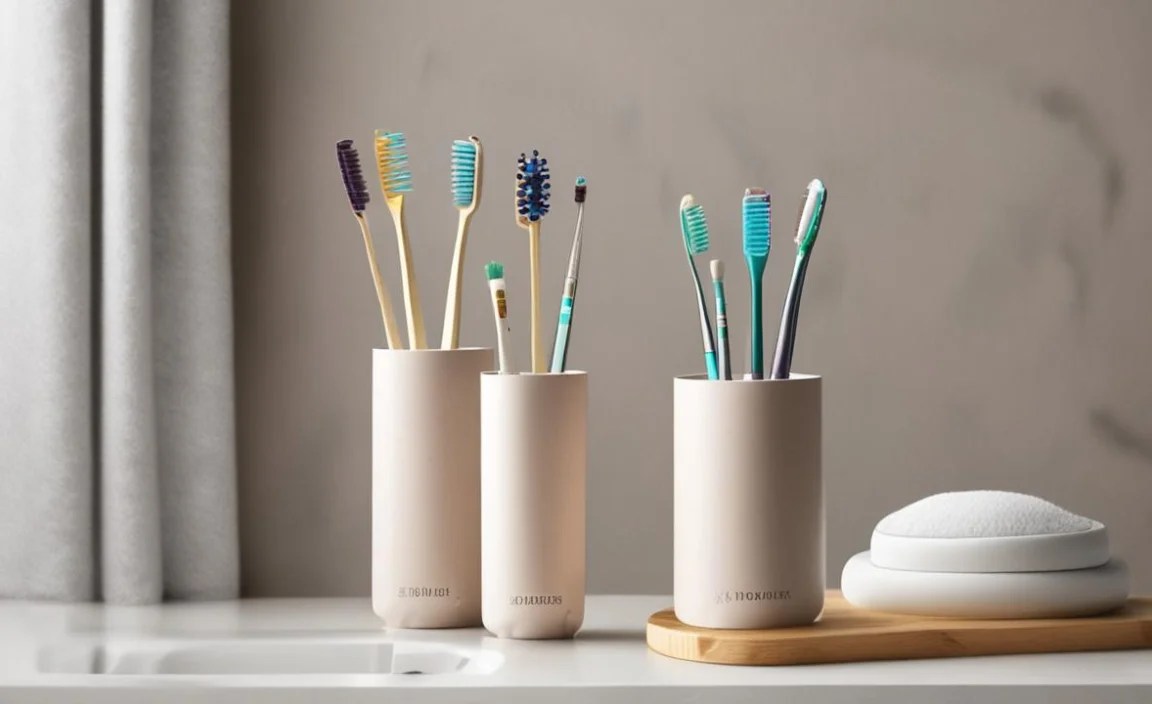
How many toothbrushes do you need to store? Do you have electric toothbrushes with bulkier heads? Consider the dimensions of the holder and whether it can comfortably accommodate all your dental tools, toothpaste, and any other small items you might want to keep nearby.
Drainage and Ventilation
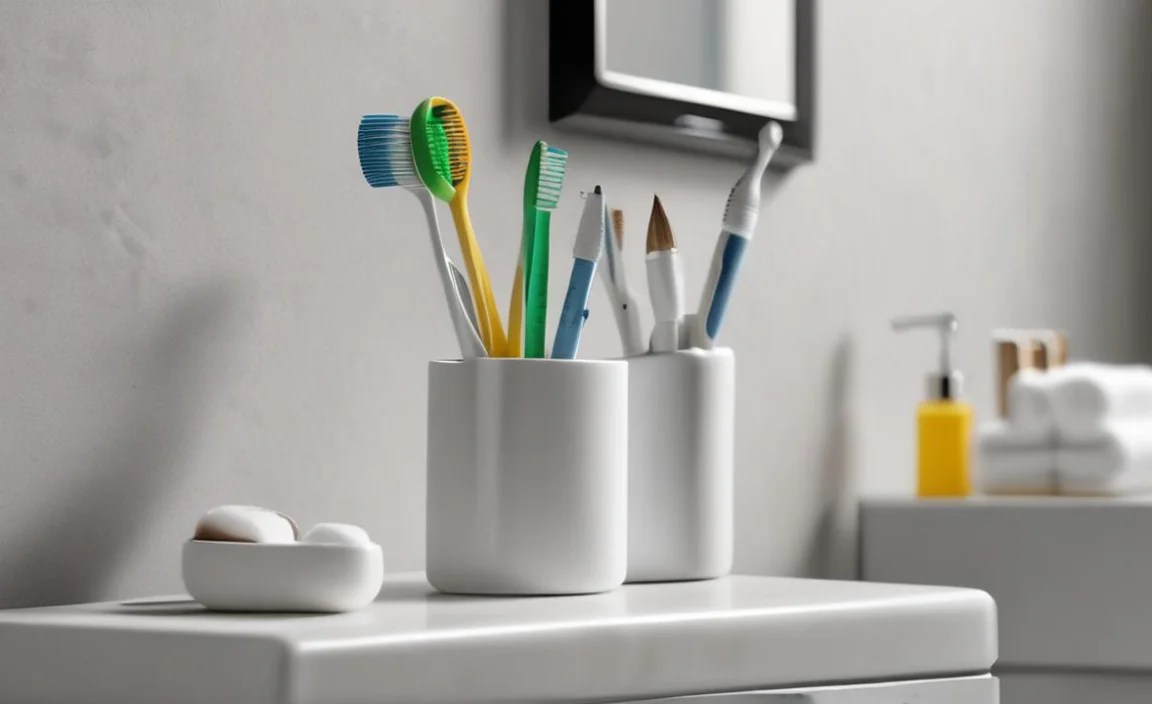
This is crucial for hygiene. A good holder should allow toothbrushes to dry completely between uses. Look for designs with drainage holes at the bottom or ample ventilation to prevent moisture buildup, which can lead to mold and mildew.
Mounting Style
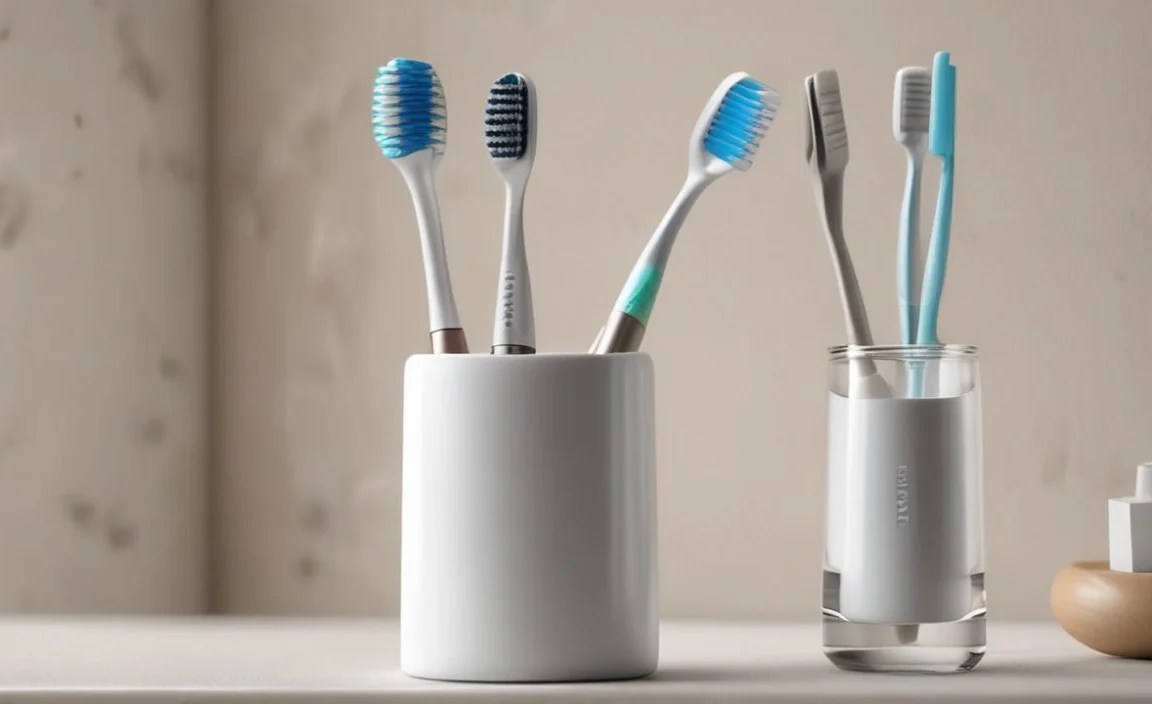
How do you want to store your toothbrushes?
- Countertop Holders: These are the most common and require no installation. They are portable and easy to move for cleaning.
- Wall-Mounted Holders: These save counter space and can add a streamlined look. They require drilling or strong adhesive, so consider your wall type and whether you can make permanent changes.
- Suction Cup Holders: Offer a temporary wall-mounting solution without drilling, ideal for renters. Ensure the surface is smooth and clean for good adhesion.
Ease of Cleaning
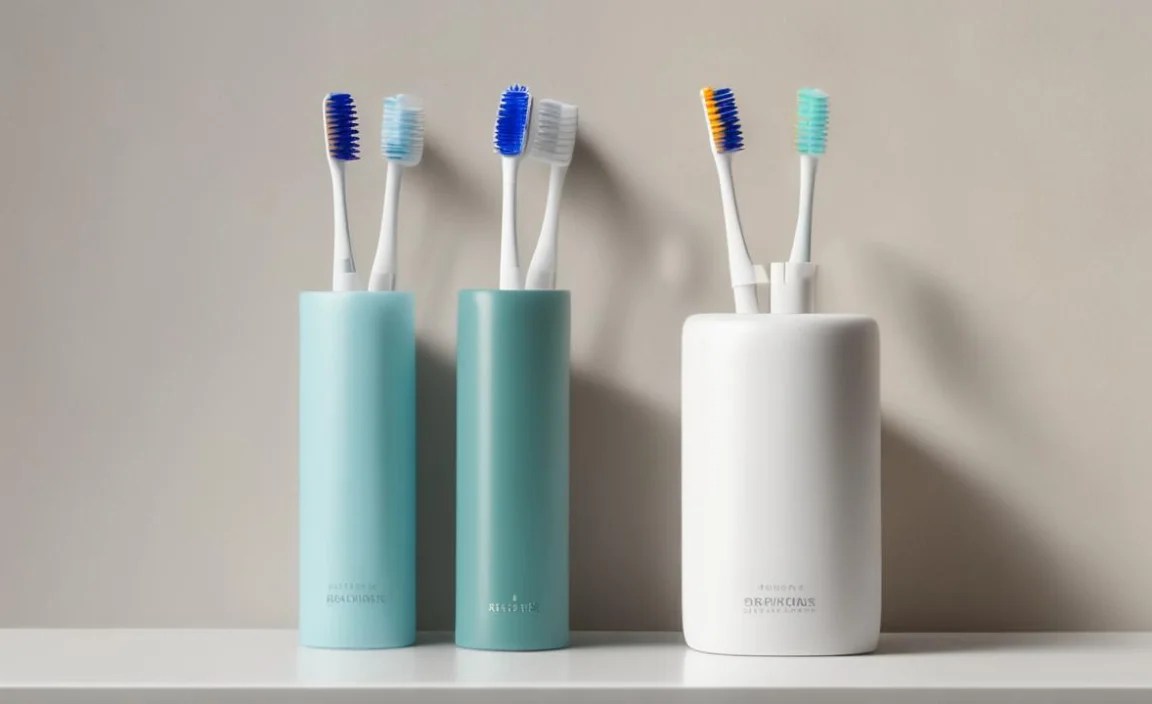
Bathroom accessories can quickly become grimy. Choose a holder that is easy to disassemble or wipe down regularly. Removable parts or smooth surfaces make cleaning much less of a chore.
Top Toothbrush Holder Designs & Proven Essentials
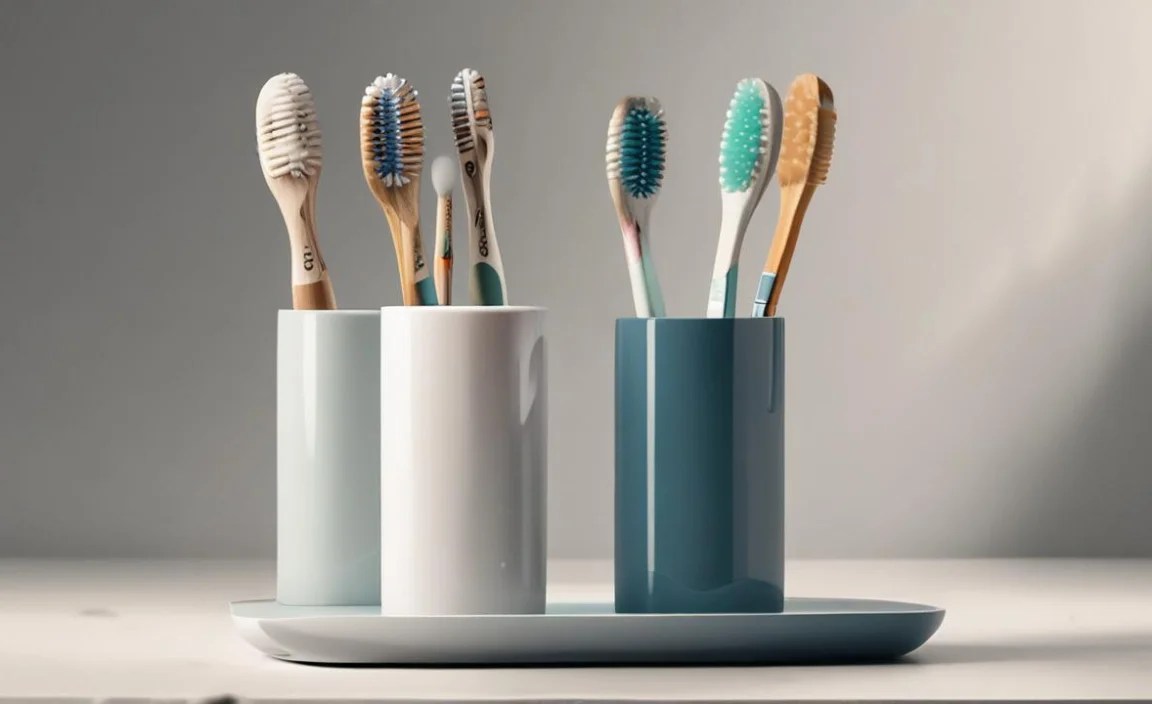
Let’s dive into some of the most popular and practical toothbrush holder designs. These selections are based on user reviews, functionality, and aesthetic appeal, ensuring they are truly proven essentials for your home.
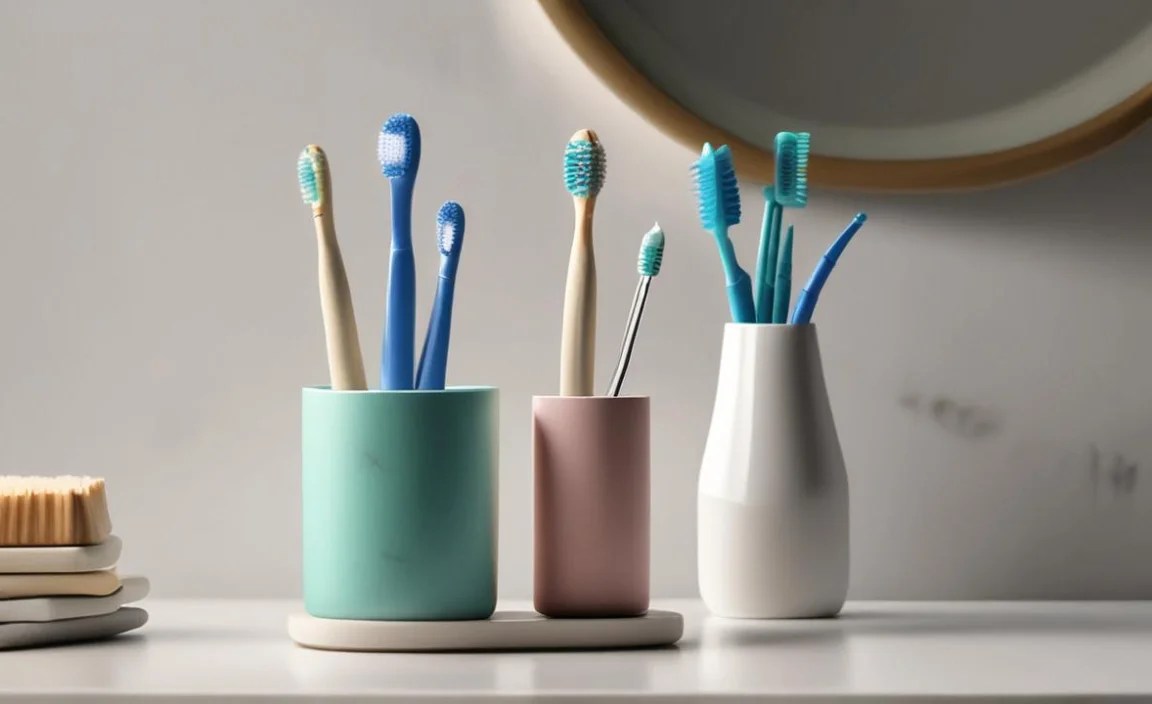
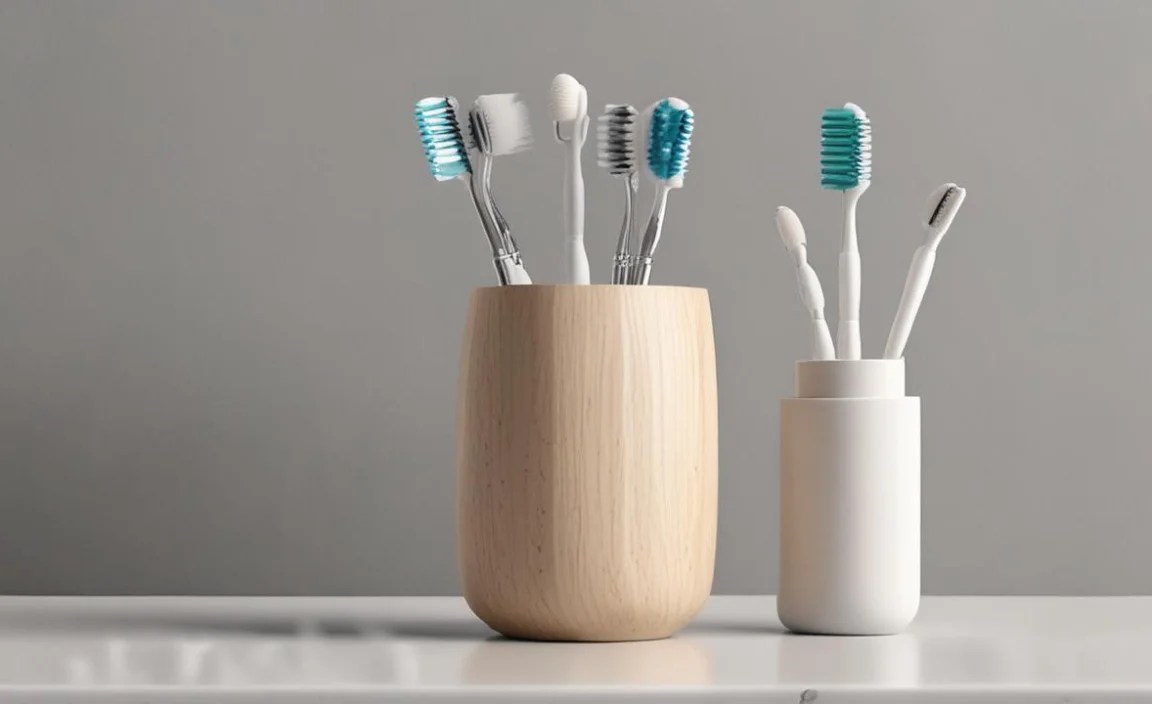
The Classic Countertop Cup
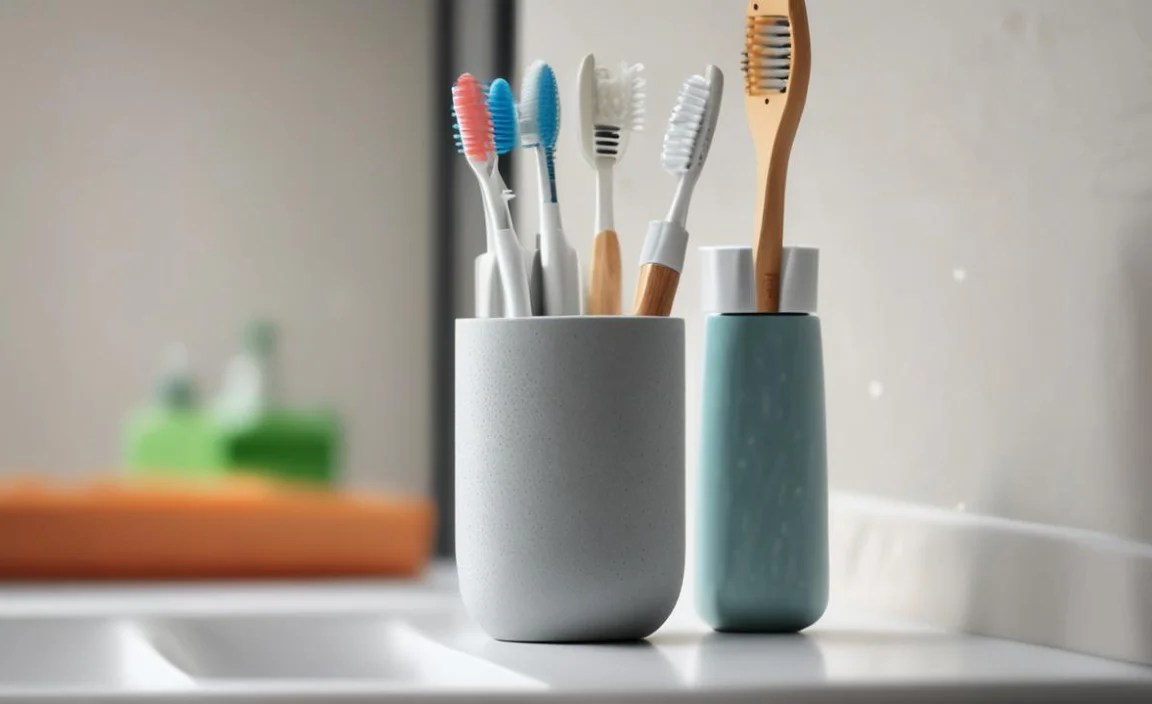
This is perhaps the most traditional and straightforward design. A simple cup or container that sits on your bathroom counter.
- Pros: Extremely easy to use, no installation needed, portable, great for quick access. Available in a vast range of materials and styles to match any decor.
- Cons: Can take up valuable counter space. If it doesn’t have good ventilation, bristles can stay damp.
- Best For: Minimalist bathrooms, renters, or those who prefer not to drill into walls. Small families or individuals who don’t have many items to store.
The Sleek Wall-Mounted Organizer
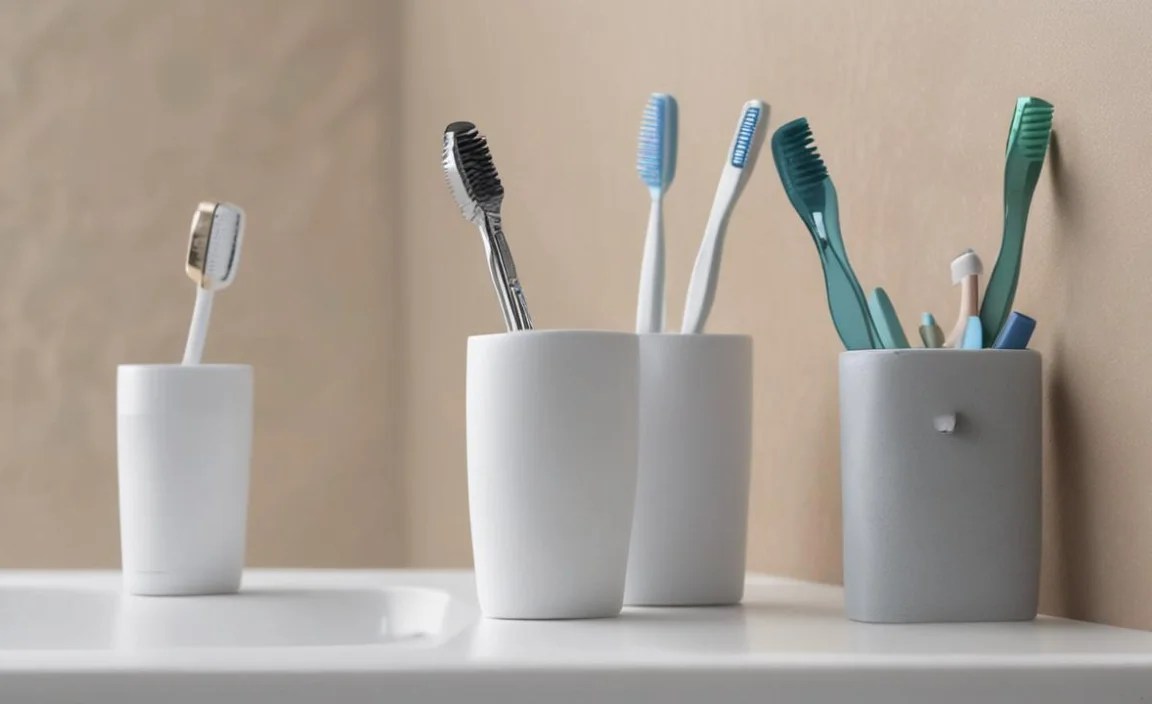
Wall-mounted holders are fantastic for decluttering countertops and can offer a more modern aesthetic. These often include slots for toothbrushes and sometimes a cup or compartment for toothpaste.
- Pros: Saves counter space, offers a clean and organized look, keeps toothbrushes elevated and away from surface grime, often includes extra storage.
- Cons: Requires installation (drilling or strong adhesive), less portable.
- Best For: Small bathrooms, modern homes, those who want a tidy, streamlined look. Ideal for electric toothbrush heads that can be bulky.
Here’s a comparison of common mounting methods:
| Mounting Type | Installation | Pros | Cons |
|---|---|---|---|
| Adhesive Mount | Peel-and-stick backing | No drilling required, easy to install, good for renters. | May not stick to all surfaces (e.g., textured tiles), can lose adhesion over time, might leave residue upon removal. |
| Screw Mount | Drilling into wall | Very secure and stable, suitable for heavier items, permanent solution. | Requires tools and skill, makes permanent holes in the wall, not ideal for renters. |
| Suction Cup Mount | Presses onto smooth surfaces | No drilling, easy to reposition, temporary solution. | Only works on very smooth, non-porous surfaces, can lose suction easily, not suitable for heavy items. |
The Smart Toothbrush Sanitizer (UV Holders)
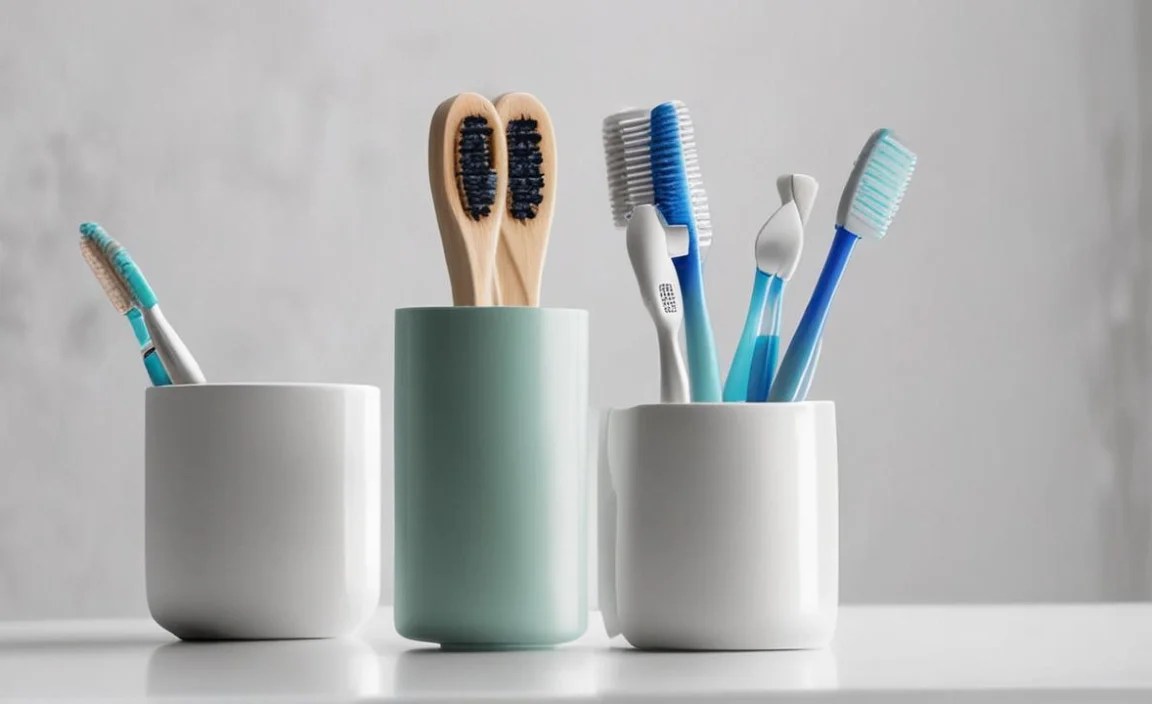
These advanced holders use UV-C light to kill bacteria and viruses on toothbrush heads. They often combine storage with sterilizing technology.
- Pros: Provides an extra layer of hygiene, kills germs effectively, often sleek designs, some models are powered by battery or electricity.
- Cons: More expensive than basic holders, requires power (battery or outlet), needs regular bulb replacement or cleaning, effectiveness can vary by model.
- Best For: Health-conscious individuals, families with young children, or anyone wanting to ensure maximum toothbrush cleanliness. For those interested in upgrading their bathroom tech.
According to research published by the National Institutes of Health (NIH), UV-C irradiation has demonstrated effectiveness in disinfecting various surfaces, including dental items, by disrupting the DNA of microorganisms.
The Multi-Functional Station
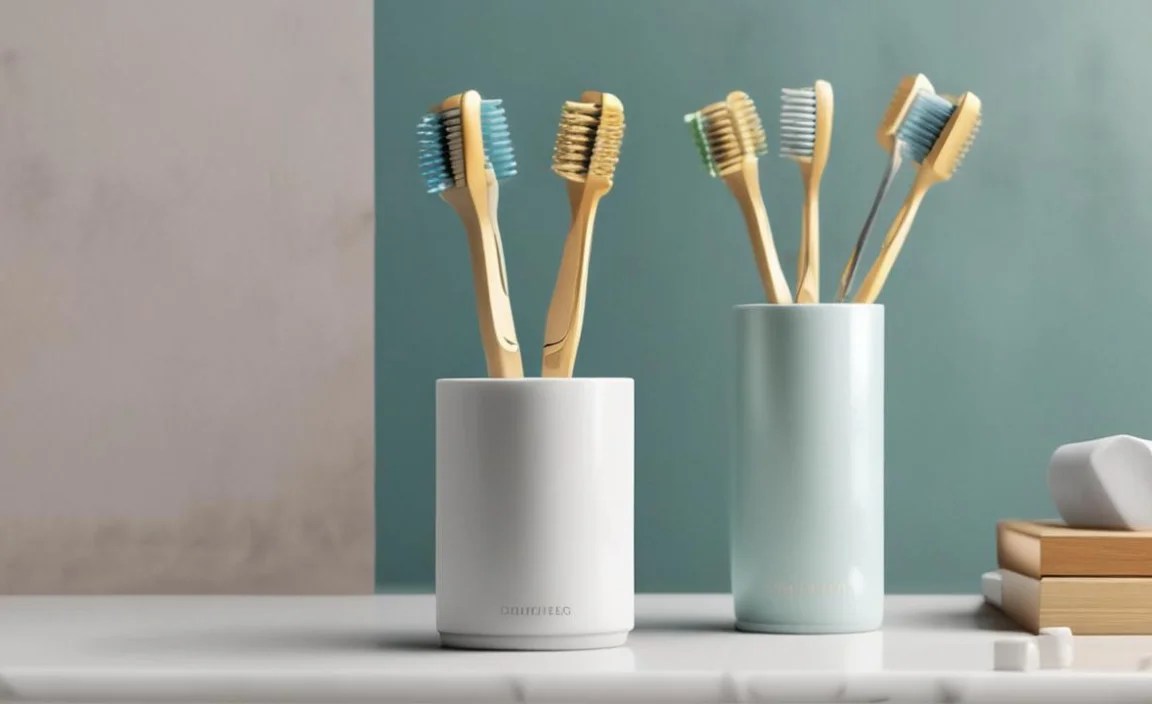
These holders are designed to hold not just toothbrushes but also toothpaste, razors, and sometimes even cups or mouthwash bottles. They are excellent for keeping a whole sink area perfectly organized.
- Pros: Consolidates multiple bathroom items into one place, excellent for organization, can significantly reduce clutter, variations exist for manual and electric toothbrushes.
- Cons: Can be bulkier than simple holders, might require more cleaning due to extra compartments, takes up counter or wall space.
- Best For: Busy families, couples sharing a bathroom, or anyone who likes having all their dental care items neatly arranged and within reach. Homes where counter space is limited but organization is a priority.
The Minimalist Individual Holder
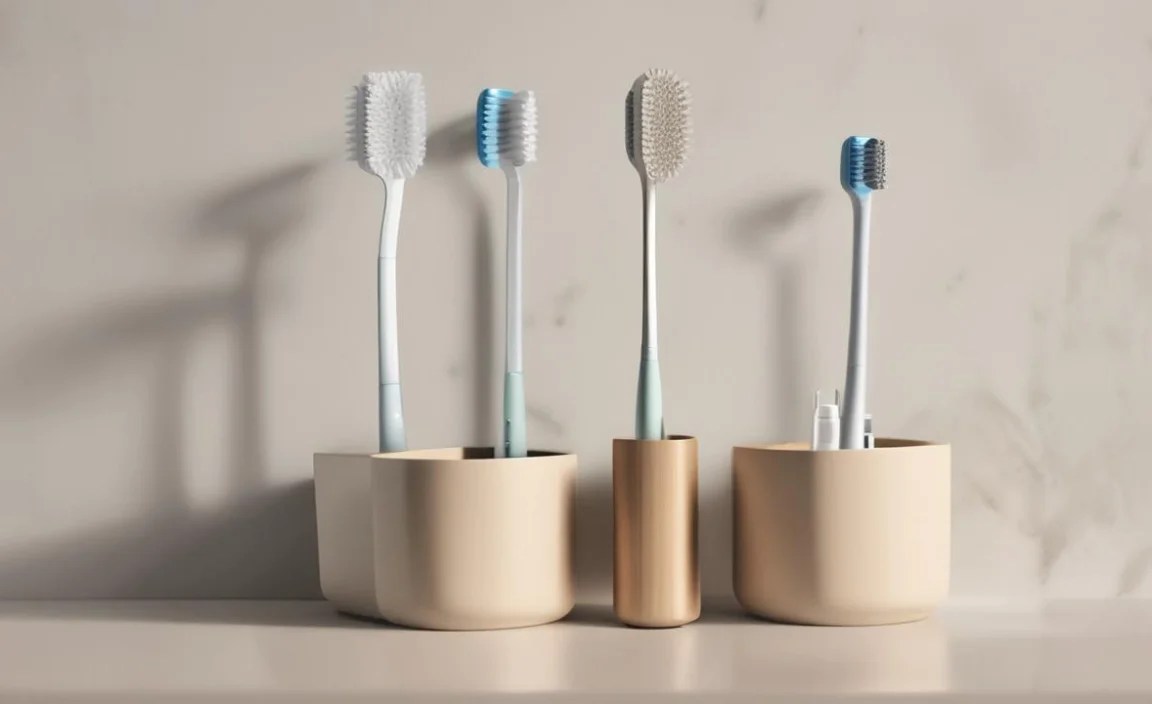
These are often simple, single-slot holders that can be mounted on the wall or stand alone. They are designed for one toothbrush and are perfect for a streamlined look.
- Pros: Very space-efficient, provides maximum ventilation for the single brush, great for individual use to avoid cross-contamination. Can be very stylish and modern.
- Cons: Only holds one toothbrush at a time, may not accommodate electric toothbrush heads easily, can get lost if not mounted.
- Best For: Singles, teenagers, or anyone seeking a hyper-organized, hygienic approach for each individual toothbrush.
The Shower Caddy Integrated Holder
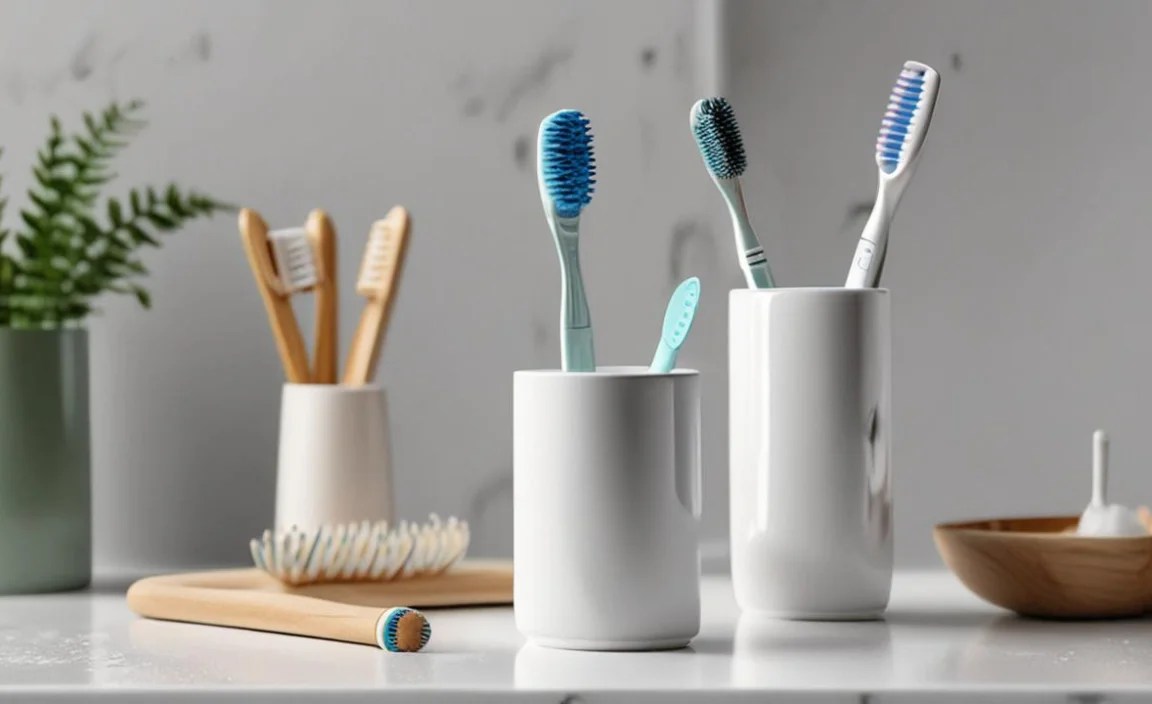
Some shower caddies come with built-in compartments or hooks specifically designed for toothbrushes. This is a great option if you prefer to keep your dental routine outside the main bathroom sink area or have a very compact bathroom.
- Pros: Utilizes often-unused shower space, keeps items dry if ventilation is good, consolidates toiletries.
- Cons: Requires a shower caddy, might not be suitable for all toothbrush types (especially large electric ones), potential for soap scum buildup if not cleaned regularly.
- Best For: Small apartments, RVs, dorm rooms, or anyone looking to maximize space and keep their sink area completely clear.
Installation Guide for Wall-Mounted Holders
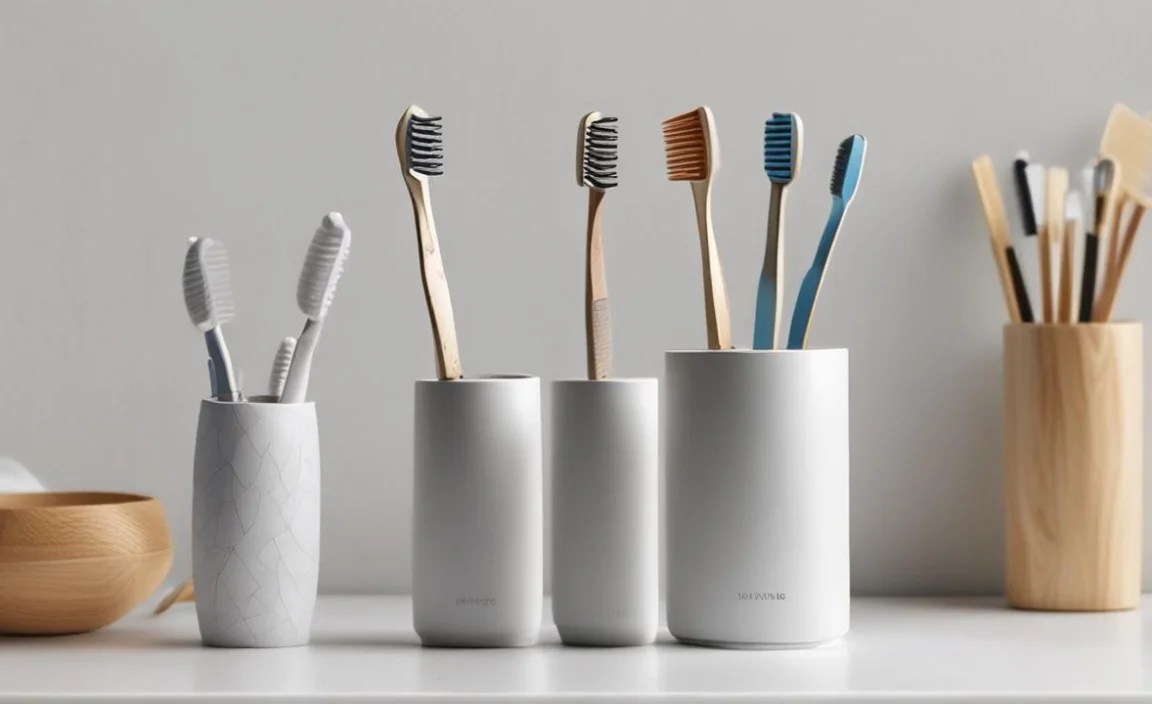
For many of the best toothbrush holder designs, especially sleek wall-mounted organizers, a secure installation is key. Whether you’re using adhesive, screws, or suction cups, following these steps ensures your holder stays put and functions correctly.
Preparing the Surface
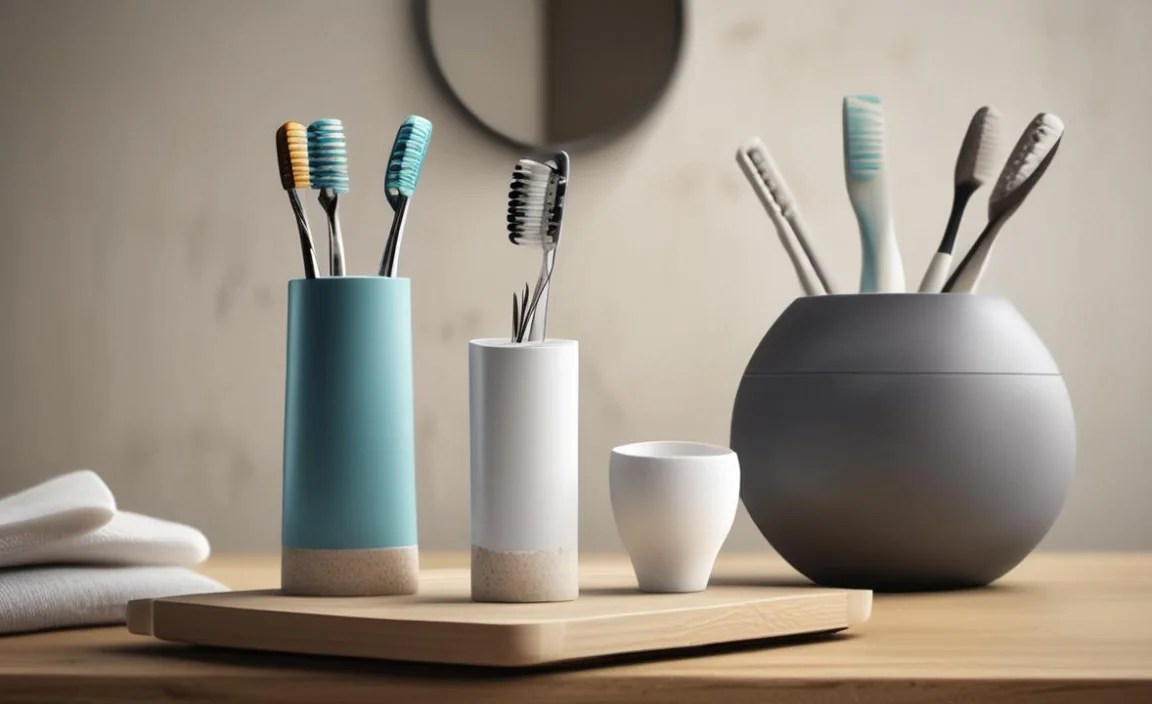
This is the most critical step for any mounting method.
- Cleanliness is Key: Thoroughly clean the wall area where the holder will be placed. Use a mild bathroom cleaner and water, then dry completely. For adhesive or suction mounts, any grease, dust, or moisture will prevent a strong bond.
- Smoothness Matters: Ensure the surface is smooth and even. Textured, uneven, or porous surfaces are not suitable for most adhesive or suction cup systems.
- Check for Obstructions: Before drilling, use a stud finder or visually inspect for pipes or electrical wires within the wall.
Installing with Adhesive
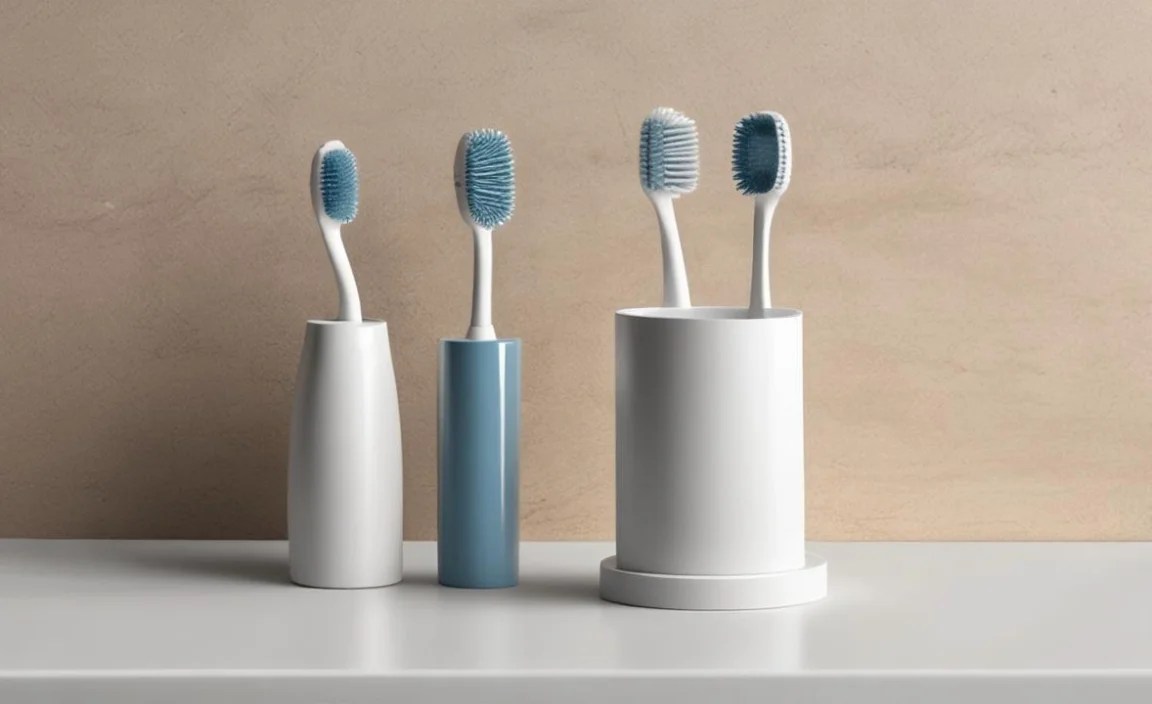
Many modern holders use strong, industrial-grade adhesive strips.
- Mark the Position: Measure and mark the desired location for your holder.
- Apply the Adhesive: Peel off the protective backing from the adhesive strips on the holder. Apply firm, even pressure to the marked spot for at least 30-60 seconds.
- Cure Time: Allow the adhesive to cure according to the manufacturer’s instructions – this is crucial! Often, this means waiting 24-48 hours before placing any weight on the holder or using it. Rushing this step is a common cause of failure.
Installing with Screws
This provides the most secure attachment, especially for heavier or electric toothbrush holders.
- Mark Screw Holes: Hold the holder in place, use a pencil to mark the exact spots where the screws will go.
- Drill Pilot Holes: Using a drill bit appropriate for your wall type (e.g., masonry bit for brick or concrete, wood bit for drywall), drill small pilot holes at your marked spots. The size of the pilot hole should be slightly smaller than the screw threads.
- Insert Anchors (if necessary): If you are drilling into drywall and not hitting a stud, you’ll likely need wall anchors. Insert these into the pilot holes.
- Secure the Holder: Align the holder with the holes (and anchors, if used) and drive the screws in firmly but without overtightening, which could strip the screws or damage the wall.
Installing with Suction Cups
Best for smooth, non-porous surfaces like glass or high-gloss tiles.
- Clean and Dry: Ensure the surface is perfectly clean and dry.
- Moisten (Optional): Some recommend slightly moistening the suction cup rim with water for a better seal, though this can also attract mold. It’s often better to rely on a clean, dry surface for modern, high-quality suction cups.
- Position and Press: Place the suction cup firmly against the wall and press down hard in the center, then work your way outwards to push out any air. Many good suction cup mounts have a lever that you flip to create a vacuum seal.
- Test: Gently tug on the holder to ensure it’s secure before placing toothbrushes on it.
Daily Maintenance and Cleaning Tips
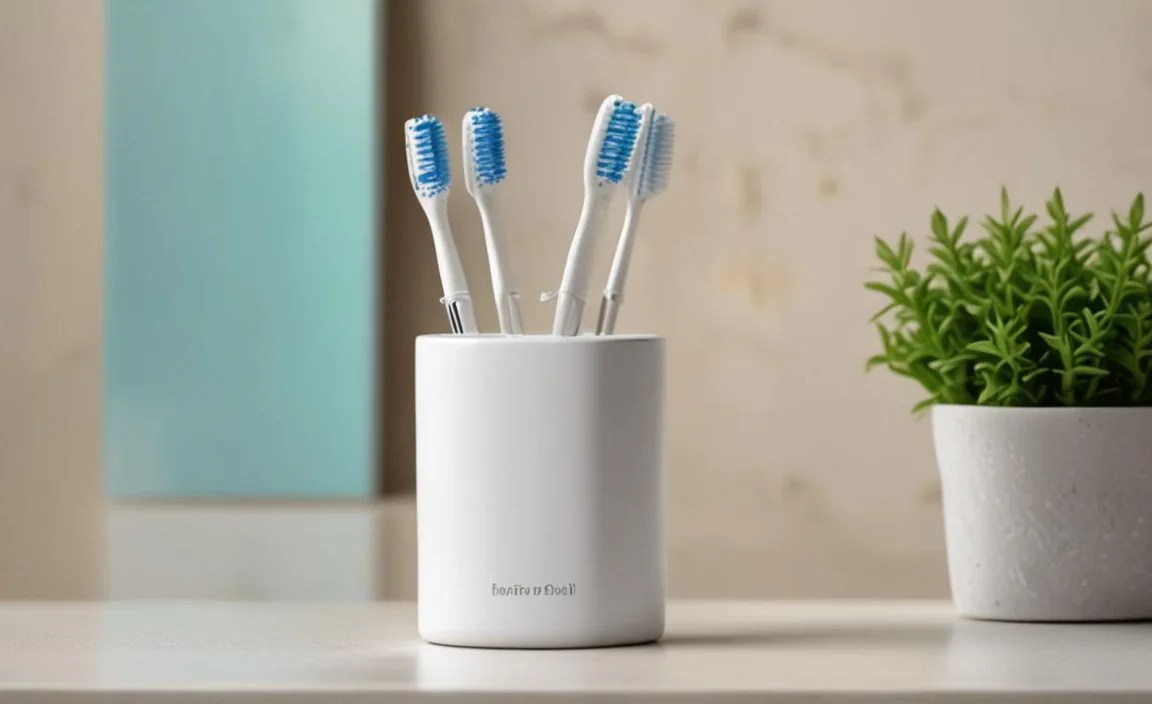
Keeping your toothbrush holder clean is just as important as choosing the right one. Regular maintenance ensures it remains hygienic and functional.
Daily Care
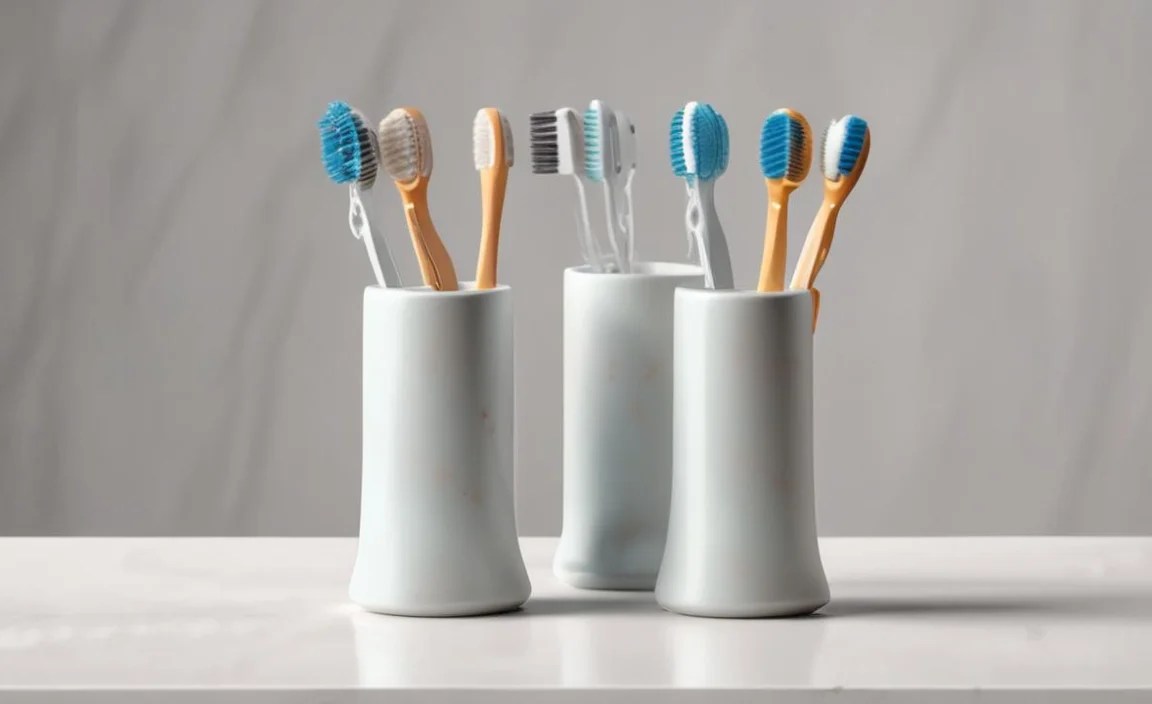
- Rinse and Dry: After each use, ideally, rinse out the toothbrush holder to remove any toothpaste residue. Allow it to air dry as much as possible.
- Wipe Down: A quick wipe-down of countertop holders with a damp cloth every day can prevent buildup.
Weekly Cleaning
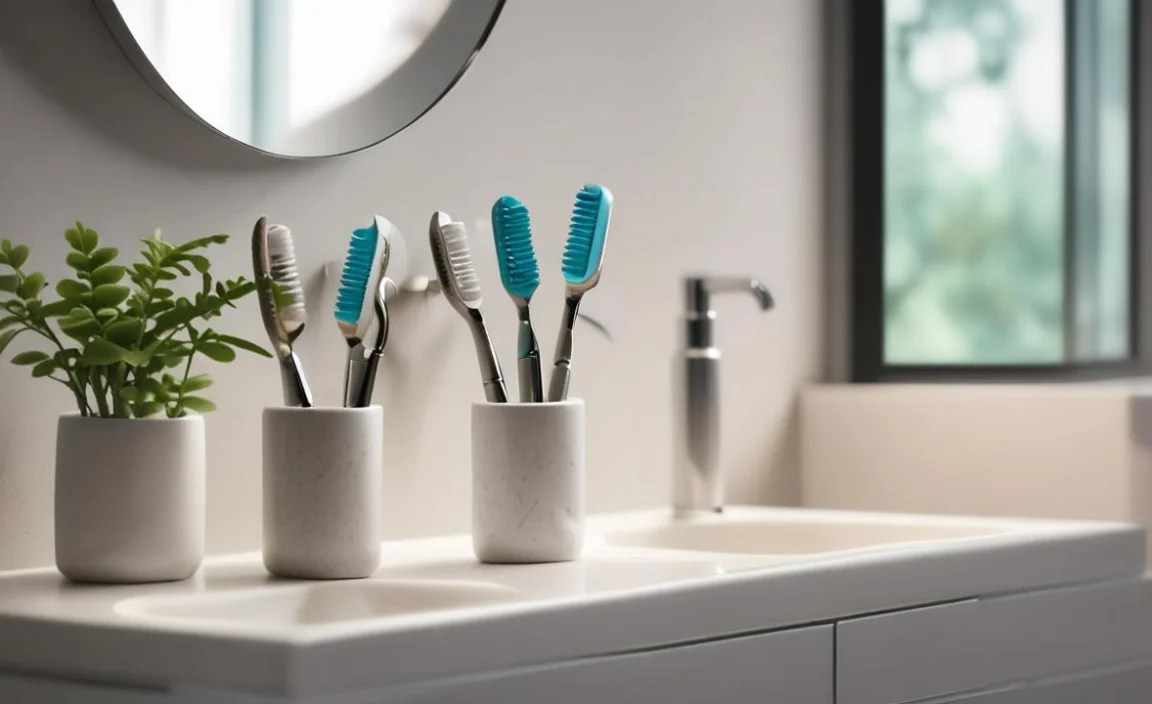
Set aside time once a week for a more thorough clean.
- Disassemble (if possible): Take apart any components that can be separated for a deeper clean.
- Wash: Wash the holder with warm, soapy water. For stubborn stains or mildew, a paste of baking soda and water can be effective.
- Sanitize: You can use a diluted bleach solution (1 part bleach to 10 parts water) or a disinfectant spray. Ensure you rinse thoroughly afterward, especially if you use bleach.
- Dry Completely: Crucially, allow all parts to air dry completely before reassembling or putting toothbrushes back. This prevents moisture from lingering.
Deep Cleaning and Troubleshooting
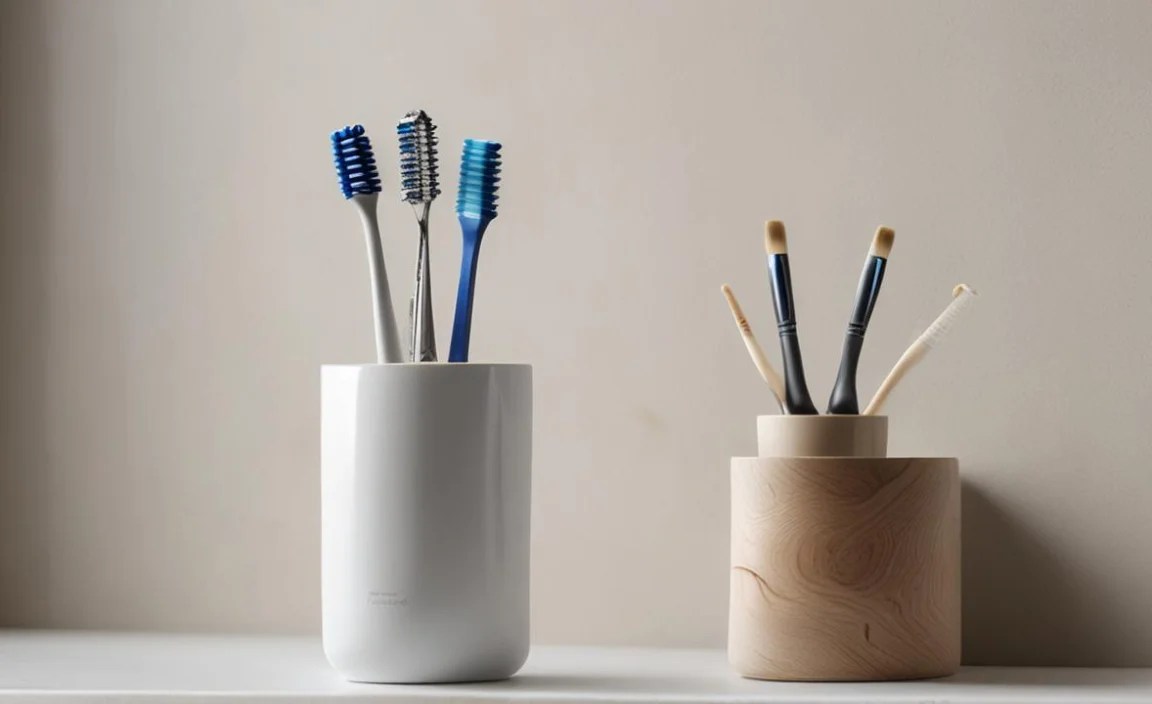
- Mold and Mildew: If you notice mold or mildew, use a stronger disinfectant. For ceramic or glass holders, a soak in a vinegar-water solution can help. For bamboo, ensure it’s thoroughly dried and consider a light sanding if surface mold appears, followed by a food-safe oil treatment.
- Adhesive Failures: If adhesive mounts start to fail, clean the wall and the mount thoroughly. You can often reapply new heavy-duty adhesive strips from a hardware store, ensuring you allow full curing time.
- Suction Cup Issues: If suction cups lose their grip, clean the cup and the wall. For older cups, warming them slightly with a hairdryer might make them more pliable, but often, replacement is the best option.
<h2 id=”faq-your-toothbrush-holder-questions-answered
