
Unclog exhaust fan cheap: A brilliant, effortless fix is achievable by cleaning the fan’s housing, blades, and vent. Follow these simple steps to restore airflow and quiet operation without expensive calls to a repair person.
Is your bathroom or kitchen exhaust fan sounding like a tiny jet engine or, worse, not moving air at all? Don’t worry, a clogged exhaust fan is a super common issue that often has a simple, inexpensive fix. Many homeowners think they need a professional when the real problem is just a bit of dust and debris buildup. You can totally tackle this yourself with common household items and a little bit of know-how. We’ll walk you through how to get your exhaust fan back in top shape, quietly and effectively, saving you money and hassle.
Ready to breathe easier and enjoy a quieter home? Let’s dive into how you can unclog your exhaust fan the cheap and easy way. We’ll cover everything from identifying the clog to making sure your fan runs like new again. You’ll be amazed at how straightforward this DIY fix can be!
Why Your Exhaust Fan Gets Clogged

Exhaust fans are workhorses, constantly pulling moist air, odors, and tiny particles out of your rooms. Over time, this air carries dust, lint, hair, grease (especially in kitchens!), and even small insects. These tiny bits aren’t invisible; they settle onto the fan’s components. Think of it like carpet getting dirty – eventually, it needs a good cleaning! When these particles accumulate on the fan blades and motor housing, they can unbalance the blades, reduce airflow, and make the fan work harder, leading to strange noises and reduced efficiency. Kitchen fans are particularly prone to grease buildup, which can become sticky and attract even more dirt.
The Simple Tools You’ll Need to Unclog Your Fan

You don’t need a fancy toolbox for this job. Most of what you need is probably already in your home. The goal is to be gentle yet effective. Here’s a list of what will make this job a breeze:
- Screwdriver Set: Most exhaust fan covers are held on by a few screws. A basic set with Phillips head and flathead options should do the trick.
- Vacuum Cleaner with Hose Attachment: A crevice tool or a brush attachment is perfect for reaching into tight spots and sucking up loose debris.
- Damp Cloth or Sponge: For wiping down surfaces after the loose stuff is removed. Use a mild, all-purpose cleaner if needed, but plain water is often enough.
- Compressed Air (Optional): This can be a great tool for blowing out dust from hard-to-reach areas.
- Dust Mask and Safety Glasses: It’s always a good idea to protect yourself from dust and debris, especially when working overhead.
- Step Ladder or Sturdy Stool: You need to safely reach the fan. Ensure it’s stable and placed on a level surface.
- Trash Bag: To collect any dust bunnies or debris you knock loose.
Step-by-Step Guide to Unclogging Your Exhaust Fan

Let’s get this done! Follow these simple, actionable steps to bring your exhaust fan back to life. We’ll break it down so it’s easy to understand and execute.
Step 1: Safety First – Turn Off the Power!
This is the most crucial step. Never work on anything electrical without ensuring the power is off. You’ll want to do this at the circuit breaker box. Locate the breaker that controls your exhaust fan and flip it to the “OFF” position. If you’re unsure which breaker it is, you can turn off the main breaker for the entire house as a precaution, though this is usually not necessary if you can identify the specific circuit. Double-check by trying to turn the fan on from its switch; if it doesn’t work, the power is indeed off.
Step 2: Remove the Fan Cover
Most exhaust fan covers are attached with small screws or clips. Look for them around the edges of the cover. Gently unscrew these fasteners. Some covers might simply pull down or away once the screws or clips are loosened. Be careful not to force anything, as you don’t want to break the cover or damage the fan housing. Place the screws in a safe spot (like a small dish or a section of tape) so you don’t lose them.
Step 3: Assess the Gunk
With the cover removed, you’ll see the fan motor and the blades. Take a good look. Is it covered in thick dust, lint, or greasy film? This is where the blockage is. The fan blades themselves might be caked with debris, making them unbalanced and inefficient. The motor housing and the area around it will likely be dusty too. A visual inspection helps you understand how much cleaning is needed.
Step 4: Gentle Cleaning – Removing Loose Debris
Now for the actual cleaning. Use your vacuum cleaner with the brush or crevice attachment. Gently vacuum the fan blades and the motor housing. Try to get as much of the loose dust and debris off as possible. For stubborn gunk, you might need to carefully use a soft brush (like an old toothbrush) to dislodge it before vacuuming. If you’re using compressed air, use short bursts to blow dust away from the motor and out of the housing before vacuuming. Aim the air so dust doesn’t get blown deeper into your home or into sensitive electrical components.
Step 5: Deeper Cleaning – Wiping Down Surfaces
Once the bulk of the dust is gone, take your damp cloth. Wipe down the fan blades, the inside of the fan housing, and the cover you removed. For kitchen fans with grease buildup, you may need to use a kitchen degreaser or a solution of warm water and a little dish soap on the cover and accessible parts of the housing. Be extremely careful not to get any moisture into the motor itself. After wiping, use a dry cloth to remove any excess moisture. Allow everything to air dry completely before reassembly, especially if you used any cleaning solutions.
Step 6: Clean the Vent Outlet
Don’t forget the exterior vent! This is the opening where the air actually exits your home. It’s often covered by a screen or flap. Birds, insects, or accumulated lint can clog this from the outside. If you can safely access it from an exterior window or a ground-level vent, use your vacuum’s hose attachment or a brush to clear away any obstructions. For vents higher up, you might consider using a broom with a long handle to gently push debris away from the vent.
If you have a bird’s nest or a significant blockage, external cleaning might require a bit more effort, but clearing it is vital for proper ventilation. For more information on ventilation in homes, the U.S. Department of Energy offers excellent resources on proper ventilation practices for energy efficiency, which indirectly relates to keeping vents clear to maintain that efficiency: Residential building mechanical ventilation.
Step 7: Reassemble the Fan
Once all parts are clean and completely dry, it’s time to put everything back together. Reattach the fan cover, making sure it sits flush against the ceiling or wall. Secure it with the screws or clips you removed earlier. Don’t overtighten them. Place back the screws carefully, ensuring they go into their original holes.
Step 8: Restore Power and Test
Head back to your circuit breaker box and flip the breaker for the exhaust fan back to the “ON” position. Go to the switch and turn on your exhaust fan. You should notice a significant difference! The noise should be reduced, and you should feel a strong, steady airflow. Test it by holding your hand near the vent, or by running some hot water in the bathroom and seeing how quickly steam is cleared.
Troubleshooting Persistent Noise or Airflow Issues
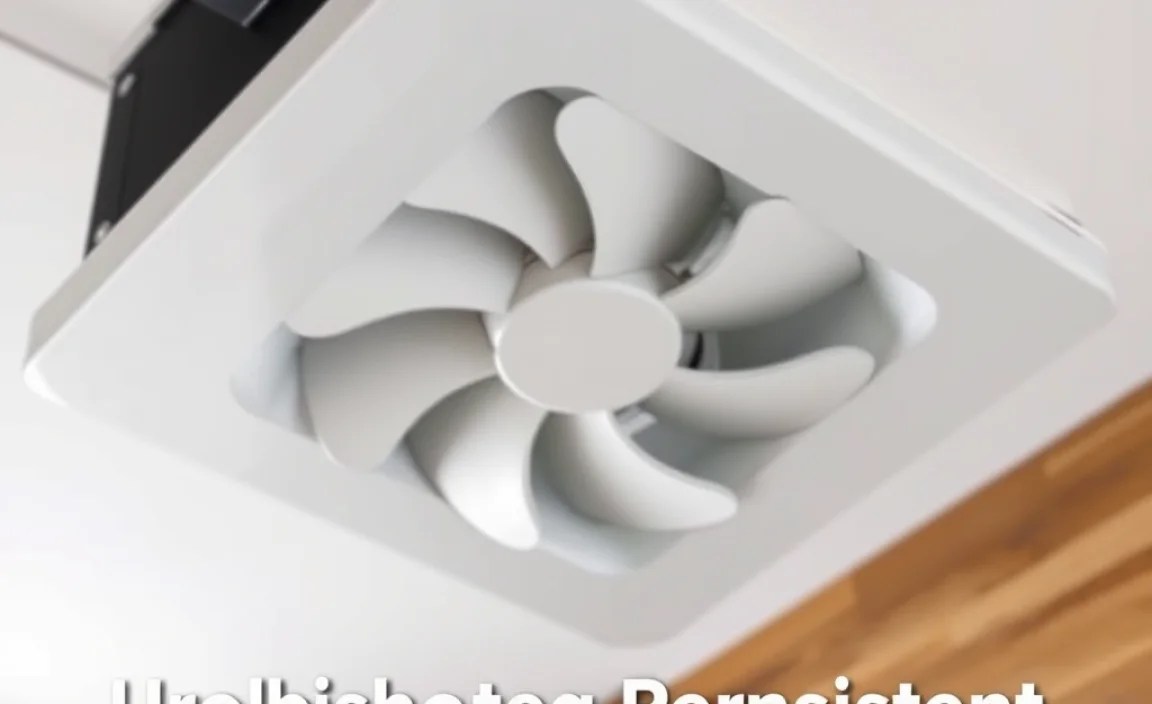
If your fan is still noisy or not moving air well after cleaning, here are a few things to check:
- Fan Blade Balance: If a blade is bent or a significant piece of debris was removed unevenly, the fan might still be unbalanced. Usually, this is fixed by the initial cleaning. If not, a bent blade might need professional attention.
- Motor Issues: The motor itself might be failing. This is less common and might require replacing the entire fan unit. Signs include a humming noise without rotation or a burnt smell.
- Ducting Problems: The flexible duct that leads from the fan to the outside vent could be kinked, crushed, or have internal blockages. This is a more involved repair and might require opening up parts of your ceiling or walls.
- Loose Components: After cleaning, ensure all parts are securely fastened. A slightly loose fan motor or housing can cause vibrations and noise.
For ducting issues, it’s a good idea to consult a professional if you’re not comfortable with this type of repair. However, for most common clogs, the steps above will solve the problem.
When to Call a Professional

While unclogging an exhaust fan is usually a straightforward DIY task, there are times when it’s best to call in a professional, especially for safety reasons:
- Electrical Concerns: If you’re uncomfortable working with electrical components or suspect faulty wiring, professional help is essential.
- Inaccessible Vents: If the exterior vent is located in a hard-to-reach or dangerous area (e.g., on a steep roof), a professional with the right equipment can handle it safely.
- Persistent Problems: If you’ve followed all the cleaning steps and the fan still doesn’t work correctly, there might be a more complex mechanical or electrical issue that a professional can diagnose and fix.
- Structural Damage: If you notice any signs of damage to the ductwork, housing, or surrounding ceiling, a professional can assess and repair it properly.
For general advice on home ventilation and common issues, resources like the EPA’s Indoor Air Quality page offer valuable insights into why ventilation is important for a healthy home environment.
Cost Comparison: DIY vs. Professional Repair
Knowing the potential costs involved can help you appreciate the value of a DIY fix. Let’s look at a rough comparison:
| Service/Task | Estimated DIY Cost | Estimated Professional Cost |
|---|---|---|
| Exhaust Fan Cleaning (DIY) | $5 – $20 (for cleaning supplies, if not already owned) | $150 – $400+ (for a technician’s visit and labor) |
| Exhaust Fan Replacement (DIY) | $30 – $150 (for a new fan unit) | $250 – $600+ (for new unit and professional installation) |
| Duct Cleaning/Repair (DIY – basic access) | $20 – $50 (for tools/cleaners) | $200 – $500+ (for specialized equipment and labor) |
As you can see, a simple DIY cleaning can save you hundreds of dollars. Even if you end up needing to replace the fan unit yourself, it’s still significantly cheaper than hiring someone for the entire job. Professionals charge for their expertise, time, and specialized tools, which is why DIY is so appealing for straightforward maintenance like this—it’s a massive cost-saver!
Maintaining Your Exhaust Fan for Future Efficiency
Preventing clogs is just as important as unclogging them. A little regular maintenance goes a long way to keep your fan running smoothly and quietly. Here’s how:
- Regular Visual Checks: Every few months, take a quick look at the fan cover. If you see a significant amount of dust, it’s time for a clean.
- Monthly Wipe-Down: For easy upkeep, simply wipe down the fan cover with a damp cloth once a month. This prevents dust from accumulating.
- Address Moisture Issues: Ensure your fan is effectively removing moisture. If your bathroom or kitchen stays steamy for a long time after the fan is on, there might be an issue with fan power or ducting size.
- Kitchen Fan Specifics: If you have a kitchen exhaust fan, pay extra attention to grease buildup. Clean the filter (if it has one) regularly, and wipe down the fan housing more frequently.
- Consider Timer Switches: Installing a timer switch can ensure the fan runs for an adequate amount of time after use, removing moisture more effectively and reducing the chance of mold and mildew buildup, which can contribute to clogs over time.
These simple habits will save you time and money in the long run, and keep your home’s air quality better.
Conclusion
See? Unclogging your exhaust fan cheaply and effectively is well within your reach! By following these straightforward steps, you’ve likely restored its quiet operation and powerful airflow without spending a fortune. This DIY approach not only saves you money but also gives you the satisfaction of maintaining your home. Remember, a clean and functional exhaust fan is vital for air quality, reducing moisture, and keeping your home comfortable. By spending just a little time and effort, you’ve achieved a brilliant, effortless fix. Keep up with simple maintenance, and your exhaust fan will serve you faithfully for years to come!
FAQ: Your Exhaust Fan Questions Answered
Q1: How often should I clean my exhaust fan?
A1: It’s a good idea to give your exhaust fan a light cleaning (wiping the cover) every month and a thorough cleaning (including the blades and housing) every 6-12 months, or more often if you notice it getting dirty quickly, especially in kitchens.
Q2: My fan is making a loud rattling noise. What could it be?
A2: A rattling noise could be from loose screws, a buildup of debris on the blades causing imbalance, or a component within the motor housing that has come loose. Cleaning and tightening everything should help.
Q3: Can I use water to clean the fan blades?
A3: Yes, you can use a damp cloth or sponge. However, be very careful not to let any water drip into the motor. Ensure the fan is completely dry before restoring power.
Q4: What if the fan cover is stuck and won’t come off?
A4: Check for any hidden screws or clips. Sometimes they are small or recessed. If it feels like you’re forcing it, see if there’s a different way it detaches. Gentle wiggling might help, but avoid excessive force.
Q5: My exhaust fan doesn’t seem to be blowing much air. Is it definitely clogged?
A5: A clog is the most common reason for reduced airflow. However, it could also be a sign of a failing motor or a blockage in the ductwork leading outside. Start with cleaning, and if that doesn’t help, investigate further for other causes.
Q6: Do I need to unplug the fan or just turn off the switch?
A6: Always turn off the power at the breaker box. Turning off the wall switch is not enough, as there could still be residual power or the switch might be wired incorrectly, posing a shock hazard.
