
Unclogging a mirror doesn’t mean clearing a blocked drain; it means revealing a cleaner, clearer reflection. This guide offers simple, effective DIY tips to remove stubborn smudges, streaks, and spots from your mirrors, ensuring a crystal-clear view with easily accessible materials and methods.
Is your mirror looking more like a blurry art project than a functional surface? You’re not alone! Smudges, toothpaste splatters, and water spots can make even the largest mirror seem dull and uninviting. It’s one of those common household annoyances that can really dampen the mood, especially when you’re trying to get ready in the morning. But don’t worry! You don’t need fancy gadgets or harsh chemicals to bring back that sparkling shine. This guide is packed with easy-to-follow, proven tips using everyday items to tackle even the most stubborn mirror messes.
We’ll walk you through simple, safe, and effective methods that will leave your mirrors looking brand new. Get ready to see yourself – and your room – in a whole new light!
Why Do Mirrors Get So Dirty?
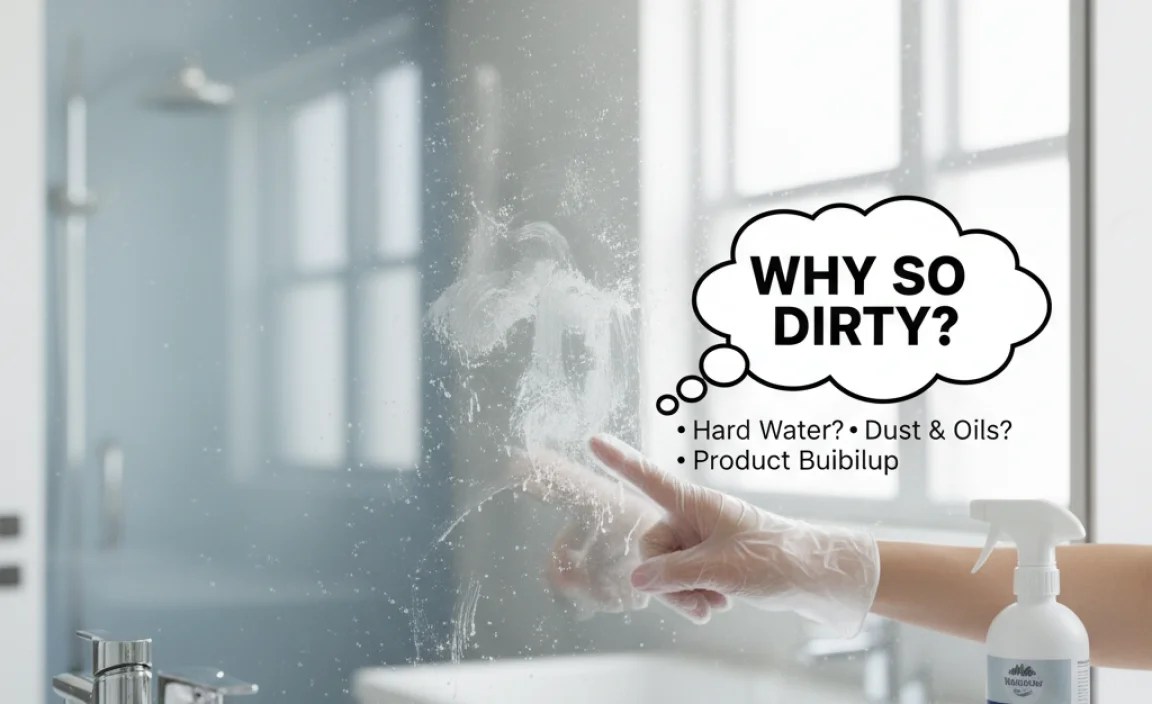
Mirrors, especially those in bathrooms and kitchens, are magnets for all sorts of grime. Think about it: steam from hot showers coats the surface with a fine mist that dries and leaves mineral deposits. Toothpaste flicks, hairspray mists, and even airborne dust settle and stick. It’s a combination of moisture, oils from your hands, and microscopic particles that create that frustrating film. Over time, these build up, obscuring your reflection and making the space feel less clean.
Understanding what causes the mess is the first step to keeping them clean. And the good news is, with a few simple techniques and the right tools, you can banish those streaks and smudges for good.
Essential Tools for a Sparkling Mirror

Before we dive into the cleaning methods, let’s gather your arsenal. You likely have most of these items already in your home. Having the right tools makes the job quicker and more effective.
- Microfiber Cloths: These are your best friends for mirror cleaning. They are soft, absorbent, and won’t leave lint behind. Have at least two on hand – one for cleaning and one for drying/buffing.
- Spray Bottle: Perfect for holding your chosen cleaning solution without oversaturating the mirror.
- Rubbing Alcohol (Isopropyl Alcohol): Excellent for cutting through grease and grime. You can find it at most drugstores or supermarkets.
- Distilled Water: Tap water contains minerals that can leave spots. Distilled water is pure and won’t cause streaks.
- White Vinegar: A natural, acidic cleaner that’s great for dissolving mineral deposits and cutting through grease.
- Squeegee: For larger mirrors, a good quality squeegee can make a big difference, especially when used with the right technique. Ensure the rubber blade is clean and undamaged.
- Paper Towels (Optional): While microfiber is superior, some people prefer heavy-duty paper towels for initial wipe-downs. Choose ones that don’t shred easily.
- Gloves: To protect your hands, especially if you’re using any stronger cleaning solutions, though our recommended methods are gentle.
DIY Mirror Cleaning Solutions: Gentle Yet Effective
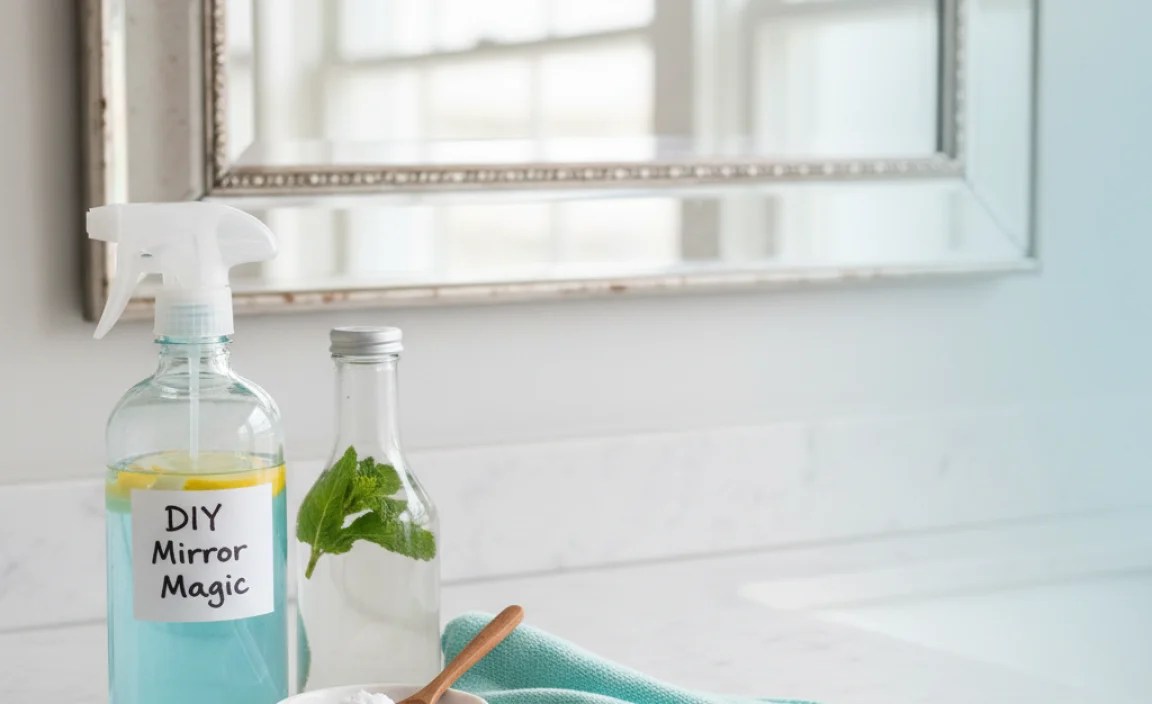
Forget harsh chemical cleaners that can leave streaks and fumes. These simple DIY solutions are powerful, safe, and incredibly budget-friendly.
1. The Classic Vinegar and Water Solution
This is a tried-and-true method that works wonders on most everyday smudges and grime. Vinegar’s acidity helps break down mineral deposits and soap scum, while water acts as a diluent.
Ingredients:
- 1 part white vinegar
- 4 parts distilled water
Instructions:
- Pour the white vinegar and distilled water into your spray bottle.
- Shake gently to mix.
- Spray lightly onto the mirror surface, avoiding excessive dripping.
- Wipe clean with a lint-free microfiber cloth in an S-pattern or overlapping strokes.
- Use a second, dry microfiber cloth to buff the mirror dry and remove any remaining streaks.
Why it works: White vinegar is a natural disinfectant and degreaser. By diluting it with distilled water, you harness its cleaning power without the overpowering smell, and the distilled water ensures no mineral spot residue is left behind.
For more on effective DIY cleaning, the U.S. Environmental Protection Agency (EPA) offers excellent resources on using vinegar and other household ingredients for cleaning and disinfecting safely: EPA Household Cleaning Resources.
2. The Rubbing Alcohol and Water Boost
For stubborn grease, fingerprints, or Hairspray residue, rubbing alcohol is a powerhouse. It evaporates quickly, which helps reduce streaking.
Ingredients:
- 1 part rubbing alcohol (70% Isopropyl Alcohol is ideal)
- 1 part distilled water
- A few drops of dish soap (optional, for extra degreasing power)
Instructions:
- Combine rubbing alcohol and distilled water in your spray bottle.
- If using, add a tiny drop of dish soap – too much will cause streaks!
- Gently swirl to mix.
- Lightly mist the mirror.
- Wipe clean with a microfiber cloth using overlapping strokes.
- Dry and buff with a separate, dry microfiber cloth.
Why it works: Rubbing alcohol is an excellent solvent, meaning it dissolves oils and grease effectively. Its quick evaporation minimizes the time for water spots to form, leading to a streak-free finish.
3. Dish Soap and Water (For Greasy Kitchen Mirrors)
Kitchen mirrors, especially those near the stove, can get really greasy. A little bit of dish soap can cut through that effectively.
Ingredients:
- A tiny drop of mild dish soap
- Warm water
Instructions:
- Fill your spray bottle with warm water.
- Add just one tiny drop of dish soap. Seriously, less is more here!
- Shake gently.
- Lightly spray the mirror.
- Wipe with a damp microfiber cloth.
- Immediately dry and buff with a clean, dry microfiber cloth. You might need to rinse your cloth and repeat if the soap residue is stubborn.
Why it works: Dish soap is specifically designed to break down grease and oil. Using it sparingly with water is key to preventing a sudsy mess that’s hard to rinse and can leave streaks.
Step-by-Step Guide: How to Clean Your Mirror Perfectly

Now that you know your solutions, let’s put them into action. Follow these steps for a flawless shine every time, whether it’s a small bathroom vanity mirror or a large wardrobe mirror.
Step 1: Prepare the Area
Lay down an old towel or a thicker microfiber cloth on the counter or floor below the mirror. This will catch any drips and protect your surfaces.
Step 2: Pre-Clean if Necessary
For very dusty or grimy mirrors, you might want to do a quick dry wipe-down with a separate, clean cloth first. This removes loose debris so you’re not just smearing dirt around with your cleaning solution.
Step 3: Apply Your Chosen Solution
Using your spray bottle, lightly mist the mirror with your preferred DIY cleaning solution. Work in sections if you have a very large mirror to prevent the solution from drying before you can wipe it.
Pro Tip: Never spray directly onto the mirror for too long, and avoid saturating it. It’s better to apply a little, wipe, and then apply more if needed. Spraying the cloth first is also a good technique, especially for framed mirrors, as it prevents liquid from seeping into the frame and causing damage.
Step 4: Wipe Away the Grime
Take your first (damp) microfiber cloth. Start at the top of the mirror and work your way down. Use overlapping strokes, either in a zig-zag or “S” pattern, to ensure you cover the entire surface without missing spots or creating streaks.
Step 5: Dry and Buff for a Streak-Free Shine
This is the crucial step for a perfect finish. Immediately after wiping with the damp cloth, use your second (completely dry) microfiber cloth. Buff the mirror using similar overlapping strokes, working from top to bottom.
The goal here is to evaporate any lingering moisture before it can form streaks. If you notice any lines or dull spots, a little extra buffing should make them disappear. This technique is fundamental to achieving that high-gloss, clear reflection.
Advanced Mirror Cleaning Techniques
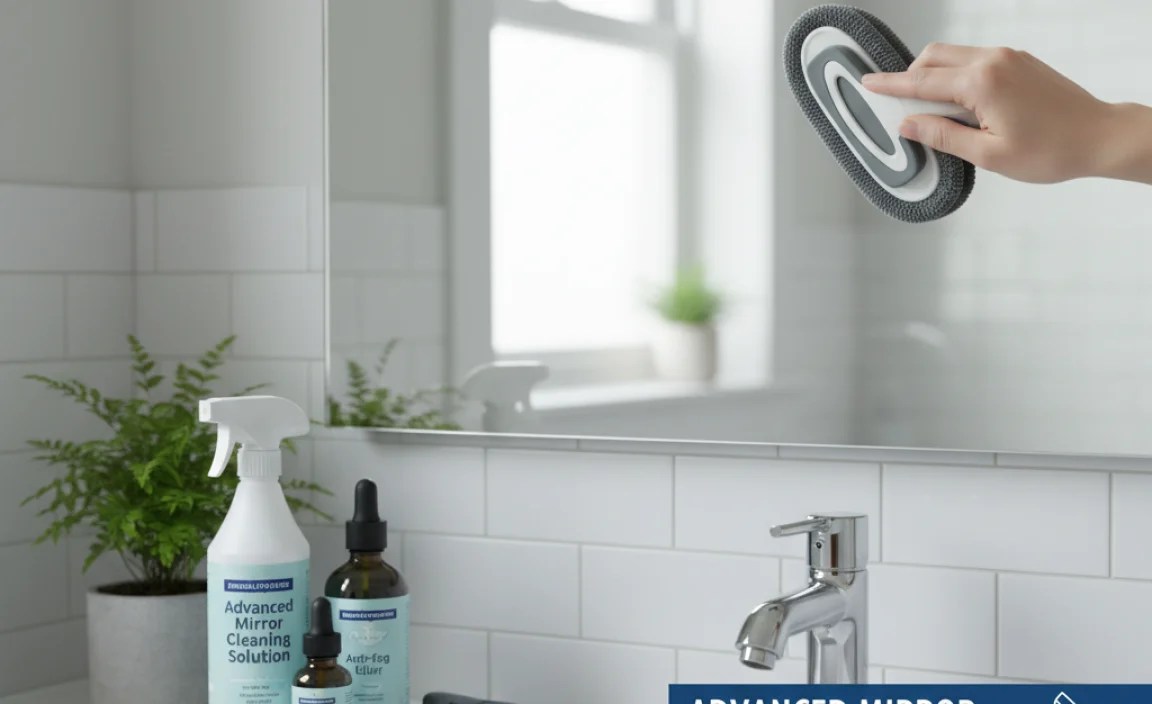
For those particularly tough spots, water spots, or if you just want that ultra-professional finish, try these advanced tips.
Using a Squeegee Like a Pro
For large mirrors (like shower doors or full-length wall mirrors), a squeegee can be a game-changer. The key is the correct technique:
- Start at the top corner of the mirror.
- Press the squeegee blade firmly against the glass and pull it across in a single, smooth, horizontal stroke.
- For the next stroke, overlap the previous one by about an inch.
- After each stroke, wipe the squeegee blade clean with a dry microfiber cloth to prevent residue transfer.
- Work your way down the mirror systematically.
- Pay attention to the edges and corners, wiping away any excess water with your dry cloth.
A good quality squeegee can be found at most hardware or home goods stores. Look for one with a flexible rubber blade.
Tackling Stubborn Spots
- Hairspray: For dried hairspray splatters, a 1:1 mixture of rubbing alcohol and distilled water sprayed directly onto the spot, left for a minute, and then wiped with a microfiber cloth usually does the trick.
- Hard Water Stains: These are mineral deposits that can be tough. A solution of half white vinegar and half distilled water, allowed to sit for a few minutes (or longer for very stubborn stains, applied with a soaked cloth), can help break them down before wiping and buffing. For extremely aged stains, a plastic scraper held at a low angle might be needed, but be extremely cautious to avoid scratching the glass.
- Adhesive Residue: Leftover sticker goo can be softened with a little bit of rubbing alcohol or a dedicated adhesive remover (test in an inconspicuous area first). Let it sit, then gently rub with a microfiber cloth. Essential oils like tea tree or eucalyptus can also help break down sticky residues.
The Importance of a Clean Cloth
This cannot be stressed enough: always use clean microfiber cloths. A dirty cloth will only spread grime and lint, leaving your mirror looking worse than when you started. Wash your microfiber cloths separately from other laundry, without fabric softener, which can reduce their absorbency and effectiveness. Air drying is best.
Maintaining Your Mirrors: Prevention Tips
The best way to deal with a dirty mirror is to prevent it from getting that way in the first place. A little proactive care goes a long way.
- Ventilate Bathrooms: Always use your bathroom fan during and after showers to reduce steam. Open a window if possible. This minimizes condensation that leads to water spots.
- Wipe Down After Use: In wet areas like bathrooms, a quick wipe of the mirror with a dry towel after showering can prevent water spots from forming.
- Use a Protective Spray (Optional): Some commercial products create an invisible barrier that repels water and prevents smudges. However, DIY methods are often just as effective and much more affordable.
- Keep Cleaning Supplies Handy: Store your DIY cleaning solution and a dedicated microfiber cloth near the mirror so you can quickly clean up small messes as they happen.
Troubleshooting Common Mirror Cleaning Issues
Even with the best intentions, you might run into a few snags. Here’s how to fix them:
- Streaks Everywhere: This is usually caused by too much cleaner, a dirty cloth, or not drying/buffing thoroughly. Try using less solution, a clean cloth, and buffing with a dry cloth. Sometimes, a tiny bit of dish soap in very hard water areas can emulsify minerals and help prevent streaking when it’s properly rinsed and dried.
- Lint Left Behind: You’re likely using the wrong kind of towel. Switch to high-quality microfiber cloths designed for glass or cleaning.
- Cloudy Appearance: This can be due to hard water residue or cleaning solutions that weren’t fully removed. A good buff with a clean, dry cloth, or reapplying a vinegar solution and then drying thoroughly, should fix it.
- Frame Damage from Cleaning: Always spray the cleaning solution onto your cloth, not directly onto the mirror, especially if it has a wooden or decorative frame. This prevents liquid from seeping into the frame and causing it to warp or peel.
Mirror Cleaning: A Comparison of Methods
To help you choose the best approach, here’s a quick rundown of popular mirror cleaning methods, their pros, and their cons.
| Method | Pros | Cons | Best For |
|---|---|---|---|
| Vinegar & Water | Natural, inexpensive, effective on general grime and water spots, low odor when diluted. | Can leave a slight vinegar smell initially, may require thorough drying for streak-free results. | Daily cleaning, bathroom mirrors, general smudges. |
| Rubbing Alcohol & Water | Excellent for grease and sticky residues, evaporates quickly, helps prevent streaks. | Stronger smell than vinegar, can dry out skin, requires good ventilation. | Kitchen mirrors, fingerprints, hairspray, sticky residues. |
| Dish Soap & Water | Cuts through heavy grease, readily available. | Easy to overuse, causing excessive suds and streaks; requires thorough rinsing. | Very greasy kitchen mirrors. |
| Commercial Glass Cleaners | Convenient, often formulated for streak-free results. | Can contain harsh chemicals, strong fumes, may be more expensive, some leave streaks. | Quick touch-ups, when DIY solutions aren’t readily available. |
| Newspaper (Traditional Method) | Historically used, can provide a decent buff. | Ink can transfer onto frames or surrounding areas, not very effective for tough grime, can be messy. | Buffing after a light clean (use with caution). |
Frequently Asked Questions (FAQ) About Unclogging Mirrors
Q1: Can I use Windex or other commercial glass cleaners?
A: Yes, you can. Commercial glass cleaners are designed for mirrors and windows. However, always follow the directions on the label. For best results, spray the cleaner onto your cleaning cloth rather than directly onto the mirror, especially if it has a frame, and always buff dry with a clean, soft cloth.
Q2: What’s the fastest way to clean a mirror?
A: The fastest effective way is often a light mist of rubbing alcohol and distilled water solution, followed by a quick wipe with a microfiber cloth and a buff with a dry one. This combination cuts grime and evaporates quickly, minimizing streaks.
Q3: Why does my mirror always look streaky after cleaning?
A: Streaks are usually caused by using too much cleaning solution, a dirty cloth, or not drying/buffing thoroughly. Ensure your cloth is clean, use a light mist of solution, and buff with a separate, dry microfiber cloth until completely dry.
Q4: Is distilled water really necessary? Can’t I just use tap water?
A: While you can use tap water, distilled water is highly recommended, especially if you have hard water. Tap water contains minerals that can leave behind water spots and dullness as the water evaporates, leading to streaks. Distilled water is purified and free of these minerals, ensuring a clearer finish.
Q5: How often should I clean my mirrors?
A: It depends on the location and usage. Bathroom mirrors might need cleaning weekly due to steam and toothpaste splatters. Kitchen mirrors might need weekly touch-ups for grease. Other mirrors can be cleaned less frequently, perhaps once a month or as needed, as soon as you notice smudges or dust buildup.
Q6: Are there any natural alternatives to vinegar and alcohol?
A: For very light cleaning, sometimes just a damp microfiber cloth followed by a dry buff is enough. For a mild degreasing, a tiny amount of dish soap (as mentioned) is effective. However, for more stubborn grime and mineral deposits
