
Unclog pipes DIY: The proven, effortless method involves using a simple plunger, then a baking soda and vinegar solution, followed by a gentle flush with hot water. This safe, chemical-free approach tackles most common clogs quickly and effectively for homeowners.
Dealing with a clogged drain? It’s a common household headache that can disrupt your daily routine. Whether it’s a slow-draining sink or a completely blocked shower, the frustration is real. You might think you need to call a plumber or resort to harsh chemicals, but often, the solution is much simpler and right at your fingertips. I’m Bryan Lee, and I believe in empowering you with straightforward, effective DIY solutions. This guide will walk you through a proven, effortless method to unclog your pipes without stress, using common household items and basic tools. Get ready to tackle that clog with confidence!
Understanding Common Pipe Clogs
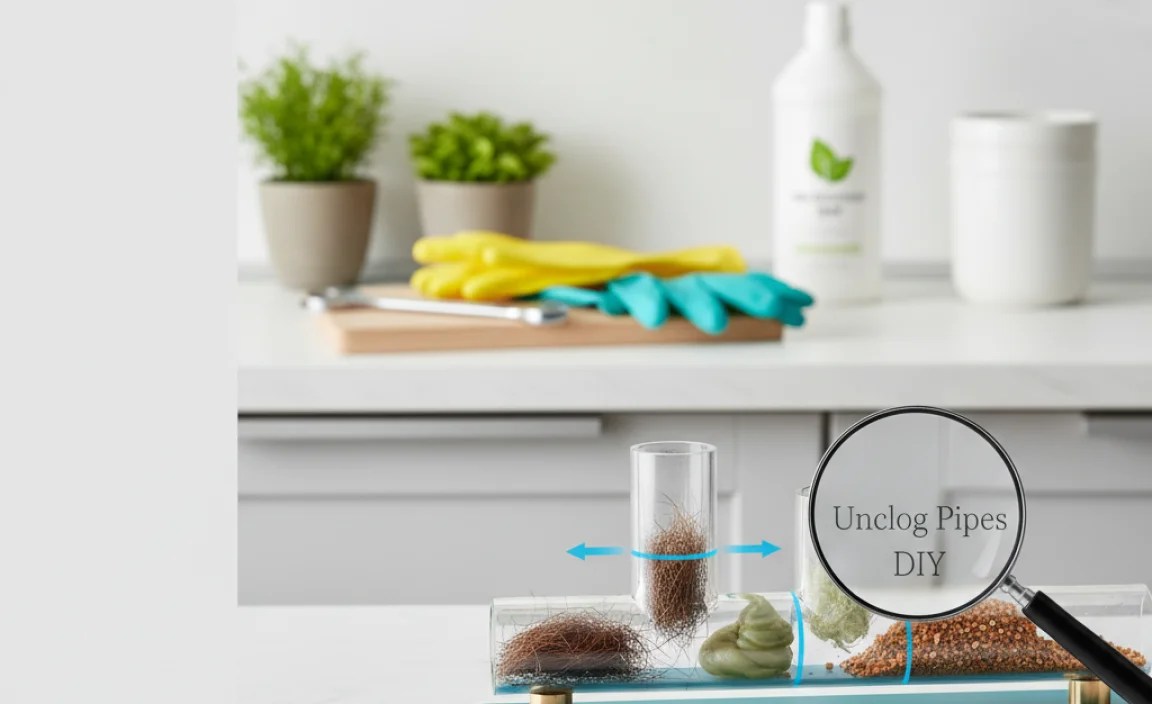
Before we dive into the fixes, let’s quickly talk about what usually causes those stubborn clogs. Most blockages happen in the sink or shower drains, and they’re rarely a mystery. Over time, a mix of things builds up:
- Hair: This is a major culprit, especially in bathroom drains. Hair strands intertwine and create a mesh that traps other debris.
- Grease and Oils: In the kitchen, pouring grease down the drain might seem harmless, but it cools and solidifies, coating the inside of pipes and catching food particles.
- Soap Scum: Soap doesn’t fully dissolve and can leave a sticky residue that accumulates, often sticking to hair and other gunk.
- Food Particles: Small food scraps, coffee grounds, and even tiny bits of eggshells can gradually build up in kitchen sinks.
- Foreign Objects: Sometimes, small items like cotton swabs, dental floss, or even jewelry can accidentally go down the drain and cause a serious blockage.
Knowing what’s likely causing the problem can sometimes help you choose the best unclogging method. For most of these common culprits, the simple, proven method we’re about to explore is highly effective. And remember, a little preventative maintenance can go a long way in avoiding future clogs!
Your DIY Unclogging Toolkit
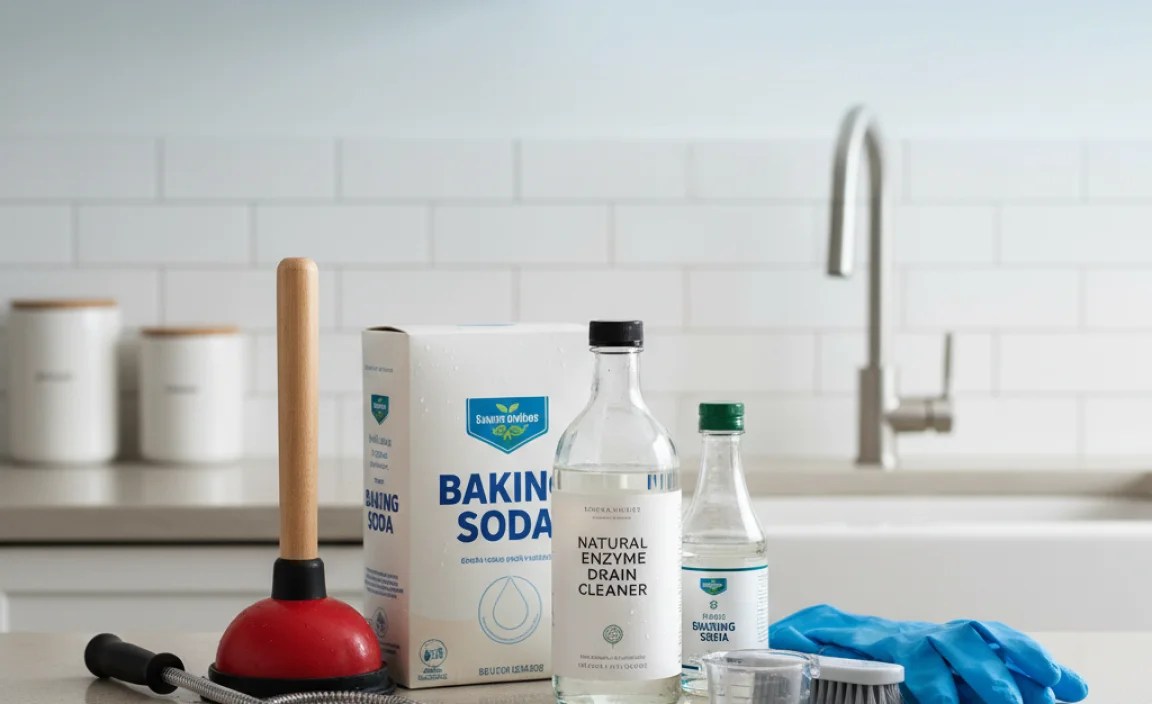
You don’t need a fancy arsenal to tackle a clogged pipe. Most of what you’ll need is probably already in your home. Here’s a simple list of tools that will make this process a breeze:
Essential Tools for DIY Pipe Unclogging
- A Flange Plunger: This is your most important tool. Look for a standard cup plunger, ideally one with a flange extension (the part that folds out) for toilets. For sinks and tubs, the flange can be folded inward or you can use a flat-bottomed sink plunger.
- Baking Soda: A common pantry staple, baking soda is a mild abrasive and deodorizer.
- White Vinegar: Another kitchen essential, vinegar is acidic and reacts with baking soda to create a fizzy, powerful cleaning action.
- Hot Water: Not boiling, but very hot water from the tap or kettle will help flush away debris loosened by the baking soda and vinegar.
- Gloves: For hygiene, it’s always a good idea to wear rubber gloves.
- Old Towels or Rags: These are handy for wiping up any splashes or spills.
- A Small Bucket or Bowl: To catch any water that might come back up during plunging.
- A Screwdriver or Pliers (Optional): If you have a pop-up stopper in your sink, you might need these to remove it for better access.
Having these items ready will ensure you can start unclogging your pipes the moment you notice a problem, minimizing water damage and inconvenience.
The Proven, Effortless Step-by-Step Method
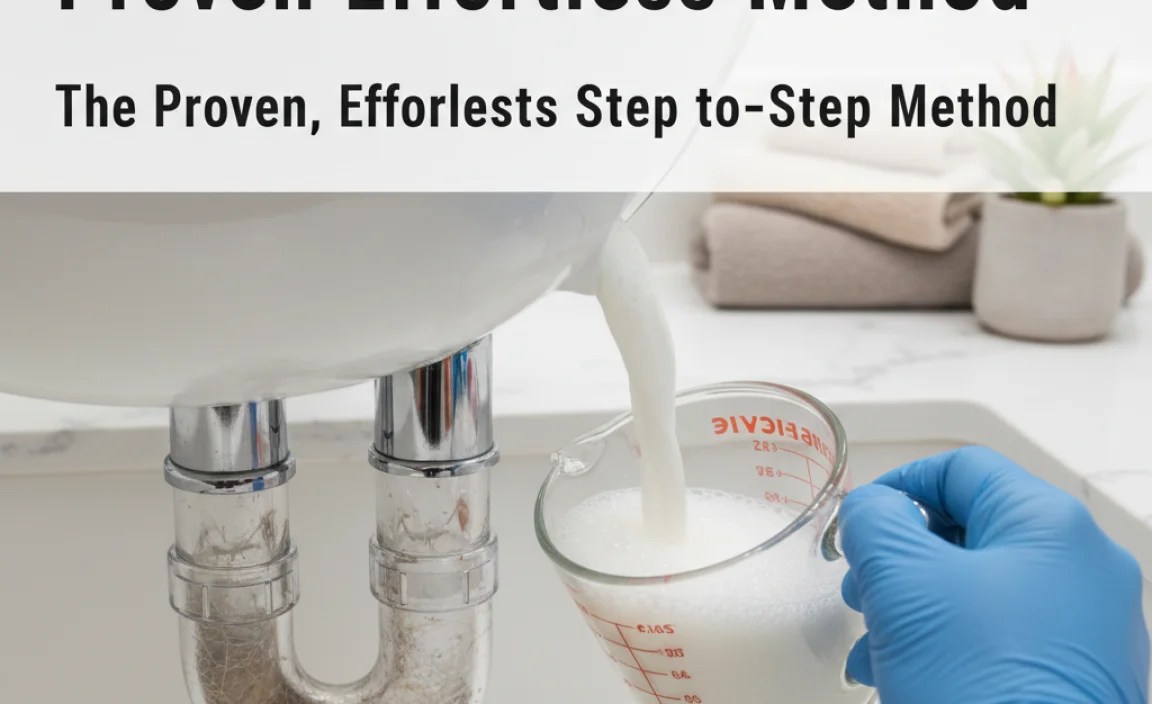
This method focuses on a safe, effective, and non-chemical approach that works wonders for most everyday clogs. We’ll start with the most accessible tool: your plunger!
Step 1: The Power of the Plunger
The plunger is your first line of defense and often the most effective tool for creating enough suction to dislodge a clog. Here’s how to use it correctly:
- Ensure Enough Water: The plunger needs a seal to work. Make sure there’s enough standing water in the sink or tub to cover the rubber cup of the plunger. If there isn’t, add some water from the tap.
- Create a Seal: Place the plunger directly over the drain opening. For sinks, make sure the plunger completely covers the drain. If you have a double sink, use a wet rag to firmly plug the other drain. For tubs, ensure a good seal around the overflow drain as well—you can do this by covering it with a wet cloth or using a plunger designed for tubs.
- Plunge Vigorously: Push down firmly and then pull up sharply. Do this about 15-20 times. The goal is to create both pressure and suction to move the blockage. You should feel resistance and hear a gurgling sound.
- Check for Drainage: After several vigorous plunging sessions, remove the plunger and see if the water starts to drain. If it does, great! Flush with hot water to help clear any remaining residue. If not, don’t worry; we’ll move to the next step.
Sometimes, a good plunging session is all it takes. But if the clog persists, the baking soda and vinegar combo is your next best bet.
Step 2: The Baking Soda and Vinegar Fizz
This classic combination creates a chemical reaction that can break down grease, soap scum, and other soft blockages. Plus, it’s eco-friendly and safe for your pipes.
- Remove Standing Water: If there’s still standing water, try to bail out as much as you can using a cup or bowl. You want the baking soda and vinegar to work directly on the clog, not diluted in a large amount of water.
- Pour in Baking Soda: Pour about half a cup to a full cup of baking soda directly down the drain.
- Add White Vinegar: Immediately follow the baking soda with an equal amount of white vinegar. You’ll hear and see a fizzing reaction. This is what we want!
- Cover and Wait: Cover the drain opening with a stopper, rag, or your plunger (without plunging) to keep the fizzing action contained within the pipe. Let it sit and work its magic for at least 30 minutes, or even longer if you have time—an hour is even better for tougher clogs.
This fizzy concoction helps to break down the gunk that’s causing the blockage. The abrasive nature of the baking soda works with the acidic vinegar to loosen and dissolve materials.
Step 3: The Hot Water Flush
Now it’s time to rinse away what the baking soda and vinegar have loosened. This step is crucial for washing away the dislodged debris.
- Boil Water (Carefully!): Get a kettle or pot of water very hot. You don’t need boiling water, but it should be as hot as your tap can get, or just shy of boiling if using a kettle. Be extremely careful when handling hot water to avoid burns.
- Flush the Drain: Slowly and carefully pour the hot water directly down the drain. Pour it in stages if necessary.
- Observe Drainage: Watch to see if the water is now draining freely. You might hear some gurgling as the last bits of clog are flushed away.
- Test and Repeat if Needed: Once the water has drained, run your tap for a minute or two to test the flow. If the drain is still slow or clogged, you can repeat the baking soda and vinegar steps, followed by the hot water flush. Sometimes, a second attempt is all it takes.
This three-step process—plunge, fizz, flush—is a highly effective and eco-friendly way to tackle most common pipe clogs. It’s designed to be easy for beginners and uses readily available materials.
When to Consider Other Options (or Call a Pro)
While the DIY method is robust, there are times when you might need a bit more power or professional help. It’s important to know your limits and when to step back.
Other DIY Methods to Try
If the plunging and baking soda trick don’t fully resolve the issue, there are a few other relatively simple methods you can try:
- The Wire Coat Hanger: For clogs that seem very close to the drain opening (like hair in a sink), you can fashion a simple hook from a wire coat hanger. Straighten it out, create a small hook at one end, and carefully insert it into the drain. Gently twist and pull to snag and remove any visible debris. Be careful not to push the clog further down.
- A Drain Snake (Auger): For a bit more reach, a hand-crank drain snake or auger is a worthwhile investment for any homeowner. You feed the flexible cable down the drain until you hit the clog, then crank the handle to break it up or hook onto it. These are relatively inexpensive and can be found at most hardware stores. For best results, consult resources like This Old House’s guide on using a drain snake for detailed instructions.
When to Call a Professional Plumber
There are certain situations where it’s best to stop DIY efforts and call in the experts:
- Persistent Clogs: If you’ve tried the methods above multiple times and the clog won’t budge, it might be deeper in the system or a more serious blockage.
- Multiple Clogged Drains: If you have more than one drain backing up, it could indicate a main sewer line issue, which requires professional assessment and equipment.
- Sewage Smells: A persistent, foul odor is a sign of potential sewage backup and a serious problem that needs immediate professional attention.
- Recurring Clogs: If you find yourself constantly battling clogged drains, there might be an underlying issue with your pipes that a plumber can diagnose and fix permanently.
- Lack of Confidence or Proper Tools: If at any point you feel unsafe, unsure, or lack the right tools for a more advanced task, it’s always wise to call a plumber. They have the experience and specialized equipment to handle complex issues safely.
Trust your instincts. While DIY is great for common issues, knowing when to delegate to a professional ensures safety and proper repair.
Preventing Future Clogs: A Proactive Approach

The best way to deal with clogs is to prevent them from happening in the first place. A little preventative maintenance can save you a lot of hassle and expense down the line. Here are some simple habits to adopt:
Kitchen Sink Prevention
- Never Pour Grease Down the Drain: Let grease cool and solidify, then scrape it into the trash. You can also pour small amounts into an old, empty can and dispose of it.
- Use a Drain Strainer: Place a mesh drain strainer in your sink to catch food scraps. Empty it regularly into the trash.
- Run Hot Water Regularly: After washing dishes, especially greasy ones, run hot water for a minute to help flush away any residue.
- Avoid Coffee Grounds and Eggshells: These are particularly problematic for drains and should always go into the trash or compost.
Bathroom Sink and Shower Prevention
- Use a Hair Catcher: This is the single most effective way to prevent hair clogs. They are inexpensive and easy to clean.
- Be Mindful of What Goes Down: Avoid flushing cotton balls, cotton swabs, dental floss, feminine hygiene products, or excessive amounts of toilet paper. These items do not break down easily and can accumulate to form blockages.
- Regular Cleaning: Periodically pour hot water down drains, or run the baking soda and vinegar treatment once a month as a preventative measure.
Toilet Prevention
- Only Flush Toilet Paper and Waste: Avoid flushing “flushable” wipes (they often aren’t), paper towels, tissues, or anything else not explicitly designed for toilet disposal.
- Don’t Over-Flush: Excessive flushing in a short period can overwhelm the system.
Implementing these simple prevention tips will significantly reduce the likelihood of future clogs, keeping your plumbing running smoothly. Resources like the EPA’s WaterSense program also offer valuable advice on water conservation and plumbing maintenance.
Troubleshooting Common Issues During Unclogging
Even with the best methods, you might run into a few hiccups. Here’s how to handle them:
| Problem | Possible Cause | Solution</th |
|---|---|---|
| Water won’t drain at all after plunging. | The clog is too solid or too far down. | Proceed to the baking soda and vinegar method. If that fails, consider a drain snake or professional help. |
| Plunger doesn’t create suction. | Poor seal around the drain or overflow. | Ensure the plunger is fully covering the drain. Plug any overflow holes. Use a flange plunger for toilets, or a sink plunger for sinks/tubs. |
| Fizzing from baking soda and vinegar escapes the drain. | Drain opening not fully sealed. | Use a stopper, rag, or even the plunger (without plunging) to cover the drain tightly while the mixture works. |
| Hot water seems to sit in the drain. | The clog is still present or partially cleared. | Let the hot water sit for a few minutes to soften the clog, then try plunging again. Repeat the baking soda/vinegar cycle. |
| A strange smell after unclogging. | Trapped residue or gases released. | Flush with hot water and a dedicated drain cleaner (e.g., enzyme-based) or baking soda/vinegar to deodorize. If the smell persists, it might indicate a deeper issue. |
Troubleshooting is part of any DIY project. By understanding potential issues and their solutions, you can navigate them successfully.
Frequently Asked Questions (FAQ)
Q1: How often should I use the baking soda and vinegar method for maintenance?
A1: For most households, using the baking soda and vinegar treatment once a month as a preventative measure is sufficient to keep drains clear and fresh.
Q2: Can I use boiling water with the baking soda and vinegar?
A2: It’s best to use very hot water, but not boiling water. Boiling water can potentially damage PVC pipes or loose pipe joints over time. Hot tap water or water heated just below boiling is ideal.
Q3: What happens if I pour harsh chemical drain cleaners down the drain?
A3: Harsh chemical cleaners can be effective but are also corrosive. They can damage pipes, are harmful to the environment, and can cause severe burns if they splash on skin or in eyes. They can also make future DIY attempts or professional repairs more dangerous if they remain in the pipes. For these reasons, the baking soda and vinegar method is highly recommended for safety and pipe longevity.
Q4: My sink is clogged, but the plunger isn’t working. What’s my next best DIY step?
A4: After plunging, your next best DIY step is the baking soda and vinegar fizz followed by a hot water flush. If that doesn’t work, consider using a simple drain snake or wire coat hanger to try and manually remove the obstruction if it’s close to the drain opening.
Q5: Is it safe to use a plunger on a toilet?
A5: Yes, but use a toilet plunger, which has a flange (an extra flap) that folds out to create a better seal in the toilet bowl. Ensure the plunger covers the drain hole completely and plunge vigorously.
Q6: How do I know if my clog is too severe for DIY and I need a plumber?
A6: If you’ve tried multiple DIY methods without success, if multiple drains in your home are clogged simultaneously, or if you suspect a main line blockage (indicated by sewage smells or backups in multiple fixtures), it’s time to call a professional plumber.
Conclusion
Clogged pipes are a common household nuisance, but they don’t have to be a source of stress or a drain on your wallet. By mastering the simple, proven, and effortless DIY method of plunging followed by a baking soda and vinegar fizz and a hot water flush, you’re equipped to handle most common blockages safely and effectively. Remember to always start with the least invasive method, be patient, and
