
Don’t let a clogged tile leak ruin your day! This guide provides a simple, step-by-step fix to easily unclog tile leaks. We’ll walk you through essential tools and proven methods to get your drains flowing freely again, saving you time and hassle with just a few common household items.
Are you noticing water pooling around your tiles, especially in bathrooms or kitchens? It’s a common sight and can be frustrating. A clogged tile drain, often called a “tile leak” because it starts with a drainage issue that can mimic a leak, is usually caused by a buildup of soap scum, hair, grease, and other debris. But don’t worry!
This isn’t a plumbing emergency. With a few simple tools and our clear, easy-to-follow instructions, you can tackle this problem yourself. We’ll break down exactly what you need to do, step-by-step, to get your drains working perfectly again. Get ready to restore your peace of mind!
Understanding Tile Leaks and Clogs
When we talk about a “tile leak,” we’re usually referring to a problem with the drainage system beneath or around your tiled surfaces. This often happens in shower stalls, bathtub surrounds, or even kitchen backsplashes that have drains. The tile itself isn’t leaking, but the water can’t drain away properly, leading to standing water that might seem like a leak from the tile, grout, or fixture.
The most frequent culprit is a blockage in the drainpipe. Over time, showering means shampoo, conditioner, soap residue, and hair can all combine to form a stubborn gunk that stops water in its tracks. In kitchens, it’s often grease, food particles, and soap that cause the clog. Once this gunk builds up, water has nowhere to go but to sit on your tiles or seep into small cracks.
Ignoring a clogged drain can lead to more significant issues like water damage, mold growth, and unpleasant odors. The good news is that most drain clogs are manageable with basic DIY techniques. We’ll guide you through the most effective ways to dislodge these blockages safely and efficiently.
Essential Tools and Materials
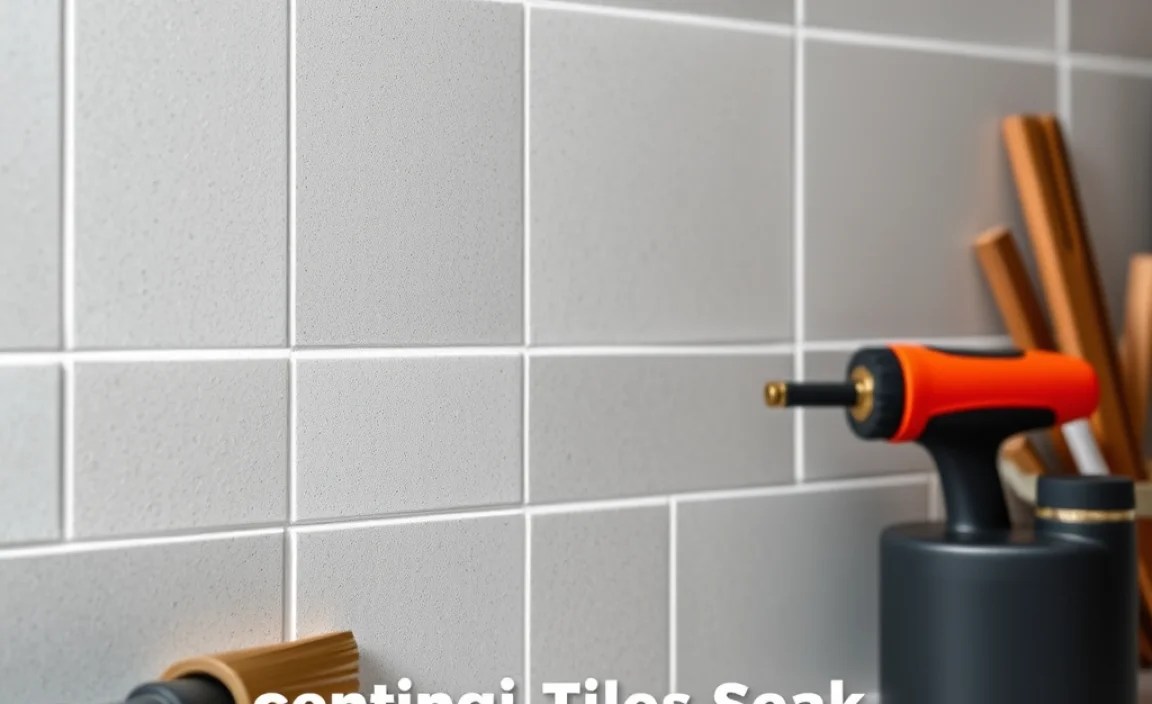
Before we dive into the unclogging process, let’s gather the necessary tools. Most of these are common household items, which makes this a convenient DIY fix. Having everything ready beforehand will make the process smoother and quicker.
Here’s a checklist of what you might need:
- Gloves: To protect your hands from gunk and cleaning solutions.
- Eye Protection: Safety glasses are a good idea when dealing with drains, especially if you use chemicals.
- Plunger: A standard cup or flange plunger can be very effective for many clogs.
- Drain Snake or Auger: This flexible tool can reach deeper to break up clogs.
- Baking Soda and Vinegar: A natural, effective two-part solution for minor clogs.
- Hot Water: Helps to dissolve grease and loosen debris.
- Old Towels or Rags: For wiping up spills and keeping the area dry.
- Screwdriver (if needed): To remove drain covers or strainers.
- Bucket: To collect any water or debris.
- Wire Coat Hanger (bent): A makeshift tool for reaching shallow clogs.
Having a good drain snake is particularly helpful as it can physically remove blockages that a plunger or natural solutions can’t manage. You can find these at most hardware stores and they are quite affordable. For more stubborn clogs, a more robust drain auger might be an option, but let’s start with the basics!
Step-by-Step: Unclogging Your Tiles Leak
Let’s get started on clearing that stubborn clog. We’ll begin with the simplest methods and move to more advanced techniques if needed. Remember to always work cautiously and follow safety guidelines.
Method 1: The Plunger Power
This is your first line of defense and often surprisingly effective for many common clogs.
- Prepare the Area: Remove any standing water from the tile area if possible. If there’s a fair amount of water, scoop some out into a bucket. Ensure the drain cover is removed if it obstructs the plunger’s seal.
- Create a Seal: Place the plunger firmly over the drain opening. Make sure the rubber cup creates a tight seal around the edges. If the drain is in a sink or tub with an overflow outlet, cover that opening with a wet rag to prevent air from escaping.
- Plunge Effectively: Fill the bottom of the plunger cup with enough water to cover its rim. This helps create suction. Now, push down and pull up vigorously for about 20-30 seconds. The goal is to create strong suction and pressure that can dislodge the clog.
- Check and Repeat: Lift the plunger quickly. Listen for any draining sounds. If the water starts to recede, you’re on the right track! Repeat the plunging process several times. If the water drains, flush the drain with hot water for a few minutes to ensure the clog is fully cleared and to wash away any remaining debris.
If this doesn’t work, don’t get discouraged. We have other methods ready.
Method 2: The Baking Soda and Vinegar Volcano
This natural, eco-friendly method uses a chemical reaction to break down grease and grime.
- Remove Standing Water: Like in Method 1, try to clear as much standing water as possible.
- Pour Baking Soda: Pour about 1/2 to 1 cup of baking soda directly into the drain opening. Try to get as much of it down the drain as possible.
- Add Vinegar: Immediately follow with about 1 cup of white vinegar. You’ll notice a fizzing, bubbling reaction. This is the vinegar and baking soda working together to create carbon dioxide gas, which helps to break up clogs.
- Seal and Wait: Cover the drain opening with a cap, stopper, or even a damp cloth. Let the mixture work for at least 30 minutes, or even an hour for tougher clogs.
- Flush with Hot Water: After the waiting period, pour a kettle full of very hot (but not boiling) water down the drain. This will help to flush away the loosened debris. Repeat the baking soda and vinegar treatment if necessary.
This method is excellent for grease and soap scum. For a more robust application, especially for kitchen drains, pouring hot water first to melt some grease before adding baking soda and vinegar can be even more effective.
Method 3: The Bent Coat Hanger Trick
For clogs that are shallow and reachable, a simple bent coat hanger can work wonders.
- Straighten and Bend: Take a metal coat hanger and straighten it out as much as possible. Then, use pliers to bend a small hook at one end.
- Insert into Drain: Carefully insert the hooked end into the drain.
- Agitate and Retrieve: Gently push the hanger down and wriggle it around to hook onto any debris, like hair or lint. Slowly pull the hanger back up, bringing the debris with it. Be patient and try to retrieve as much of the clog as you can.
- Repeat and Flush: Repeat this process until you stop pulling up significant amounts of debris. Once done, flush the drain with hot water.
Be gentle when using a coat hanger to avoid scratching your sink or tile surface, or pushing the clog further down the pipe.
Method 4: The Drain Snake or Auger
This is where a specialized tool really shines for deeper or more stubborn clogs.
- Insert the Snake: Feed the end of the drain snake into the drain opening. Push it in gently until you feel resistance, which indicates you’ve likely hit the clog.
- Work Through the Clog: Once you feel resistance, lock the cable and start rotating the handle (this usually twists the snake in a clockwise direction). Simultaneously, push the snake gently further into the pipe. The rotating motion helps the snake’s tip break apart the clog.
- Retrieve Debris: Once you feel the clog breaking up, you can try to gently pull the snake back out. You might pull some debris out with it.
- Repeat as Necessary: Continue feeding, rotating, and pulling back the snake until the clog is cleared. You might need to do this several times.
- Flush Thoroughly: After you’re confident the clog is gone, run hot water down the drain for several minutes to ensure it’s clear and free-flowing.
For a more in-depth guide on using a drain snake, you can refer to resources like this guide from This Old House, which offers excellent visuals and tips.
Method 5: Chemical Drain Cleaners (Use with Caution!)
While effective, chemical drain cleaners should be a last resort due to their harsh nature. Always follow product instructions carefully and ensure good ventilation.
- Read Instructions: Carefully read and follow all safety instructions and usage directions on the product label.
- Ventilate: Open windows and turn on fans for good ventilation. Wear gloves and eye protection.
- Pour Cleaner: Pour the recommended amount of cleaner directly into the drain.
- Wait: Allow the cleaner to sit for the time specified on the label.
- Flush: Flush thoroughly with water as directed by the product.
Important Note: Never mix different chemical drain cleaners, and avoid using a plunger immediately after a chemical cleaner, as it can splash dangerous chemicals onto you. If chemical cleaners don’t work, do not pour more down. It’s time to call a professional plumber.
Preventing Future Tile Leaks and Clogs

Once you’ve successfully cleared a clog, the best strategy is to prevent them from happening again. Regular maintenance is key to keeping your drains flowing freely and avoiding future “tile leaks.”
Regular Cleaning Habits
- Install Drain Screens: These inexpensive mesh screens catch hair and larger debris before they can enter the drainpipe. They are particularly useful in shower and tub drains.
- Rinse Drains Regularly: After each use, especially after showering, run hot water down the drain for a minute or two to help wash away soap residue and prevent buildup.
- Address Minor Clogs Promptly: Don’t wait for a full blockage. If you notice slow draining, tackle it immediately with the baking soda and vinegar method or a quick plunge.
What NOT to Pour Down Drains
Being mindful of what goes down your drains is crucial. Certain items are notorious for causing stubborn clogs:
Here’s a quick guide to common drain offenders:
| Kitchen Drains | Bathroom Drains |
|---|---|
| Grease, oil, fats | Hair, lint |
| Coffee grounds | Soap scum buildup |
| Eggshells | Cotton balls, Q-tips |
| Food scraps (especially fibrous ones like celery peels) | Dental floss |
| Flour | Personal hygiene products (tampons, pads) |
Even seemingly harmless items can contribute to buildup over time. For example, washing significant amounts of flour down the drain can create a paste that hardens and obstructs pipes. Always scrape food waste into the trash or compost bin.
Occasional Maintenance Treatments
Consider performing a maintenance treatment once a month to keep your plumbing healthy:
- Pour a cup of baking soda down the drain, followed by a cup of vinegar. Let it fizz for 30 minutes, then flush with hot water.
- Alternatively, pour a kettle of hot water (not boiling) down the drain every week or two, especially in kitchen sinks, to help melt away any accumulating grease.
These simple habits can save you a lot of trouble and expense down the line. For more professional advice on drain maintenance, resources from the Environmental Protection Agency (EPA) on water conservation and plumbing practices can be insightful.
When to Call a Professional
While most tile leaks and clogs are manageable DIY projects, there are times when it’s best to seek professional help. If you’ve tried multiple methods and the drain is still blocked, or if you suspect a more serious issue, don’t hesitate to call a plumber.
Signs it’s time to call a pro:
- Persistent Clogs: If your drain repeatedly clogs despite your efforts.
- Multiple Clogged Drains: If drains throughout your home are backing up, it could indicate a main sewer line issue.
- Foul Odors: Persistent, foul smells from drains can signal deeper problems or sewage backups.
- Water Damage: If you see signs of water damage around tiles, walls, or floors, it might be due to a leak that needs an expert to trace and fix.
- Lack of Confidence: If you’re uncomfortable with any of the DIY steps or worried about causing further damage.
A professional plumber has specialized tools and expertise to diagnose and fix complex drain and pipe issues without causing damage to your home’s plumbing system. For instance, tools like video inspection cameras can pinpoint exact locations and causes of severe blockages or pipe damage.
Conclusion
Dealing with a “tile leak” or a clogged tile drain doesn’t have to be a daunting task. We’ve equipped you with a range of proven, beginner-friendly methods, from the simple plunger to the effective drain snake. By understanding the causes of these clogs and implementing regular preventative measures, you can keep your drains clear and your home in excellent condition.
Remember to always prioritize safety, start with the gentlest methods, and don’t be afraid to use the right tools for the job. Your confidence will grow with each successful fix. And if a clog proves too stubborn, remember that calling a professional is a smart and practical step to ensure your plumbing is in top shape.
Enjoy the peace of mind that comes with a well-functioning home. Happy unclogging!
Frequently Asked Questions (FAQ)
Q1: What is a “tile leak” and how is it different from a real pipe leak?
Answer: A “tile leak” is often a misnomer. It typically refers to water not draining properly from around tiled areas (like showers or kitchen sinks) because the drain is clogged. This standing water might appear as if the tile itself is leaking. A real pipe leak is when a pipe is cracked or disconnected, allowing water to escape.
Q2: How often should I clean my drains to prevent clogs?
Answer: It’s a good practice to flush your drains with hot water weekly. For a deeper clean, use the baking soda and vinegar method once a month. Installing drain screens and clearing them regularly will also significantly reduce clog frequency.
Q3: Can I use commercial drain cleaners regularly?
Answer: It’s generally not recommended to use harsh chemical drain cleaners regularly. They can be tough on your pipes and the environment. Use them only as a last resort for stubborn clogs, and always follow instructions. Natural methods are safer for routine maintenance.
Q4: My drain is still slow after trying the baking soda and vinegar. What should I do?
Answer: If baking soda and vinegar didn’t fully clear a slow drain, try the plunger method next. If that doesn’t work, a drain snake or auger is usually the next best step for reaching and dislodging the obstruction.
Q5: How do I know if I have a main sewer line clog?
Answer: Signs of a main sewer line clog include multiple drains backing up simultaneously, sewage odors, or water backing up into lower-level drains (like basement toilets or floor drains) when you use fixtures elsewhere in the house.
Q6: Is it safe to pour boiling water down my drain?
Answer: While hot water is good for clearing grease, it’s best to use very hot water rather than boiling water. Boiling water can potentially damage PVC pipes and seals over time. Let the kettle cool for a minute or two before pouring.
