
Upgrade your bathroom with unique DIY accessories! This guide offers proven, essential projects perfect for beginners. Learn to create stylish, functional, and cost-effective bathroom upgrades with simple tools and materials for a personalized touch that enhances your space and reflects your style. Get ready to transform your bathroom with confidence!
Bathrooms are vital spaces in our homes, but they can sometimes feel a bit… well, bland. You might be looking to add a personal touch or just need a more practical way to organize your toiletries and essentials. The good news is, you don’t need to be a master craftsperson to give your bathroom a much-needed makeover. We’re going to dive into some fantastic DIY projects for unique bathroom accessories that are not only stylish but also incredibly useful. Forget expensive store-bought items; these ideas are budget-friendly, achievable for beginners, and will make your bathroom truly stand out.
This guide will walk you through easy-to-follow steps, clear explanations, and helpful tips. We’ll cover everything from simple shelving solutions to creative storage hacks. Get ready to boost your confidence and create a bathroom that’s both beautiful and functional. Let’s start transforming your space, one DIY project at a time!
Unique Bathroom Accessories DIY: Proven & Essential Projects


Creating your own bathroom accessories is a fantastic way to inject personality into your space without breaking the bank. It’s also a rewarding process that lets you customize exactly what you need. Whether you’re looking to declutter, add a touch of greenery, or simply want a more cohesive look, these DIY ideas are perfect for beginners. We’ll focus on projects that are proven, essential, and surprisingly easy to achieve.
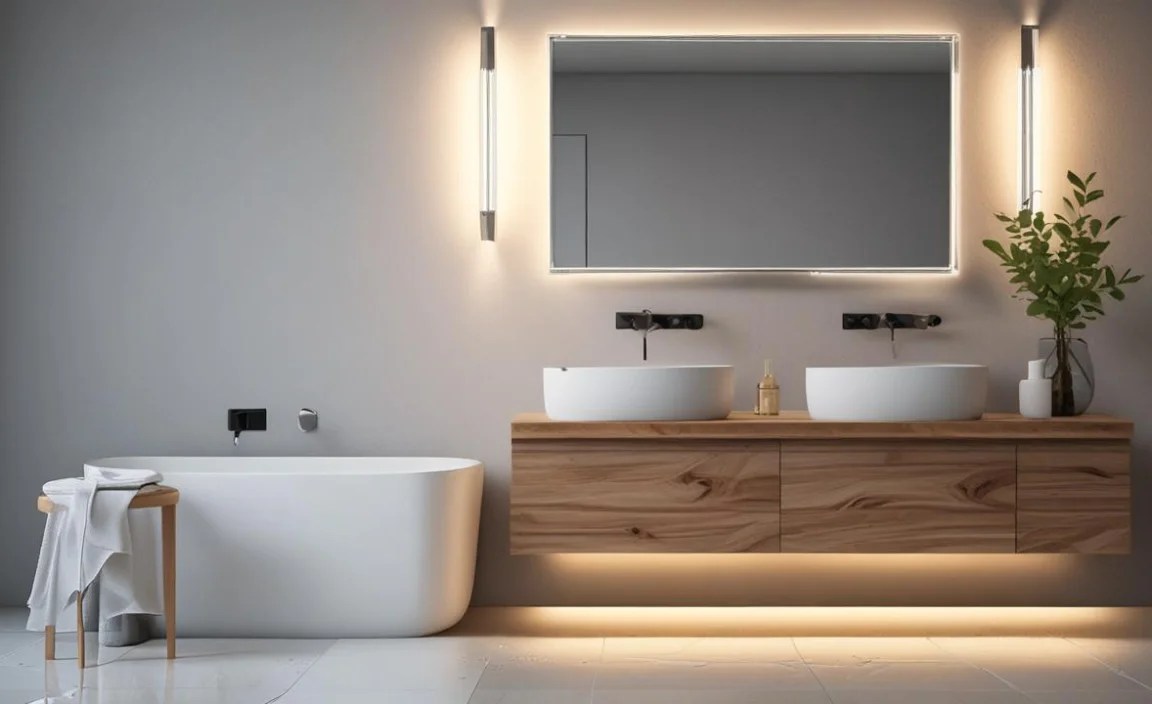
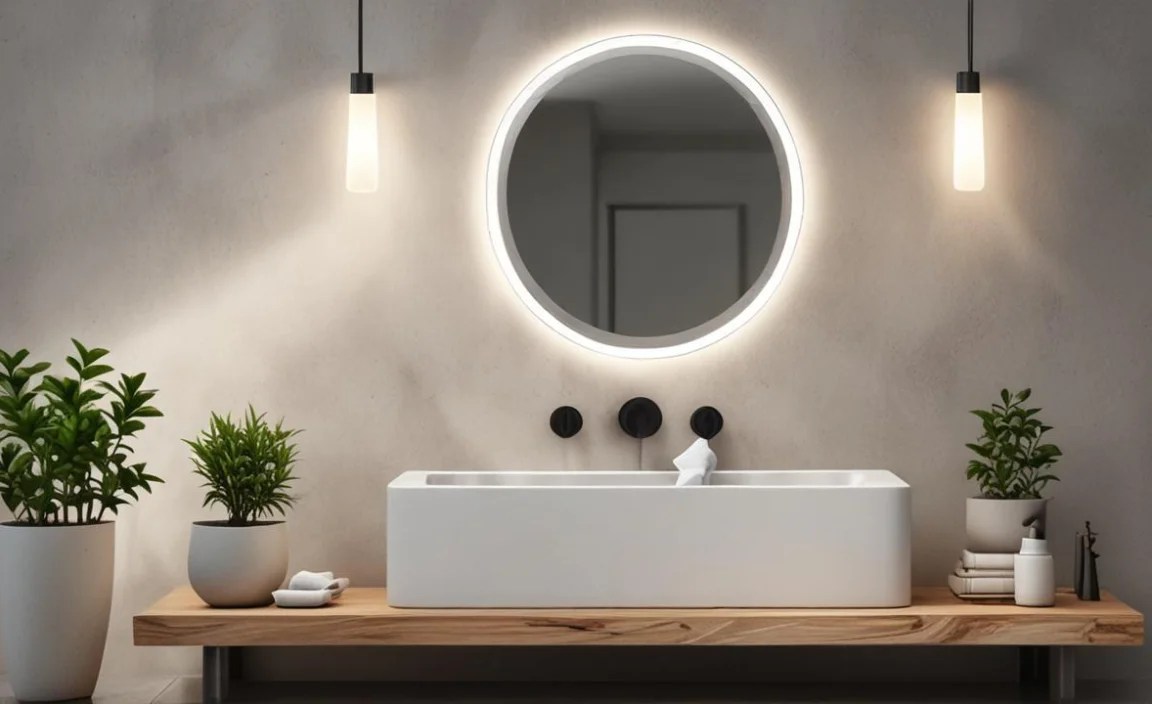
1. DIY Floating Shelves: Chic and Space-Saving Storage
Floating shelves are incredibly popular for a reason. They offer a clean, modern look and are perfect for displaying decorative items or storing essentials without taking up much visual space. They’re also surprisingly simple to build!
Why Choose Floating Shelves?
- Maximizes vertical storage.
- Creates a minimalist, modern aesthetic.
- Easy to customize in size and finish.
- Ideal for small bathrooms where space is limited.
Materials You’ll Need:
- Wood board (pine, oak, or plywood are good choices; consider moisture-resistant options like MDF or cedar if your bathroom is very humid)
- Wood screws
- Wall anchors (if not drilling directly into studs)
- Floating shelf hardware (brackets designed for floating shelves)
- Sandpaper (medium and fine grit)
- Wood primer and paint or stain
- Clear sealant (polyurethane or acrylic, specifically for damp environments)
Tools You’ll Need:
- Measuring tape
- Pencil
- Drill with drill bits
- Screwdriver bit or screwdriver
- Level
- Saw (if you need to cut the wood to size)
- Paintbrush
Step-by-Step Instructions:
- Measure and Cut: Decide on the size of your shelf. Measure and cut your wood board to the desired dimensions. Many home improvement stores can cut wood for you if you provide the measurements.
- Sand: Smooth out all surfaces and edges of the wood using medium-grit sandpaper, followed by fine-grit sandpaper for a silky finish.
- Prime and Paint/Stain: Apply a coat of wood primer. Once dry, apply your chosen paint color or wood stain. Allow it to dry completely between coats (usually two coats are recommended for a uniform look).
- Seal: To protect your shelf from moisture, apply at least two coats of a clear, water-resistant sealant. Let it cure fully according to the product’s instructions. A quality sealant is vital for bathroom longevity. For example, Rust-Oleum’s Spar Urethane offers excellent durability against water and UV rays, making it a strong choice for humid environments.
- Install Bracket: Most floating shelf brackets require you to drill holes into your wall. Locate wall studs for the most secure installation, or use appropriate heavy-duty wall anchors if studs aren’t available. Use a level to ensure the bracket is perfectly straight.
- Attach Shelf: Slide the shelf onto the bracket. Some brackets secure directly to the underside of the shelf with screws. Follow the specific instructions for your chosen hardware.
- Test: Gently press down on the shelf to ensure it’s secure. You can then place your items.
2. DIY Mason Jar Organizers: Rustic Charm for Small Items

Mason jars are incredibly versatile. They’re perfect for corralling all those small bathroom items that tend to clutter up countertops and drawers, adding a touch of rustic charm while keeping things tidy.
Why Choose Mason Jar Organizers?
- Affordable and readily available.
- Keeps small items (cotton balls, Q-tips, makeup brushes) organized and visible.
- Adds a cozy, farmhouse-inspired aesthetic.
- Easy to clean and reuse.
Materials You’ll Need:
- Mason jars (various sizes)
- Spray paint (chalk paint, metallic, or a traditional enamel paint suitable for glass)
- Optional: Twine, ribbon, stencils, chalkboard paint
- Clear glass spray paint or sealant (if you want to maintain transparency for certain items)
- Sandpaper (fine grit, if distressing paint)
Tools You’ll Need:
- Drop cloth or newspaper
- Masking tape (if using stencils or creating patterns)
- Gloves (for spray painting)
Step-by-Step Instructions:
- Clean Jars: Wash and thoroughly dry the mason jars. Remove any labels.
- Prepare Painting Area: Lay down a drop cloth or newspaper in a well-ventilated area.
- Optional Distressing/Stenciling: If you want a distressed look, you can lightly sand the jars before painting. If using stencils, apply them now with masking tape.
- Spray Paint: Apply thin, even coats of your chosen spray paint. It’s better to apply multiple thin coats than one thick coat. Allow each coat to dry as per the paint instructions. For a frosted glass look, use a clear frost spray paint. If you want to see the contents, use clear spray paint or a sealant.
- Add Embellishments (Optional): Once the paint is dry, you can tie twine or ribbon around the neck of the jar. You could also paint a small section with chalkboard paint for labels or use stencils to add decorative patterns.
- Seal (Optional): If you want extra protection or a specific finish (like gloss), use a clear spray sealant.
- Arrange: Fill your decorated jars with cotton balls, Q-tips, makeup brushes, bath salts, or small toiletries. Arrange them on your vanity or shelves.
3. DIY Towel Rack from Driftwood or Reclaimed Wood: Coastal/Rustic Appeal

Bring a bit of the outdoors in with a unique towel rack made from natural materials. Driftwood or reclaimed wood adds immediate character and a touch of coastal or rustic charm, whether you hang hand towels or even bath towels.
Why Choose a Driftwood Towel Rack?

- Unique, one-of-a-kind piece.
- Adds natural texture and warmth to the bathroom.
- Environmentally friendly if using reclaimed materials.
- A beautiful statement piece for theme bathrooms.
Materials You’ll Need:
- A piece of driftwood or reclaimed wood (select a piece that’s naturally shaped and sturdy enough to hold towels)
- Hooks or knobs for hanging towels (vintage knobs, simple metal hooks, or even sturdy rope loops)
- Screws appropriate for your hooks and wood
- Wall anchors (if needed)
- Optional: Sandpaper, wood sealant
Tools You’ll Need:
- Measuring tape
- Pencil
- Drill with drill bits
- Screwdriver
- Level
- Stud finder (recommended for secure mounting)
Step-by-Step Instructions:
- Select Your Wood: Find a sturdy piece of driftwood or reclaimed wood. Ensure it’s dry and free from any rot or loose splinters. You might want to give it a light sanding to smooth rough edges, but preserve its natural character.
- Clean the Wood: Gently brush off any dirt or debris. If using driftwood found on a beach, it’s a good idea to give it a mild bleach wash and rinse to ensure it’s clean and sanitized, then let it dry thoroughly for several days.
- Plan Hook Placement: Decide where you want your hooks or knobs to go. Consider the size of your towels and how many you want to hang. Mark the positions with a pencil.
- Attach Hooks/Knobs: Predrill pilot holes for your screws to prevent the wood from splitting, especially with drier driftwood. Attach the hooks or knobs securely using the appropriate screws.
- Mount to Wall: Determine where you want to hang the rack. Use a stud finder to locate wall studs for maximum stability. If studs aren’t available, use heavy-duty wall anchors suitable for your wall type (drywall, plaster, etc.). Hold the wood piece against the wall, use a level to ensure it’s straight, and mark the hanging points. If there are no pre-drilled holes in your wood, you’ll drill holes through the wood into the wall or attach mounting hardware like D-rings to the back of the wood.
- Hang the Rack: Mount the towel rack securely to the wall. Test its stability before hanging any towels.
4. DIY Concrete Soap Dish: Modern and Minimalist

Concrete is surprisingly easy to work with for DIY projects and lends a sleek, modern, minimalist vibe to bathroom accessories. A handmade concrete soap dish is both functional and a stylish statement piece.
Why Choose a Concrete Soap Dish?
- Ultra-modern, minimalist aesthetic.
- Very durable and long-lasting.
- Waterproof and easy to clean (once sealed).
- Customizable in shape and finish.
Materials You’ll Need:

- Quick-set concrete mix (e.g., Quikrete or similar DIY concrete)
- Water
- Container for mixing concrete (disposable or old bucket)
- Mold for the soap dish (e.g., small plastic containers, silicone molds; you can create a form with cardboard and tape, or use existing small bowls)
- A smaller object to create the soap indentation (e.g., a bar of soap, a smaller plastic container that fits inside your primary mold)
- Mold release spray or cooking spray (optional, but recommended)
- Sandpaper (medium to fine grit)
- Concrete sealant (water-based is often recommended for countertops and sinks)
- Optional: Pigments for coloring concrete
Tools You’ll Need:
- Work gloves
- Safety glasses
- Mixing tool (trowel, sturdy stick, or trowel)
- Measuring cup for concrete and water
- Small brush or sponge for applying sealant
- Utility knife or sandpaper for smoothing edges
Step-By-Step Instructions:
- Prepare Molds: If using plastic containers, lightly coat the inside with mold release spray or cooking spray. This will make it easier to remove the concrete once it sets.
- Mix Concrete: In your mixing container, combine the quick-set concrete mix and water according to the package instructions. Aim for a thick but pourable consistency, like thick oatmeal. If using pigment, add it now and mix thoroughly.
- Pour Concrete: Pour the concrete mixture into your primary mold. Fill it about halfway.
- Create Indentation: Place your smaller object (like a bar of soap) onto the concrete to create an indentation where your soap will sit. Press it down gently but firmly. Ensure it’s not so deep that it touches the bottom of the mold.
- Add Drainage (Optional but Recommended): For a true soap dish, you need drainage. You can carefully poke small holes through the wet concrete with a skewer or toothpick, or create small “feet” by adding small balls of crumpled foil to the bottom of the mold before pouring the concrete. Alternatively, you can carve out small channels after the concrete has partially set.
- Cure: Let the concrete cure according to the product’s instructions. This usually takes 24-48 hours for full strength.
- Demold: Carefully remove the concrete soap dish from its mold. If you used mold release, it should slide out easily.
- Smooth: Once fully cured, use sandpaper to smooth any rough edges.
- Seal: Apply a concrete sealant to protect it from water and stains. Follow the sealant’s instructions for application and drying times. This is crucial for longevity and to prevent discoloration. A good quality concrete sealant, like KILZ Water-Based Concrete Sealer, provides protection without altering the color too much.
- Dry: Allow the sealant to cure completely before use.
Frequently Asked Questions
What are the easiest DIY bathroom accessories to make?

For beginners, the easiest DIY bathroom accessories often involve repurposing common items or simple assembly. Think floating shelves from scrap wood, mason jar organizers for smaller items, or a painted toothbrush holder. These require minimal tools and skills.
What materials are best for DIY bathroom accessories?

Moisture-resistant materials are key for bathrooms. Good choices include treated wood, plastic, metal, acrylic, ceramic, and concrete. For a more natural feel, consider sealed wood or bamboo. Always ensure any painted or sealed surfaces can withstand humidity.
How can I make my DIY bathroom accessories look professional?

Professional results come from attention to detail. Use a good primer and paint, sand surfaces smoothly, ensure clean lines, and use appropriate hardware. Pre-drilling holes and using a level can make a big difference. For a polished look, consider a clear sealant for protection and shine.
Are DIY bathroom accessories durable?
The durability of DIY accessories depends on the materials used, the quality of construction, and the environment. Using moisture-resistant materials and proper sealing techniques will significantly increase their lifespan. For high-moisture areas, opt for materials like tile, sturdy plastic, or sealed metal.
Where can I find inspiration for unique bathroom accessories?

Inspiration is everywhere! Pinterest, Instagram, DIY blogs, home decor magazines, and even thrift stores are great sources. Look at your existing bathroom and identify areas that need organization or a decorative boost. Repurposing old furniture or unique finds can also lead to one-of-a-kind accessories.
What essential tools do I need for simple DIY bathroom projects?
For most beginner projects, you’ll need basic tools like a measuring tape, screwdriver set, hammer, a drill with various bits, sandpaper, a level, and possibly a saw if cutting wood. Safety gear like gloves and eye protection is also crucial.
How much can I save by making my own bathroom accessories?

You can save a significant amount, often 50% or more, compared to buying specialty items. The cost of raw materials is typically much lower than the retail price of finished products, especially for unique or custom-designed pieces.
