
Upgrade cabinet tips are essential for any homeowner looking to refresh their kitchen or bathroom. Simple changes like new hardware, a fresh coat of paint, or improved organization can make a huge difference. This guide offers genius, beginner-friendly advice to transform your cabinets affordably and effectively.
Cabinets are workhorses in our homes, holding everything from dishes to cleaning supplies. Over time, even the sturdiest cabinets can start to look a bit tired, or perhaps they just don’t function as well as they could. If you’re dreaming of a kitchen or bathroom makeover but think a full renovation is out of reach, I’ve got some great news! You can dramatically improve the look and feel of your cabinets with some clever upgrades. This guide is packed with essential, easy-to-follow tips designed specifically for beginners, ensuring you can tackle these projects with confidence and achieve fantastic results.
We’ll cover everything from the simplest aesthetic boosts to practical organizational solutions that will make your life easier. Get ready to discover how small changes can lead to big transformations, making your cabinets both beautiful and more functional than ever before.
Genius Cabinet Upgrade Tips for Beginners
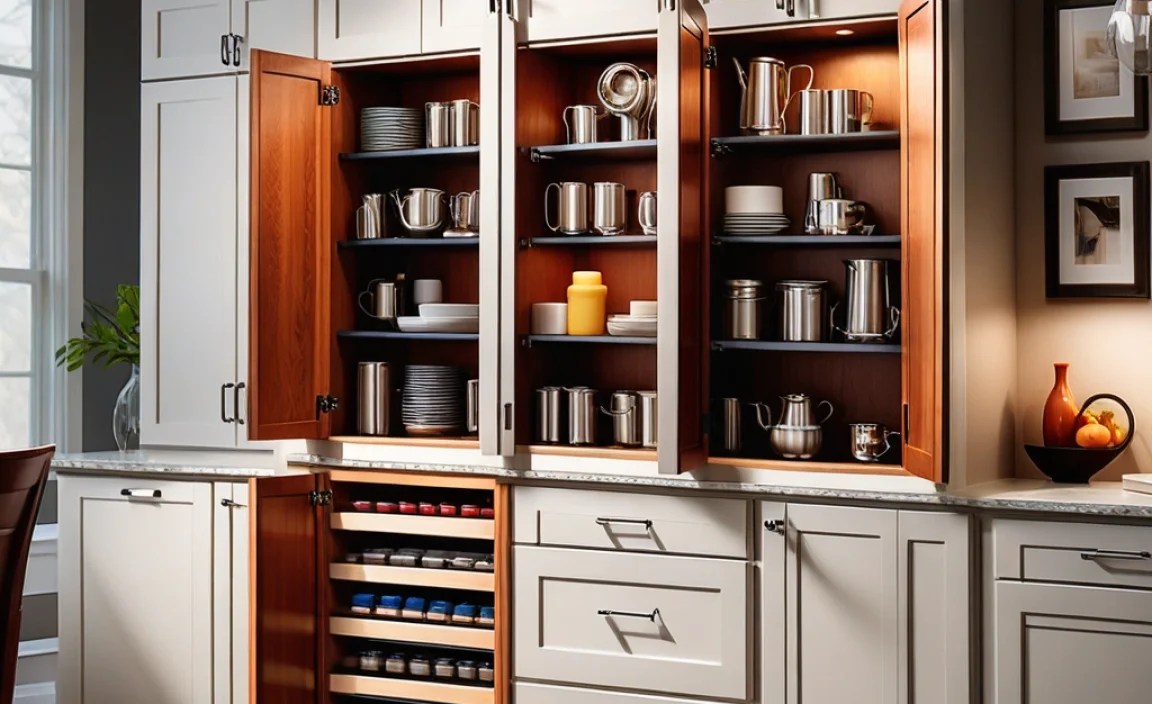
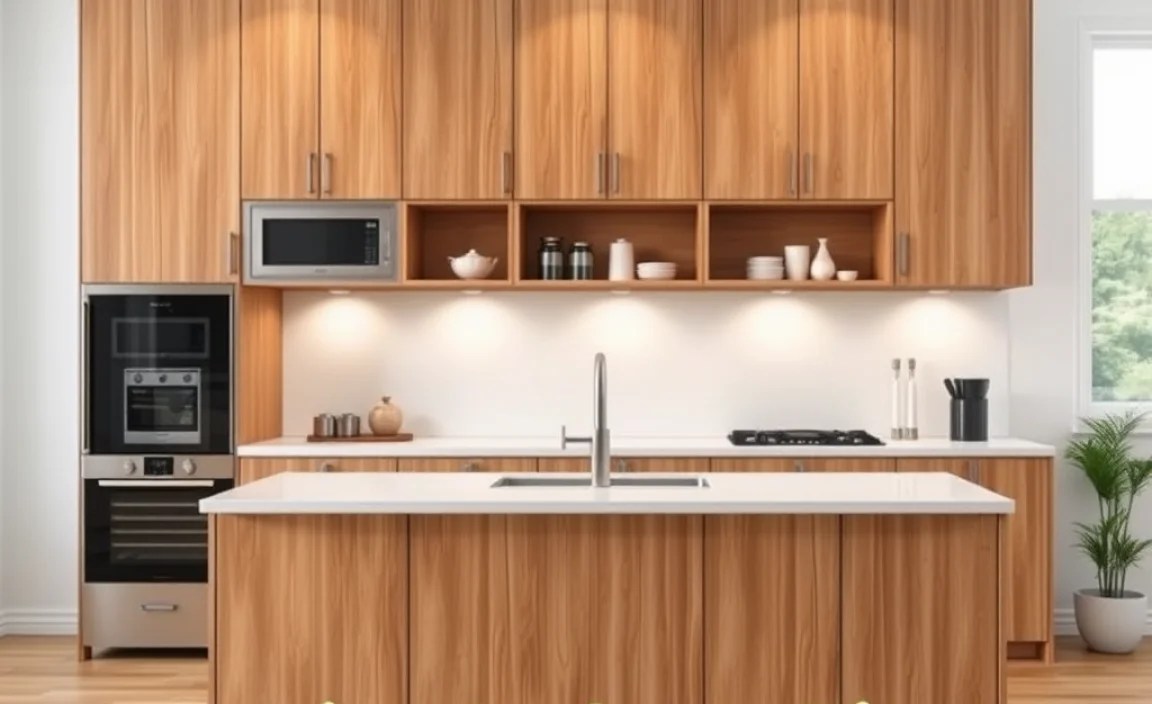
Updating your cabinets doesn’t have to be a daunting or expensive task. With the right approach, you can achieve a professional-looking finish that revitalizes your space. Let’s dive into some brilliant, beginner-friendly strategies to upgrade your cabinet doors and drawers.
1. Hardware Refresh: The Easiest & Most Impactful Change
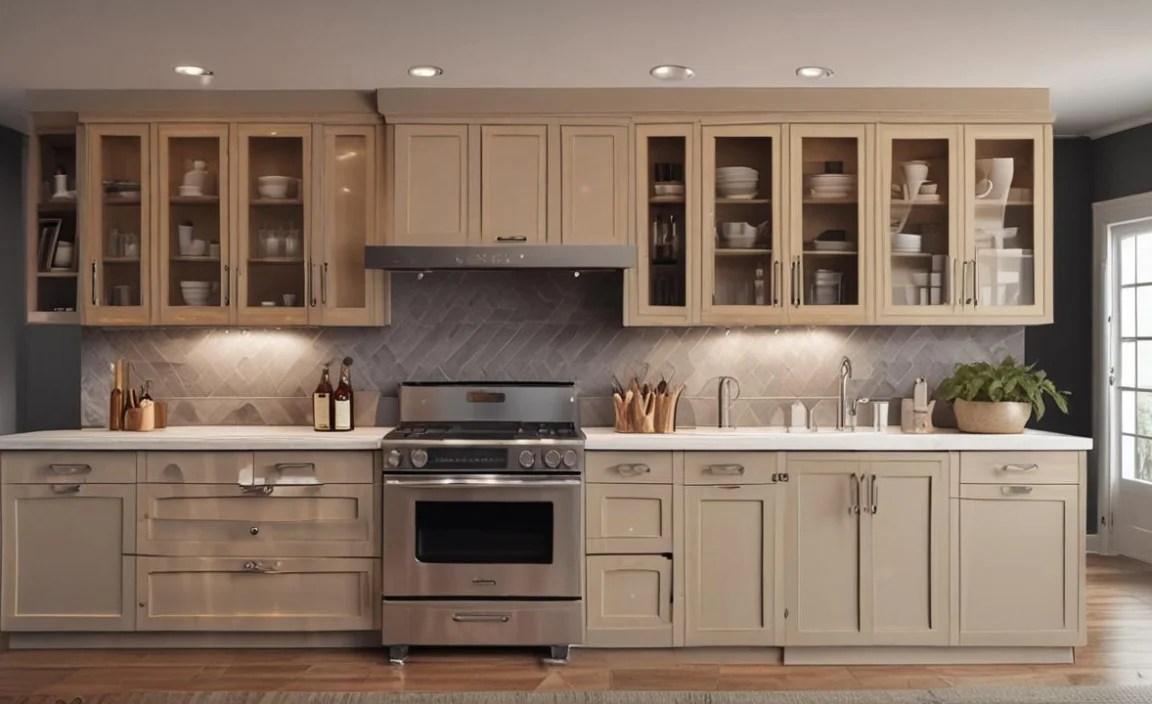
Changing out cabinet knobs and pulls is hands-down the quickest and most rewarding upgrade you can make. It’s like giving your cabinets new jewelry! This simple swap can instantly change the entire style of your kitchen or bathroom. Think about the existing style: are you aiming for modern, traditional, rustic, or something else?
Choosing New Hardware:
- Style: Consider the overall design of your room. Sleek, minimalist bar pulls work well for modern kitchens, while ornate knobs might suit a more traditional look.
- Finish: Popular finishes include brushed nickel, chrome, matte black, brass, and oil-rubbed bronze. Choose a finish that complements your faucet, lighting, and appliances.
- Size and Spacing: Measure the distance between the screw holes on your existing pulls (this is called the “center-to-center” measurement). Most new hardware will have standard measurements, but it’s always good to check. For knobs, size is more about visual balance.
- Ergonomics: Make sure the hardware is comfortable to grip. You’ll be using these dozens of times a day!
Installation Tip: If you’re replacing knobs with knobs or pulls with pulls of the same hole spacing, it’s a breeze. Simply unscrew the old ones and screw on the new ones. If you’re switching from knobs to pulls, you might need to drill a new hole. A template can help ensure they are straight!
For a comprehensive guide on hardware styles and how to measure, refer to resources like Houzz’s guide on cabinet hardware.
2. A Fresh Coat of Paint or Stain: A Dramatic Transformation

Painting or staining your cabinets can completely reinvent their look. While this project requires more time and effort than just changing hardware, the results are spectacular. For beginners, painting is often more forgiving than staining.
Painting Cabinets: The Beginner’s Guide
Preparation is key to a smooth, lasting finish. Don’t skip these steps!
- Remove Doors & Drawers: Take everything off. Label each door and drawer front with its location (e.g., “Top Left,” “Sink Base”) using masking tape so you know where it goes back. This is crucial!
- Clean Thoroughly: Use a grease-cutting cleaner (like a TSP substitute or a good degreaser) to remove all grime, oil, and residue. Wipe down with a damp cloth afterward to remove any cleaner residue.
- Sand Them Smooth: Lightly sand all surfaces with fine-grit sandpaper (120-220 grit). This helps the primer and paint adhere. Wipe away dust with a tack cloth or damp cloth.
- Prime Time: Apply a quality bonding primer. This is essential for preventing scuffs and ensuring paint adheres well, especially over glossy or laminate surfaces. Let it dry completely according to the manufacturer’s instructions.
- Paint in Thin Coats: Apply your chosen paint color in thin, even coats. Most people prefer a durable paint like a high-quality enamel or cabinet-specific paint. Allow each coat to dry thoroughly before applying the next. Two to three thin coats are better than one thick one. Use a good quality brush for edges and trim, and a foam roller for the flat surfaces for a smooth finish.
- Reassemble: Once everything is completely dry (give it 24-48 hours for maximum durability before handling), reattach doors and drawers.
Staining Cabinets: A Word of Caution
Staining requires stripping existing finishes if you want to change the color significantly, or at least sanding down to bare wood. This can be quite labor-intensive. If you have a wood cabinet and want to deepen its existing color, you might be able to apply a gel stain over the existing finish after proper cleaning and light sanding, which is easier for beginners. Always test your stain on an inconspicuous area first!
For detailed painting instructions, the This Old House guide to painting kitchen cabinets is an excellent resource.
3. Upgrade Cabinet Hinges and Drawer Slides: For Smoother Operation

Sometimes, the most frustrating part of cabinets isn’t their look, but how they function – or don’t function. Sagging doors, sticky drawers, or squeaky hinges can be annoying. Upgrading these components offers a significant improvement in daily use.
Hinges:
- Soft-Close Hinges: These are a game-changer. They prevent doors from slamming shut, offering a quiet, luxurious feel. They come in various types, often replacing your old ones with minimal fuss.
- Concealed (European) Hinges: If your current cabinets have visible hinges on the outside, upgrading to concealed hinges can give them a sleek, modern look. Installation might be a bit more involved, often requiring precise drilling.
Drawer Slides:
- Ball-Bearing Slides: These are superior to older, basic wooden or steel slides. They allow drawers to glide in and out smoothly, even when heavily loaded.
- Soft-Close Drawer Slides: Just like with doors, soft-close slides prevent drawers from being slammed shut, adding a touch of elegance.
What to Look For: When buying new slides or hinges, pay attention to the weight rating (especially for drawers) and the extension type (e.g., 3/4 extension, full extension). Full extension slides let you pull the drawer all the way out, giving you easy access to everything.
Pro Tip: Take pictures of your old hinges and slides before removing them. This will help you identify the type you have and find suitable replacements. When in doubt, bring the old hardware to the hardware store to match it.
To understand different hinge types, explore Lowe’s guide on cabinet hinge types.
4. Cabinet Refacing: A Middle-Ground Solution
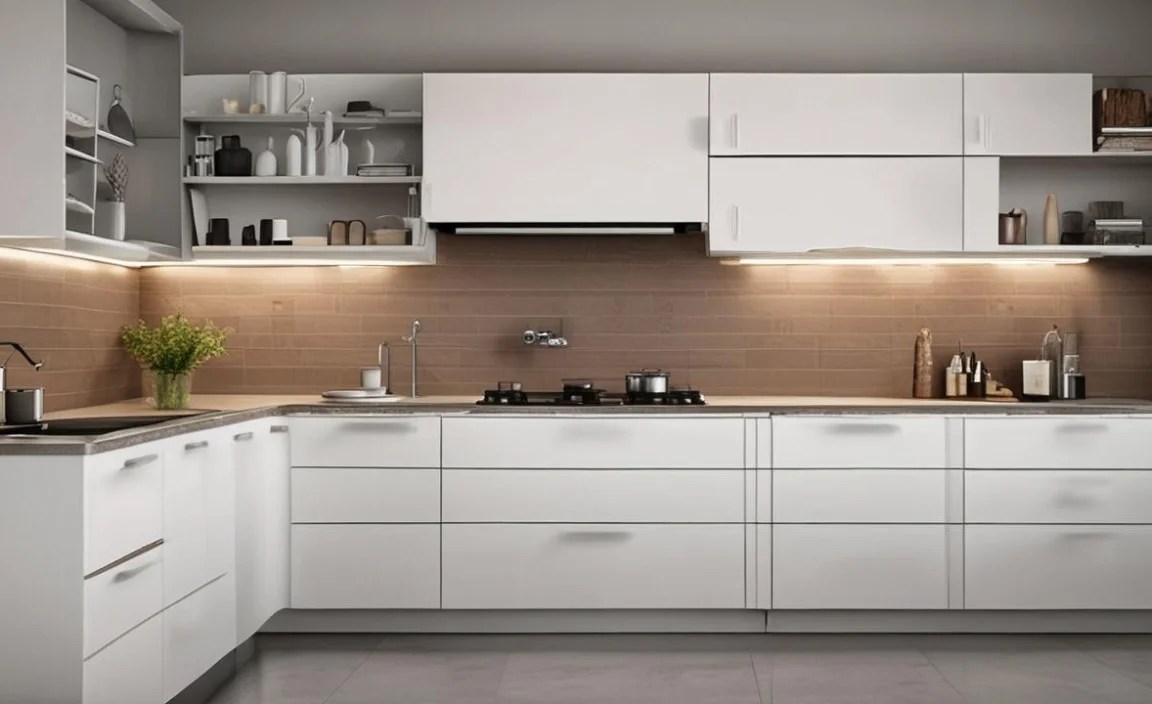
Cabinet refacing is a more involved project than painting or new hardware, but it’s less expensive and time-consuming than full cabinet replacement. It’s a fantastic option if your cabinet boxes are in good condition but the doors and drawer fronts are dated or damaged.
What is Refacing?
Refacing involves removing your old cabinet doors and drawer fronts and replacing them with new ones made from a material of your choice (like solid wood, veneer, or thermofoil). The visible outer surfaces of the cabinet boxes are then covered with a matching veneer or laminate. You can also update the hinges and hardware during this process.
Pros of Refacing:
- Cost-Effective: Significantly cheaper than new custom cabinets.
- Less Disruption: No need to remove your countertops or change your kitchen layout.
- Speed: Typically completed much faster than a full remodel.
- Customization: Offers a wide range of door styles, colors, and materials.
Cons of Refacing:
- Box Condition: Only works if the existing cabinet boxes are structurally sound.
- Limited Layout Changes: You can’t easily alter the cabinet layout or add new cabinets.
- DIY Difficulty: While some aspects can be DIY-friendly, a full refacing job is best left to professionals for a seamless finish. Some kits allow for ambitious DIYers.
If you’re considering refacing, research local companies that offer this service or look for DIY refacing kits. The National Association of the Remodeling Industry (NARI) offers guidance on kitchen remodeling options, which can include refacing.
5. Add or Upgrade Cabinet Organizers: Maximize Storage Space

Functionality is just as important as aesthetics. Sometimes, the “upgrade” your cabinets need is better organization. Clever organizers can transform cluttered spaces into tidy, efficient storage areas.
Must-Have Organizers for Beginners:
- Drawer Dividers: Keep utensils, tools, or even socks neatly separated. Adjustable dividers are very versatile.
- Pull-Out Shelves/Roll-Out Trays: These are brilliant for lower cabinets. No more crawling on your hands and knees to reach things in the back!
- Spice Racks: Wall-mounted, in-drawer, or tiered racks keep spices organized and visible.
- Lazy Susans: Perfect for corner cabinets or deep shelves. They make accessing items effortless.
- Trash and Recycling Pull-Outs: Modernize your kitchen and keep bins out of sight.
DIY vs. Pre-made: Many organizers are readily available at home improvement stores or online retailers like Amazon. For a more custom touch, you can build simple drawer dividers or shelf risers yourself with plywood or lumber.
Table: Popular Cabinet Drawer Organizers
| Organizer Type | Best For | Ease of Installation | Key Benefit |
|---|---|---|---|
| Adjustable Drawer Dividers | Utensils, cooking tools, desk supplies, socks | Very Easy (no tools usually needed) | Customizable compartments; keeps items from sliding around. |
| In-Drawer Spice Racks | Spices | Easy (place or adhere) | Keeps spices uniform and visible when drawer is open. |
| Tiered Drawer Organizers | Staples, small food packets, craft supplies | Easy (place in drawer) | Maximizes vertical space within a drawer. |
| Deep Drawer Bins | Larger items, cleaning supplies, bulk food items | Easy (place in drawer) | Contains and separates larger items. |
Choosing organizers depends on what you store. For example, a good DIY drawer organizer from Woodsmith can be a rewarding project.
6. Add Under-Cabinet Lighting: Brighten Your Space
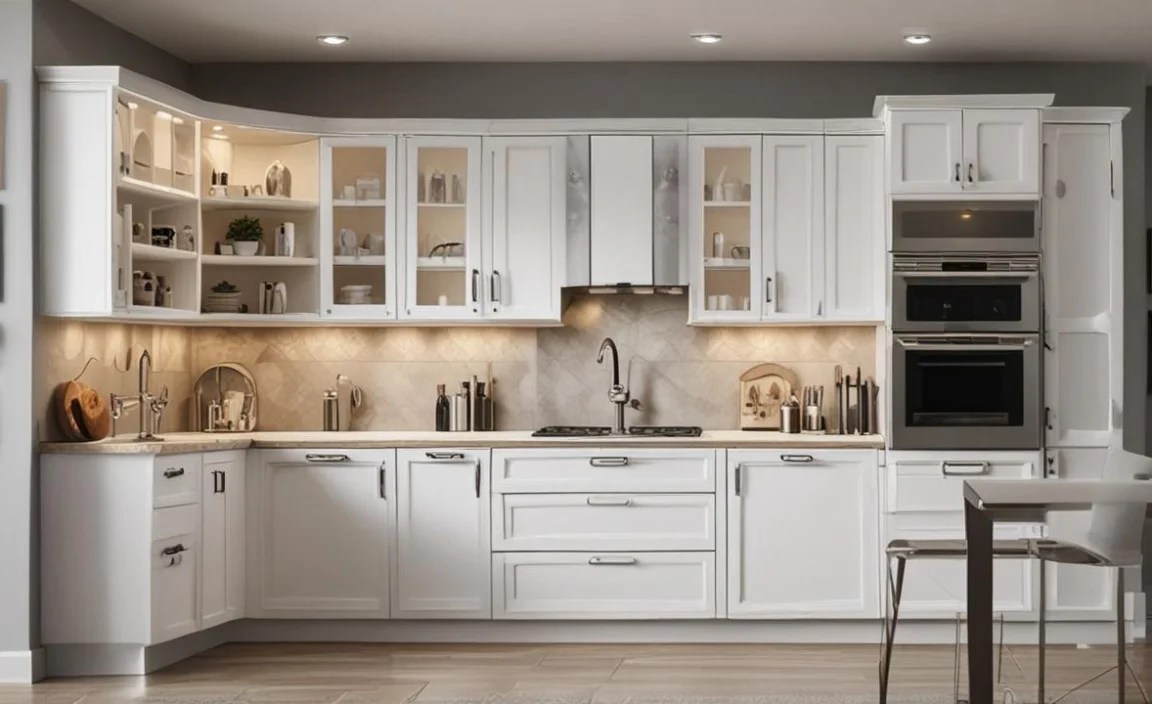
Good lighting can dramatically improve the ambiance and functionality of a kitchen or bathroom. Under-cabinet lighting is a popular and effective upgrade that can make a huge difference.
Types of Under-Cabinet Lighting:
- LED Strips: Flexible, energy-efficient, and easy to install. They can be cut to size and often come with adhesive backing. Many offer different color temperatures (warm white to cool white) and even color-changing options.
- Puck Lights: Small, circular lights that are usually battery-operated or plug-in. They are incredibly simple to install and offer focused light.
- Under-Cabinet Light Bars: These are rigid fixtures that provide a more uniform light output along the length of the cabinet. They often require a bit more wiring but offer a professional look.
Installation Tips:
- Measure Carefully: Determine the length of lighting needed.
- Plan Power Source: Will it be plugged in, hardwired, or battery-operated?
- Adhesive vs. Screws: Many LED strips and puck lights come with strong adhesive. For a more secure fit, especially with light bars, pre-drilling small pilot holes and using screws is recommended.
- Conceal Wires: Use wire clips or raceways to hide electrical cords neatly.
The U.S. Department of Energy offers tips on saving energy with lighting, including advice on LED technology.
7. Update Cabinet Doors: A Step Above Painting

If your cabinet boxes are solid but the doors themselves are warped, damaged, or just not your style, replacing just the doors and drawer fronts is a significant upgrade that’s less intensive than refacing the entire cabinet structure.
Options for New Doors:
- Stock Doors: Available at big box home improvement stores. They come in standard sizes and styles, offering a cost-effective way to get a fresh look.
- Custom-Ordered Doors: You can order doors made to your exact specifications from specialized companies. This allows for unlimited style, wood type, and finish options, but at a higher cost.
- DIY Doors: For the ambitious DIYer, building your own cabinet doors is possible using lumber and joinery techniques.
What to Consider:
- Door Style: Shaker, flat panel, raised panel, beadboard – the style dictates the overall aesthetic.
- Material: Solid wood (maple, oak, cherry) offers the most durability and beauty, while MDF or particleboard covered with veneer or laminate can be more affordable.
- Hinge Compatibility: Ensure the new doors are drilled for the type of hinges you have or plan to install.
Measure your existing doors precisely! For a 5-piece door (where a center panel is inserted into a frame), you’ll need to measure the opening for the panel and the dimensions of the frame pieces.
8. Add Decorative Touches: Knobs, Backsplashes, and More
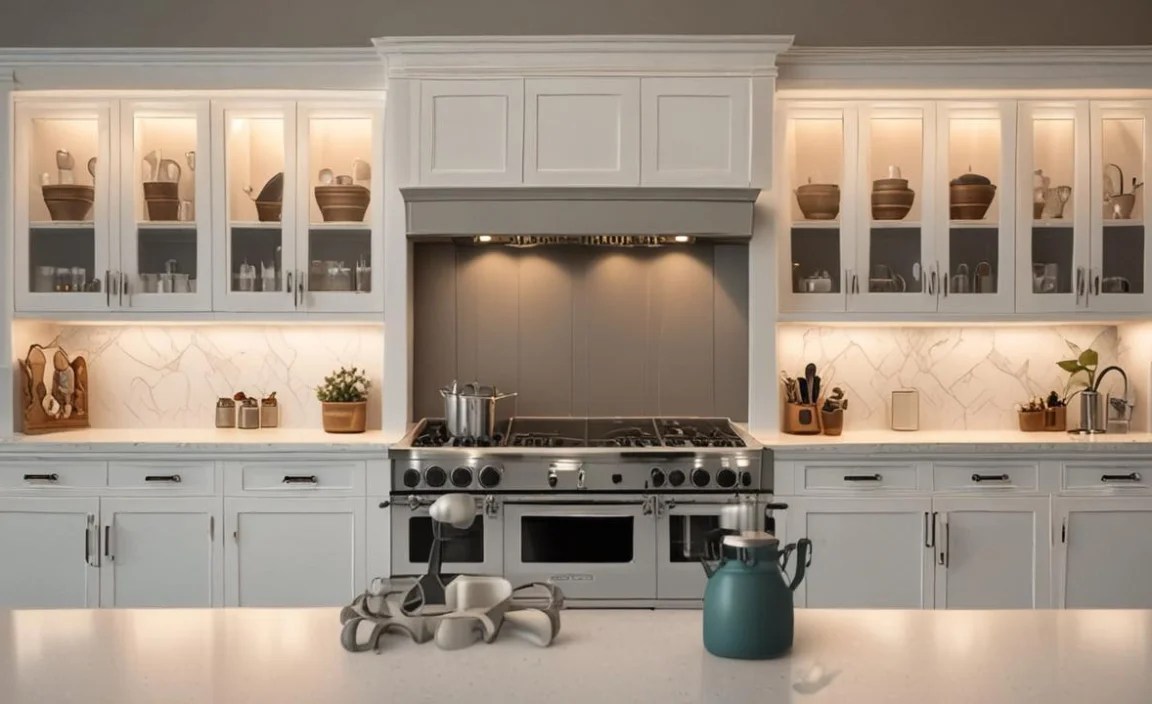
Don’t forget the smaller details! These can often be the elements that tie your entire upgraded look together.
- Decorative Overlays: You can purchase and adhere decorative wood appliques or trim pieces to your existing cabinet doors for added detail and a custom look.
- Glass Inserts: For some cabinet doors, you can remove the center panel and replace it with decorative glass or even wire mesh for a unique display cabinet feel.
- DIY Stencils: For a truly unique look, consider stenciling a pattern onto painted cabinet doors.
These small touches can provide a professional, “designer” finish to your cabinets without requiring major renovations.
DIY Project Suitability Table
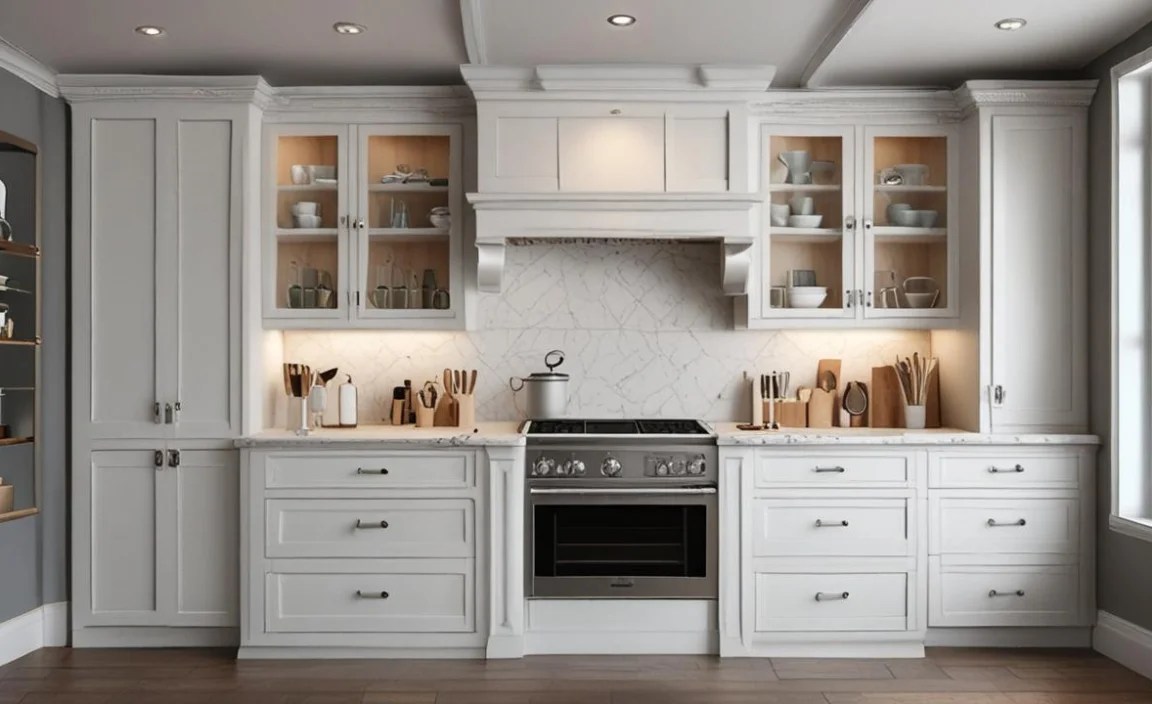
Not all cabinet upgrades are created equal when it comes to DIY difficulty. Here’s a general guide:
| Upgrade Project | DIY Difficulty Level | Tools Typically Required | Estimated Time Commitment |
|---|---|---|---|
| Replace Hardware (Knobs/Pulls) | Very Easy | Screwdriver | 1-3 hours |
| Paint Cabinets | Moderate | Sander, brushes, rollers, painter’s tape, degreaser, primer, paint | 3-7 days (including drying time) |
| Install Drawer Slides | Moderate | Screwdriver, drill, measuring tape |
