
Upgrade caulking step by step with this essential guide! Learn to effectively remove old caulk and apply a fresh, waterproof seal to protect your home from moisture and drafts. This easy-to-follow process ensures a professional-looking finish, enhancing both appearance and functionality.
Is your home’s caulk looking a bit sad? Maybe it’s cracked, peeling, or just plain ugly. Old, worn-out caulk isn’t just a visual bummer; it can let in drafts, allow moisture to sneak in, and even lead to bigger problems like mold or rot down the line. Don’t worry! Upgrading your caulking isn’t a job reserved for seasoned pros. With a few basic tools and our straightforward steps, you can tackle this task confidently. We’ll walk you through every part, from clearing away the old to laying down a smooth, protective new bead. Get ready to give your home a fresh, sealed look!
Why Upgrading Your Caulking Matters

Think of caulk as the unsung hero of your home’s defense system. It’s that flexible sealant that fills the tiny gaps and cracks between surfaces – like where your bathtub meets the tile, around your windows and doors, or where your countertops meet the backsplash. Its main job is to create a watertight and airtight barrier. When caulk starts to fail, it’s like leaving a door open for trouble.
Moisture is the Enemy: Leaky seals around showers, tubs, or sinks can allow water to penetrate walls, subflooring, and even insulation. Over time, this can lead to wood rot, mold growth, and structural damage, which can be incredibly costly to repair. Not to mention, mold can impact your indoor air quality and health.
Energy Efficiency Boost: Gaps around windows and doors are notorious for letting conditioned air escape and outside air infiltrate. This makes your heating and cooling systems work overtime, driving up your energy bills. Fresh, well-applied caulk seals these leaks, making your home more comfortable and energy-efficient.
Aesthetic Appeal: Let’s be honest, cracked, moldy, or discolored caulk just looks bad. It can make an otherwise clean and well-maintained room look dingy and neglected. Replacing old caulk makes surfaces look cleaner, newer, and more polished.
Preventative Maintenance: Regularly inspecting and upgrading your caulk is a smart form of preventative maintenance. It addresses small issues before they snowball into major problems. It’s a relatively low-cost, high-impact DIY project that significantly protects your home.
Gathering Your Tools and Materials

Before you start, having the right gear makes all the difference. This isn’t about needing a fancy toolbox; it’s about having the essentials to do the job safely and effectively. Here’s what you’ll want to have on hand:
Essential Tools:**
- Utility Knife or Caulk Removal Tool: Your primary weapon for slicing and peeling away that stubborn old caulk. Caulk removal tools often have specialized blades for getting into corners.
- Putty Knife or Plastic Scraper: These are great for gently prying up any remaining bits of caulk that the knife didn’t get.
- Rubbing Alcohol (Isopropyl Alcohol) or Mineral Spirits: Crucial for cleaning the surface before applying new caulk. This removes any soap scum, grease, or residue, ensuring the new caulk adheres properly. Denatured alcohol can also work well.
- Clean Cloths or Paper Towels: You’ll need these for cleaning and wiping up excess.
- Caulking Gun: This is the applicator for your new caulk tube. Look for one with a smooth trigger and a release lever.
- Caulk Tube Cutter (often built into the gun) or Utility Knife: To open the new caulk tube.
- Pointing Tool or Plastic Spreader (Optional but Recommended): For smoothing the bead of new caulk for a professional finish. You can also use a damp finger if you’re careful!
- Gloves: To protect your hands from the old caulk and cleaning solutions.
- Safety Glasses: Especially important when using a utility knife or scraping to prevent debris from flying into your eyes.
- Bucket of Water: For rinsing your smoothing tools or dampening your finger if you go that route.
- Trash Bag: For all the old caulk bits.
Choosing Your New Caulk:
This is a vital step! Not all caulk is created equal, and using the wrong type can lead to peeling, mold, or just a poor seal. For most home applications where moisture is a concern (bathrooms, kitchens, windows), you’ll want:
- Kitchen & Bath Caulk: These are specifically formulated to resist mold and mildew. They often contain mildewcides.
- Silicone Caulk: Excellent for waterproofing and flexibility, especially in high-moisture areas like showers and tubs. However, it can be a bit trickier to work with and paintable silicone is a specific product you’ll need if you plan to paint over it.
- Latex/Acrylic Caulk with Silicone: A good all-around choice. It’s easier to work with and clean up than pure silicone, it’s paintable, and it offers good moisture resistance.
Pro-Tip: Always check the product label to ensure it’s suitable for the specific area you’re caulking and whether it’s paintable if that’s something you need.
Step 1: Remove the Old Caulk
This is where the elbow grease comes in. Getting rid of the old, dried-out caulk is crucial. New caulk won’t stick well to a surface that’s still covered in its predecessor, and you’ll end up with a weak, peeling seal.
- Inspect the Old Caulk: Look closely for where the caulk is loose, cracked, or peeling. This is where you’ll start cutting.
- Make Initial Cuts: Use your utility knife or the blade on your caulk removal tool. Carefully slice along the top and bottom edges of the caulk bead, where it meets the two surfaces. You’re aiming to break the seal. Don’t press too hard, you don’t want to damage the surrounding material (like drywall or tile grout).
- Peel and Pry: Once you’ve made your cuts, try to get the tip of your utility knife or the hook on your caulk removal tool underneath the caulk. Gently lift and pull the caulk. It might come off in long strips, or it might break into smaller pieces.
- Use the Scraper: For any stubborn bits, use your putty knife or plastic scraper. Angle it to gently scrape away remaining caulk. Again, be careful not to gouge the surfaces.
- Get Into Corners: Pay special attention to corners and joints. These can be tricky. A specialized caulk removal tool often has a pointed end that’s perfect for digging out caulk from tight spots.
- Clean Up Debris: As you remove the caulk, put the bits into your trash bag. You don’t want to leave any loose pieces behind.
Important Safety Note: Be mindful of what’s behind the caulk. Avoid puncturing pipes or electrical wires, especially around plumbing fixtures or window frames. If you’re unsure, err on the side of caution and make shallower cuts.
Step 2: Thoroughly Clean the Area
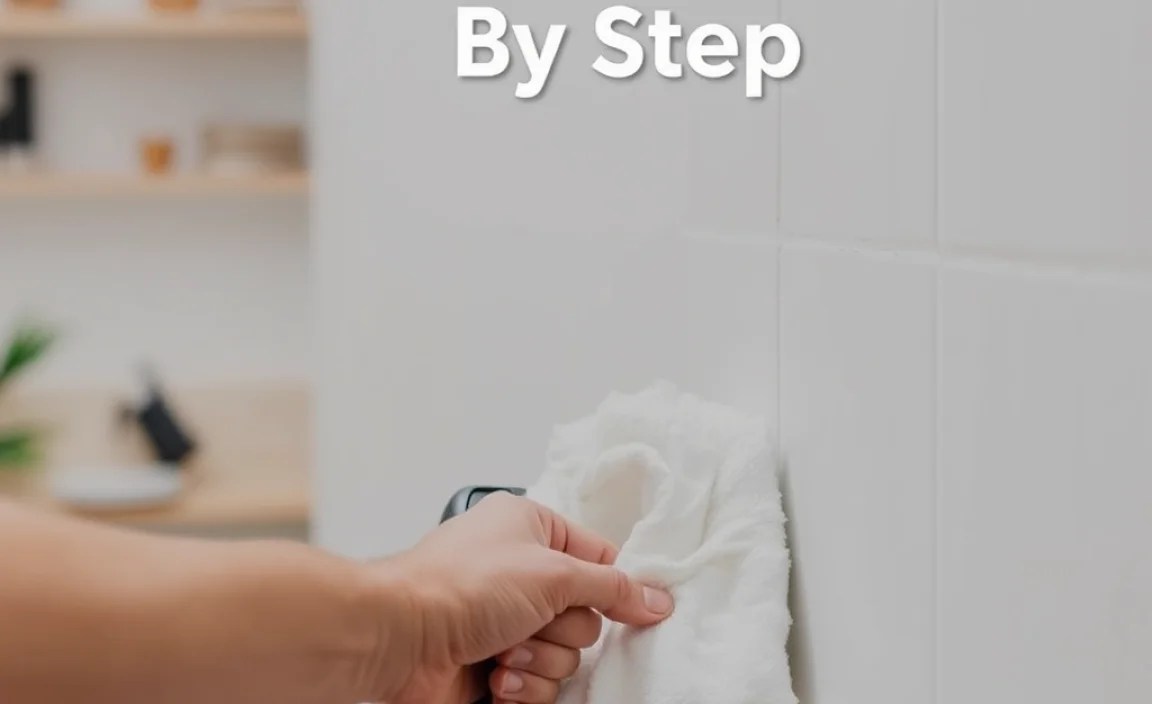
This is arguably the most important step for a long-lasting, professional-looking caulk job. Even tiny bits of residue, dust, or soap scum can prevent the new caulk from adhering properly. Think of it like preparing a surface for painting – it needs to be clean and dry!
- Scrape Away Lingering Bits: After the bulk of the caulk is removed, go back over the area with your scraper or putty knife. Ensure every last trace of old caulk is gone. You want a perfectly smooth, clean seam.
- Wipe Down with Cleaner: Grab your clean cloths and your chosen cleaning solution: rubbing alcohol (isopropyl alcohol) or mineral spirits. Lightly dampen a cloth and wipe down the entire area where the new caulk will go. Make sure you get into any cracks or crevices.
- Rubbing Alcohol: This is a fantastic cleaner for caulk applications because it evaporates quickly and leaves no residue. It’s great for removing soap scum, grease, and oils. You can find it at most drugstores or supermarkets.
- Mineral Spirits: A good solvent for sticky residues. Use in a well-ventilated area and be sure it fully evaporates before applying new caulk.
- Dry the Surface: Even though alcohol evaporates quickly, it’s good practice to wipe the area down with a dry, clean cloth. Make absolutely sure the area is bone dry. Any trapped moisture can interfere with adhesion and even lead to mildew forming under the new caulk.
- Final Inspection: Give the seam one last look. Is it clean? Is it dry? If you see any dust or lint, wipe it away. The surface should feel smooth and look pristine.
External Resource Link: For more on surface preparation in home projects, the This Old House experts offer great general advice on ensuring surfaces are ready for new finishes.
Step 3: Prepare the New Caulk Tube
This is where you get the new caulk ready to go into the gun and then onto your wall or fixture.
- Cut the Tip: Take your new tube of caulk. You’ll see a nozzle at the end. On most caulk guns, there’s a built-in cutter. If yours doesn’t, use your utility knife. You want to cut the tip at a 45-degree angle. The size of the opening you cut determines the size of the caulk bead. For most general purposes, start with a small opening (about 1/8 inch), especially if you’re a beginner. You can always cut it larger if needed.
- Puncture the Inner Seal: Most caulk tubes have an inner seal to keep the caulk fresh. Your caulk gun should have a long wire rod on it. Insert this rod into the nozzle and push it firmly to puncture the inner seal. Sometimes, you might need to use a long nail or a skewer if your gun doesn’t have this feature.
- Load the Caulk Gun: Pull back the plunger rod on the caulk gun. Insert the caulk tube with the cut tip facing forward into the gun. Push the plunger rod firmly against the back of the caulk tube.
- Release the Pressure: Most caulk guns have a trigger lock or a small lever on the back. After each squeeze of the trigger, or when you stop squeezing, press this release lever. This stops the flow of caulk and prevents it from oozing out uncontrollably. This is a critical step for controlling the flow!
Step 4: Apply the New Caulk
Now for the fun part – putting down that fresh, smooth bead of caulk! Precision and steady hands are key here.
- Test Squeeze: Before you aim for the joint, test the caulk gun on a scrap piece of cardboard or paper, or a discreet area. Squeeze the trigger gently until caulk starts to flow. Get a feel for how much pressure is needed to dispense the caulk at a steady rate.
- Start in a Corner or Joint: Position the tip of the caulk tube at a 45-degree angle to the seam you’re filling. Hold the gun so the angled tip is facing the direction you want to move.
- Apply Steady Pressure: Begin squeezing the trigger of the caulk gun with consistent pressure. Move the gun slowly and steadily along the seam. Aim to create a continuous bead of caulk that fills the gap. Don’t try to apply too much at once; it’s easier to go back and add more if needed than to clean up a huge mess.
- Maintain a Consistent Speed: The goal is to have the caulk gun and your movement speed work together to lay down an even ribbon of caulk. Move too fast, and the bead will be too thin; move too slow, and it can become lumpy or too thick.
- Work in Sections: For long runs, it can be helpful to work in manageable sections (e.g., 2-3 feet at a time). Release the trigger and press the pressure release lever on the gun when you stop. This prevents the caulk from continuing to flow.
- Overlap Slightly: When reaching the end of a section or a corner, release the trigger and press the release lever. For the next section, start applying the caulk slightly before where you stopped, overlapping the previous bead just a tiny bit. This ensures a continuous seal.
- Keep it Clean: Try not to get excess caulk on the surrounding surfaces. It’s much easier to smooth it out now than to clean up dried drips later.
Step 5: Smooth the Caulk Bead
This is the step that transforms a blobs of caulk into a neat, professional, and functional seal. Smoothing forces the caulk into the gap and creates a clean line.
- Work Quickly: Most caulks begin to skin over within 10-20 minutes, so you need to smooth the bead shortly after applying it.
- Choose Your Smoothing Method:
- Caulking Tool/Spreader: These plastic tools come with different shaped edges designed to create smooth, uniform beads. Apply gentle, consistent pressure and drag the tool along the bead, holding it at a slight angle to create the desired finish.
- Damp Finger: This is the classic DIY method. Dip your finger in clean water (or a slightly soapy water solution, depending on the caulk type – check the caulk instructions). Gently run your finger over the bead, pressing it into the gap and smoothing the sides. Use a consistent, light pressure.
- Wetted Rag/Sponge: Some people use a damp cloth or sponge, again with light pressure, to smooth.
- Smooth the Entire Bead: Work from one end of the bead to the other, smoothing as you go. Don’t go back and over-smooth; this can lift the caulk and make it look messy.
- Wipe Away Excess: After each pass, or as needed, gently wipe away any excess caulk that has been pushed onto your damp cloth or paper towel.
- Clean Your Tool/Finger: Rinse your smoothing tool or finger frequently in your bucket of clean water to keep it clean. A dirty tool will just spread messy caulk.
- Corners and Joints: Pay special attention to corners. You want a smooth, uninterrupted line.
- If You Make a Mistake: If you’re unhappy with a section of smoothed caulk, immediately wipe it away with a damp cloth and reapply. It’s much easier to fix while it’s still wet.
Step 6: Clean Up and Cure Time
You’re almost there! A good cleanup ensures your work looks great, and letting the caulk cure properly guarantees it lasts.
- Final Wipe Down: Use a slightly damp cloth to gently wipe away any stray marks or smudges of caulk from surrounding surfaces. For stubborn spots, a little of your cleaner (alcohol or mineral spirits) might be needed, but be careful not to disturb the fresh caulk bead.
- Dispose of Materials: Throw away used caulk tubes, scrapers, and dirty rags.
- Read the Caulk Instructions: This is critical! The curing time varies significantly based on the type of caulk used and the humidity and temperature of your environment. Look for information on the caulk tube that specifies how long it needs to dry before it can be exposed to water or painted.
- Allow Proper Drying Time:
- Water Exposure: For typical kitchen and bath caulks, you’ll usually need to wait at least 24 hours before exposing them to water. In humid environments (like bathrooms), this can take longer.
- Paintable Caulk: If you plan to paint over your caulk (using paintable acrylic latex caulk), check the label for “paintable in X hours.” Some can be painted within just a few hours, while others need 24 hours or more to cure enough for paint.
- Ventilation: If you used mineral spirits or a caulk with strong fumes, ensure the area is well-ventilated during the drying process.
- Avoid Stressing the Caulk: For the first 24-48 hours, try to avoid putting undue stress on the new caulk bead. Opening and closing newly caulked windows or doors excessively, or heavily using a newly caulked shower, can sometimes affect the seal.
Choosing the Right Caulk for the Job: Material Properties
Selecting the correct caulk is as important as applying it properly. Different materials offer different benefits and drawbacks, making them suitable for specific.
