
Upgrade your drains yourself with these essential DIY skills for a smoother, more efficient home. Learn to tackle common drain problems like clogs and slow drainage safely and effectively, saving you time and money.
Plumbing can seem intimidating, but don’t let it! Clogged or slow drains are a common nuisance that can disrupt your daily routine. Water backing up or taking too long to disappear is not just annoying; it can lead to bigger issues if left unaddressed. The good news is that many common drain problems are well within the reach of a DIYer. With the right knowledge and a few basic tools, you can confidently upgrade your drains, tackle clogs, and ensure your plumbing runs smoothly.
This guide is designed to break down essential drain maintenance and upgrade skills into simple, actionable steps. We’ll cover everything from understanding what goes down the drain to performing minor upgrades that improve performance and prevent future headaches. Get ready to gain some valuable skills that will serve you and your home for years to come!
Why Upgrade Your Drains?
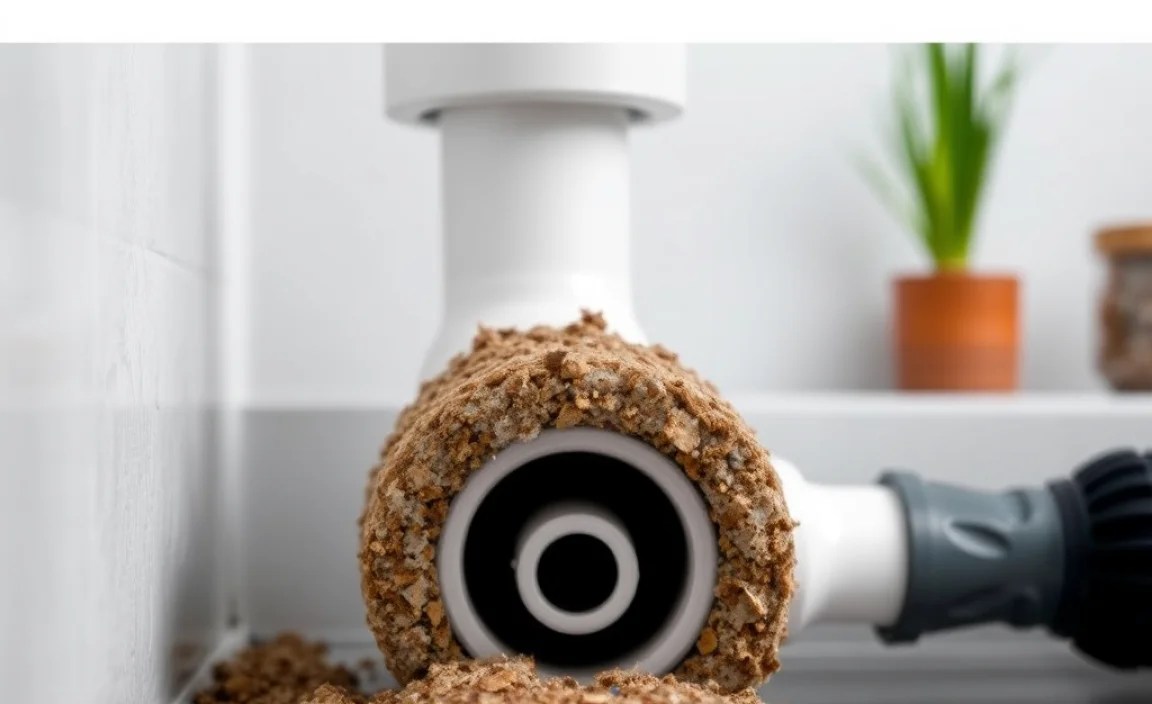
Upgrading your drains isn’t just about aesthetics; it’s about improving functionality, preventing problems, and enhancing the overall health of your plumbing system. Old or improperly installed drains can lead to:
- Slow drainage, causing water to pool.
- Recurring clogs that are difficult and expensive to clear.
- Unpleasant odors emanating from the pipes.
- Potential water damage from leaks or overflows.
- Inefficient water flow, wasting water.
Performing a DIY drain upgrade can address these issues, making your home more comfortable, hygienic, and efficient. It’s a rewarding project that directly impacts your daily life and can save you significant money on professional plumbing services.
Essential Tools for Drain DIY
Before you start any drain project, having the right tools is crucial. Don’t worry; most of these are standard household items or inexpensive to acquire. Having them ready will make your DIY efforts smoother and more successful.
Basic Drain Maintenance Toolkit:
- Plunger: A must-have for most basic clogs. Ensure you have a cup plunger for sinks and toilets and a flange plunger for toilets.
- Drain Snake/Auger: For more stubborn clogs, a drain snake (manual or electric) can reach deeper into the pipe to dislodge blockages.
- Pipe Wrench and Pliers: Useful for tightening or loosening pipe fittings that may be corroded or stuck.
- Screwdrivers: For removing drain covers or accessing P-traps.
- Bucket: To catch water and debris when working on P-traps or removing fixtures.
- Gloves and Safety Glasses: Always protect yourself from dirty water, debris, and caustic drain cleaners.
- Flashlight: To see into dark drain pipes and under sinks.
- Teflon Tape (Pipe Thread Seal Tape): Essential for creating watertight seals on threaded pipe connections.
- Old Towels or Rags: For cleaning up spills and keeping the work area dry.
For more involved upgrades, you might need additional items like a hacksaw for cutting pipes, PVC primer and cement for joining pipes, or a new drain assembly.
Understanding Your Drains: The Basics
A drain system is more than just a hole in your sink or tub. It’s a network of pipes designed to carry wastewater away from your home safely and efficiently. Understanding the basic components will help you diagnose problems and perform upgrades confidently.
Key Drain Components:
- Drain Opening: The visible hole where water enters the system.
- Strainer/Stopper: The part that prevents larger debris from entering the pipe and can stop water from draining.
- Tailpiece: The pipe segment directly below the drain opening.
- P-Trap: This U-shaped pipe under sinks and tubs is critical. It holds a small amount of water, creating a seal that prevents sewer gases from entering your home.
- Drainpipe: The larger pipes that collect water from multiple drains and carry it to the main sewer line or septic system.
- Vents: Small pipes that extend through your roof and allow air into the drainage system. Vents are crucial for proper drainage and prevent vacuum locks.
Knowing these parts helps you identify where blockages might occur and what components you might be replacing during an upgrade.
DIY Troubleshooting: Clearing Common Drain Clogs
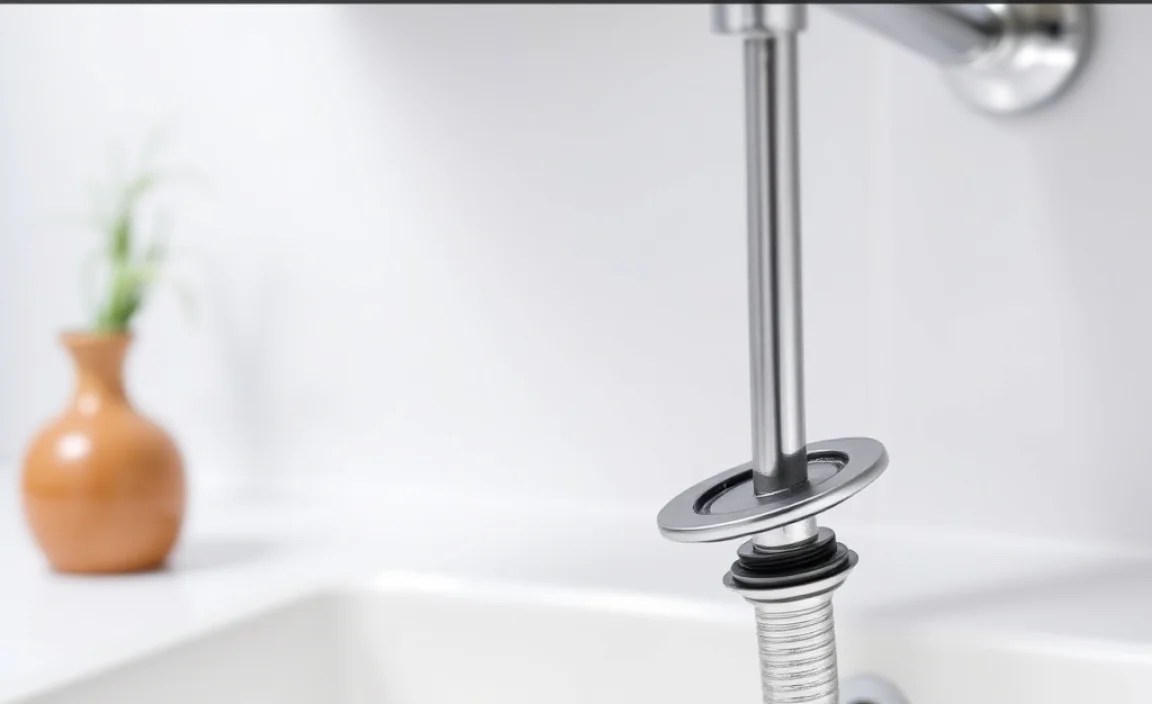
Clogs are the most frequent drain issue. Before resorting to harsh chemicals, try these safe and effective DIY methods.
Step-by-Step Guide to Clearing Clogs:
-
Assess the Situation
Is it a slow drain or a complete blockage? Is the clog in a sink, tub, or toilet? This will determine the best approach.
-
Hot Water Flush (For Grease Clogs)
For kitchen sinks, pour a pot of boiling water slowly down the drain. This can help dissolve grease and soap buildup. Repeat a few times if necessary. Be cautious around PVC pipes, as excessive heat can damage them.
-
Plunger Power
For Sinks/Tubs:
- Ensure there’s enough water in the sink or tub to cover the plunger cup.
- Create a tight seal around the drain opening with the plunger.
- For double sinks, block off the other drain with a wet rag or stopper.
- Pump the plunger vigorously up and down several times.
- Lift the plunger quickly to break the seal and dislodge the clog.
- Repeat as needed.
For Toilets: Use a flange plunger. Ensure a good seal and use strong, deliberate thrusts.
-
Baking Soda and Vinegar Method
- Pour about 1 cup of baking soda down the drain.
- Follow with 1 cup of white vinegar. The mixture will fizz.
- Cover the drain immediately with a stopper or rag to keep the action focused downwards.
- Let it sit for at least 30 minutes (or even overnight for tough clogs).
- Flush with hot water (not boiling if using for PVC).
This natural method is effective for minor grease and soap scum buildup and is much safer for your pipes than chemical cleaners.
-
Using a Drain Snake (Auger)
- Remove the drain stopper or cover if possible.
- Feed the end of the snake into the drainpipe.
- Turn the handle of the snake as you push it further into the pipe. You’ll feel resistance when you hit the clog.
- Continue turning and pushing to either break up the clog so it can be flushed away or to hook onto it so you can pull it back out.
- Once the clog is cleared or removed, pull the snake out.
- Flush the drain thoroughly with hot water.
For deeper clogs, you might need to remove the P-trap first (see next section) to get better access with the snake.
-
Clean the P-Trap
- Place a bucket directly underneath the U-shaped P-trap to catch any water or debris.
- Using pipe wrenches or pliers, carefully loosen the slip nuts on either side of the P-trap.
- Once loose, gently remove the trap and empty its contents into the bucket.
- Clean out any buildup inside the trap with a brush and rinse it thoroughly.
- Inspect the pipe leading into and out of the trap for more clogs. Use your drain snake here if needed.
- Reassemble the P-trap, ensuring the slip nuts are snug but not overtightened.
- Run water to check for leaks.
Remember, if these methods don’t work, the clog might be further down the line or more severe, and you may need professional help. For information on safe drain cleaning practices, the EPA WaterSense program offers tips on water efficiency that can indirectly help prevent drain issues.
DIY Drain Upgrade: Replacing a Sink Drain Assembly
Replacing an old or faulty sink drain assembly is a common and achievable DIY upgrade. It can improve appearance, prevent leaks, and ensure better drainage.
When to Replace Your Sink Drain:
- The current drain leaks around the sink basin.
- The stopper mechanism is broken or difficult to operate.
- The drain is severely discolored or corroded.
- You’re replacing an old sink and want a fresh look.
Steps to Replace a Sink Drain Assembly:
-
Gather Your Materials:
- New sink drain assembly (ensure it matches your sink type – typically found at hardware stores)
- Plumber’s putty or silicone caulk
- Pipe wrench or channel-lock pliers
- Screwdriver
- Bucket
- Rags
- Teflon tape (optional, for threaded connections)
-
Preparation:
- Clear out everything under the sink to give yourself ample working space.
- Place a bucket directly under the P-trap just in case.
- Turn off the water supply to the faucet if you’re also working on the supply lines, but it’s not strictly necessary for just the drain assembly itself if you’re careful.
-
Remove the Old Drain Assembly:
- Disconnect the P-trap from the tailpiece of the old drain if it’s attached.
- From underneath the sink, you’ll see a large nut or retainer holding the drain flange in place. Use your pipe wrench or pliers to loosen and remove this nut.
- Once the nut is removed, the old drain assembly (flange and tailpiece) should come out from the top of the sink. You might need to gently pry the flange out from above if it’s stuck.
- Scrape away any old plumber’s putty or caulk from the sink opening.
-
Install the New Drain Assembly:
- Apply Sealant: Roll a rope of plumber’s putty or apply a bead of silicone caulk around the underside of the new drain flange.
- Set the Flange: Press the new drain flange firmly into the sink drain opening from the top.
- Secure from Below: From underneath, slide the rubber gasket, washer, and then the large retainer nut onto the threaded tailpiece of the drain. Tighten the nut by hand first, then use your wrench to snug it up. Don’t overtighten, as you could crack the sink. Aim for snug and secure.
- Attach the P-Trap: Reconnect your P-trap to the new tailpiece. Ensure the plastic slip nuts are hand-tight plus a quarter turn with pliers.
- Test for Leaks: Run water into the sink. Check all connections, especially where the P-trap meets the tailpiece and the retainer nut under the sink, for any drips or leaks. Tighten slightly if needed.
This process typically takes an hour or two for a beginner. The result is a clean, functional drain that resists clogs better and looks great!
Upgrade Your Shower Drain: Enhancing Flow and Style
Shower drains can become clogged with hair and soap scum quickly, leading to puddles and an unpleasant shower experience. Upgrading to a more efficient design can make a big difference.
Types of Shower Drains to Consider:
While replacing the entire shower drain assembly can be a more involved plumbing project, upgrading the drain cover or strainer is a simple DIY task that improves both function and aesthetics.
- Standard Strainer: The most common type, often a simple round grate.
- Pop-Up Strainer: Features a lever that raises and lowers to open or close the drain. Requires compatible linkage.
- Strainer with Hair Catcher: Includes an insert designed to catch hair before it reaches the main pipe, making clogs less frequent.
- Linear Drains: Modern, linear-shaped drains that offer a sleek look and can handle high water flow volumes. These are typically more involved installations.
Simple Shower Drain Cover Upgrade:
-
Identify Your Current Drain Type:
Most shower drains have a screw in the center or are held in place by friction or a retaining ring. Look for screws around the edge or in the center of the drain cover.
-
Remove the Old Cover:
- If there are screws, use the appropriate screwdriver to remove them.
- Some covers simply lift out or twist counter-clockwise to remove.
- If it’s stuck, a little gentle prying with a flathead screwdriver might help, but be careful not to damage the surrounding shower base.
-
Clean the Area:
Clean any soap scum or debris from the drain opening and the surrounding area.
-
Install the New Cover:
- Ensure the new cover is compatible with your existing drain base.
- Place the new cover over the opening.
- If it has screws, align the holes and secure them.
- If it twists, align and turn clockwise until it locks into place.
-
Test:
Run water to ensure the new drain cover is secure and drains properly.
For more advanced upgrades like installing a hair-catching drain or a linear drain, or if you suspect underlying issues with the drain pipe itself, it’s best to consult resources like This Old House for detailed instructions or consider calling a professional.
Choosing the Right Drain Materials and Types
When performing a more significant upgrade or replacing a drain assembly, understanding material options is beneficial. Different materials have various benefits in terms of durability, cost, and corrosion resistance.
Common Drain Pipe and Fixture Materials:
| Material | Pros | Cons | Typical Use |
|---|---|---|---|
| PVC (Polyvinyl Chloride) | Lightweight, easy to cut and join, affordable, corrosion-resistant. | Can be brittle in extreme cold, some concerns about long-term chemical leaching (though considered safe for plumbing). | Drain, waste, and vent (DWV) systems, P-traps, tailpieces. |
| ABS (Acrylonitrile Butadiene Styrene) | Similar to PVC but more impact-resistant, good for cold climates. | Can be more susceptible to UV degradation than PVC. | DWV systems, P-traps. Often used interchangeably with PVC in many regions. |
| Cast Iron | Extremely durable, long-lasting, sound-dampening (quieter). | Heavy, prone to rust if not coated, more difficult to cut and join. | Main drain lines, stack pipes in older homes. |
| Brass/Bronze | Durable, corrosion-resistant, aesthetically pleasing. | Expensive, can corrode over time in certain water conditions. | Drain fittings, strainers, visible components in showers and sinks. |
| Stainless Steel | Very strong, hygienic, excellent corrosion resistance, modern look. | Expensive, can require specialized tools for fabrication and joining. | High-end fixtures, drains, strainer covers. |
For most sink and shower drain assemblies, you’ll encounter PVC, ABS, brass, or stainless steel components. Ensure any new parts you purchase are compatible with your existing system, especially if you’re not replacing the entire line.
Preventing Future Drain Problems: Proactive Maintenance
The best way to deal with drain issues is to prevent them from happening in the first place. Implementing a few simple habits can save you from future headaches and costly repairs.
