
Upgrade your drain system with proven efficiencies for smoother, faster water flow and fewer clogs. This guide simplifies the process, offering easy steps and smart choices to enhance your plumbing, making drain maintenance hassle-free.
Drains can be frustrating. We’ve all been there: slow drains that leave standing water, or worse, complete blockages that halt everything. It feels like a big, messy job, but upgrading your drains doesn’t have to be complicated or expensive. With a few smart choices and simple steps, you can significantly improve how your sinks, showers, and tubs drain.
This guide is designed to make the process easy, even if you’re new to home improvement. We’ll walk you through proven methods to boost drain efficiency, ensuring water flows away quickly and reliably. Get ready to say goodbye to sluggish drains and welcome a more efficient home!
Why Upgrade Your Drains? The Efficiency Advantage

Old, worn-out, or improperly designed drains are common culprits behind slow-moving water and pesky clogs. Over time, even the best drains can accumulate gunk, mineral deposits, or minor damage that impedes water flow. Upgrading isn’t just about fixing a problem; it’s about proactive maintenance that saves you time, money, and stress down the road.
Think of it as giving your plumbing a much-needed tune-up. A more efficient drain system means water moves away faster, reducing the chances of backups and the need for frequent plunging or costly professional services. It also contributes to a cleaner, more hygienic home environment by preventing stagnant water where bacteria can grow.
The benefits of upgrading are numerous:
- Faster Water Drainage: Water clears your fixtures much more quickly.
- Reduced Clogging: Smoother interior surfaces and better designs resist buildup.
- Improved Sanitation: Less standing water means fewer places for germs.
- Longer Fixture Lifespan: Prevents corrosive buildup and strain on pipes.
- Enhanced Home Value: Modern, efficient plumbing is a desirable feature.
- Peace of Mind: Less worry about unexpected plumbing disasters.
Understanding Your Current Drain System
Before we jump into upgrades, it’s helpful to understand the basics of how your drains work. Even a simple drain is part of a larger plumbing network designed to safely carry wastewater away from your home. Key components usually include the fixture (sink, tub, shower), a drainpipe, traps (like the U-shaped pipe under a sink), and a vent system that allows air into the pipes, preventing vacuum locks and helping water flow smoothly.
Most residential plumbing systems use gravity to move water. This means pipes are installed with a slight slope to ensure water flows downhill towards the main sewer line or septic tank. Understanding this slope (often called “fall”) is crucial, as any blockages or changes in the pipe’s angle can create problems.
For a deeper dive into how plumbing systems work, the National Association of Home Builders (NAHB) often provides excellent resources on residential construction and systems. You can explore their guides on plumbing basics by searching for “NAHB Plumbing Systems Basics” on their official website.
Common Drain Problems and Their Causes
Identifying the root cause of your drain issues is the first step to an effective upgrade. Here are some common culprits:
- Hair and Soap Scum: Especially in showers and bathroom sinks, hair and soap residue are major cloggers.
- Grease and Food Particles: Kitchen sinks are prone to clogs from cooking oils, fats, and small food debris.
- Mineral Buildup: Hard water can leave behind mineral deposits that narrow pipe interiors.
- Low Slope or Sagging Pipes: If pipes weren’t installed with enough fall, or have sagged over time, water can pool and debris will collect.
- Improper Venting: A blocked vent pipe can create suction that slows drainage significantly, or gurgling sounds.
- Foreign Objects: Sometimes, small items accidentally fall down the drain.
Proven Efficiencies: Easy Ways to Upgrade Your Drains

Upgrading your drains doesn’t always mean ripping out entire sections of pipe. Often, targeted improvements can make a big difference. We’ll focus on accessible upgrades that beginners can tackle, or that provide clear instructions for professional installation.
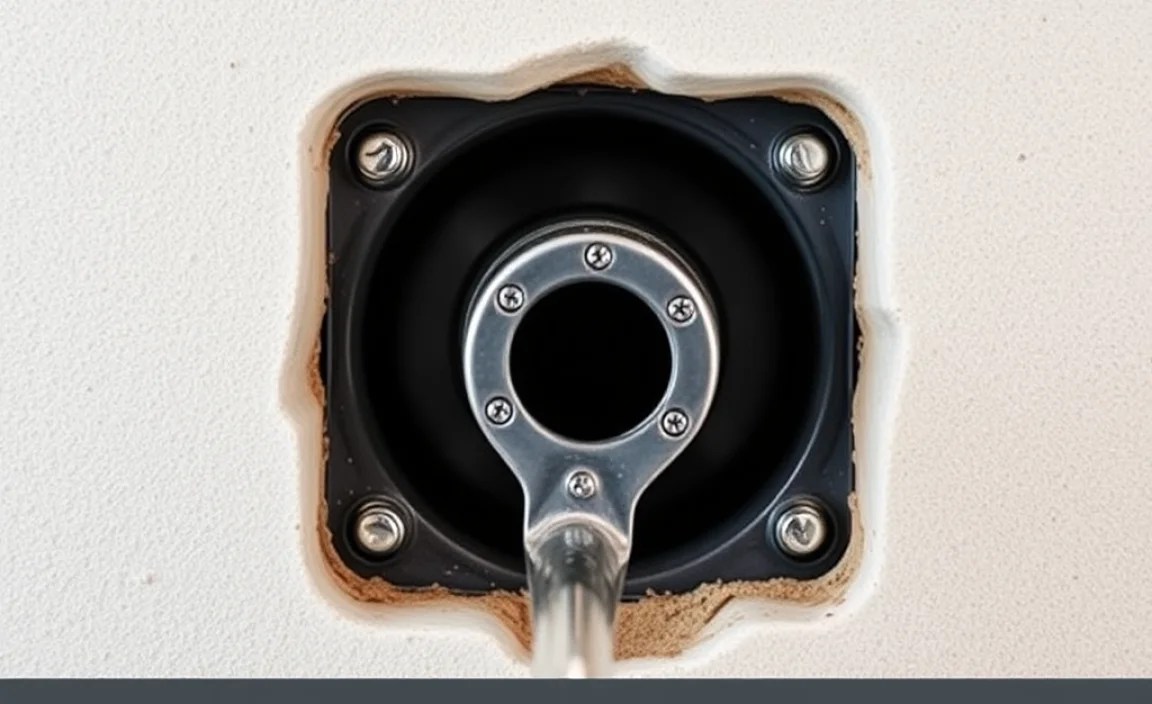
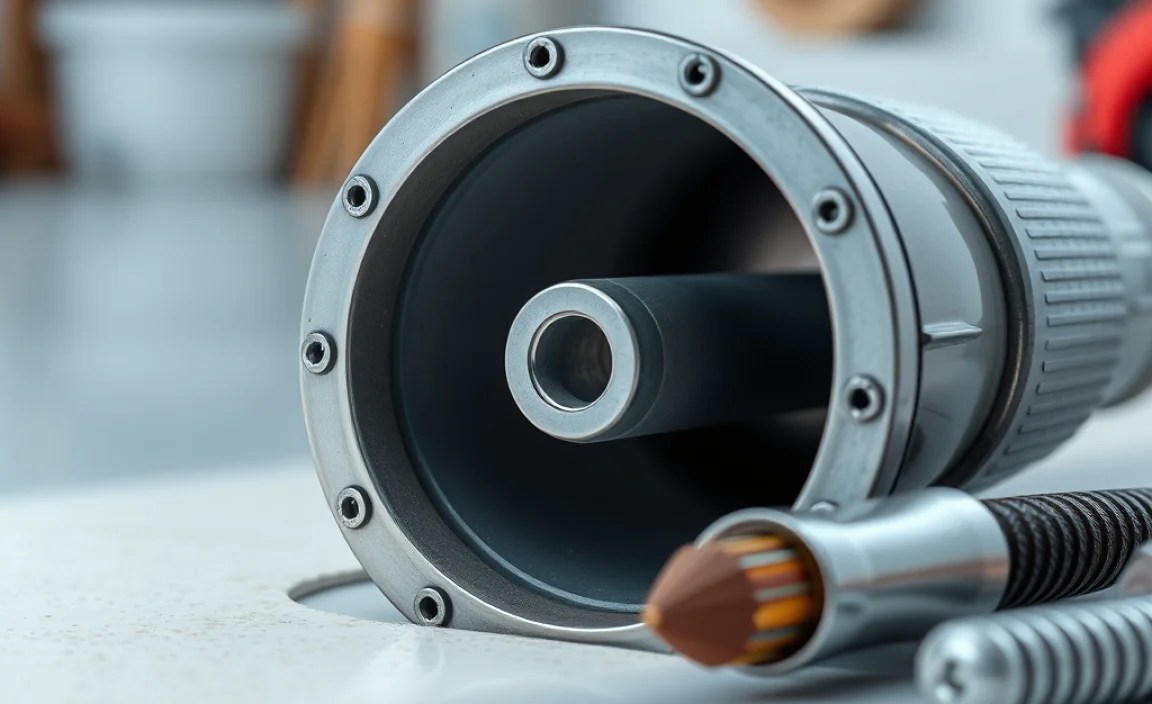
1. Upgrade Your Drain Strainers and Stoppers
This is the most accessible and often overlooked upgrade. Your drain strainer not only catches debris but also influences how easily water flows through. Outdated or poorly designed strainers can quickly become clogged by themselves.
Types of Strainers and Stoppers
- Pop-Up Stoppers: These are common in bathroom sinks. They work by a lever that lifts or lowers a stopper in the drain. While convenient, they can easily trap hair and gunk in their mechanism.
- Strainer Baskets: Often found in kitchen sinks, these baskets catch larger debris. High-quality, fine-mesh baskets are much more effective at preventing small particles from entering the pipe.
- Mesh/Screen Strainers: These are very effective for showers and bathtubs. They are simple grates with a fine mesh that catches hair and debris without significantly impeding water flow.
- Toe-Touch (Push-Down) Stoppers: Similar to pop-up, but operated by pushing the stopper down with your foot or hand. They are generally easier to clean than pop-up mechanisms.
The Upgrade Process:
- Safety First: Turn off the water supply to the fixture if possible, or at least be prepared for a small amount of residual water. Have a bucket or towels ready.
- Remove Old Strainer: For sink strainers, you’ll typically unscrew a retaining nut from underneath the sink. For shower or tub drains, you might need a specific tool or simply unscrew the cover.
- Clean the Opening: Thoroughly clean the drain opening of any accumulated gunk, hair, or residue.
- Install New Strainer: Follow the manufacturer’s instructions for your new strainer. For sink strainers, this usually involves applying plumber’s putty or silicone sealant around the drain flange and screwing it in place, with the retaining nut secured underneath.
- Test: Run water to ensure the new strainer is properly sealed and water drains efficiently.
2. Install High-Efficiency Drain Pipes and Fittings
This upgrade is more involved and might require professional help, but the efficiencies gained are significant. Standard PVC (Polyvinyl Chloride) pipes are common, but their interior surfaces can become rough over time. Certain types of pipes and fittings are engineered for superior flow.
Materials and Designs for Better Flow
While standard Schedule 40 PVC is durable and widely used, consider upgrades like:
- Smoother Interior PVC: Some PVC pipes offer a smoother internal finish, reducing friction and the likelihood of debris sticking.
- Larger Diameter Pipes: In some older homes, drain pipes might be undersized for modern water usage. Upgrading to a slightly larger diameter (e.g., from 1.5 inches to 2 inches) can dramatically improve flow, especially in kitchens or laundry areas under heavy load. This requires careful assessment of existing pipe runs.
- Improved Trap Designs: For sinks, consider P-traps designed for easier cleaning and less prone to accumulating debris. Some modern traps have smoother curves.
Considerations for Piping Upgrades:
When considering pipe upgrades, consult local plumbing codes. The International Plumbing Code (IPC) provides guidelines on pipe sizing, materials, and installation. You can find information on their website by searching “IPC Plumbing Code Residential.”
- Slope (Fall): Ensure any new pipe is installed with the correct slope. Generally, 1/4 inch of fall per linear foot of pipe is recommended for drains 3 inches or smaller.
- Ventilation: Proper venting is crucial. Ensure any new pipe layout integrates correctly with your home’s vent system. Improper venting is a major cause of slow drains and can lead to sewer gas odors.
- Material Compatibility: Stick to approved materials like PVC, ABS, or copper, ensuring they are compatible with your existing system and local codes.
3. Enhance Shower and Tub Drains – The Hair Clog Fighters
Showers and tubs are prime locations for hair-related clogs. Upgrading these drains often involves better hair catchers and smoother drainage channels.
Effective Shower Drain Solutions
- High-Capacity Hair Catchers: Look for advanced drain covers that feature easy-to-clean, integrated hair catchers. These are often removable baskets or screens that fit over or within the main drain.
- Larger Drain Openings: Some modern shower drains offer a larger surface area for water entry, meaning more water can flow down simultaneously, reducing the chance of standing water even if some debris accumulates.
- Trench Drains: For larger shower spaces or a more modern look, linear trench drains can offer superior drainage capacity and are often easier to keep clear as they have a longer, narrower opening.
DIY Upgrade Steps for Shower Drains:
- Identify Drain Type: Is it a screw-in cover, a snap-in cover, or a larger grate?
- Remove Old Cover: You might need a screwdriver, pliers, or simply to pull it up. Some older drains have a stopper mechanism that needs to be removed first.
- Clean Thoroughly: Remove all existing hair and gunk from the drain pipe opening.
- Install New Drain Cover/Catcher: Place the new component, ensuring it fits snugly. If it’s a screw-in type, secure it with screws. For basket-style catchers, they usually just sit in place.
- Test: Run water to check for efficient drainage and that the catcher is effectively trapping debris.
4. Kitchen Sink Drain Efficiency: Battling Grease and Food Scraps
Kitchen sinks face unique challenges with grease, oil, and food particles. Upgrading here focuses on preventing these from entering the pipes and ensuring quick removal.
Key Kitchen Sink Upgrades
While a garbage disposal is a popular solution, not all kitchens have one, and even disposals have limitations. Here are some drain-focused upgrades:
- High-Quality Strainer Basket: As mentioned, a good, fine-mesh stainless steel strainer basket is a must. It should fit snugly to prevent food particles from slipping around the edges.
- Larger Diameter Drainpipe: If your kitchen sink drainpipe is undersized (e.g., 1.25 inches), upgrading to a 1.5-inch or even 2-inch pipe can make a huge difference in clearing wastewater and any small food particles that get through the strainer.
- Properly Sloped Piping: Ensure kitchen drainpipes have a consistent and adequate slope. Grease tends to solidify in cooler pipe sections, so a good slope keeps things moving towards the main line.
- Consider a ‘Pancake’ or Low-Profile P-Trap: These traps are designed with a flatter profile, which can sometimes aid in faster drainage compared to a deep, traditional U-bend, though they still serve the essential function of holding water to block sewer gases.
A useful resource for understanding plumbing materials and their applications is the Plastics Industry Association, which provides insights into PVC and other plastic pipe types.
5. Addressing Venting Issues
A properly functioning vent system is the unsung hero of efficient drainage. Vents allow air into the drain pipes, preventing a vacuum from forming that would slow water flow and could even siphon water out of traps. They also let sewer gases escape safely outdoors.
Signs of Venting Problems
- Gurgling sounds from drains.
- Slow drainage in multiple fixtures.
- Foul odors coming from drains.
- Bubbles appearing in sink or toilet bowls when other fixtures are used.
Simple Venting Checks and Upgrades
- Roof Vent Check: The most common place for vent problems is where the pipe exits the roof. Check for blockages like leaves, bird nests, or snow/ice. Clear any obstructions carefully.
- Chimney Stack/Vent Pipe Cap: Ensure the vent cap is intact and not damaged or clogged.
- Interior Vent Issues: Less common for DIY, but sometimes interior vent pipes can become blocked by debris within the walls. If you suspect this, professional help is usually required.
If you’re unsure about your venting system, consulting a plumber is the safest bet. They can perform tests to diagnose vent issues and make necessary repairs or upgrades, which might involve clearing a blockage or even rerouting a vent pipe according to plumbing codes.
Choosing the Right Materials and Tools
When undertaking a drain upgrade, using the right materials and tools ensures a reliable and efficient result. For DIYers, accessibility and ease of use are key.
Essential Tools for Drain Upgrades
Here’s a list of tools that will be helpful for most beginner-friendly drain upgrade tasks:
- Plumber’s Wrench (Pipe Wrench): Useful for gripping and turning pipes and fittings.
- Adjustable Wrench: Versatile for various nuts and bolts.
- Screwdrivers (Phillips and Flathead): For removing drain covers and access plates.
- Pliers (e.g., Channel Locks): For gripping and turning larger nuts or fittings.
- Bucket and Towels: Essential for catching water and cleaning up spills.
- Plumber’s Putty or Silicone Sealant: For creating watertight seals around drain flanges.
- Drain Snake/Auger: For clearing blockages and ensuring pipes are clear before installing new parts. Manual snakes are good for simple clogs.
- Measuring Tape: For ensuring correct pipe lengths and slopes.
- Safety Glasses and Gloves: Always protect yourself!
Recommended Materials
- PVC Pipes and Fittings: Cost-effective, durable, and easy to work with. Ensure you get the correct schedule (e.g., Schedule 40) and diameter.
- ABS Pipes and Fittings: Similar to PVC but black in color, often used in older homes or specific regions.
- New Strainers and Drain Covers: Choose materials like stainless steel or brass for durability and resistance to corrosion.
- PVC Primer and Cement: For permanently joining PVC pipes and fittings.
For guidance on plumbing materials and installation best practices, resources from the U.S. Environmental Protection Agency (EPA) on water infrastructure can offer broad insights, though focus on localized plumbing codes for specifics.
Step-by-Step: A Practical Upgrade Example (Bathroom Sink)

Let’s walk through upgrading a bathroom sink drain, focusing on replacing an old pop-up stopper with a more efficient strainer basket and improving the P-trap if needed.
Phase 1: Replacing the Sink Strainer and Stopper
| Step | Action | Notes |
|---|---|---|
| 1 | Gather Tools and Materials | Adjustable wrench, screwdriver, plumber’s putty, new strainer assembly, bucket, towels, safety glasses, gloves. |
| 2 | Turn Off Water & Clear Cabinet | Close the shut-off valves under the sink. Empty the cabinet below for easy access. Place a bucket to catch water. |
| 3 | Remove Old Strainer | From under the sink, use an adjustable wrench to loosen and remove the large retaining nut holding the drain pipe to the sink flange. |
| 4 | Disassemble Pop-Up Mechanism | Carefully detach the horizontal pivot rod and stopper assembly. Remove any other linkage connected to the stopper. |
| 5 | Unscrew Old Strainer Flange | From inside the sink, unscrew the old strainer flange. It might require a screwdriver or a specialized strainer wrench. |
| 6 | Clean Drain Opening | Remove all old putty, debris, and grime from the sink drain opening. |
| 7 | Install New Strainer | Apply a generous rope of plumber’s putty around the underside of the new strainer flange. Press it firmly into the sink drain opening. |
| 8 | Secure New Strainer | From underneath, reattach the large retaining nut (and any new washers provided) to the bottom of the strainer pipe. Tighten securely with the wrench. Clean off excess putty that squeezes out. |
| 9 | Reassemble Stopper Mechanism | Follow the new strainer’s instructions to install the stopper, pivot rod, and linkage. Ensure it operates smoothly. |
| 10 | Test for Leaks and Drainage | Turn water back on slowly. Fill the sink partially and check for leaks around the flange and all pipe connections. Then, drain the sink to ensure water flows freely and the stopper seals properly. |
