
Transform your kitchen or bathroom with a DIY faucet upgrade! This guide provides simple, step-by-step instructions to confidently replace your old faucet, enhancing both style and function. You’ll learn essential tips and tricks for a successful, leak-free installation, making this a genius and essential home improvement project.
Is your faucet looking a bit tired? Maybe it drips, or it just doesn’t match your home’s style anymore. Swapping out an old faucet is a project many homeowners think is too complicated, but it’s actually quite manageable! With a little patience and the right guidance, you can easily do it yourself. This guide breaks down everything you need to know, from choosing a new faucet to making the final connections. Get ready to add a fresh look to your sink and enjoy a better-performing faucet!
Why Upgrade Your Faucet? More Than Just a Pretty Face!

Upgrading your faucet is one of the most impactful DIY projects you can tackle for your kitchen or bathroom. It’s not just about aesthetics, though a stylish new faucet can instantly modernize your space. Functionality plays a huge role too. Older faucets can be leaky, lose pressure, or simply become difficult to operate. A new faucet often means better water efficiency, easier cleaning, and a smoother experience every time you turn it on.
Think about how often you use your faucet. It’s a daily workhorse! Investing a little time and effort into upgrading it can surprisingly improve your daily routine and add value to your home. Plus, the sense of accomplishment from completing a DIY project like this is incredibly rewarding! We’ll walk you through every step so you can feel confident and achieve a professional-looking result.
Choosing Your New Faucet: Style Meets Function
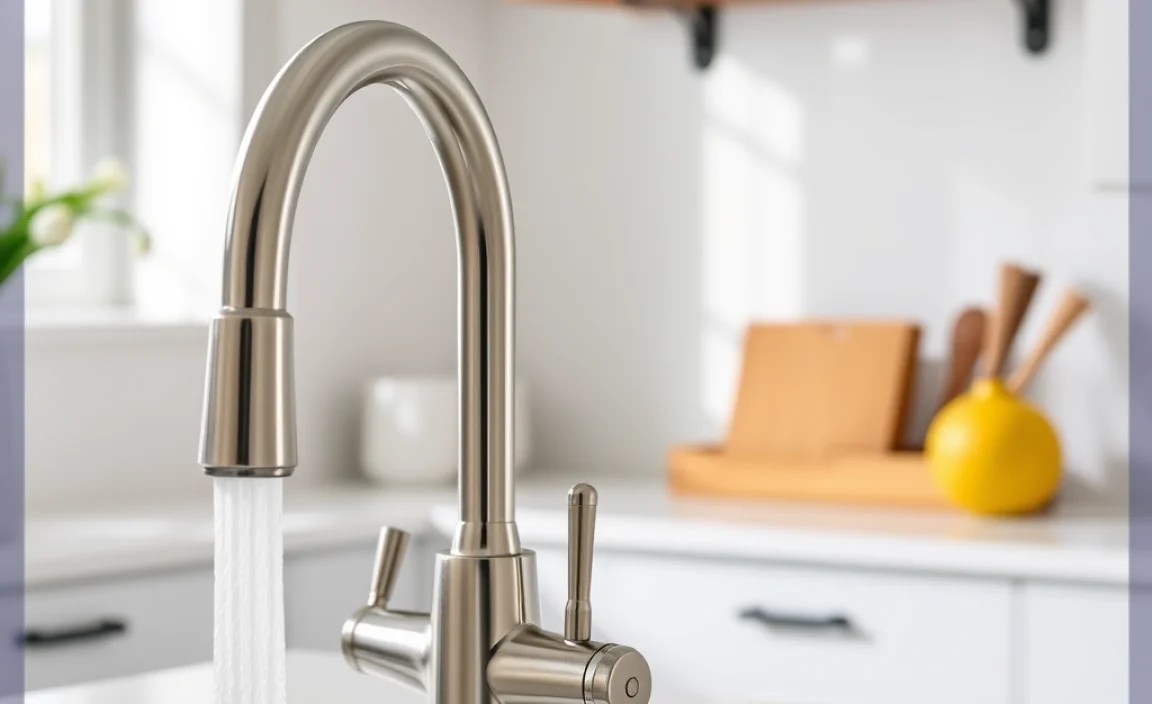
Before you start turning wrenches, the first genius step is picking the right faucet. This is where you balance your personal style with practical needs. Don’t worry if you’re not a design expert; we’ll keep it simple.
Know Your Sink Configuration
Faucets are designed to fit specific sink hole setups. This is crucial to avoid buying a faucet that won’t install! Your sink will have either one, two, three, or four holes. Identify how many holes your current sink has and how they are spaced.
- 1-hole: Common in modern kitchens and bathrooms for single-handle faucets.
- 2-hole: Less common, might be for a dispenser or a unique faucet style.
- 3-hole: The most common setup, usually for widespread faucets with separate hot and cold handles, or for centerset faucets where handles and spout are mounted on a base.
- 4-hole: Typically for a widespread faucet with a separate side spray or soap dispenser.
Most new faucets come with an optional deck plate (escutcheon) that can cover extra holes if you’re moving from a 3-hole to a 1-hole faucet, for example. Always check the faucet’s specifications to see if it’s compatible with your sink’s configuration.
Faucet Types Explained
There are several main types of faucets, each with its own installation style and features:
- Centerset: All parts (spout and handles) are mounted on a single base that covers 3 holes on the sink. This is very common for bathroom sinks.
- Widespread: The spout and handles are separate pieces, typically requiring 6 to 16 inches (15-41 cm) between them. This offers a more luxurious look and is common for larger sinks.
- Single-hole: Designed for sinks with just one hole. This can be a single-handle faucet or a faucet with a separate sprayer or dispenser mounted nearby if there are additional holes.
- Wall-mount: Installed directly onto the wall behind the sink. These are less common for DIY replacements but are stylish options for certain designs.
Handle Styles: Single vs. Double
This is a matter of preference and how you like to control water temperature:
- Single-handle: A single lever controls both water flow and temperature. Easy to use, especially with dirty hands.
- Double-handle: Separate handles for hot and cold water. Offers more precise temperature control for some users.
Essential Faucet Features Today
Modern faucets come with a host of features that can enhance your kitchen or bathroom:
- Pull-down/Pull-out Sprayers: Great for rinsing dishes, cleaning the sink, and filling pots.
- Touchless Technology: Motion-activated faucets for ultimate convenience and hygiene.
- Water Filtration Systems: Integrated filters for cleaner drinking water.
- High Arc Spouts: Provide more clearance for washing large items.
- Water-Saving Aerators: Reduce water consumption without sacrificing performance, which is great for the environment and your utility bills. You can learn more about EPA WaterSense labeled products on the U.S. Environmental Protection Agency’s WaterSense website.
Materials and Finishes
Faucets are made from various materials, with brass and stainless steel being durable choices for the internal components. For finishes, consider what will best complement your décor:
- Chrome: Durable, easy to clean, and cost-effective.
- Brushed Nickel: Resists water spots and fingerprints better than polished chrome.
- Stainless Steel: Offers a modern look and good durability.
- Matte Black: A popular contemporary choice that adds a dramatic touch.
- Bronze/Oil-Rubbed Bronze: Provides a warmer, antique look.
Think about how easy each finish is to maintain. Brushed finishes are generally forgiving of water spots and fingerprints.
Essential Tools and Materials

Gathering everything you need before you start will make the DIY faucet upgrade smooth and efficient. Having the right tools is key to a safe and successful installation. Here’s a checklist:
Tools You’ll Need:
- Adjustable wrench (or two)
- Basin wrench (a specialty tool that’s invaluable for tight spaces behind the sink)
- Pliers (channel-lock or tongue-and-groove pliers)
- Screwdriver set (Phillips and flathead)
- Bucket
- Old towels or rags
- Safety glasses
- Work gloves
- Flashlight or headlamp
- Plumber’s tape (PTFE tape)
- Plumber’s putty or silicone sealant (check faucet instructions)
- Wire brush (for cleaning threads)
Materials You’ll Need:
- New faucet assembly (ensure it includes all necessary mounting hardware, gaskets, and hoses)
- Optional: New supply lines if your old ones are old, stiff, or damaged. It’s often a good idea to replace these.
Step-by-Step: The Genius DIY Faucet Upgrade Process
Let’s get to it! This guide will take you through removing your old faucet and installing the new one, ensuring a leak-free and beautiful result. Remember to read the specific instructions that come with your new faucet, as there can be minor variations.
Phase 1: Removing the Old Faucet
This is where the “genius” part of DIY truly shines – tackling the old before welcoming the new!
- Turn Off the Water Supply: This is the most critical step for safety. Look under your sink for two shut-off valves (one for hot, one for cold). Turn them clockwise until they are snug. If you don’t have shut-off valves under the sink, you’ll need to turn off the main water supply to your house.
- Relieve Water Pressure: Turn on the old faucet to drain any remaining water in the lines and relieve pressure. Leave it open.
- Place Bucket and Towels: Position a bucket under the water supply connections and pipework to catch any residual water. Lay down some old towels to protect your cabinet floor.
- Disconnect Water Supply Lines: Using an adjustable wrench, carefully loosen and disconnect the hot and cold water supply lines from the shut-off valves. Be prepared for a small amount of water to spill into your bucket.
- Remove Mounting Hardware: Now, you need to get under the sink and see how the faucet is attached. This is where a basin wrench is a lifesaver! Look for nuts holding the faucet body to the underside of the sink or countertop. Loosen and remove these nuts. Sometimes there are also screws or clips.
- Lift Out the Old Faucet: Once all the nuts and connections are undone, gently lift the old faucet assembly away from the sink from above. If it’s stuck with old putty or sealant, you might need to carefully pry it loose with a putty knife, being careful not to damage your sink’s surface.
- Clean the Sink Surface: Before installing the new faucet, thoroughly clean the area where the old faucet sat. Scrape away any old putty, sealant, or mineral deposits. A clean, smooth surface is essential for a good seal with the new faucet.
Phase 2: Installing Your New Faucet
Now for the exciting part – bringing in the new!
- Prepare the New Faucet: Unpack your new faucet and identify all its parts. If your new faucet comes with pre-attached supply lines, you can often skip the next step. If not, you may need to attach new supply lines to the faucet body now. Follow the manufacturer’s instructions carefully. Some faucets require applying plumber’s putty or sealant to the underside of the base or deck plate to ensure a watertight seal.
- Position the Faucet: Carefully place the new faucet assembly onto the sink from above, ensuring it aligns with the holes. If you’re using a deck plate, make sure it’s positioned correctly first.
- Secure the Faucet from Below: Get back under the sink. Install the washers, gaskets, and mounting nuts that came with your new faucet. Tighten them by hand first, then use a basin wrench or adjustable wrench to snug them up. Be careful not to overtighten, which can crack the sink or strip the threads. Ensure the faucet is straight from the front before fully tightening.
- Connect the Water Supply Lines: Attach the hot and cold water supply lines to the corresponding ports on the new faucet. Again, hand-tighten first, then use a wrench to tighten a quarter-turn more. If you’re connecting to shut-off valves, apply plumber’s tape to the threads of the shut-off valve before attaching the supply lines.
- Connect Sprayer Hose (if applicable): If your faucet has a pull-down or pull-out sprayer, connect the hose according to the manufacturer’s instructions. This usually involves a quick-connect fitting or a threaded connection. Don’t forget to attach the hose weight if provided – this helps the sprayer retract smoothly.
- Test for Leaks: This is a crucial check! Slowly turn the water supply valves back on (counter-clockwise). Check all connections, both top and bottom, for any drips or leaks. Turn on the faucet and test both hot and cold water flow, as well as the sprayer. If you see any leaks, turn off the water immediately and re-tighten the connections slightly.
- Final Touches: Wipe away any excess plumber’s putty or sealant. Clean your new faucet. Enjoy your beautifully upgraded sink!
Troubleshooting Common Issues
Even the best DIY projects can hit a small snag. Here are solutions to common problems you might encounter during your faucet upgrade:
Leaky Connections
Problem: A drip at a supply line connection or under the faucet.
Solution:
- Ensure connections are sufficiently tightened. Sometimes a quarter-turn more is all it needs.
- Check the rubber washers or gaskets inside the fittings; they should be present and undamaged.
- If connecting to shut-off valves, make sure you used plumber’s tape on the valve threads.
- If the leak persists, you might need to disconnect, reapply plumber’s tape (on the valve side), and reconnect.
Low Water Pressure
Problem: Water flow is weaker than before.
Solution:
- Disassemble the aerator (the tip of the spout) and clean out any debris.
- Check that the supply lines aren’t kinked.
- Ensure the shut-off valves are fully open.
- If it’s a new faucet, the internal flow restrictors might be too restrictive for your liking. Some faucets allow for their removal, but check your manual and local plumbing codes before doing so.
Faucet is Loose
Problem: The faucet wiggles after installation.
Solution:
- Go back under the sink and tighten the mounting nuts. Ensure you are using a basin wrench for proper leverage in tight spaces.
- Make sure the gaskets and washers are seated correctly between the faucet base and the sink.
Stuck Old Faucet
Problem: The old faucet won’t budge.
Solution:
- Spray penetrating oil (like WD-40) on the mounting nuts and threads under the sink and let it sit for 15-30 minutes.
- Use a basin wrench and apply firm, steady pressure.
- If extremely stubborn, a small hacksaw blade or oscillating multi-tool can be used to carefully cut away mounting nuts or bolts, but be extremely cautious not to damage the sink or countertop.
Faucets vs. Other Fixtures: A Smart Upgrade Choice
When it comes to DIY home improvements, faucets stand out as a particularly “genius” choice. Unlike major renovations that require professional help and significant investment, upgrading a faucet is often a weekend project that yields immediate visual and functional benefits.
Consider the impact:
High Impact, Low Effort: A new faucet can drastically change the look of your kitchen or bathroom without needing to replace countertops or cabinets.
Cost-Effective: Faucets range from affordable to high-end, but even a mid-range new faucet is a fraction of the cost of other fixture upgrades like a new sink or toilet.
Enhanced Functionality: Modern faucets offer features like improved water flow, better ergonomics, and water-saving technology that older models lack.
Increased Home Value: An updated kitchen or bathroom is a major selling point, and attractive, functional fixtures contribute directly to that appeal.
While changing a light fixture or painting a room are also great DIY tasks, a faucet upgrade directly impacts your daily water use and the overall aesthetic of a hardworking space. It’s an essential update that pays dividends in both form and function.
Table: Common Faucet Issues and Solutions
| Problem | Possible Causes | Geniuses Solution |
|---|---|---|
| Leaky Base/Spout | Worn O-rings, internal cartridge failure, loose connections, faulty sealant/putty | Replace O-rings or cartridge, tighten connections, reapply sealant. |
| Dripping from Spout | Worn cartridge, debris in valve seat, damaged washer (older models) | Replace cartridge, clean valve seat, replace washers. |
| Low Water Pressure | Clogged aerator, kinked supply line, closed shut-off valve, mineral buildup in faucet body | Clean aerator, straighten lines, open valves, flush faucet lines. |
| Loose Faucet | Loose mounting nuts under sink | Tighten mounting nuts using a basin wrench. |
| Sprayer Not Working | Clogged sprayer head, kinked hose, faulty valve, disconnected spray hose | Clean sprayer head, straighten hose, check valve, ensure hose is connected. |
Maintaining Your New Faucet
Congratulations on your successful upgrade! Now that you have a beautiful, functional new faucet, a little regular maintenance will keep it looking and performing its best for years to come.
- Daily Cleaning: Wipe down your faucet with a soft, damp cloth after each use to prevent water spots and mineral buildup. This is especially important for polished finishes.
- Deep Cleaning: For tougher spots, use a mild, non-abrasive cleaner (like dish soap or a specialized bathroom cleaner) diluted with water. Avoid harsh chemicals or abrasive pads that can scratch the finish.
- Aerator Care: Periodically (every few months or if you notice reduced flow), unscrew the aerator at the tip of the spout. Soak it in a vinegar and water solution for an hour or two to dissolve mineral deposits, then rinse and reassemble.
- Check for Leaks: Even with a new faucet, it’s good practice to occasionally check under the sink for any signs of emerging leaks at the supply line connections.
- Manufacturer Instructions: Always refer to the care and maintenance guide that came with your specific faucet model. Some finishes may require specialized cleaning products or methods.
Consistent, simple cleaning is the most genius way to ensure your faucet remains a stylish and reliable fixture in your home.
