
Upgrade your faucet quickly and easily with these essential tips! This guide breaks down the process into simple steps, making it achievable for any DIYer. Get a stylish, functional new faucet without the fuss.
Leaky faucets, outdated designs, or just a desire for a fresh look – upgrading your faucet is a common home improvement project. It can seem daunting if you haven’t tackled plumbing before. But don’t worry! With a little preparation and our straightforward advice, you can upgrade your faucet fast and boost your kitchen or bathroom’s appeal and efficiency. We’ll walk you through everything you need to know, making this task simple and stress-free.
Why Upgrade Your Faucet Quickly?

A faucet is more than just a way to control water flow; it’s a functional design element. An old, worn-out faucet can drip, waste water, and detract from your home’s overall aesthetic. Upgrading can:
- Improve Water Efficiency: Newer faucets are designed to use less water, saving you money on your utility bills. Check out resources from the EPA WaterSense program for insights into water-saving technologies.
- Enhance Aesthetics: A modern faucet can completely transform the look of your sink area, making it feel more updated and luxurious.
- Fix Plumbing Issues: If your current faucet is constantly dripping or hard to operate, a new one solves these problems and prevents potential water damage.
- Increase Home Value: Small upgrades like a new faucet can contribute to a better impression and potentially higher value if you’re looking to sell.
Before You Start: Essential Preparations
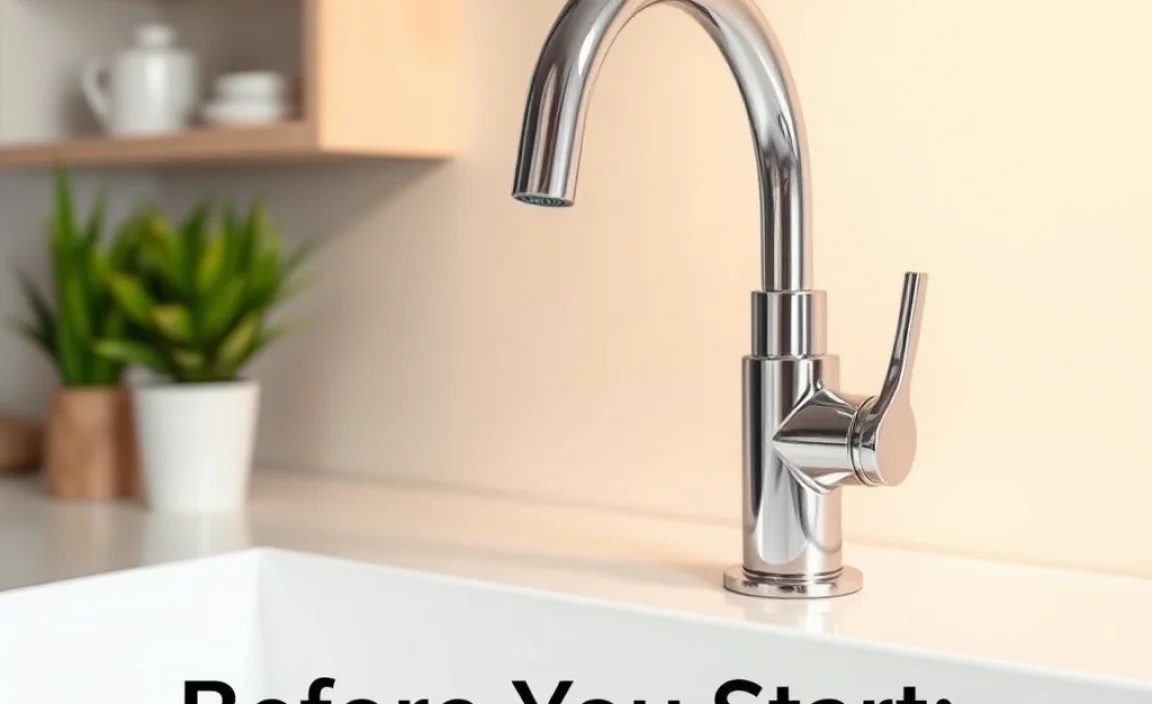
Getting ready is half the battle when you want to upgrade your faucet fast. A little planning ensures you have everything you need and minimizes surprises.
1. Choose Your New Faucet
This is the fun part! Consider these factors:
- Style: From minimalist modern to classic farmhouse, pick a style that complements your room. Think about the finish too – chrome, brushed nickel, matte black, or oil-rubbed bronze?
- Functionality: Do you want a pull-down sprayer, a touchless feature, or a simple two-handle design?
- Number of Holes: Most sinks have 1, 3, or 4 holes. Your new faucet must match the existing holes, or you’ll need a new sink or a deck plate to cover unused holes.
- Water Pressure Needs: Some modern faucets have specific flow rates. Ensure it meets your needs.
2. Gather Your Tools and Materials
Having the right tools makes the job go much smoother and faster. Here’s a list of essentials:
Essential Tools:
- Adjustable wrench (or two)
- Basin wrench (a lifesaver for tight spaces!)
- Plumber’s tape (PTFE tape)
- Plumber’s putty (optional, but good for sealing)
- Bucket
- Old towels or rags
- Safety glasses
- Screwdriver set (Phillips and flathead)
- Utility knife or putty knife
- Flashlight or headlamp
Materials You’ll Need:
- Your new faucet assembly
- Supply lines (often come with the faucet, but check)
- Optional: Deck plate if changing hole configurations
3. Turn Off the Water Supply
This is the most critical safety step. You don’t want a sudden water surge!
- Locate the shut-off valves under the sink. There’s usually one for hot and one for cold water.
- Turn the handles clockwise until they are snug.
- Turn on the old faucet to drain any remaining water in the lines and to confirm the water is off. If water still flows, you may need to turn off the main water supply to your house. For guidance on this, check advice from This Old House.
4. Clear the Workspace
Remove everything from under the sink and off the countertop around the faucet. This gives you ample room to work and prevents items from getting wet or dirty.
Step-by-Step: How to Upgrade Faucet Fast
Now that you’re prepared, let’s get to the actual upgrade. Follow these steps carefully for a quick and successful installation.
Step 1: Disconnect the Old Faucet Supply Lines
Using your adjustable wrench, carefully loosen the nuts connecting the supply lines to the faucet tailpieces. Have your bucket and towels ready to catch any residual water.
Step 2: Remove the Old Faucet
This is where the basin wrench often shines. Underneath the sink, you’ll see mounting nuts holding the faucet in place. Loosen and remove these nuts. Then, lift the old faucet assembly straight up from the sink deck.
Table: Common Faucet Mounting Types & Removal Tips
| Mounting Type | Description | Removal Tip |
|---|---|---|
| Threaded Post with Nut | A threaded post extends from the faucet body with a nut screwing onto it. | Use a basin wrench to reach and loosen the nut from below. |
| Mounting Bracket with Screws / Clips | A bracket uses screws or clips to secure the faucet. | Locate the screws or clips and loosen them with a screwdriver. |
| Large Locknut | A single, large nut secures the entire faucet assembly. | This can be challenging; a deep socket wrench or specialized faucet tool might be needed, but often an adjustable wrench can manage it. |
Step 3: Clean the Sink Deck
Before installing the new faucet, thoroughly clean the area where the old one sat. Remove any old plumber’s putty, caulk, or mineral deposits. A putty knife or utility knife can help here. A clean surface ensures a good seal for your new faucet.
Step 4: Install the New Faucet
Follow the manufacturer’s instructions carefully, as faucet designs can vary. Generally:
- Apply Sealant: If your faucet requires it, apply plumber’s putty or the included gasket to the base of the new faucet.
- Position the Faucet: Insert the new faucet assembly through the holes in the sink deck from above.
- Secure from Below: From underneath the sink, attach any washers, gaskets, and mounting nuts provided with your new faucet. Hand-tighten first, then use your basin wrench or adjustable wrench to snug them up. Don’t overtighten!
Step 5: Connect the New Supply Lines
Attach the new supply lines to the faucet tailpieces. Wrap the threads of the tailpieces with plumber’s tape (three to four clockwise wraps). Then, screw on the supply lines. Connect the other end of the supply lines to the corresponding hot and cold water shut-off valves. Tighten these connections with your adjustable wrench, but again, avoid overtightening.
Step 6: Turn the Water Back On and Check for Leaks
Slowly turn the hot and cold water shut-off valves counter-clockwise to restore water flow. Turn on the new faucet to test it. Let the water run for a minute to flush out any debris. Then, carefully inspect all connections under the sink – at the faucet tailpieces and the shut-off valves – for any signs of dripping or leakage. Tighten connections slightly if you find leaks.
Step 7: Test Faucet Functionality
Operate the handles or lever to ensure smooth movement and proper water flow. Test any special features like sprayers or filters. Check that the hot and cold water are mixing correctly.
Tips for Upgrading Faucet Fast
To speed up the process, consider these pro tips:
- Read the Instructions First: Even if you’re experienced, each faucet model can have unique installation steps. A quick read can save time and prevent errors.
- Pre-Assemble Parts: If your new faucet comes with separate handles or decorative components, consider attaching them before you start the removal process.
- Have a Helper: An extra pair of hands can be invaluable for holding parts in place or reaching awkward spots.
- Keep a Trash Bag Handy: For old parts, packaging, and anything else you need to discard quickly.
- Organize Your Tools: Lay out all your tools before you begin so they are within easy reach.
- Consider a Faucet Cartridge Upgrade: If you’re keeping your faucet body but it’s dripping, replacing just the cartridge can be a very fast fix. This is a simpler DIY task you can learn more about from experts like Lowe’s.
When to Call a Professional

While upgrading a faucet is a manageable DIY project, there are times when professional help is the smart choice:
- Unusual Plumbing: If your plumbing looks old, corroded, or significantly different from standard setups.
- Persistent Leaks: If you’ve followed all the steps and still can’t stop leaks, there might be a bigger issue with your pipes or valves.
- Damaged Sink or Countertop: If the sink is cracked or the countertop is fragile and might get damaged during the process.
- Lack of Confidence: If you feel unsure or uncomfortable at any point, it’s better to hire a qualified plumber to ensure the job is done correctly and safely.
Common Issues and How to Solve Them
Even with careful preparation, you might encounter minor hiccups.
Table: Troubleshooting Common Faucet Installation Problems
| Problem | Possible Cause | Solution |
|---|---|---|
| Leaking from supply line connections | Loose connection, damaged washer, insufficient plumber’s tape. | Tighten connections. Replace washers. Reapply plumber’s tape clockwise firmly. |
| Faucet wobbles after installation | Mounting nuts not tight enough. | Re-tighten mounting nuts from underneath using the basin wrench. |
| Low water flow | Debris in the aerator or supply lines, partially closed shut-off valve. | Clean the aerator (unscrew and rinse). Check supply lines for blockages. Ensure shut-off valves are fully open. |
| Water won’t shut off completely (drip, drip, drip) | Debris on valve seat, faulty cartridge, or O-ring. | Try flushing the lines. If persistent, you may need to replace the cartridge or O-ring (refer to faucet manual). |
| Difficulty removing old faucet | Corroded nuts, mineral buildup making it stick. | Apply a penetrating oil like WD-40 and let it sit. Use a basin wrench and steady force. If very stubborn, a hacksaw blade might be needed to carefully cut plastic nuts, or a plumber may be required. |
Maintaining Your New Faucet
Once your new faucet is installed, a little regular maintenance will keep it looking and working great for years:
- Regular Cleaning: Wipe down your faucet regularly with a soft cloth and mild soap. Avoid abrasive cleaners, which can scratch the finish.
- Check for Leaks: Periodically glance under the sink to ensure no new leaks have developed.
- Clean the Aerator: The aerator (the small screen at the tip of the spout) can get clogged with mineral deposits. Unscrew it every few months, rinse it out, and reattach.
- Address Issues Promptly: If you notice any dripping, stiffness, or other problems, address them as soon as possible to prevent them from worsening.
Conclusion
Upgrading your faucet doesn’t have to be a plumbing marathon. By following these carefully laid-out steps, gathering the right tools beforehand, and paying attention to the details, you can successfully upgrade your faucet fast. You’ll achieve a fresh look, improved functionality, and the confidence that comes from completing a home improvement project yourself. Remember, safety first – always turn off the water! With a
