
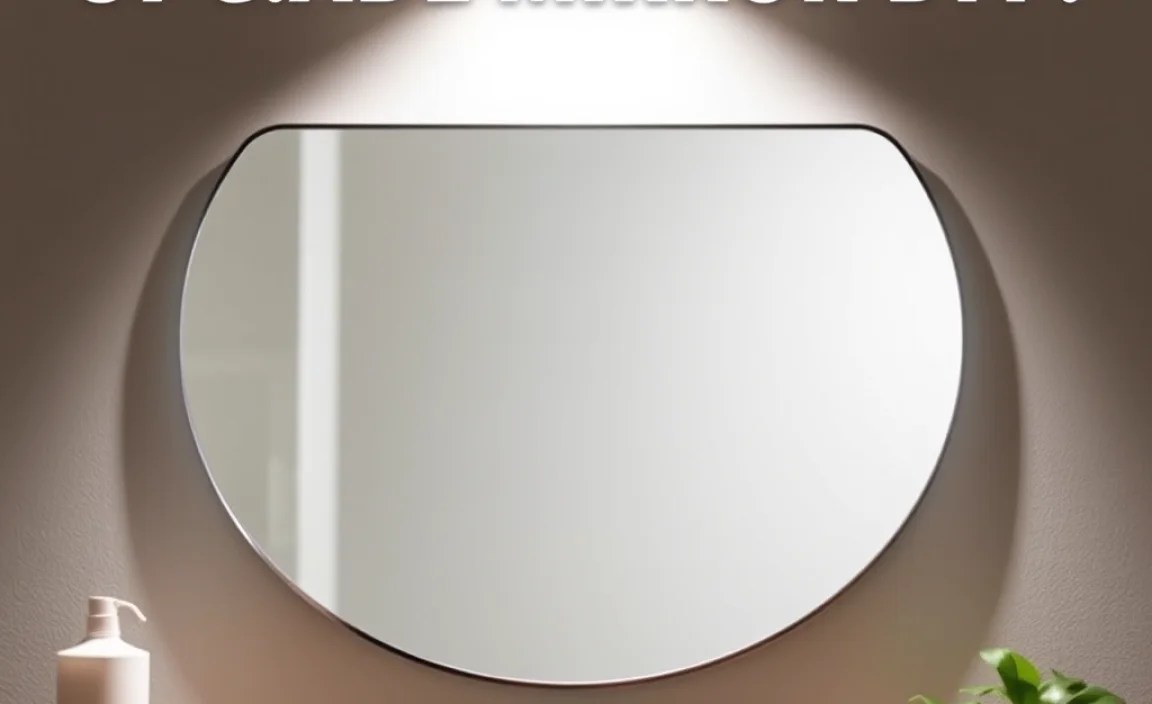
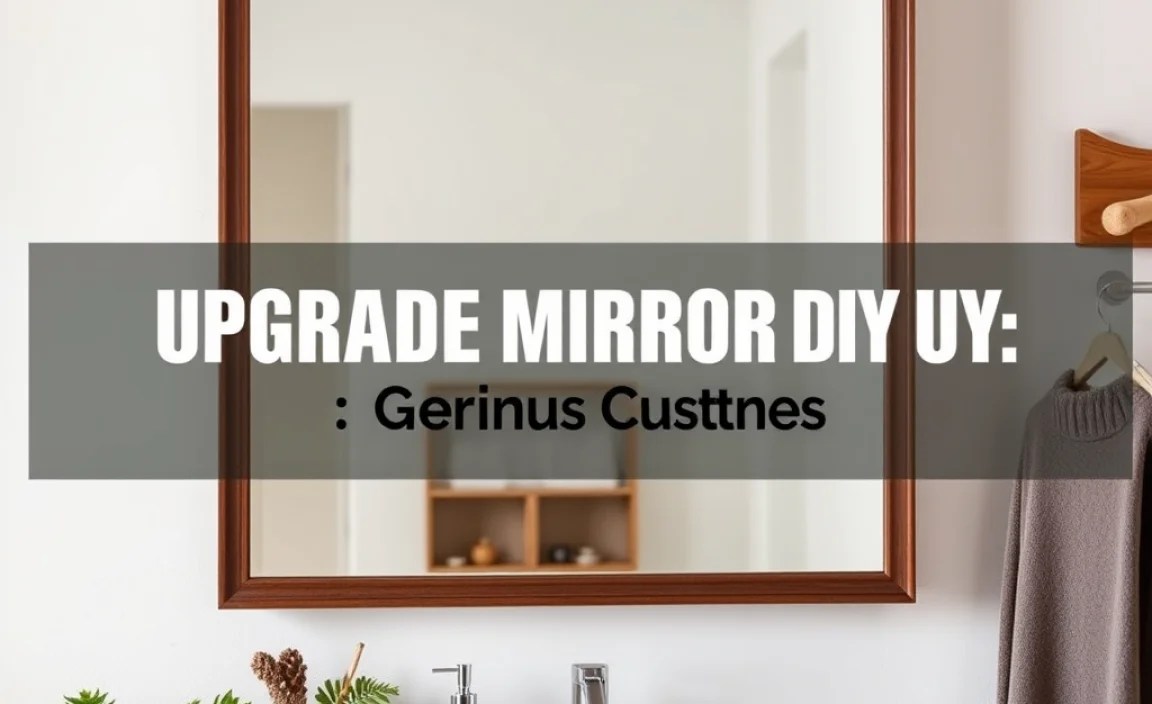
Upgrade your mirror DIY projects easily! This guide provides genius, must-have tips and step-by-step instructions for beginners to transform any mirror into a stylish focal point. Learn to add frames, change finishes, and update lighting for a fresh, custom look that boosts your home’s appeal and value.
Tired of looking at that plain, builder-grade mirror every day? You’re not alone! Many homes come with basic mirrors that just don’t spark joy or add to the room’s personality. But here’s the good news: you don’t need to be a master carpenter or a seasoned decorator to give your mirrors a stunning makeover. With a few simple supplies and a little bit of creativity, you can turn any ordinary mirror into a custom piece of art.
This guide is designed with beginners in mind. We’ll break down the process into easy-to-follow steps, so you can tackle your mirror upgrade with confidence. Get ready to transform your space and impress yourself with what you can create!
Why Upgrade Your Mirror DIY?
Mirrors are more than just functional items for checking your reflection; they are powerful design tools. A well-chosen or thoughtfully upgraded mirror can:
- Expand a Room: Mirrors reflect light and space, making smaller rooms feel much larger and brighter.
- Enhance Lighting: They bounce natural and artificial light around the room, reducing the need for harsh overhead fixtures and creating a more inviting atmosphere.
- Add Style and Personality: A unique frame or finish can tie a room together, reflect your personal style, or become a striking focal point.
- Create a Focal Point: A decorative mirror can draw the eye and define the style of a space, from a bathroom vanity to a living room accent wall.
- Boost Home Value: Thoughtful upgrades, even small ones like a mirror, can enhance the perceived value and appeal of your home.
The “Genius Must-Have” Upgrade Mirror DIY Toolkit

Before we dive into the fun part, let’s gather our essential tools and materials. Having everything ready makes the process smooth and enjoyable. Think of this as your “genius must-have” toolkit for mirror transformations!
Essential Tools: Your DIY Companion
These are the workhorses that will help you get the job done safely and efficiently. Don’t worry if you don’t have them all; many can be borrowed or are worth the small investment for future projects.
- Measuring Tape: Crucial for ensuring everything fits perfectly.
- Safety Glasses: Always protect your eyes, especially when cutting or applying finishes.
- Gloves: Protect your hands from paint, glue, or sharp edges.
- Painter’s Tape: For clean lines when painting or protecting surfaces.
- Craft Knife or Utility Knife: For trimming materials or scoring for cleaner cuts.
- Screwdriver Set: Sometimes mirrors need to be detached or re-secured.
- Level: To ensure your mirror hangs straight.
- Stud Finder: Essential for secure wall mounting.
- Drill: For pilot holes or mounting hardware.
- Sandpaper (various grits): For smoothing edges or preparing surfaces for paint/stain.
- Caulking Gun (if using caulk): For sealing edges.
Must-Have Materials: The Transformation Starters
These are the items that will actually change the look of your mirror. The beauty of DIY is the endless possibility here!
- Your Mirror: The star of the show! This could be a frameless mirror, a mirror with a basic frame, or even a collection of smaller mirrors.
- Framing Materials: This is where the magic happens! Options include:
- Wood molding or trim: Available at any hardware store in various styles and sizes.
- Pre-made mirror frames: Sometimes you can find frames specifically designed for mirrors.
- Other decorative elements: Think seashells, mosaic tiles, interesting branches, or even repurposed items.
- Adhesive:
- Wood glue: For attaching wood frames.
- Strong construction adhesive (e.g., Liquid Nails, Loctite): Excellent for heavier materials or when a very strong bond is needed.
- Double-sided mirror tape: Specifically designed for mirrors, offering a secure hold without damaging surfaces.
- Finishing Supplies:
- Paint: Acrylic paints, spray paints, chalk paints for different looks.
- Stain and Sealer: For a natural wood finish.
- Grout: If you’re working with tiles or mosaics.
- Clear coat sealant: To protect your new finish.
- Hanging Hardware: Ensure it’s rated for the weight of your upgraded mirror. Wire, D-rings, or French cleats are common.
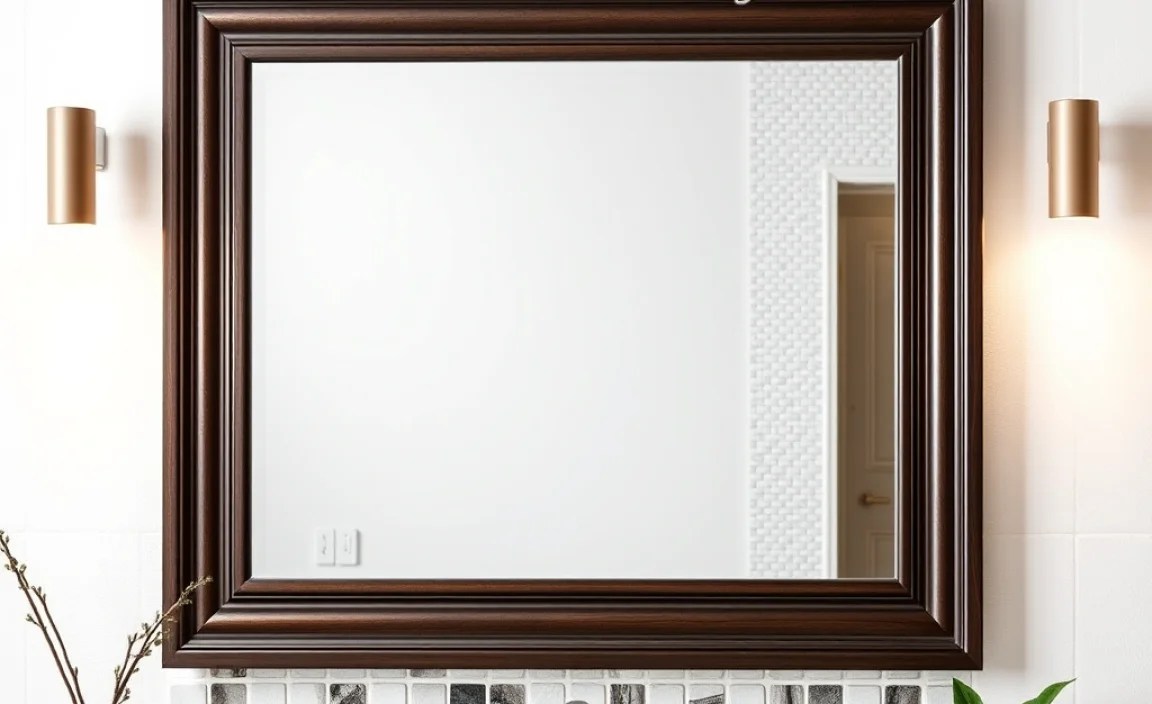
Project Idea 1: The Enchanting Wood Frame Mirror

This is a classic upgrade that adds warmth and sophistication. Perfect for bathrooms, entryways, or bedrooms.
Step-by-Step Guide: Adding a Wood Frame
This process assumes you have a frameless mirror and want to add a decorative wooden frame around it.
- Measure Your Mirror: Carefully measure the height and width of your mirror’s glass. Add the desired width of your frame to each side. For example, if your mirror is 20″ x 30″ and you want a 3″ frame, your frame pieces will need to be cut to accommodate this. The outside dimensions would be (20 + 3 + 3) = 26″ high and (30 + 3 + 3) = 36″ wide.
- Select Your Wood Molding: Head to your local hardware store. Look for decorative wood molding (like quarter round, cove molding, or even simple craft wood strips) that fits your style and budget.
- Cut the Molding: This is where precision matters. You’ll need to cut four pieces of molding: two for the height and two for the width. For clean, professional corners, use a miter saw or a miter box with a handsaw to cut each end at a 45-degree angle. The longer point of each angle should face outwards. Ensure your cuts are accurate based on your measurements from Step 1. For example, the two side pieces will be the full height, and the top and bottom pieces will fit between those side pieces, so their length will be the mirror’s width plus the width of the two side frame pieces.
- Dry Fit and Sand: Before gluing, assemble the four cut pieces around your mirror (or just the opening if the mirror is still mounted). Check that all corners meet snugly without gaps. Lightly sand any rough edges or surfaces of the wood.
- Secure the Frame Pieces:
- Option A (With Visible Nails): Apply wood glue to the mitered ends. Assemble the frame. Use a nail gun or small finishing nails to join the corners securely. Then, use a construction adhesive around the inner edge of the frame where it will meet the mirror glass. Carefully place the frame around the mirror, pressing gently.
- Option B (Hidden Fasteners): Use pocket hole joinery if you have a pocket hole jig, which creates strong, hidden joints. After joining, use a strong construction adhesive to attach the frame to the mirror.
- Attach Frame to Mirror: Apply a generous bead of strong construction adhesive along the inner edge of your newly assembled wooden frame. Carefully position the frame onto the mirror, ensuring it’s centered and square. Press firmly. Use painter’s tape to hold the frame in place while the adhesive cures, if necessary. Allow ample drying time, as recommended by the adhesive manufacturer (often 24-72 hours).
- Fill and Sand (if needed): If you used nails and they left holes, fill them with wood filler. Once dry, sand smooth.
- Finish the Frame: Now for the fun!
- Paint: Prime the wood, then apply your chosen paint color. Multiple thin coats are better than one thick coat.
- Stain: Apply wood stain, wipe off excess, and let it dry. Seal with a clear polycrylic or varnish for durability.
- Distressed Look: Use chalk paint, distress with sandpaper, and then seal with wax.
Allow the finish to dry completely.
- Re-hang the Mirror: Ensure the mirror (with its new frame) is securely attached to appropriate wall-hanging hardware. Using a stud finder and level is critical here for safety.
Choosing the Right Wood for Your Frame
The type of wood you choose can significantly impact the look and feel. Here’s a quick rundown:
| Wood Type | Pros | Cons | Best For |
|---|---|---|---|
| Pine | Inexpensive, easy to work with, readily available. | Can be soft, prone to dents, may not hold stain as evenly. | Painted finishes, distressed looks, budget-friendly projects. |
| Poplar | Moderately priced, smooth grain, takes paint very well. | Can be a bit soft. | Painting projects where a smooth finish is desired. |
| Oak | Durable, beautiful natural grain patterns, takes stain well. | More expensive, harder to work with (requires sharper tools). | Stained finishes, a more traditional or rustic look. |
| MDF (Medium-Density Fiberboard) | Very inexpensive, smooth surface perfect for painting. | Not suitable for staining, can be heavy, needs careful sealing to prevent moisture damage. | Simply painted frames, especially if cost is a major factor. |
Project Idea 2: The Glamorous Mosaic Tile Mirror
Add sparkle and a touch of artistic flair! This is fantastic for a vanity mirror, a hallway accent, or even a statement piece in the living room.
Step-by-Step Guide: Creating a Mosaic Border
This project involves adhering mosaic tiles directly onto the mirror’s surface or a border around it.
- Prepare Your Mirror: Clean the mirror thoroughly. If you’re adding tiles to the edges of a frameless mirror, use painter’s tape to mask off the reflective area of the glass, leaving only the border you want to tile.
- Choose Your Tiles: Select small mosaic tiles. These can be glass, ceramic, stone, or even mirrored tiles. You can buy them pre-sheeted or as individual pieces. Consider the color scheme and style of your room.
- Plan Your Layout: Lay out your tiles on a flat surface to get a feel for the pattern and spacing. Decide if you want a random pattern, a specific design, or if you’ll use pre-made mosaic sheets.
- Apply Adhesive: Work in small sections. Apply a thin, even layer of tile adhesive or strong craft glue (like E6000) to the area where you’ll place the tiles. For pre-sheeted mosaics, you might apply adhesive to the back of the sheet.
- Place the Tiles: Carefully press each tile (or mosaic sheet) into the adhesive. Use a putty knife or craft stick to press them down evenly. If using individual tiles, ensure consistent spacing for the grout later.
- Allow Adhesive to Cure: Let the adhesive dry completely according to the manufacturer’s instructions. This is critical before proceeding to grouting.
- Grout the Tiles:
- Mix your grout according to the package directions. It should have a consistency like peanut butter.
- Using a grout float or a flexible spatula, spread the grout over the tiles, pressing it into all the gaps between them.
- Work in sections and ensure all spaces are filled.
- Clean Off Excess Grout: After the grout has set slightly (check package instructions – usually 15-30 minutes), use a damp (not wet!) sponge to gently wipe away the excess grout from the surface of the tiles. Rinse your sponge frequently in clean water. Be careful not to pull grout out of the joints.
- Final Polish: Once the grout is fully cured (typically 24-72 hours), use a soft, dry cloth to buff away any remaining grout haze from the tiles. You can use a specialized grout haze remover if needed.
- Seal the Grout (Optional but Recommended): For added protection against stains and moisture, especially in bathrooms, apply a grout sealer with a small brush.
Mosaic Tile Considerations
When working with mosaics, keep these points in mind:
- Tile Size: Smaller tiles mean more grout lines, which can create a busier look. Larger mosaic sheets can speed up the process.
- Adhesive Choice: Use an adhesive suitable for the tile material and the surface of the mirror. For glass tiles, some specialized adhesives are recommended.
- Grout Color: The grout color can dramatically change the look. White or light grout makes colors pop, while darker grout can create a more sophisticated, subdued effect.
- Cutting Tiles: If you need to cut glass tiles, use tile nippers or a wet saw. Always wear safety glasses! For DIY beginners, pre-cut mosaic sheets are the easiest option.
Project Idea 3: The Minimalist Floating Mirror
This modern look involves attaching a mirror to a hidden frame or cleat system, giving it a “floating” appearance.
Step-by-Step Guide: Creating a Floating Mirror Effect
This technique is often best for larger, heavier mirrors or when you want a very clean, contemporary look.
- Choose Your Mirror and Mounting Method: You’ll need a mirror with a sturdy backing or frame. For a true floating look, you’ll install a French cleat system or a similar hidden bracket. One cleat attaches to the wall (secured into studs), and a corresponding cleat attaches to the back of your mirror frame.
- Install Wall Cleat: Locate wall studs using a stud finder. Hold the wall cleat at your desired height and use a level to ensure it’s perfectly horizontal. Mark the screw hole positions. Drill pilot holes into the studs, then securely screw the wall cleat into place. This is the most critical step for safety. For guidance on French cleats, check out resources like WoodworkingForAll’s guide.
- Attach Mirror Cleat: Measure the distance on the wall cleat and ensure your mirror cleat will engage with it properly. Attach the mirror cleat to the back of your mirror frame. Ensure it’s level and securely fastened with appropriate screws that won’t go through to the mirror’s reflective surface.
- Hang the Mirror: Carefully lift the mirror and lower it so the mirror cleat interlocks with the wall cleat. It should sit flush against the wall with no visible hardware.
- Add Edge Finishing (Optional): If the edges of the mirror itself are visible and not aesthetically pleasing, you can:
- Apply Mirror Edge Trim: Use metal or plastic trim designed for mirror edges.
- Paint the Edges: If the mirror has a thick edge, you might be able to carefully paint it to match your décor.
- Apply a Decorative Film: Specialty films can add a frosted or colored effect to the mirror’s edges.
Project Idea 4: The Updated Frame Finish
Sometimes, a mirror just needs a cosmetic refresh. If your mirror has a decent frame but an outdated finish, this is the perfect DIY.
Step-by-Step Guide: Refinishing an Existing Frame
- Remove Mirror from Frame (if possible): If your mirror has a separate frame that can be detached, carefully remove the mirror. This makes refinishing much easier and prevents accidental damage. Note how the mirror is secured (clips, backing board, etc.).
- Clean the Frame: Wipe down the frame with a damp cloth to remove dust and debris. If it’s a glossy finish, you might need a degreaser.
- Sand the Frame: Lightly sand the entire surface of the frame. This “deglazes” the surface, helping new paint or stain adhere. Use medium-grit sandpaper (around 120-150 grit) for this. Wipe away all dust with a tack cloth or damp cloth.
- Apply Primer (if painting): If you’re painting, apply a thin, even coat of primer designed for the material (wood, metal, laminate). Let it dry completely.
