
Upgrade your sink with these essential tips for a fresh, functional, and stylish bathroom or kitchen. Learn how to choose the right sink type, understand materials, plan for installation, and add finishing touches to create a beautiful and practical upgrade that boosts your home’s value and your daily enjoyment.
Sink upgrades can seem a bit daunting, but they’re a fantastic way to refresh your kitchen or bathroom. A tired, old sink can make even a clean space feel dingy. But don’t worry! With the right guidance, upgrading your sink is a totally achievable DIY project. We’ll walk you through everything, from picking out the perfect new sink to making sure it fits and looks great. Get ready to add both beauty and value to your home with these simple, proven tips. Let’s dive in!
Why Upgrade Your Sink? More Than Just a Pretty Face

Upgrading your sink offers a surprising number of benefits that go beyond just aesthetics. A new sink can significantly improve the functionality of your kitchen or bathroom, making daily tasks easier and more enjoyable. Think about how much time you spend at your sink – a well-designed and durable sink can truly enhance your experience. Plus, a modern sink is a major selling point if you ever plan to move. It’s a smart investment in your home.
Here are some key reasons to consider an upgrade:
- Improved Aesthetics: A new sink can dramatically change the look and feel of your space.
- Enhanced Functionality: Modern sinks often offer deeper basins, better drainage, and more convenient features.
- Increased Durability: Older sinks can chip, stain, or show wear. New materials are often more resilient.
- Better Hygiene: Non-porous materials are easier to clean and less likely to harbor germs.
- Higher Home Value: A stylish, updated sink is a desirable feature for potential buyers.
Choosing the Right Sink: A Material World
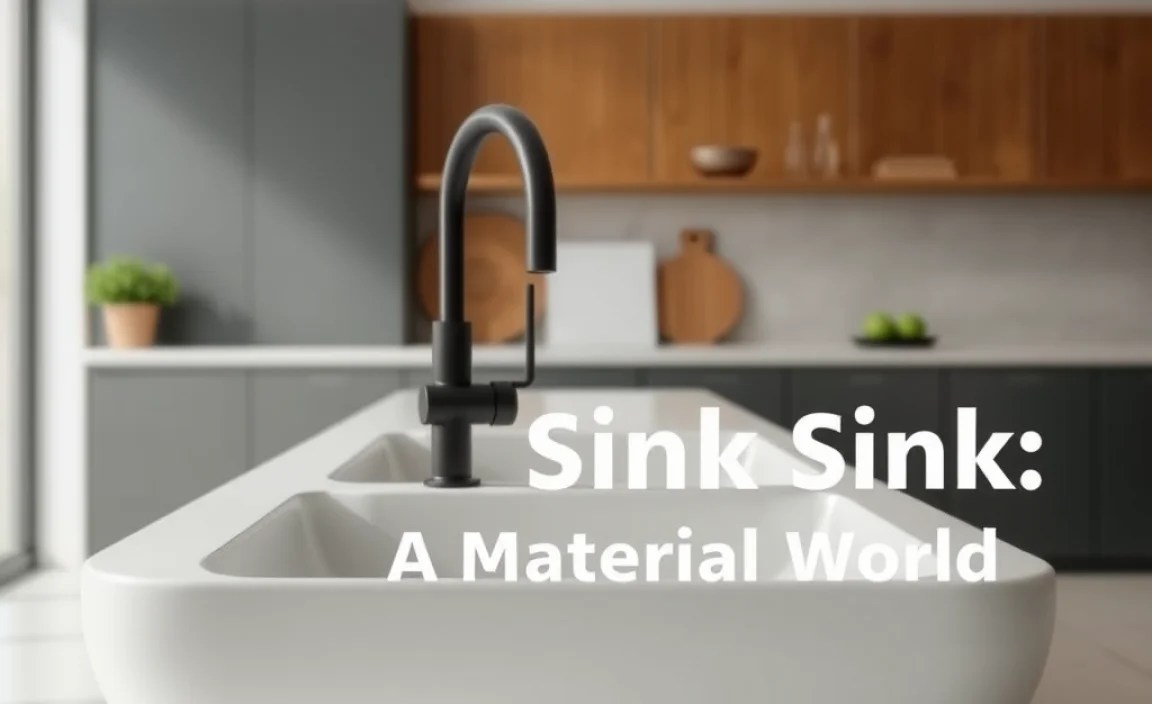
The material of your sink plays a huge role in its look, durability, and maintenance. Each material has its own pros and cons, so understanding them will help you make the best choice for your needs and style.
Popular Sink Materials Explained
When you’re considering a sink upgrade, the material is one of the first big decisions. It impacts everything from cost and looks to how easy it is to keep clean. Let’s break down some of the most common options you’ll find.
Stainless Steel
A workhorse in the kitchen, stainless steel is known for its durability and affordability. It resists heat and stains well, and it has a sleek, modern look. However, it can scratch, and louder noises like running water might be more noticeable without a sound-dampening pad.
- Pros: Durable, affordable, heat and stain resistant, easy to find.
- Cons: Can scratch, can be noisy, shows water spots.
Porcelain (Vitreous China)
Often seen in bathrooms and sometimes kitchens, porcelain offers a classic, elegant look. It’s made by coating a sturdy ceramic base with enamel and firing it. Porcelain is hard, non-porous, and easy to clean. The downside is that it can chip if heavy or sharp objects are dropped on it, and it can be quite heavy.
- Pros: Smooth, non-porous surface, easy to clean, classic look, resistant to staining.
- Cons: Can chip or crack, heavy, can be stained by harsh chemicals.
Granite Composite
This is a blend of natural granite and acrylic resins. It’s incredibly durable, resisting scratches, chips, heat, and stains. Granite composite sinks come in a wide range of colors, often with a matte finish, fitting well with modern or traditional decor. They are also quieter than stainless steel.
- Pros: Extremely durable, scratch and heat resistant, wide color selection, quieter.
- Cons: Can be more expensive, some people find them less “natural” looking than solid stone.
Fireclay
Similar to porcelain but made with a thicker, denser clay and fired at higher temperatures, fireclay sinks are exceptionally durable and resistant to chipping and scratching. They offer a beautiful, smooth finish that’s easy to clean and has a timeless appeal, often found in farmhouse-style kitchens.
- Pros: Very durable, resistant to chipping and scratching, smooth, non-porous surface, attractive aesthetic.
- Cons: Can be heavy, sometimes more expensive than porcelain, limited color options (usually white or off-white).
Natural Stone (Granite, Marble, Quartz)
For a truly luxurious and unique look, natural stone sinks are unparalleled. Each piece is one-of-a-kind. They are incredibly durable, but also the most expensive option and require sealing to prevent staining, especially marble. Granite is generally easier to maintain than marble.
- Pros: Unique, luxurious appearance, very durable.
- Cons: Very expensive, requires regular sealing, can be porous and prone to staining (especially marble), very heavy.
Understanding Sink Styles and Configurations
Beyond material, the way your sink is mounted and its shape matters for both usability and aesthetics.
- Top-Mount (Drop-In) Sinks: These are the most common and easiest to install. They have a rim that rests on the countertop, with the sink basin dropping into a cutout. They are budget-friendly and a great DIY option.
- Undermount Sinks: Mounted from under the countertop, undermount sinks offer a seamless look, making counter cleanup easier as you can wipe spills directly into the sink. They work best with solid countertops like granite or quartz.
- Farmhouse (Apron-Front) Sinks: Known for their distinctive extended front panel that “aprons” over the cabinet, these sinks are deep and spacious, often used in country or rustic kitchens. They require a special cabinet base.
- Rinsetless (Bar/Prep) Sinks: Smaller sinks, perfect for kitchens as a secondary sink or for bathrooms.
- Double Bowl Sinks: Offer two distinct basins, great for multitasking – one for washing, one for rinsing, or one for dirty dishes and one for clean.
- Single Bowl Sinks: A large, undivided basin, ideal for washing large pots and pans.
Essential Tools and Materials for Your Sink Upgrade
Before you start tearing out your old sink, gather your tools and materials. Having everything ready will make the process much smoother and safer. Think of this as your pre-flight checklist!
Your DIY Sink Upgrade Toolkit
Here’s a list of common tools you’ll likely need. Don’t worry if you don’t have them all; many can be borrowed or are relatively inexpensive to buy.
- Safety Gear: Safety glasses, work gloves, and possibly a dust mask. Always protect your eyes and hands!
- Adjustable Wrenches: For disconnecting and reconnecting plumbing.
- Pipe Wrench: For gripping pipes firmly.
- Plumber’s Putty or Silicone Sealant: To create watertight seals around the drain and faucet.
- Utility Knife or Putty Knife: For cutting old caulk and prying.
- Screwdrivers (Phillips and Flathead): For various fasteners.
- Pliers: Slip-joint or channel-lock pliers are very useful.
- Bucket: To catch any residual water from the pipes.
- Hacksaw or Reciprocating Saw (Optional): If you need to cut pipes or modify the countertop opening.
- Measuring Tape: Crucial for ensuring your new sink fits the existing cutout.
- Caulking Gun: If using silicone sealant tubes.
- New Faucet and Drain Assembly: If you’re upgrading these as well.
What You’ll Need to Buy
Of course, you’ll need the star of the show!
- Your New Sink: Make sure it’s the right size and style for your space and countertop.
- New Faucet (Optional but Recommended): A new faucet often complements a new sink beautifully and can improve water efficiency.
- New Drain Assembly/Strainer: It’s good practice to replace the drain when you replace the sink.
- Plumber’s Putty or Silicone Sealant: Choose based on the sink and countertop material.
- Mounting Clips/Hardware: Usually come with new sinks, but double-check.
- Supply Lines: Flexible hoses connecting your faucet to your water shut-off valves. Often replaced with a new faucet.
Step-by-Step: How to Upgrade Your Sink

This is where we get hands-on! Remember to always work safely and consult your new sink’s manual for specific instructions.
Phase 1: Removing the Old Sink
This phase requires patience and a bit of elbow grease.
- Turn Off the Water: Locate the shut-off valves under the sink (usually one for hot and one for cold). Turn them clockwise until they stop. If you can’t find or use these, you’ll need to turn off the main water supply to your house. Test by turning on the faucet to ensure no water flows.
- Disconnect Plumbing: Place a bucket beneath the P-trap (the U-shaped pipe under the drain). Loosen the plastic nuts connecting the trap to the drainpipe and the tailpiece (the pipe coming down from the sink drain). Be prepared for some residual water to drain out.
- Disconnect Faucet Lines: Use an adjustable wrench to disconnect the water supply lines from the faucet connections. Again, have your bucket ready.
- Remove the Faucet and Drain: From above the sink, unscrew the nuts holding the faucet in place. From below, you’ll need to remove the drain assembly. This usually involves unscrewing a large nut under the sink that holds the drain flange. You might need a special drain wrench for this.
- Break the Seal: Carefully run a utility knife or putty knife along the edge where the sink meets the countertop to score and break any old caulk or adhesive.
- Loosen Mounting Clips: Look under the sink for clips holding it to the countertop. Loosen or remove these screws from the clips.
- Lift Out the Old Sink: With everything disconnected and unsealed, gently try to lift the old sink out from the countertop. You might need a helper for heavier sinks. If it’s stuck, check for any missed sealant or clips and re-score the caulk line.
Phase 2: Preparing the Space and Installing the New Sink
Now for the exciting part – placing your shiny new sink!
- Clean the Countertop Opening: Thoroughly clean the countertop area where the old sink sat. Remove any old putty, caulk, or debris. A clean surface is essential for a good seal.
- Test Fit the New Sink: Place your new sink into the countertop opening. Ensure it fits snugly and that the rim sits evenly all around. For undermount sinks, this is where you’d prepare the countertop edge for installation according to its specific instructions.
- Install the Faucet and Drain into the New Sink: It’s much easier to install the faucet and drain assembly onto the new sink before you put the sink in place. Follow the manufacturer’s instructions for both. Apply plumber’s putty or silicone sealant as directed around the drain flange before screwing it in from below.
- Apply Sealant to the Sink Rim: For top-mount sinks, apply a bead of silicone sealant or plumber’s putty around the underside of the sink’s rim where it will meet the countertop. This creates a watertight barrier. For undermount sinks, sealant is applied to the countertop edge.
- Set the New Sink: Carefully lower the new sink into the countertop opening, pressing down gently to ensure a good seal with the sealant. If it’s a top-mount sink, install the provided mounting clips underneath to secure it. Tighten them gradually and evenly.
- Reconnect Plumbing: Reattach the P-trap and any other drain pipes, ensuring all connections are snug but not overtightened. Reconnect the faucet water supply lines to the shut-off valves or your house supply.
- Turn Water Back On: Slowly turn the water supply valves back on (counter-clockwise).
- Check for Leaks: Turn on the faucet and let water run for a minute. Check all connections under the sink – at the faucet, drain, and pipes – for any drips. Tighten connections slightly if needed. Also, check around the sink rim for any water seeping out.
- Apply Finishing Caulk: Once you’re sure there are no leaks, apply a final bead of silicone caulk around the outer edge of the sink where it meets the countertop. Smooth it with your finger or a caulk-smoothing tool for a clean finish.
Tips for Specific Sink Types and Countertops

Certain sink and countertop combinations have unique considerations for installation and maintenance.
Undermount Sinks and Solid Surface Countertops
Undermount sinks paired with solid countertops like granite, quartz, or solid surface materials are a popular high-end choice. Their seamless look is fantastic, but installation demands precision.
- Precision is Key: The cutout for an undermount sink must be exact. Measure twice, cut once! Modern CNC routing by countertop fabricators ensures this.
- Strong Adhesion: These sinks are typically supported by a combination of clips and high-strength adhesive, like specialized silicone or epoxy, to ensure they stay securely attached to the underside of the countertop.
- Countertop Material Matters: While granite and quartz are excellent choices, engineered solid surface materials (like Corian) can also be seamlessly integrated with undermount sinks for a truly integrated look.
- Professional Installation Recommended: Due to the precision required, many homeowners opt for professional installation for undermount sinks, especially when dealing with heavy stone countertops.
Farmhouse Sinks and Cabinetry
Farmhouse sinks, with their distinctive apron front, are often larger and heavier than standard sinks. They require specific cabinetry.
- Specialized Cabinets: You’ll need a cabinet base designed to accommodate the apron front. For a standard 36-inch farmhouse sink, you’ll typically need at least a 36-inch wide cabinet base.
- Support is Crucial: The weight of a fireclay or cast-iron farmhouse sink often necessitates additional support within the cabinet, sometimes built into the cabinet frame itself or using specialized Kohler installation kits.
- Faucet Placement: Consider your faucet placement. Wall-mounted faucets work beautifully with some apron-front sinks, offering a clean look without cluttering the sink deck.
Dealing with Specialty Countertops (Butcher Block, Tile)
If you have a butcher block or tile countertop, your sink installation might have a few more nuances.
- Butcher Block: When installing a sink into butcher block, ensure you seal the wood thoroughly around the cutout. Water can cause wood to warp or swell. For top-mount sinks, you might use silicone sealant. Undermount sinks are generally not recommended for butcher block due to water exposure risks.
- Tile Countertops: Laying tile means grout lines are involved. For a good seal with a ceramic or porcelain drop-in sink, ensure the cutout edges are smooth, and apply a generous bead of silicone sealant around the rim before setting the sink. Be careful not to crack tiles when tightening mounting clips.
Sink Maintenance: Keeping Your Upgrade Sparkling
Your new sink is installed, and it looks fantastic! Now, how do you keep it that way? Regular, simple maintenance will ensure your sink stays beautiful and functional for years to come.
Daily and Weekly Cleaning Tips
Consistency is key for preventing stubborn stains and buildup.
- Daily: After each use, rinse the sink with water to wash away food particles and soap scum. Wipe it down with a soft cloth.
- Weekly: Use a mild, non-abrasive cleaner appropriate for your sink’s material. For stainless steel, use a cleaner specifically designed for it, wiping with the grain. For porcelain or fireclay, a gentle dish soap and water, or a baking soda paste, works well.
- Avoid Harsh Chemicals: Steer clear of abrasive scouring pads, steel wool, bleach (especially on colored sinks or stainless steel), ammonia, and strong drain cleaners, as they can damage many sink surfaces.
Addressing Common Sink Issues
Even with the best care, some issues might pop up.
- Water Spots: For stainless steel or polished finishes, wipe dry after each use. A microfiber cloth is excellent for this. You can also use a diluted vinegar solution to help remove hard water spots, but rinse thoroughly afterward.
- Scratches: Minor scratches on stainless steel can sometimes be buffed out with specialized stainless steel polish. For porcelain or composite sinks, avoid dropping heavy items that can cause chips or deeper scratches.
- Stains: For general stains on porcelain or fireclay, a paste of baking soda and water can often lift them. For tough stains, a diluted hydrogen peroxide solution might work, but test in an inconspicuous area first.
- Clogged Drains: If your sink starts to drain slowly, try pouring hot.
