
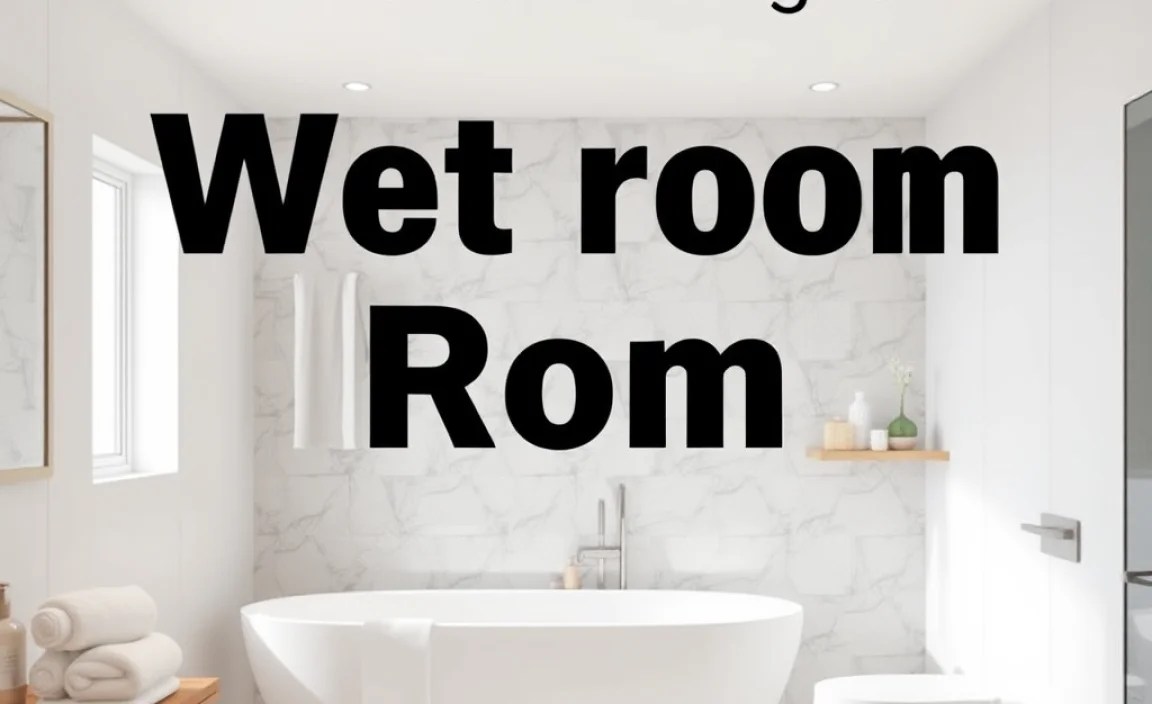
Wet rooms offer a stylish, accessible, and waterproof bathroom solution. Essential designs focus on creating a fully tiled, drain-equipped space that’s both practical and beautiful, ideal for modern homes and accessible living.
Tired of bathroom renovations that feel more like a chore than an upgrade? Dreaming of a bathroom that’s not only beautiful but also incredibly functional, especially for those who need a little extra ease? You’re in the right place! The wet room concept might sound a bit intimidating, but it’s actually a brilliant solution for maximizing space and creating a sleek, modern look.
Think a shower with no doors and walls that are completely waterproof. It sounds simple, but the magic lies in the details. We’ll break down exactly what a wet room is, why it’s such a smart choice, and the key design elements that make it work perfectly. Get ready to discover your dream bathroom!
What Exactly is a Wet Room?

So, what makes a wet room different from your average bathroom? Simply put, a wet room is a bathroom where the shower area isn’t enclosed by a separate cubicle or tray. Instead, the entire room is designed to get wet. This means everything – from the floor to the walls – is waterproofed and features a built-in drain, usually in the floor. There are no shower screens or doors needed because the whole space is designed to handle water safely and efficiently.
Key Features of a Wet Room:
- Fully Waterproofed Structure: The entire room is sealed to prevent water damage.
- Integrated Floor Drain: A sloped floor guides water to a discreet drainage point.
- Open Shower Area: No trays or cubicles; the shower is part of the room.
- Water-Resistant Materials: Tiles, special paints, and membranes are used throughout.
Why Choose a Wet Room? Top Uses and Benefits
Wet rooms are incredibly popular for a reason. They offer a host of advantages that make them a fantastic choice for many homes. Whether you’re looking to modernize your space, improve accessibility, or simply want a spa-like feel, a wet room can deliver.
1. Enhanced Accessibility and Inclusivity
This is perhaps one of the biggest draws for wet rooms. By eliminating shower trays and steps, wet rooms provide a level, open-access showering experience. This is incredibly beneficial for:
- Elderly individuals: Reduces tripping hazards and makes independent showering easier.
- People with mobility issues: Allows for wheelchair or walking frame access into the shower area.
- Families with young children: Makes bathing little ones easier and safer, with plenty of space to move around.
The open design simplifies daily routines and promotes a sense of independence and dignity for users of all ages and abilities. It’s a forward-thinking design that accommodates changing life needs.
2. Space-Saving Design
Don’t have a lot of space to work with? A wet room can be a game-changer. By removing the need for bulky shower enclosures, tubs, and even shower curtains, you can make a small bathroom feel much larger and more open. They are perfect for:
- En-suite bathrooms: Even smaller en-suites can benefit from the streamlined look and feel.
- Cloakrooms or downstairs WCs: Transforming a simple toilet and sink area into a functional shower room.
- Loft conversions: Utilising awkward spaces with sloped ceilings or limited floor plans.
The visual continuity of a fully tiled floor and walls creates an illusion of more space, making even the tiniest bathrooms feel more expansive and luxurious.
3. Modern Aesthetics and Style
Wet rooms lend themselves beautifully to contemporary bathroom design. The sleek, minimalist look is incredibly chic and can instantly elevate the style of your home. Think clean lines, large format tiles, and a seamless finish. The absence of clutter – no shower doors to clean, no trays to scrub – contributes to this minimalist appeal.
You can achieve a truly bespoke look, matching tiles and finishes throughout. This unified design approach creates a serene and spa-like atmosphere, turning your bathroom into a personal sanctuary. For more design inspiration, check out resources on modern bathroom trends from expert sites like Houzz.
4. Increased Property Value
A well-designed wet room can be a significant selling point. Its modern appeal, practicality, and accessibility touches make it attractive to a wide range of potential buyers. It signifies a thoughtful renovation that caters to both style and function, potentially increasing your home’s market value.
5. Easier Cleaning and Maintenance
While the initial setup requires specific waterproofing, the day-to-day cleaning of a wet room can be surprisingly easy. With fewer nooks and crannies for mould and soap scum to hide, and no shower doors to squeegee, maintaining a pristine bathroom becomes much simpler. Regular wiping down with a squeegee and a quick sweep of the floor is often all that’s needed to keep it looking its best.
Essential Wet Room Design Elements
Creating a successful wet room isn’t just about waterproofing; it’s about intelligent design. Every element needs to work together to ensure functionality, safety, and aesthetics. Let’s dive into the key components that make a wet room truly shine.
1. The Waterproofing Membrane: Your Invisible Shield
This is the most critical part of any wet room. Without professional-grade waterproofing, your investment is at risk. A waterproof membrane is applied to the walls and floor before tiling. It acts as an impermeable barrier, preventing water from seeping into your walls and subfloor.
Key Considerations:
- Professional Installation: While DIY kits exist, a professional install for the membrane is highly recommended to ensure no gaps or weak spots.
- Continuous Application: The membrane must be carefully applied to all surfaces, including corners and around pipes, ensuring a seamless seal. Common materials include liquid-applied membranes or sheet membranes.
- Building Regulations: Ensure the chosen membrane and installation method comply with local building codes. The UK government provides guidance on building regulations which often cover waterproofing standards.
2. The Floor: Sloping Towards Success
The floor is where the magic of drainage happens. It needs to be meticulously sloped towards the drain. This isn’t just about comfort; it’s about ensuring water drains away efficiently and doesn’t pool. A typical slope is around 1:40 (1cm drop for every 40cm of floor).
Design Tips:
- Subfloor Preparation: Often, a secondary subfloor or a screed (a cementitious layer) is laid and shaped to create the necessary slope.
- Drain Placement: The drain’s location is crucial. It’s usually placed in the centre of the shower area or towards the wall, depending on the room layout and your preference.
- Non-Slip Flooring: Safety is paramount. Choose tiles with a high slip resistance rating (R-value) to prevent falls. Textured tiles or specific anti-slip treatments are excellent choices.
3. The Drain: Functionality Meets Form
The drain is the hard-working hero of your wet room. Modern drains are designed to be both efficient and aesthetically pleasing, often featuring sleek profiles and various grate styles.
Types of Drains:
- Linear Drains: These are long, channel-like drains that can be installed along a wall or in the middle of the floor. They are very efficient and can look extremely elegant.
- Point Drains: These are the more traditional circular or square drains, often placed in the centre of the sloped area.
- Designer Grates: Available in various finishes (chrome, brushed steel, matte black) and designs to complement your bathroom’s style.
Proper installation and maintenance are key to preventing clogs and ensuring longevity. Ensure the waste pipe connected to the drain has an adequate fall to prevent blockages.
4. Walls and Waterproofing
All walls within the wet room need to be waterproofed, especially around the shower area. This often involves applying waterproof board or membrane over the existing wall structure.
Materials for Wet Room Walls:
While tiling is the most common choice, other waterproof finishes can also be used:
- Waterproof Plywood/Boards: These specialized boards are installed directly onto the studs, providing a solid, waterproof substrate for tiling.
- Tanking Membranes: Liquid or sheet membranes applied directly to plasterboard or concrete walls.
- Specialist Paints: Waterproof bathroom paints can offer an added layer of protection, particularly in low-splash areas.
- Large Format Tiles: These minimize grout lines, reducing potential weak points for water ingress and creating a seamless look.
- Natural Stone or Porcelain: Both make excellent choices. Ensure they are sealed properly if porous.
5. Ventilation: Crucial for Comfort and Health
With a fully waterproofed room, effective ventilation is non-negotiable. It prevents condensation build-up, which can lead to mould and mildew, and ensures a comfortable showering experience.
Ventilation Essentials:
- Extractor Fan: A powerful, properly installed extractor fan is a must. Look for models with a high air extraction rate (measured in litres per second or cubic meters per hour). Toolstation and similar retailers offer a range of suitable fans.
- Timer and Humidistat: Fans with built-in timers that keep running after you’ve finished showering, and humidistats that activate automatically when moisture levels rise, are highly effective.
- Window: If possible, a window that can be opened provides natural ventilation and fresh air.
6. Shower Head and Controls: Choosing Wisely
Since there are no doors to contain the spray, consider the type of shower you’ll have.
Shower Options:
- Fixed Shower Heads: Wall-mounted or ceiling-mounted fixed heads are popular. These can create a calming rain-shower effect.
- Handheld Shower Heads: While convenient, ensure they are positioned so water doesn’t spray unnecessarily far into the room. A wall bracket is essential.
- Concealed Valves: For a super sleek look, consider shower controls that are recessed into the wall.
Think about the water pressure and how you’ll direct the spray. Some people opt for a secondary diverter to switch between a fixed overhead shower and a handheld one.
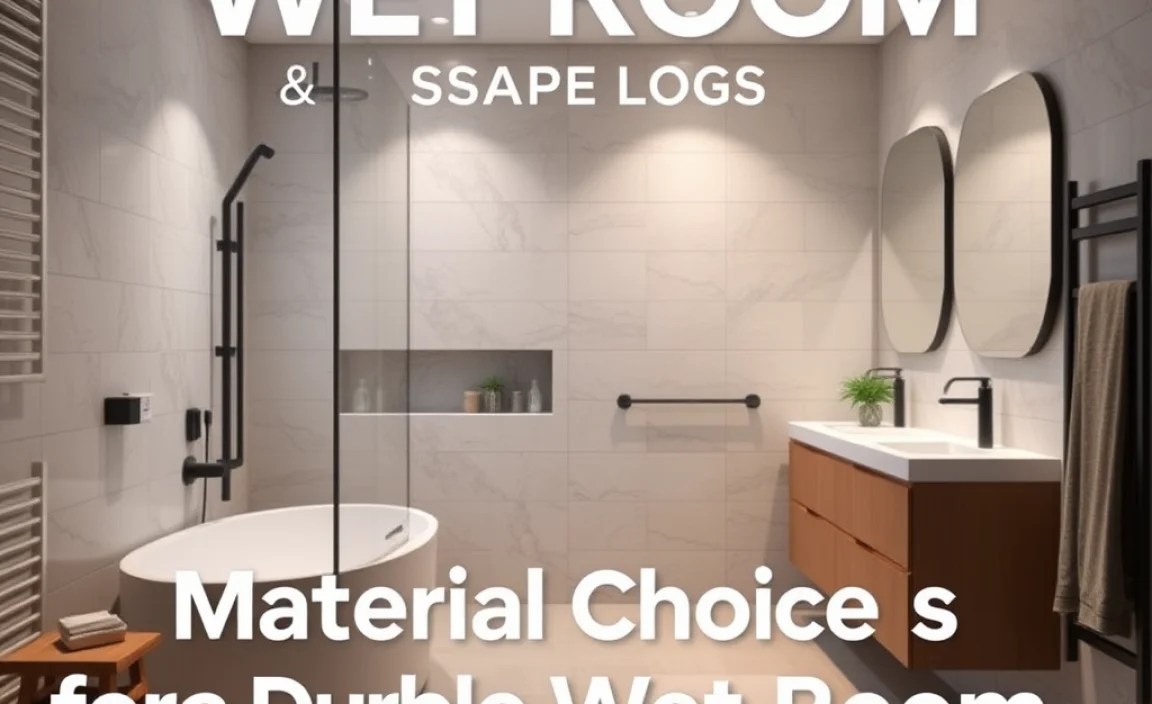
Material Choices for a Durable Wet Room

Selecting the right materials is key to both the longevity and the aesthetic of your wet room. Here’s a look at popular and effective options.
Tiles: The Go-To Choice
Tiles are the most common material for wet rooms due to their durability, water resistance, and vast design possibilities.
Types of Tiles Suited for Wet Rooms:
- Porcelain Tiles: Extremely durable, water-resistant, and available in countless finishes (wood-effect, stone-effect, concrete-effect). Excellent for floors and walls.
- Ceramic Tiles: A more budget-friendly option, also water-resistant, though slightly less durable than porcelain.
- Natural Stone: Can be beautiful but requires careful sealing to prevent staining and water absorption. Marble, granite, and slate are popular.
- Mosaic Tiles: Used for accents or to create textured patterns. Ensure grout is waterproof and well-sealed.
What to Look For:
- Slip Resistance: Crucial for wet room floors. Look for tiles with a good R-rating (R10 or higher is recommended for wet areas).
- Water Absorption Rate: Choose tiles with a low water absorption rate (porcelain is typically <0.5%).
- Grout: Use high-quality waterproof and mold-resistant grout.
Water-Resistant Paints
For a more minimalist or budget-friendly approach, specialist paints can be used, primarily on walls and ceilings in areas less exposed to direct water.
- Bathroom-Specific Paints: These are formulated to withstand moisture and prevent mildew.
- Application: Typically applied over a waterproof primer or directly onto waterproof plasterboard.
- Limitations: Not ideal for the shower floor or direct splash zones. Best combined with tiling in the shower area.
For guidance on selecting appropriate paints and waterproofing products, resources like Waterproof-Technology.com offer valuable insights into the technical aspects of waterproofing systems.
Sealing and Grouting
Even the best tiles need proper sealing and grouting. High-quality, flexible, and waterproof grouts are essential. For natural stone, regular resealing is vital to maintain its integrity.
A Table of Wet Room vs. Traditional Shower
To help you clearly see the differences and benefits, here’s a comparison:
| Feature | Wet Room | Traditional Shower (with Tray/Cubicle) |
|---|---|---|
| Space Usage | Maximises space, feels more open. Ideal for small bathrooms. | Requires a defined footprint, can feel enclosed. |
| Accessibility | Excellent. Level access, crucial for elderly or disabled users. | Can be a barrier (step/tray) for those with mobility issues. |
| Aesthetics | Sleek, modern, minimalist, spa-like. Seamless look. | Can vary; sometimes cluttered by shower doors or screens. |
| Cleaning | Easier overall due to fewer parts and nooks. | Shower doors/trays can be difficult to keep clean and free of limescale/mould. |
| Installation Complexity | Requires expert waterproofing and floor sloping. Higher initial skill demand. | Generally more straightforward, especially with pre-formed trays. |
| Waterproofing Risk | Higher risk of leaks if not installed perfectly. | Lower risk of widespread leaks, contained within tray/cubicle. |
| Cost | Can be higher due to waterproofing work and labour. | Variable, but often lower initial cost for basic setups. |
Designing Your Wet Room: Step-by-Step Considerations
Planning is key to a successful wet room. Here are the steps to consider from concept to completion.
1. Assessment and Planning
- Room Size: Measure your space accurately. Even if small, it can be transformed.
- Layout: Decide where the shower area will be. Consider existing plumbing and where the drain will go.
- Budget: Wet rooms can range from moderate to high-end. Factor in materials, labour, and potential upgrades.
- Accessibility Needs: If accessibility is a primary goal, ensure the design meets specific requirements (e.g., turning radius for wheelchairs).
2. Professional Consultation
It’s highly recommended to consult with experienced bathroom designers or plumbers who specialize in wet rooms. They can advise on structural requirements, waterproofing systems, and compliance with building codes.
3. Waterproofing and Drainage Installation
This is the most critical phase and should ideally be done by professionals.
- Waterproof Membrane: Applied meticulously to floors and at least the lower 2 meters of walls.
- Floor Sloping: Creating the correct gradient towards the drain.
- Drain Installation: Ensuring it’s securely fitted and connected to the waste system.
4. Tiling and Finishing
Once the waterproofing is complete and tested (for leaks), tiling can begin.
- Tile Laying: Ensure tiles are laid evenly, with a consistent pattern and spacing.
- Grouting: Use high-quality, waterproof grout.
- Sealing: Seal any necessary joints or porous surfaces.
5. Ventilation and Fixture Installation
Install your extractor fan and any other ventilation systems.
- Shower Controls and Head: Fit your chosen shower system.
- Other Fixtures: Install toilet, basin, lighting, and any shelving.
