
Quick Summary:
Understanding vanity structure is key to a stable and functional bathroom. Learn proven methods to identify, inspect, and reinforce your vanity’s support system, ensuring it lasts for years. This guide simplifies the process, making it easy for any homeowner to tackle.
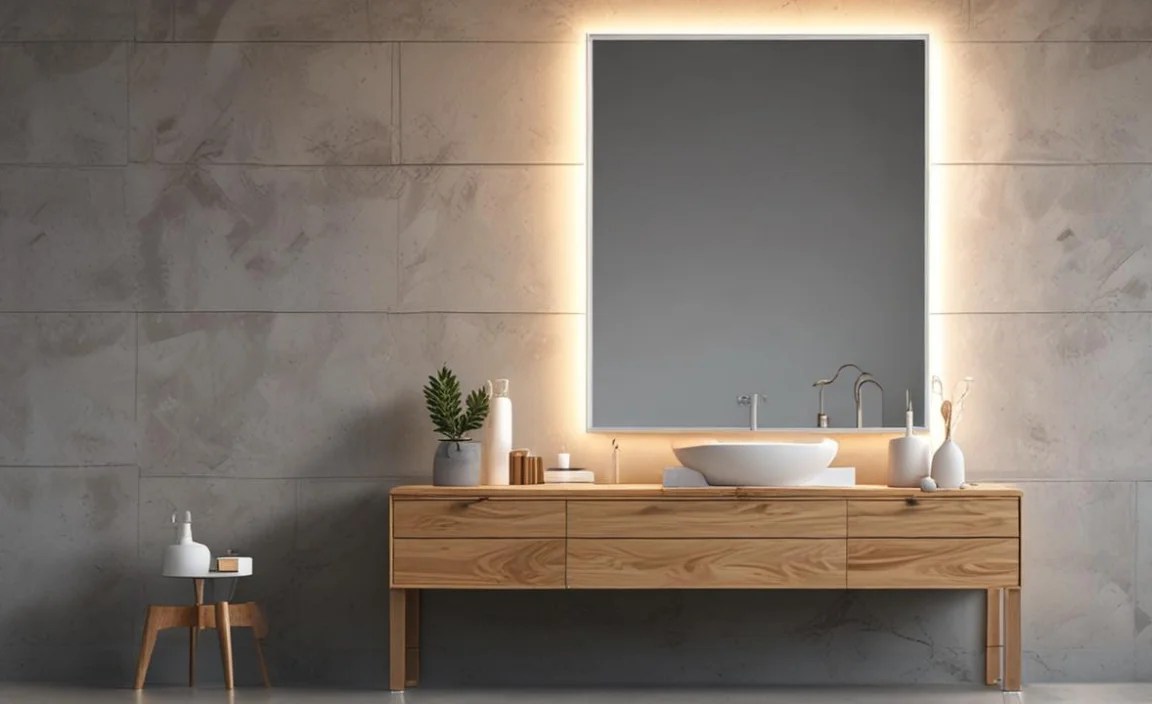
Is your bathroom vanity feeling a little wobbly? You’re not alone. A solid vanity structure is the backbone of a functional and attractive bathroom. When it starts to creak or sag, it can be a real headache. But don’t worry! With a few simple steps, you can understand what makes a vanity strong and how to keep yours in top shape. We’ll walk through the essentials, so you can feel confident about your bathroom’s foundation.
What is Vanity Structure?
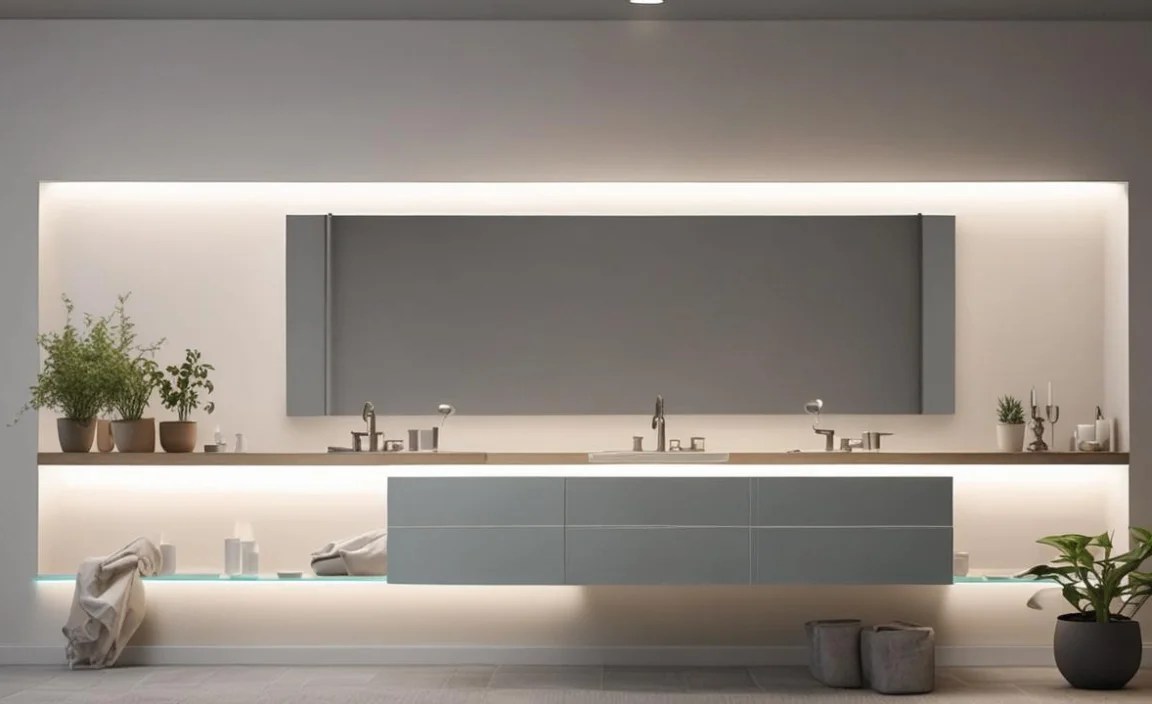
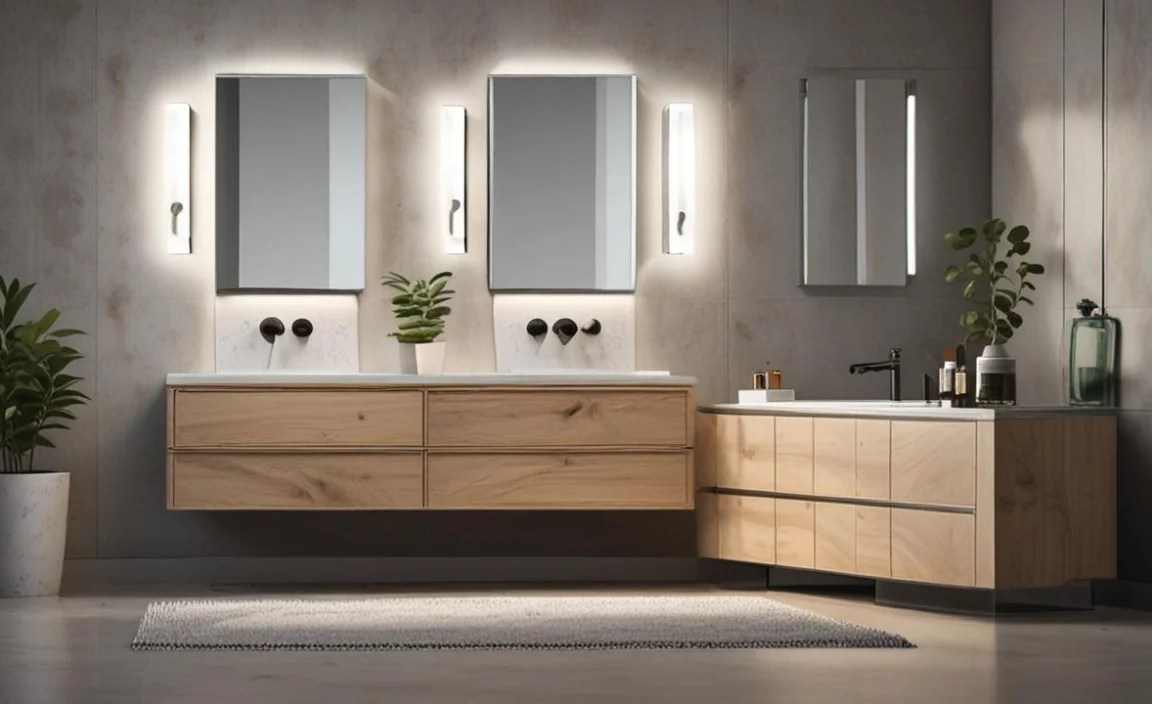
The “vanity structure” refers to the internal framework and support system of your bathroom vanity cabinet. Think of it as the skeleton that holds everything together. This includes the sides, back, bottom, and any internal braces or shelves that give the unit its shape and strength. A well-built vanity structure is crucial for supporting the weight of the countertop, sink, plumbing, and all the items you store inside.
Many modern vanities come pre-assembled, but understanding their construction can help if you notice issues like sagging shelves, loose joints, or wobbling. This knowledge is also invaluable if you’re considering a new vanity or even building your own.
Why Vanity Structure Matters

A strong vanity structure is more than just about looks; it’s about durability and safety. Here’s why it’s so important:
- Weight Support: Vanities bear a significant load. The countertop alone can be heavy, especially if it’s granite or quartz. Add a sink filled with water, and the structure needs to be robust.
- Longevity: A well-built structure prevents warping, sagging, and joint separation, meaning your vanity will look and function better for much longer.
- Preventing Damage: A weak structure can lead to cracks in countertops, leaks from plumbing loosened by movement, or even the vanity tipping over, especially in homes with children.
- Aesthetics: A sagging or uneven vanity doesn’t look good. A strong structure keeps everything aligned, maintaining the visual appeal of your bathroom.
Common Vanity Structure Issues and How to Identify Them
Even the best vanities can develop problems over time. Knowing what to look for is the first step to fixing them. Here are some common issues:
- Sagging Shelves: If shelves are bowing in the middle, they’re likely not designed for the weight they’re holding or the material has weakened.
- Wobbly Cabinet: A vanity that shakes when you open doors or drawers probably has loose joints or a weak base.
- Separating Joints: Look for gaps where the panels of the vanity meet, indicating the glue or fasteners are failing.
- Water Damage: Especially common in bathrooms, water can weaken particleboard or MDF structures, causing them to swell and disintegrate. Check the bottom and back for any signs of dampness or soft spots.
- Cracked or Damaged Back Panel: The thin back panel often provides crucial stability. If it’s cracked or loose, the whole unit’s integrity is compromised.
Inspecting Your Vanity: A Step-by-Step Guide
Before you can fix anything, you need to assess the damage. Here’s how to inspect your vanity structure thoroughly and safely:
- Empty the Vanity: Remove everything from inside the cabinets and drawers. This makes it easier to access all parts and reduces stress on the structure.
- Check for Wobble: Gently try to rock the vanity. Does it move? Try pushing from different sides and the top. Note where the movement seems to originate.
- Examine Joints: Look closely at all corners and seams where panels meet. Are there any visible gaps? Use a flashlight to get a better view.
- Inspect Shelves and Drawers: Pull out drawers completely if possible. Check the drawer slides and bottoms. For shelves, press down gently to see if they sag.
- Assess the Back Panel: Carefully lean the vanity forward (if possible and safe) or look behind it with a flashlight. Is the back panel securely attached? Are there any tears or holes?
- Look for Water Damage: Pay close attention to the bottom of the vanity, especially around the kick plate or base. Feel for any soft spots or signs of swelling, which indicate moisture damage.
- Check for Structural Deformities: Look at the overall squareness of the cabinet. Does it look a bit crooked or warped?
Understanding Different Vanity Construction Materials

The materials used to build a vanity’s structure significantly impact its durability and cost. Knowing these can help you choose a replacement or understand the limitations of your current one.
Plywood
Plywood is made from thin layers of wood veneer (plies) glued together with the grain of adjacent layers running at right angles. This cross-graining makes plywood very strong and resistant to shrinking, swelling, and warping.
- Pros: Highly durable, strong, resistant to moisture (especially cabinet-grade plywood), stable.
- Cons: Can be more expensive, heavier than MDF.
MDF (Medium-Density Fiberboard)

MDF is an engineered wood product made from wood fibers mixed with wax and resin binder, then pressed into panels under high temperature and pressure. It has a smooth and uniform surface.
- Pros: Inexpensive, very smooth surface ideal for painting or veneers, consistent thickness.
- Cons: Susceptible to water damage (swells and disintegrates when wet), not as strong as plywood, can sag under heavy weight over time, heavier than plywood.
Particleboard

Particleboard is made from wood chips, sawmill shavings, and sawdust pressed together with resin. It’s generally the least expensive and least durable option.
- Pros: Very inexpensive.
- Cons: Least durable, highly susceptible to moisture damage, low weight-bearing capacity, prone to sagging and crumbling.
Solid Wood
Some higher-end vanities are constructed from solid wood like oak, maple, or cherry. This is the traditional and often strongest method.
- Pros: Extremely durable, repairable, beautiful natural aesthetic, can be very strong.
- Cons: Most expensive, can be affected by extreme humidity changes (though less so than MDF/particleboard).
Pro Tip: For the best balance of strength, durability, and value, look for vanities constructed from cabinet-grade plywood. If budget is a major concern, ensure any MDF or particleboard vanity is well-sealed and in a dry environment.
Proven Essential Methods for Reinforcing Vanity Structure

Once you’ve identified an issue, it’s time to reinforce. These methods are designed to be beginner-friendly and effective for common problems.
1. Addressing Loose Joints and Wobble
If your vanity is wobbling, it’s usually due to loose fasteners or failing glue at the main structural joints.
Tools You Might Need:
- Screwdriver set (Phillips and flathead)
- Wood glue
- Clamps (bar clamps or strap clamps)
- Hammer and nail set (optional, for re-securing back panel)
- Wood screws (appropriate length and gauge)
- Drill
Steps:
- Identify Loose Joints: Gently push and pull on the corners of the vanity frame. Locate where the movement is happening.
- Tighten Screws: If you see screws, try tightening them. Be careful not to overtighten, which can strip the wood or crack the panel.
- Apply Wood Glue: If joints are glued and separated, carefully open the gap slightly (you might need a putty knife or thin pry bar). Apply a generous amount of wood glue into the gap. Wipe away any excess that squeezes out immediately with a damp cloth.
- Clamp the Joint: This is crucial for a strong bond. Use clamps to pull the joint tightly together. Place scrap wood between the clamp jaws and the vanity panels to prevent damage. Leave the clamps in place for the glue manufacturer’s recommended drying time (usually several hours, ideally 24).
- Add Reinforcement (Optional but Recommended): For extra stability, especially on older or heavily used vanities, add a few wood screws. Pre-drill pilot holes slightly smaller than your screws to prevent splitting the wood. Drive screws diagonally through one piece of the frame into the other. Again, don’t overtighten.
2. Reinforcing Sagging Shelves
Sagging shelves are common, especially in vanities made of thinner materials or those holding heavier items.
Tools You Might Need:
- Shelf pins or brackets (if shelves are removable)
- Scrap wood (e.g., 1×2 or 1×3 lumber)
- Wood screws
- Drill
- Level
- Measuring tape
Methods:
- Install Under-Shelf Bracing:
- Measure the length of the shelf. Cut pieces of 1×2 or 1×3 lumber to fit snugly underneath the front and/or back edges of the shelf, running from side panel to side panel.
- Ensure the shelf is as level as possible. You might need to temporarily remove some weight or even the shelf itself.
- Position the bracing material underneath the shelf.
- Drill pilot holes through the bracing into the shelf, and then through the bracing into the side panels of the vanity.
- Secure the bracing with wood screws. For the shelf itself, you can also add screws from underneath the bracing up into the shelf, but be careful not to drill through the top.
- Replace or Add Shelf Pins/Brackets: If your shelves rest on pins, check if the current holes are enlarged or damaged. You might need to replace the pins or reinforce the surrounding wood. For shelves that are just sitting in place, adding corner brackets underneath where the shelf meets the side panels can add significant support.
- Center Support for Long Shelves: For very long shelves, a vertical support in the middle can prevent sagging. Cut a piece of wood (e.g., a 2×2 or a thicker piece of plywood) to the height of the cabinet. Secure it to the floor of the vanity cabinet and the underside of the shelf.
3. Repairing Water-Damaged Structures
Water damage is tricky because it weakens the material itself, especially particleboard and MDF.
Tools:
- Dry cloths/towels
- Fan
- Sander (orbital or block)
- Wood filler or epoxy wood repair kit
- Sandpaper (medium and fine grit)
- Primer and paint/sealer (matching your vanity)
- Putty knife or spreader
- Safety glasses and dust mask
Steps:
- Dry the Area Thoroughly: Use towels to absorb all visible moisture. Then, use a fan to blow air over the affected area for at least 24-48 hours to ensure it’s completely dry. A dehumidifier can also help.
- Remove Damaged Material: If the material is soft and crumbly, you’ll need to remove it. Use a chisel or putty knife to scrape away any damaged, mushy wood. For severe damage, you might need to cut out the affected section.
- Apply Wood Filler or Epoxy: For small to medium damage, use a good quality wood filler or a two-part epoxy wood repair kit. These products often harden like wood and can be sanded. Follow the product instructions carefully.
- Sand Smooth: Once the filler/epoxy is completely dry and hard, sand the repaired area smooth. Start with medium-grit sandpaper and finish with fine-grit sandpaper.
- Prime and Seal: Apply a primer designed for wood and then paint or seal the repaired area to match the rest of the vanity. Ensure the new finish is waterproof, especially on the bottom and edges.
- Prevent Future Damage: The best repair is prevention. Check for leaks from the sink or plumbing regularly. Ensure good ventilation in the bathroom. Consider adding a waterproof sealant to the bottom of the vanity if it’s exposed to potential moisture.
4. Securing a Damaged or Loose Back Panel
The back panel, often made of thin fiberboard, is critical for preventing racking—the tendency of a rectangular structure to deform into a parallelogram.
Tools:
- Hammer
- Thin-head nails (panel nails or brad nails) or small screws
- Wood glue (optional)
- Measuring tape
- Pencil
Steps:
- Assess the Damage: Is the panel warped, loose, or cracked? If it’s badly damaged, it might need to be replaced. You can often find thin fiberboard sheets at hardware stores that can be cut to size.
- Re-align the Panel: Gently push the vanity cabinet into its original square shape. A good way to check is to measure diagonally from corner to corner. The two diagonal measurements should be equal.
- Secure with Nails or Screws: Using thin nails (about 3/4 inch to 1 inch long) or screws, re-attach the panel. Start at one corner and work your way around, keeping the panel taut and the cabinet square. Space nails or screws about 4-6 inches apart along the edges and where the panel crosses internal supports.
- Apply Glue (Optional): For a stronger bond, you can run a bead of wood glue along the edges of the cabinet frame before re-attaching the panel.
- Replace if Necessary: If the panel is beyond repair, measure the old one (or the cabinet opening) precisely, purchase a new piece of thin fiberboard, and cut it to size. Then, follow the steps above to attach it.
When to Call a Professional
While many vanity structure issues are DIY-friendly, there are times when calling a professional is the wisest choice:
- Extensive Water Damage: If the damage is widespread and affects the floor or wall behind the vanity, it might require more significant repairs than you’re equipped for.
- Structural Integrity Compromised: If the entire cabinet frame is delaminating, rotting, or severely warped, a repair might not be sufficient or safe. It may be time for a replacement.
- Countertop Issues: If the underlying structure is so damaged that the countertop is cracked or unstable, that’s a job for a professional who can handle both the base and the delicate countertop.
- Lack of Confidence or Tools: If you’re uncomfortable with the task, don’t have the right tools, or simply lack the time, hiring a handyman or cabinet maker is a good investment.
For more complex plumbing or structural advice, you might also consult resources like The National Association of Home Builders (NAHB), which offers insights into building standards and best practices.
Vanity Structure Maintenance Tips
Keeping your vanity in great shape doesn’t require much. A little regular attention goes a long way:
- Wipe Up Spills Immediately: Especially water. Don’t let moisture sit on or around the vanity.
- Use a Bathroom Mat: Place a mat in front of the sink to catch drips from wet hands or splashed water.
- Ventilate Your Bathroom: Run the exhaust fan during and after showers and baths to reduce overall humidity.
- Avoid Overloading: Don’t store excessively heavy items on shelves, especially if the vanity is made of MDF or particleboard.
- Inspect Periodically: A quick look-over every few months to check for loose doors, drawers, or any signs of moisture can catch problems early.
Frequently Asked Questions (FAQ)
What is the weakest part of a vanity structure?

The weakest points are typically the joints, the back panel, and the bottom, especially if made from MDF or particleboard, which are prone to swelling and disintegration when exposed to moisture.
Can I fix a wobbly vanity myself?

Yes, often a wobbly vanity can be fixed by tightening screws, re-gluing loose joints, or adding reinforcing blocks. This guide provides step-by-step instructions for these common fixes.
How do I prevent water damage to my vanity structure?
Wipe up spills immediately, use a bath mat, ensure good bathroom ventilation, and check plumbing for leaks regularly. Applying a waterproof sealant to the base can also offer
