
Quick Summary:
Wall-mounted towel racks with a minimal look offer a sleek, modern way to organize towels, saving space and enhancing bathroom aesthetics. This guide provides simple, step-by-step instructions for choosing and installing them, ensuring a stylish and functional addition to your home.
Tired of cluttered bathroom counters or towels piled precariously on hooks? A wall-mounted towel rack might be the simple, stylish solution you’ve been searching for. Many of today’s racks are designed with a ‘minimal look’—meaning they focus on clean lines, sleek materials, and unobtrusive designs. This style perfectly complements modern bathrooms, creating a sense of calm and order. But where do you begin? Don’t worry! This guide will walk you through everything, from picking the right rack to installing it securely. Get ready to transform your bathroom from cluttered to chic, one towel rack at a time!
Why Choose a Minimalist Wall-Mounted Towel Rack?

Minimalist design is all about simplicity and functionality. When applied to wall-mounted towel racks, this translates to items that are effective without being visually overwhelming. They blend seamlessly into your decor, rather than demanding attention. This can be a game-changer for smaller bathrooms where every inch of space counts and visual clutter makes a room feel even smaller.
Think about it: a sleek bar or a few discreet hooks can hold your towels grooming essentials, keeping them off the floor and easily accessible. They contribute to a spa-like atmosphere, making your bathroom a more relaxing retreat. Unlike bulky floor-standing units, wall-mounted racks free up valuable floor space, making cleaning easier and the room feel more open.
Key Benefits at a Glance
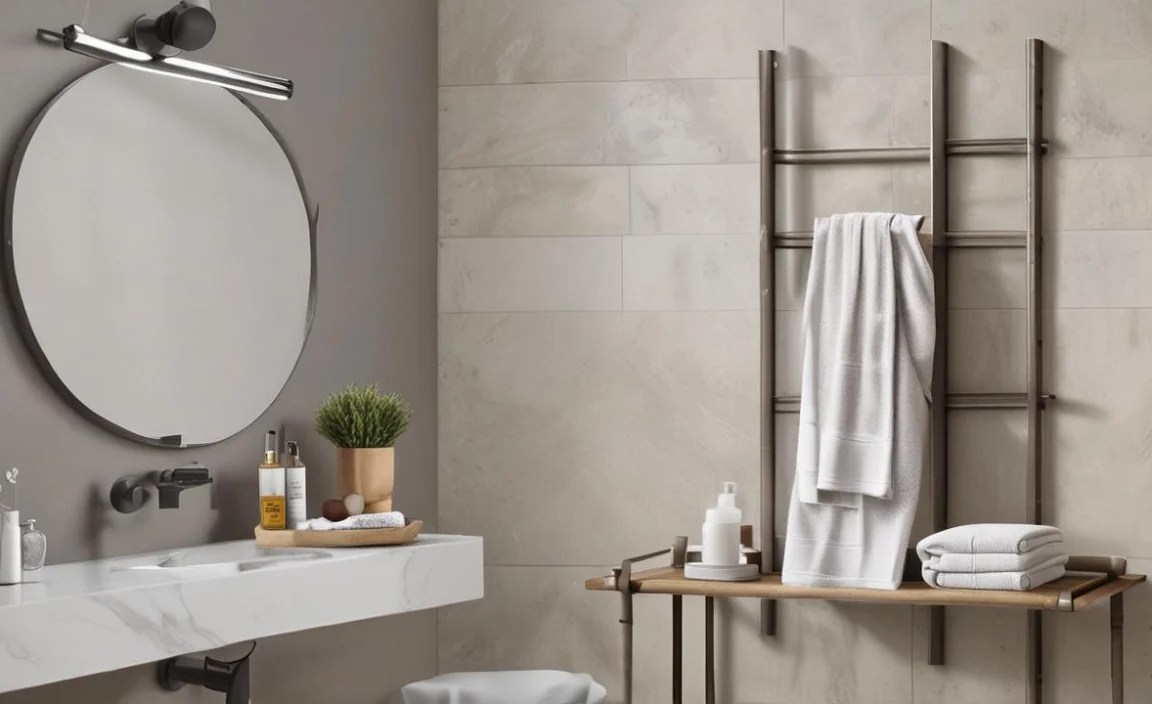
- Space Saving: Frees up floor space, ideal for small bathrooms.
- Aesthetic Appeal: Creates a clean, modern, and uncluttered look.
- Improved Organization: Keeps towels dry and easily accessible.
- Enhanced Durability: Properly installed racks are sturdy and reliable.
- Easy Cleaning: No more maneuvering around cumbersome floor units.
Choosing a minimalist towel rack is a smart decision for both form and function. It’s an accessory that pays off in everyday convenience and long-term style. Let’s dive into how to make the best choice for your home.
Choosing the Right Minimalist Towel Rack

Selecting the perfect minimalist towel rack involves considering a few key factors. It’s not just about how it looks, but also how it will function in your specific space and with your existing decor. Let’s break down what to look for.
Material Matters
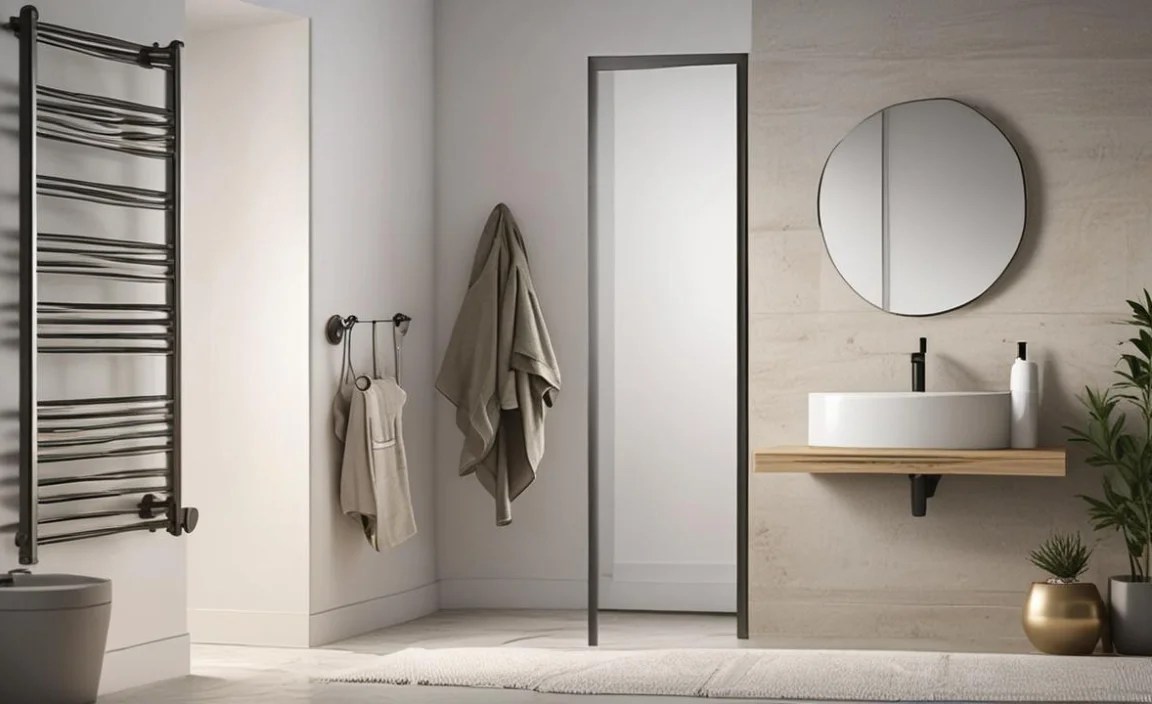
The material of your towel rack significantly impacts its look, durability, and how it fits with your bathroom’s style. For a minimalist aesthetic, common and excellent choices include:
- Stainless Steel: This is a top contender for minimalist designs. It’s durable, rust-resistant, and has a clean, often brushed or polished finish that looks modern and sophisticated. Stainless steel is also easy to clean, which is a big plus in a bathroom environment. Brands like Hansgrohe often feature sleek stainless steel options.
- Chrome: Similar to polished stainless steel, chrome offers a bright, reflective surface that complements many bathroom fixtures. It’s a classic choice for a clean, modern look.
- Matte Black: A bold, contemporary choice that makes a statement. Matte black racks provide a sophisticated, graphic contrast against lighter walls and tile, really emphasizing the minimalist form.
- Brass (Brushed or Matte): While sometimes associated with traditional styles, brushed or matte brass can lend a warm, minimalist elegance, especially in earthy-toned bathrooms.
Types of Minimalist Racks
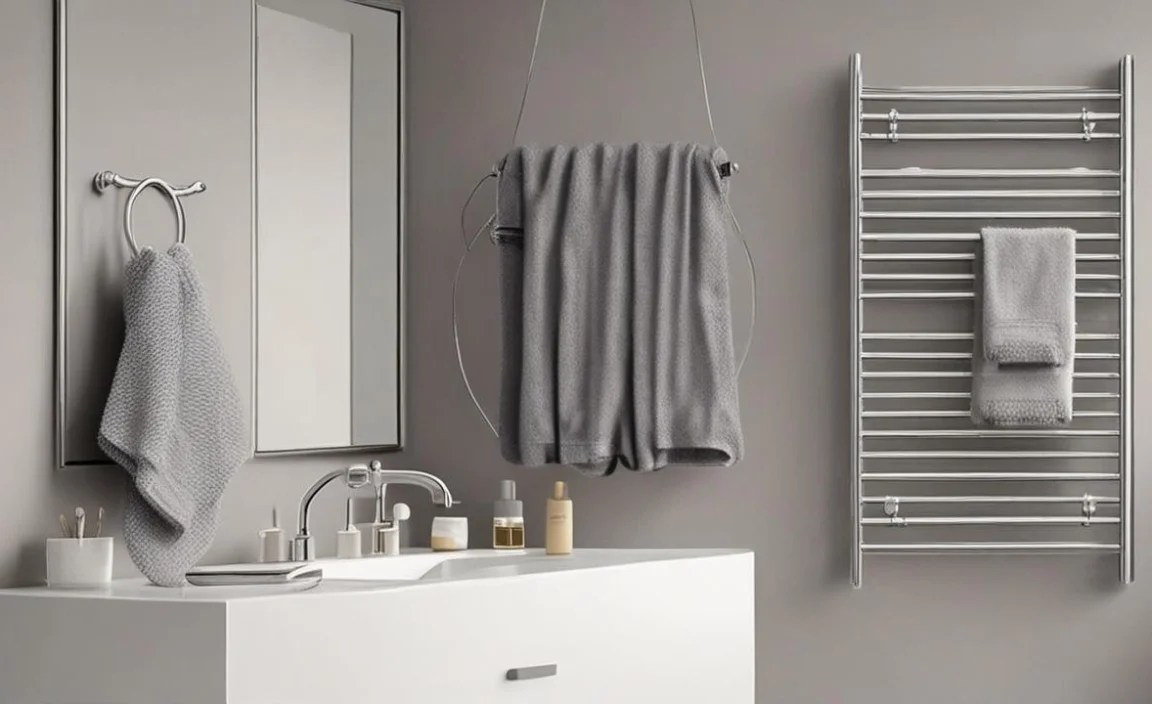
Minimalist racks come in various forms, each serving a slightly different purpose:
- Towel Bars: These are the most common. A single bar mounted on the wall is perfect for hanging one or two bath towels. Double bars offer more hanging space. Their simple silhouette keeps them from feeling bulky.
- Towel Hooks: Individual hooks are incredibly versatile. You can install a single hook for a hand towel or a series of them for multiple towels. Their small footprint makes them ideal for tight spaces or as an accent.
- Towel Rails/Rings: These are typically round or square and designed for hand towels or washcloths. They offer a more contained look, keeping towels neatly in place.
- Towel Shelves with Integrated Hooks/Bars: Some minimalist designs incorporate a small shelf above a towel bar or hooks, offering a dual-purpose solution for storing small toiletries or decorative items while hanging towels.
Size and Placement Considerations
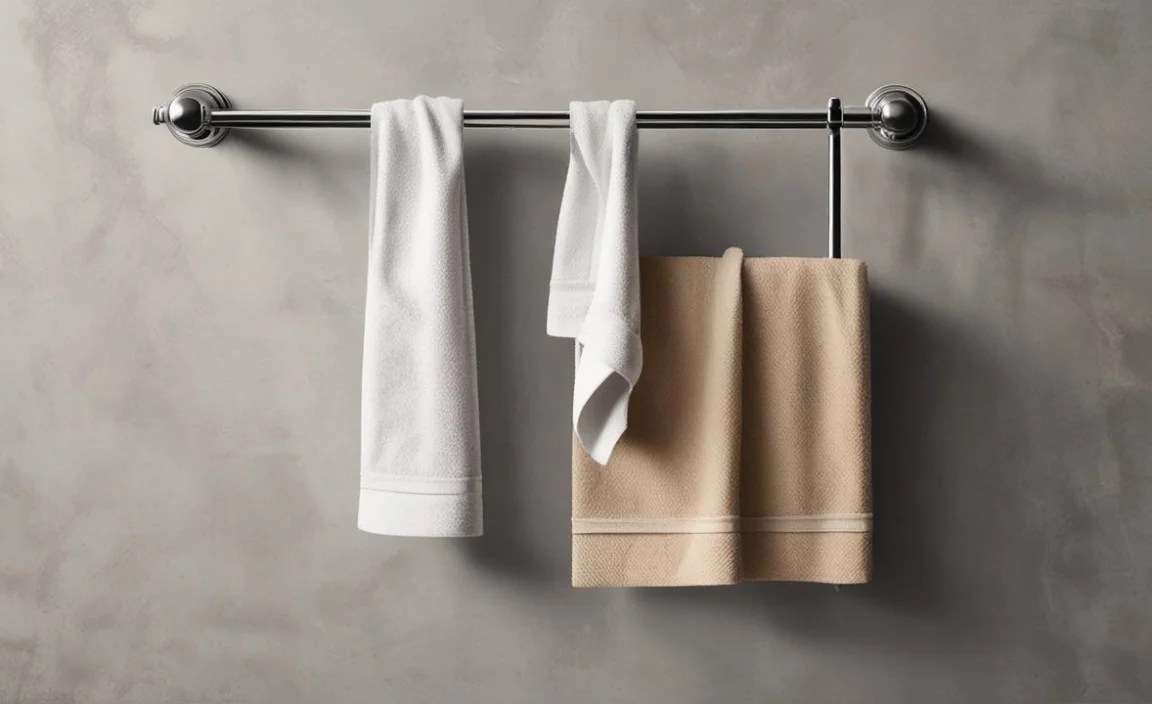
Before you buy, measure your available wall space. A jumbo towel bar might look great in a showroom but could feel overpowering in a small powder room. Consider:
- Proportion: Ensure the rack’s size is proportionate to the wall space and the size of your towels.
- Clearance: Allow enough space for towels to hang freely without touching walls or other fixtures, promoting better drying. For a standard bath towel, aim for at least 24 inches (60 cm) of bar length and about 15-18 inches (38-45 cm) of clearance from the wall.
- Height: For bath towels, installing the bar about 5 feet (1.5 meters) from the floor is a good general guideline, but adjust based on your preference and the height of your showerhead or tub. Hand towel rings or hooks are typically installed at a more accessible height, around 3 to 3.5 feet (0.9 to 1 meter) from the floor.
By carefully considering material, type, and dimensions, you’ll be well on your way to selecting a minimalist towel rack that perfectly matches your style and needs.
Tools and Materials You’ll Need
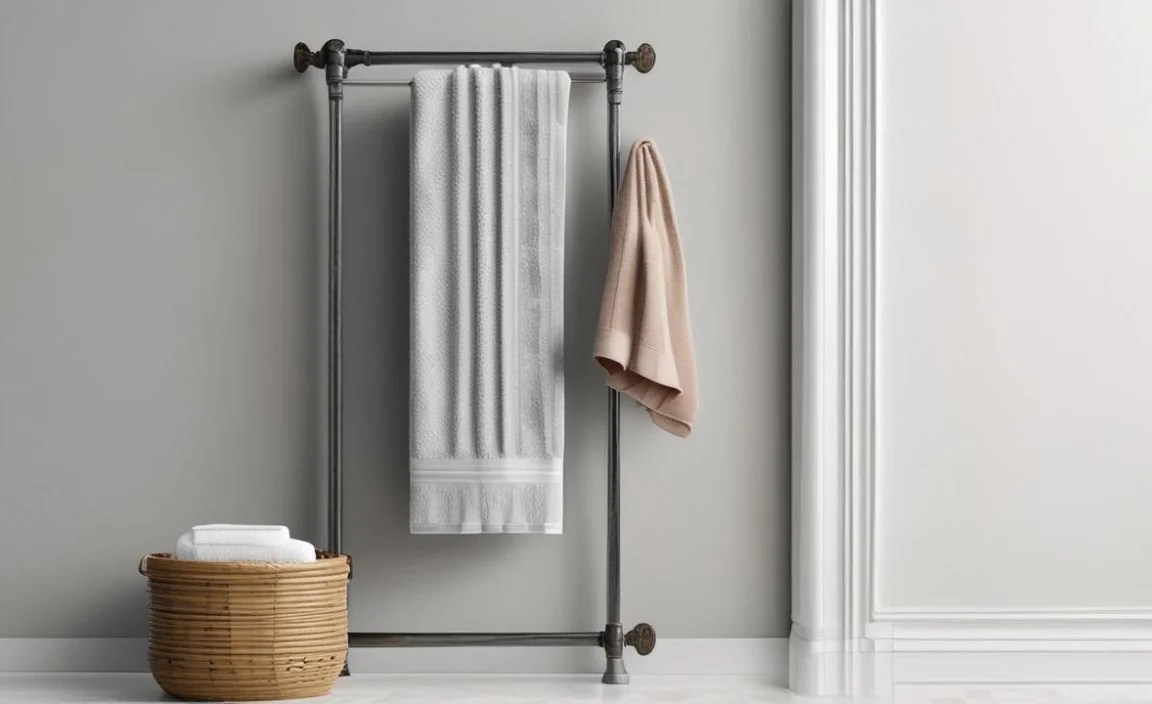
To successfully install a wall-mounted towel rack, you’ll need a few basic tools. Most DIYers will have these on hand, and they’re typically inexpensive to acquire if you don’t. Safety and proper installation are key here, so having the right gear makes the job much easier and more secure.
Essential Tools
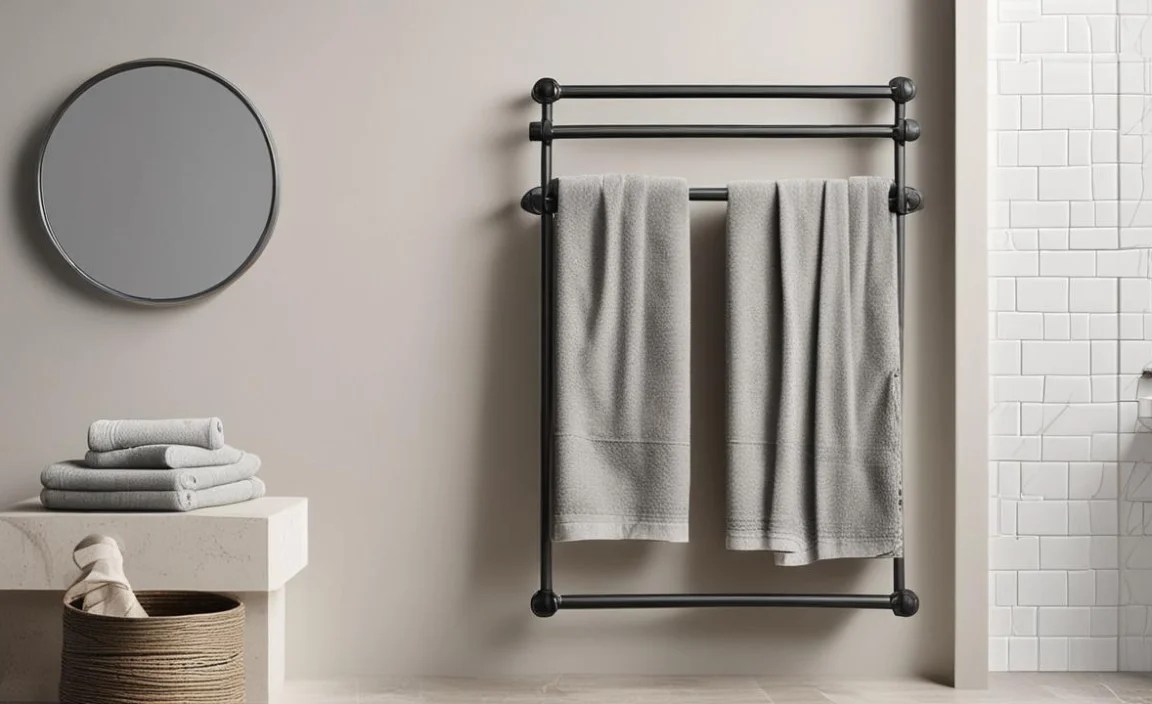
- Drill: For creating pilot holes and, if necessary, driving screws. A cordless drill is incredibly convenient.
- Drill Bits: You’ll need bits that match the size of your screws’ pilot holes and potentially larger bits for anchor installation.
- Level: Crucial for ensuring your rack is installed straight and looks professional. A small torpedo level or a longer one will work.
- Stud Finder: To locate wall studs, which provide the most secure mounting point. This is highly recommended for towel bars, especially those that will hold heavy, wet towels. You can find electronic stud finders at any hardware store.
- Pencil: For marking drill points.
- Measuring Tape: To determine correct placement and spacing.
- Screwdriver Set: Likely a Phillips head screwdriver, matching the screws that come with your rack.
- Hammer: For gently tapping in wall anchors if you aren’t mounting into studs.
- Safety Glasses: Always wear eye protection when drilling.
Included in Your Towel Rack Kit
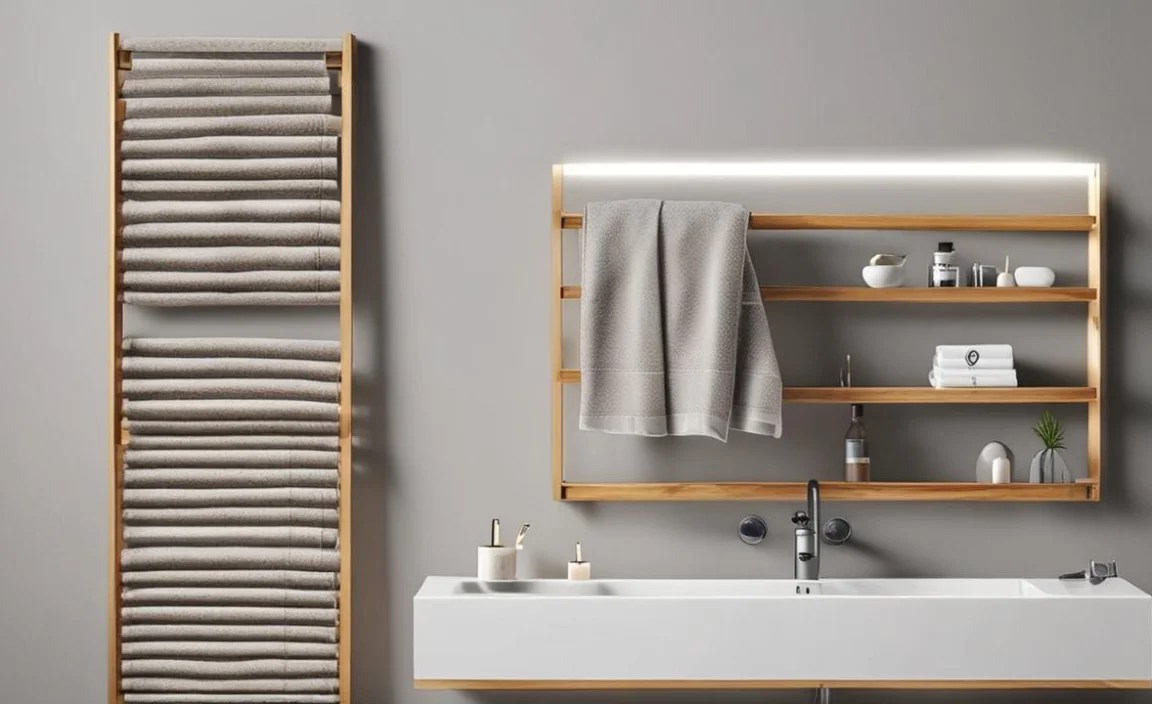
Most towel racks come with the necessary mounting hardware:
- The towel rack itself.
- Mounting brackets or a base plate.
- Screws.
- Wall anchors (often plastic or drywall anchors).
Optional but Helpful
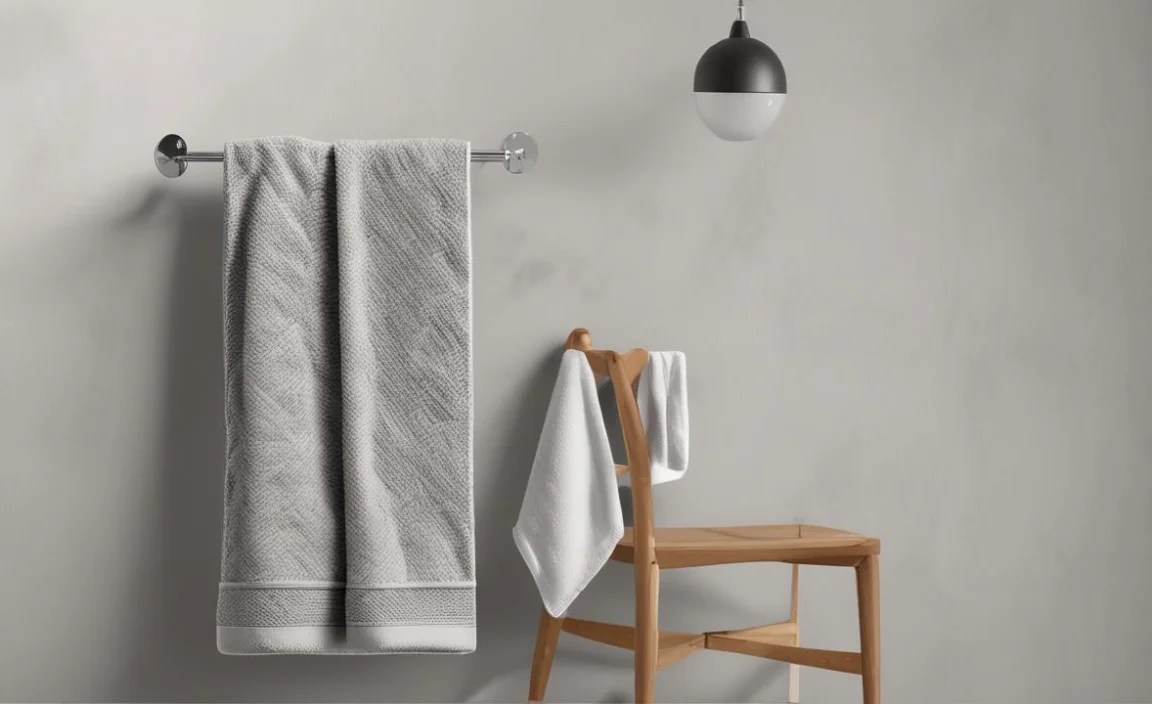
- Painter’s Tape: To mark positions on the wall and help prevent paint damage.
- Caulk/Sealant: For sealing around the base of the mount if it’s in a high-moisture area, though this is less common for minimalist racks.
Double-checking that you have all these items before you start will prevent frustrating interruptions and ensure a smoother installation process. Now that you know what you need, let’s walk through the installation steps.
Step-by-Step Installation Guide
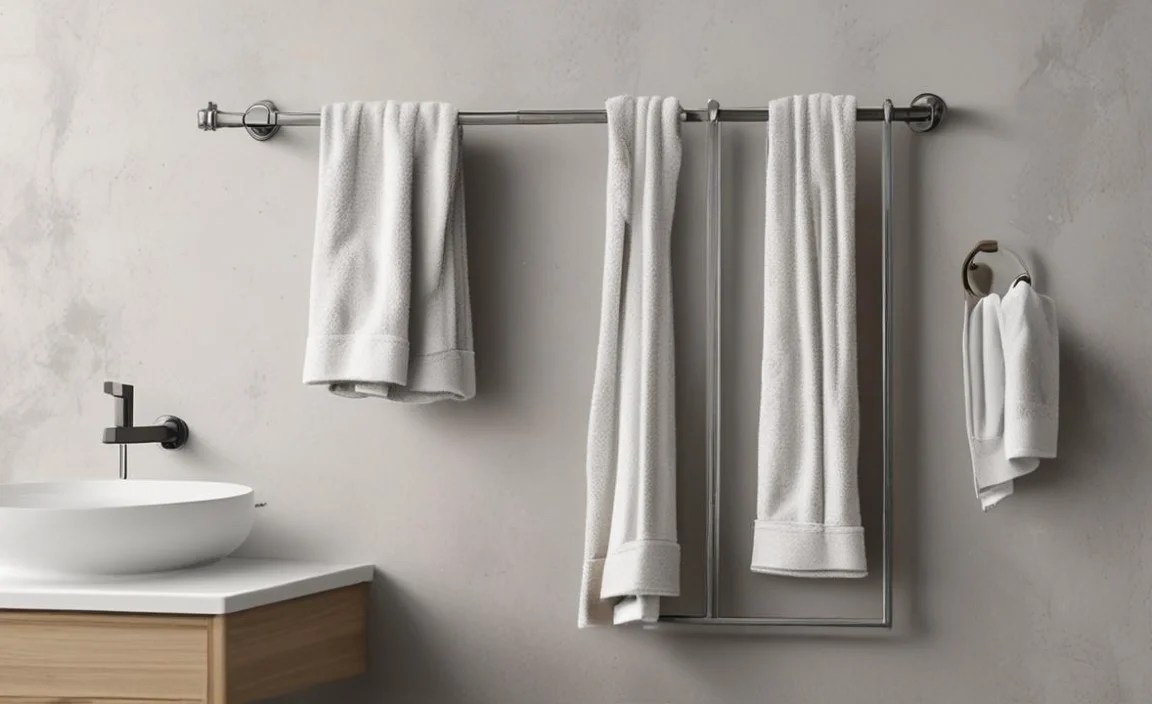
Installing a wall-mounted towel rack is a very achievable DIY project for beginners. By following these steps carefully, you’ll ensure a secure and attractive installation. Remember, measuring twice and drilling once is the mantra here.
Step 1: Plan Your Placement
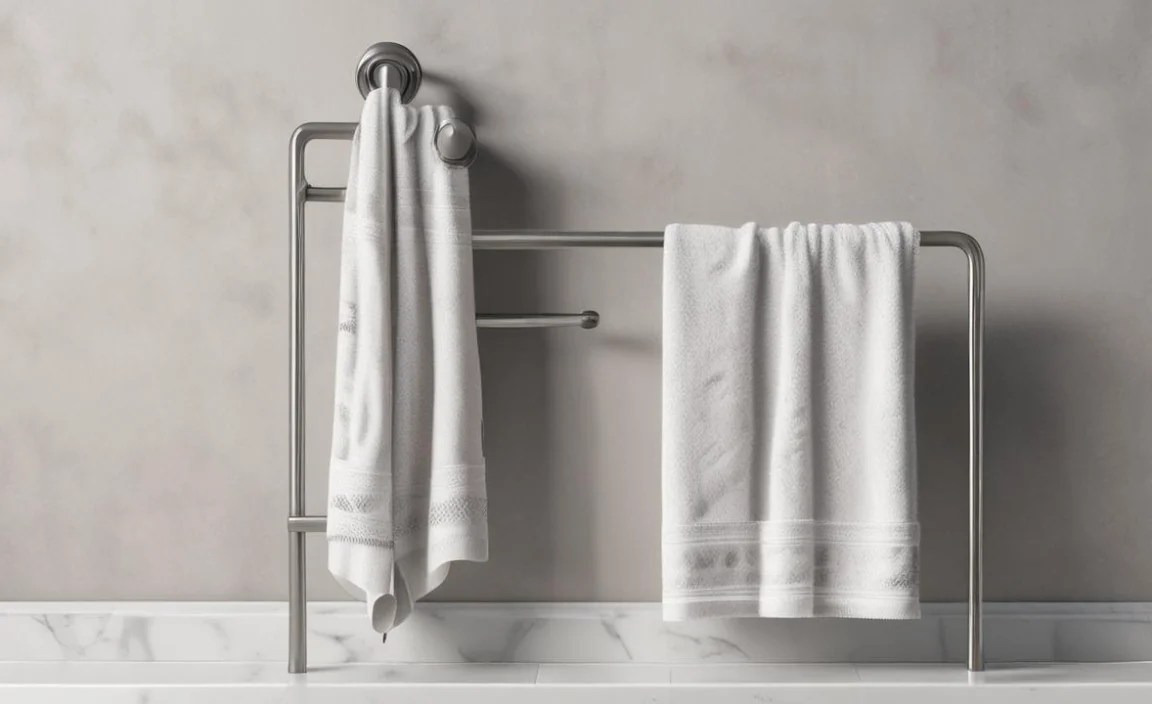
Decide exactly where each rack or hook will go. Consider the spacing between multiple bars or hooks. Use your measuring tape and pencil to mark the desired locations. Hold the rack (or a paper template if provided) against the wall, use your level to ensure it’s straight, and lightly mark where the mounting screws will go.
Step 2: Locate Wall Studs (Highly Recommended)
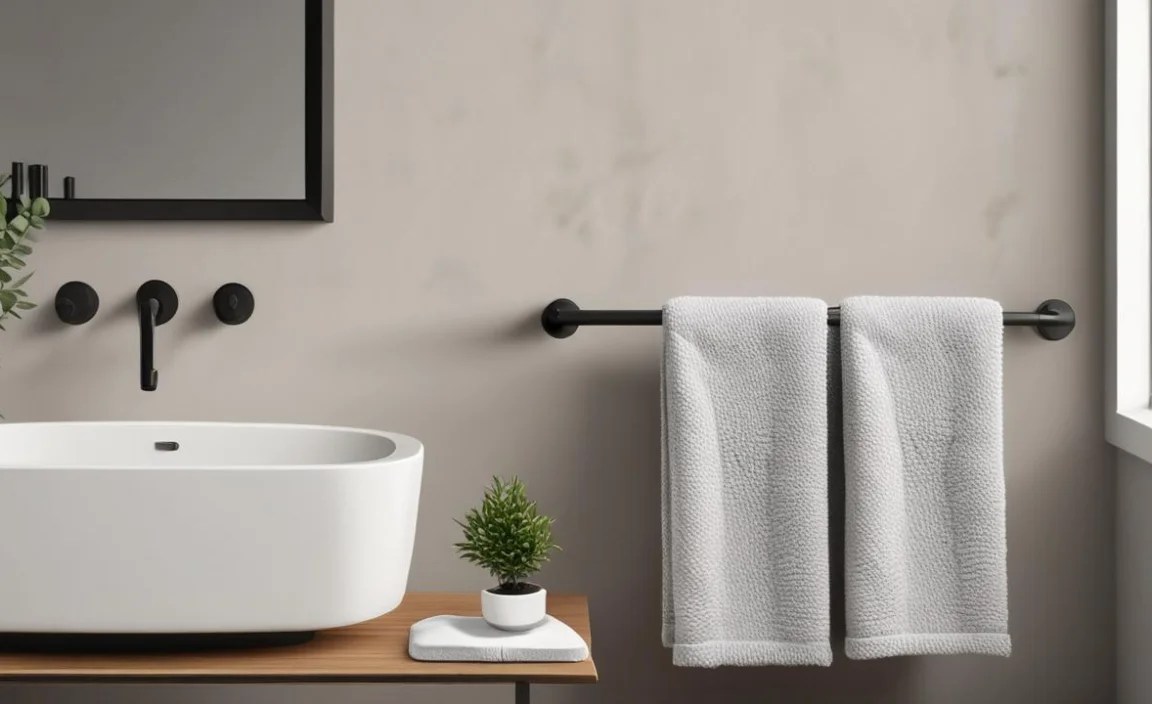
Use your stud finder to locate wall studs in the area where you plan to install the rack. Mark the center of any studs you find. Mounting directly into studs provides the strongest support, especially for heavy, wet towels. If you can’t align your rack with studs, you’ll need to use appropriate wall anchors.
Step 3: Mark Drill Points and Install Anchors (If Needed)
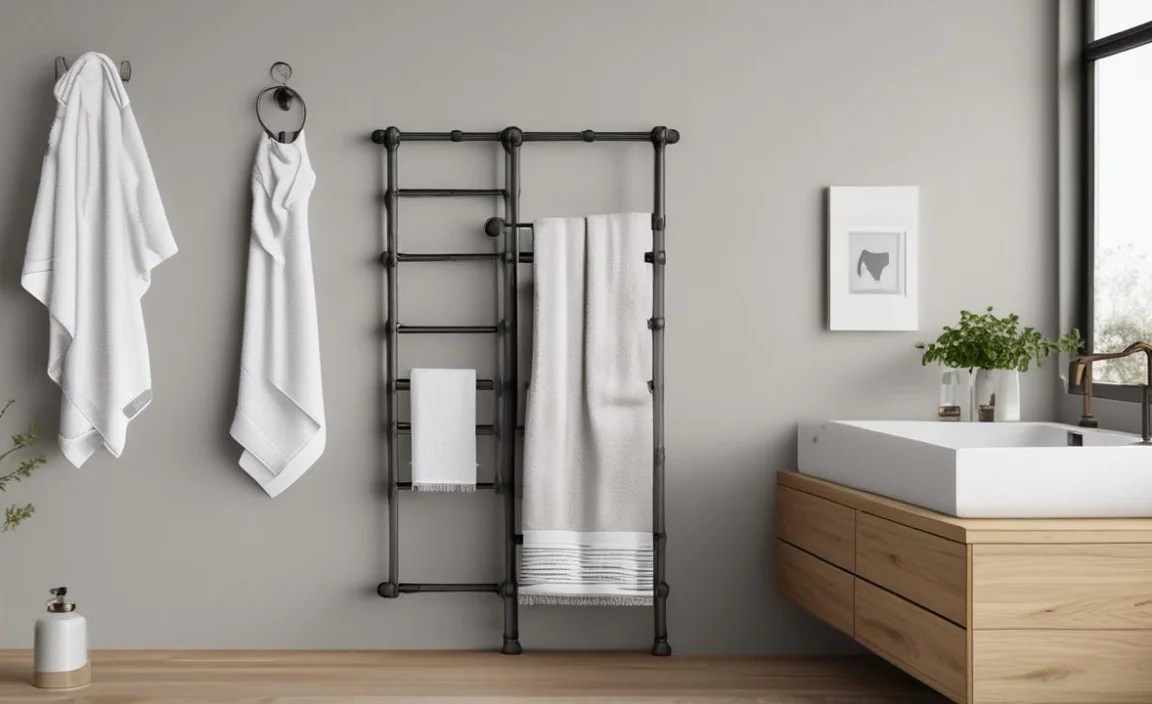
Hold the mounting bracket or the rack itself against the wall, using your level to make sure it’s perfectly straight. Mark the exact spots where you need to drill for screws. If you are mounting into studs, you’ll drill pilot holes slightly smaller than your screws at these marks. If you are mounting into drywall without hitting studs, you’ll need to drill holes appropriately sized for your wall anchors. Gently tap the anchors into the holes with a hammer until they are flush with the wall surface.
A helpful resource on choosing the right wall anchors can be found on sites like This Old House. They offer a variety of solutions beyond basic plastic anchors.
Step 4: Attach the Mounting Brackets/Base
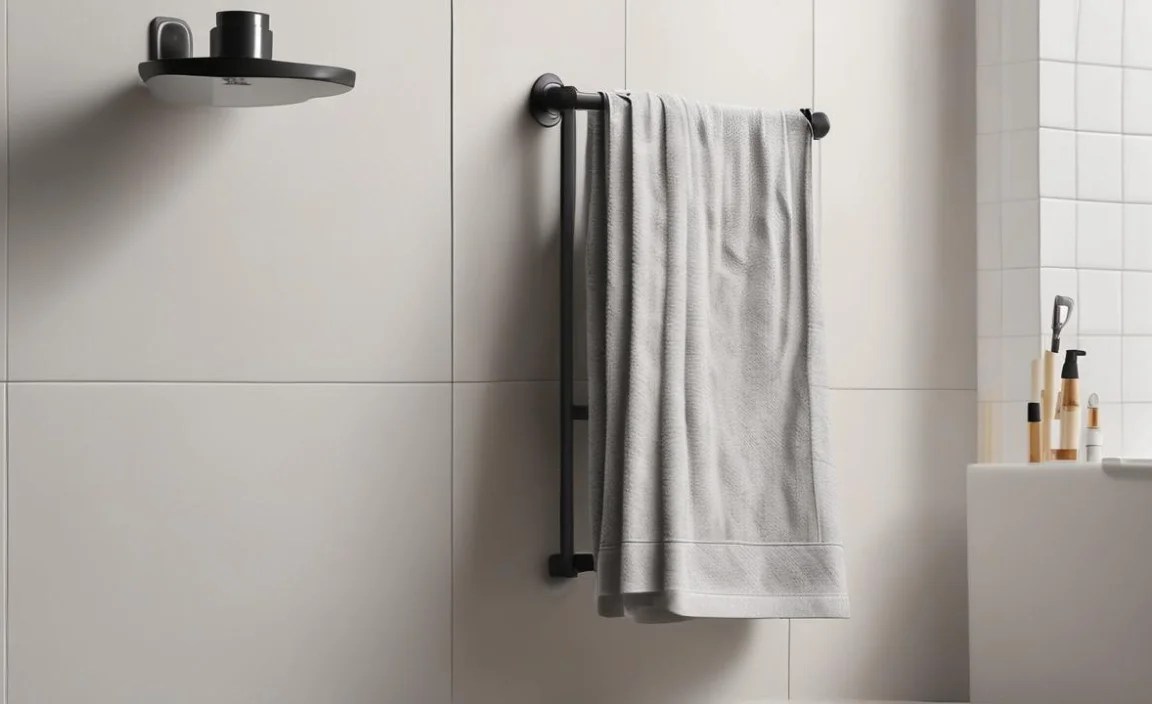
Align the mounting bracket or base plate with your pilot holes or anchors. Insert the provided screws and begin to tighten them. If mounting into studs, screw directly into the wood. If using anchors, screw into the anchors. Ensure the bracket is securely fastened to the wall and doesn’t move.
Step 5: Mount the Towel Rack
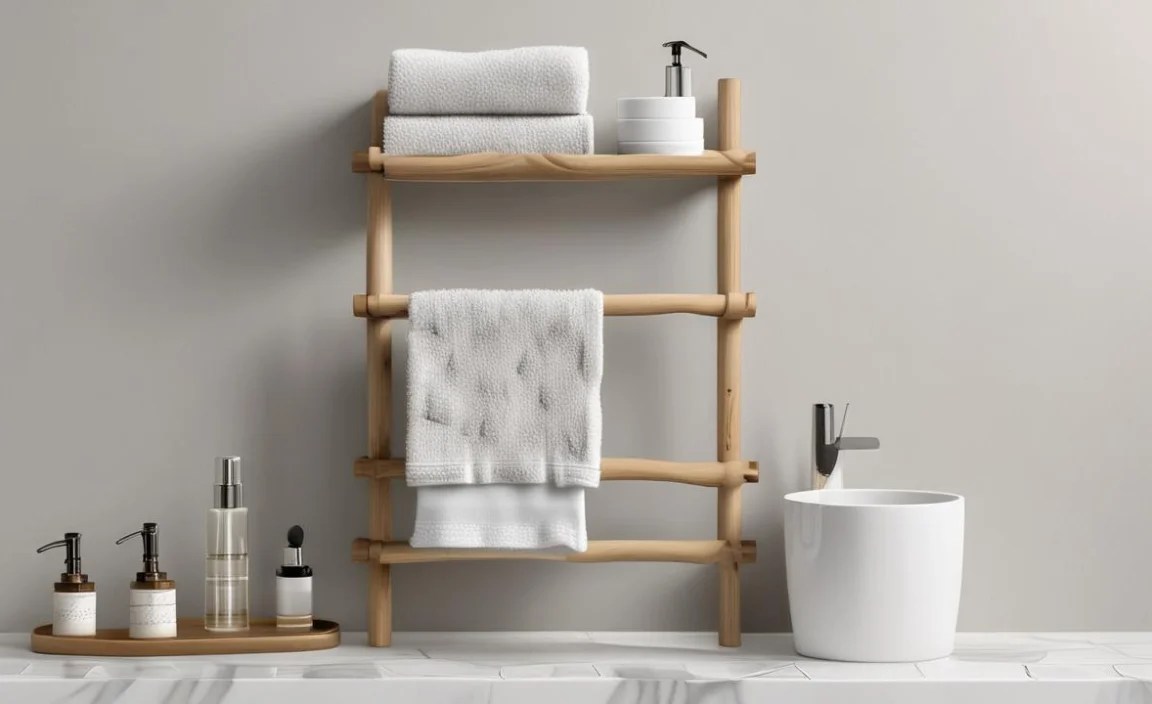
Most minimalist towel racks have a direct screw-mount system or a set-screw mechanism to attach the bar to the brackets. For direct mount, you’ll align the rack with the installed brackets and screw it in place through pre-drilled holes on the rack itself. For systems with set screws, slide the rack onto the brackets, then use a small screwdriver or Allen wrench (often included) to tighten the tiny set screws on the underside of the bracket that lock the rack in place.
Step 6: Test for Stability
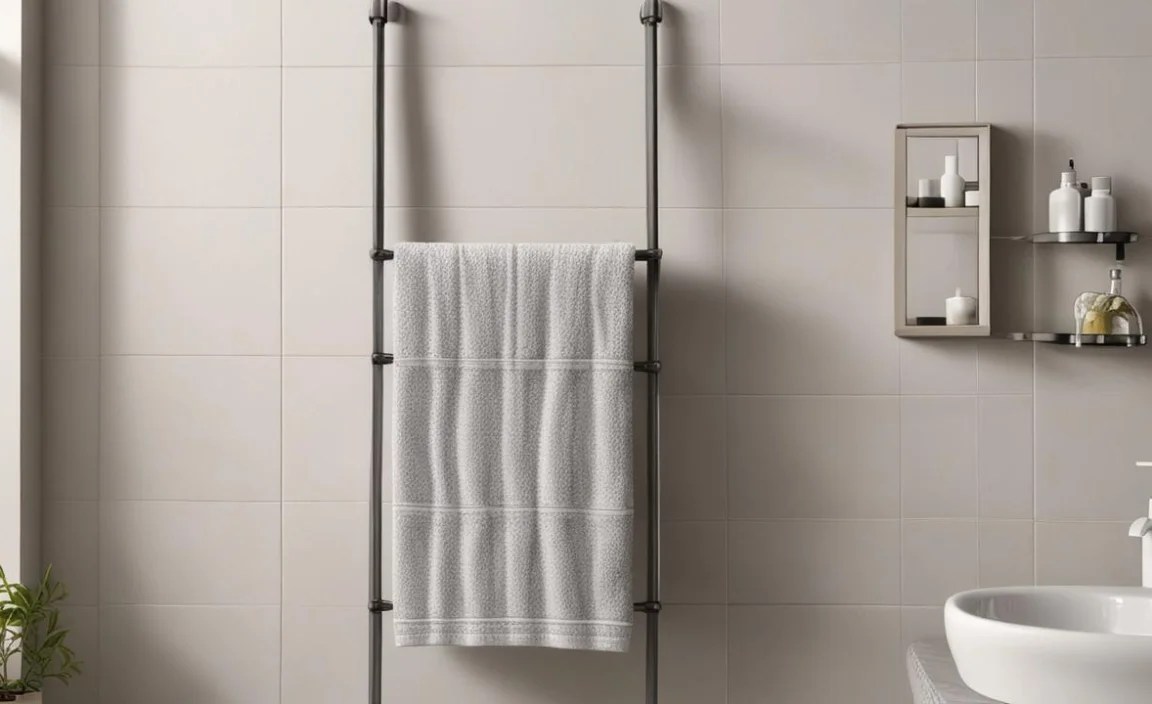
Once the rack is secured, give it a gentle tug to make sure it’s firmly attached to the wall. Hang a towel on it and test its stability. If it feels loose at all, remove the rack and re-tighten the screws or check your anchors.
Congratulations! You’ve successfully installed your new wall-mounted towel rack, adding both style and functionality to your bathroom.
Maintenance Tips for Your Minimalist Towel Rack
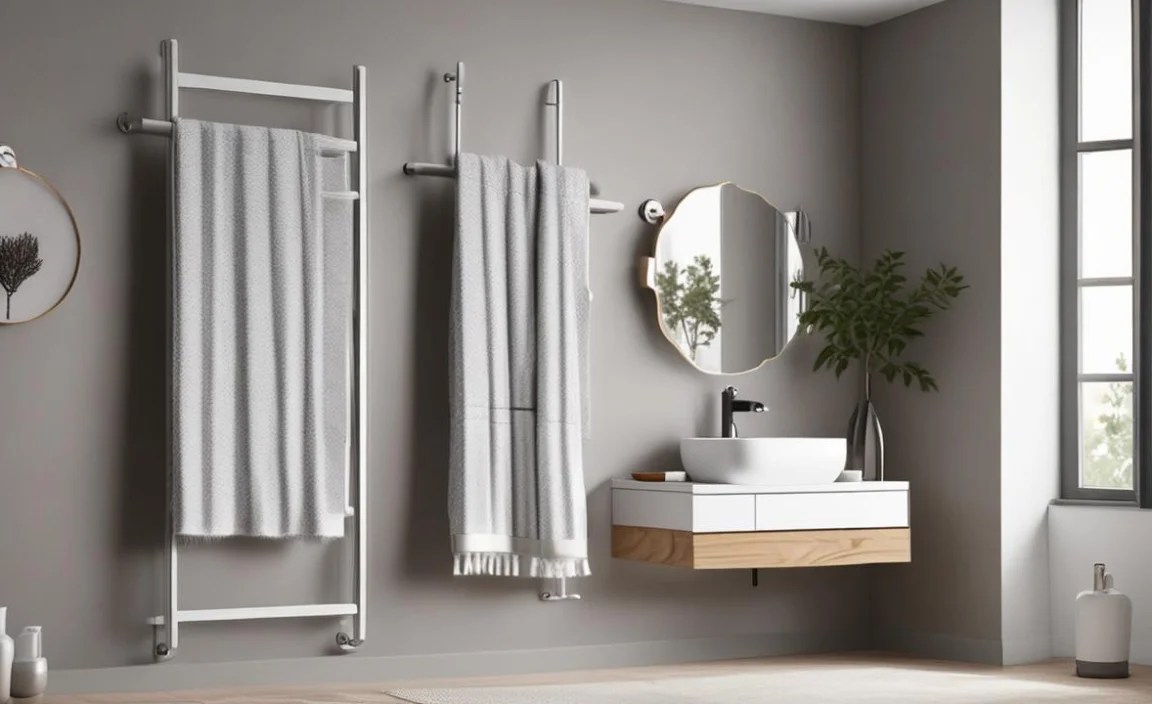
Keeping your minimalist towel rack looking its best and functioning properly requires minimal effort, but a little regular attention goes a long way. Since these racks often have a sleek finish, it’s important to care for them properly to avoid damage or premature wear.
Daily and Weekly Care
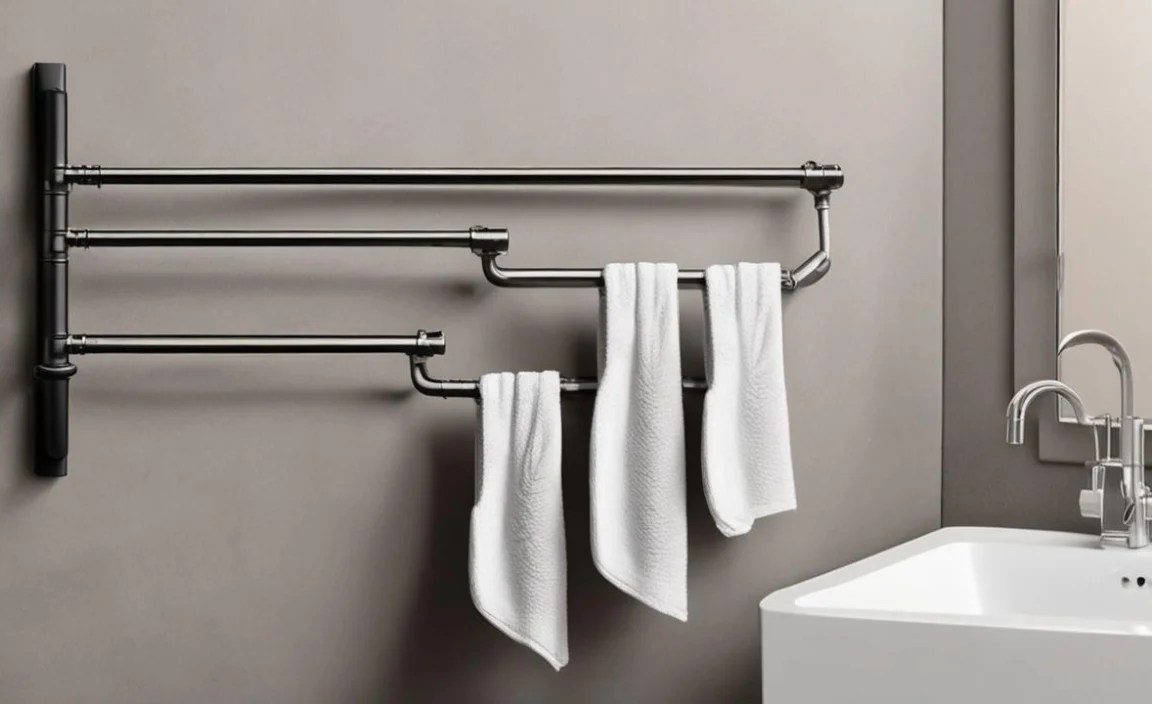
- Wipe Down Regularly: The simplest and most important tip is to wipe down your towel rack with a soft, damp cloth daily or every few days. This removes water spots, soap residue, and dust, preventing them from building up and becoming difficult to clean.
- Use Mild Cleaning Agents: For tougher grime, use a mild, non-abrasive cleaner. A solution of water and a tiny bit of dish soap is usually sufficient. After cleaning, wipe the rack dry with a clean, soft cloth to prevent water spots.
- Avoid Harsh Chemicals: Steer clear of abrasive cleaners, scouring pads, bleach, or ammonia-based products. These can scratch metal surfaces, dull finishes, or even corrode certain materials, especially with prolonged contact.
Material-Specific Cleaning Advice
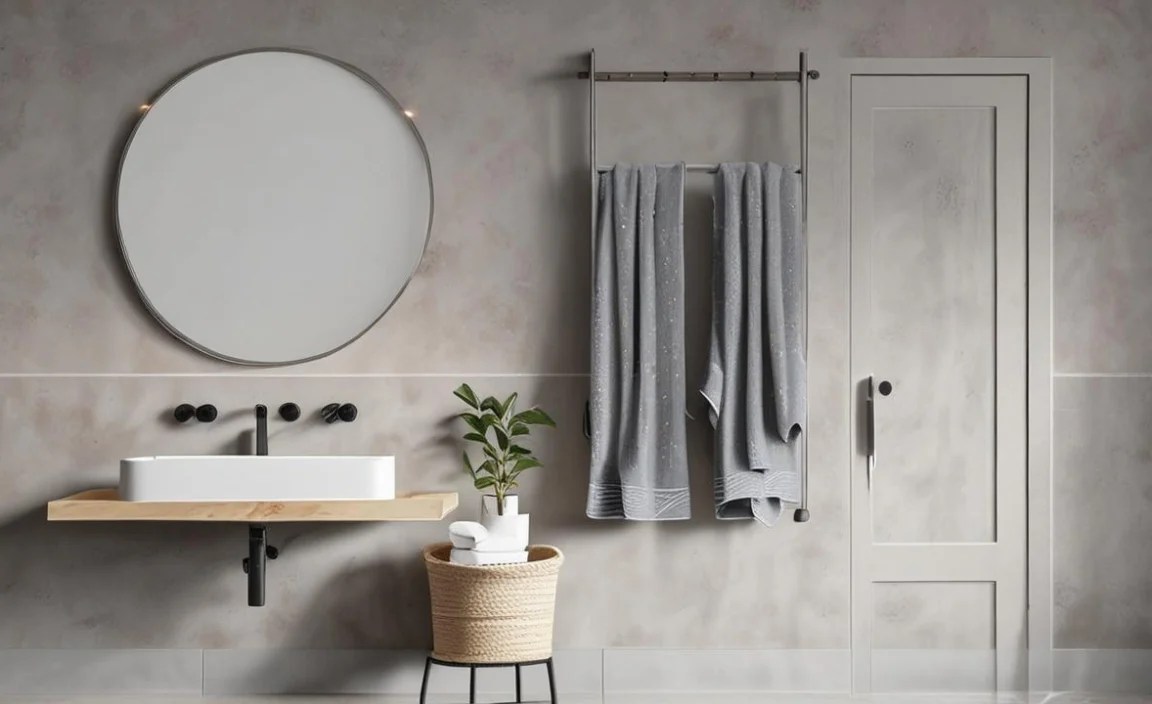
Different materials require slightly different care:
| Material | Recommended Cleaning Method | What to Avoid |
|---|---|---|
| Stainless Steel | Wipe with a soft cloth and a mild detergent solution. For streaks, use a cleaner specifically for stainless steel or a solution of equal parts water and white vinegar, then wipe dry with a microfiber cloth. Always wipe in the direction of the grain if visible. | Abrasive pads, steel wool, chlorine bleach, oven cleaners. |
| Chrome | A soft cloth with mild soap and water is usually enough. For hard water spots, a paste of baking soda and water applied gently can help. Rinse thoroughly and buff dry. | Abrasive cleaners, scouring pads, steel wool, strong acids. |
| Matte Black (Powder Coated/Painted) | Soft cloth and mild soap and water. Avoid scrubbing. Wipe dry immediately to prevent water marks, which can be more visible on matte finishes. | Abrasive cleaners, harsh scrubbing, strong solvents, anything that might chip or scratch the finish. |
| Brass (Brushed/Matte) | For a natural patina, simply dust regularly. For cleaning, use a soft cloth with mild soap; avoid specialized brass polishes unless you want to restore shine, as they can remove the matte finish. | Abrasive treatments, strong metal polishes that aren’t designed for matte finishes. |
Long-Term Care and Checks
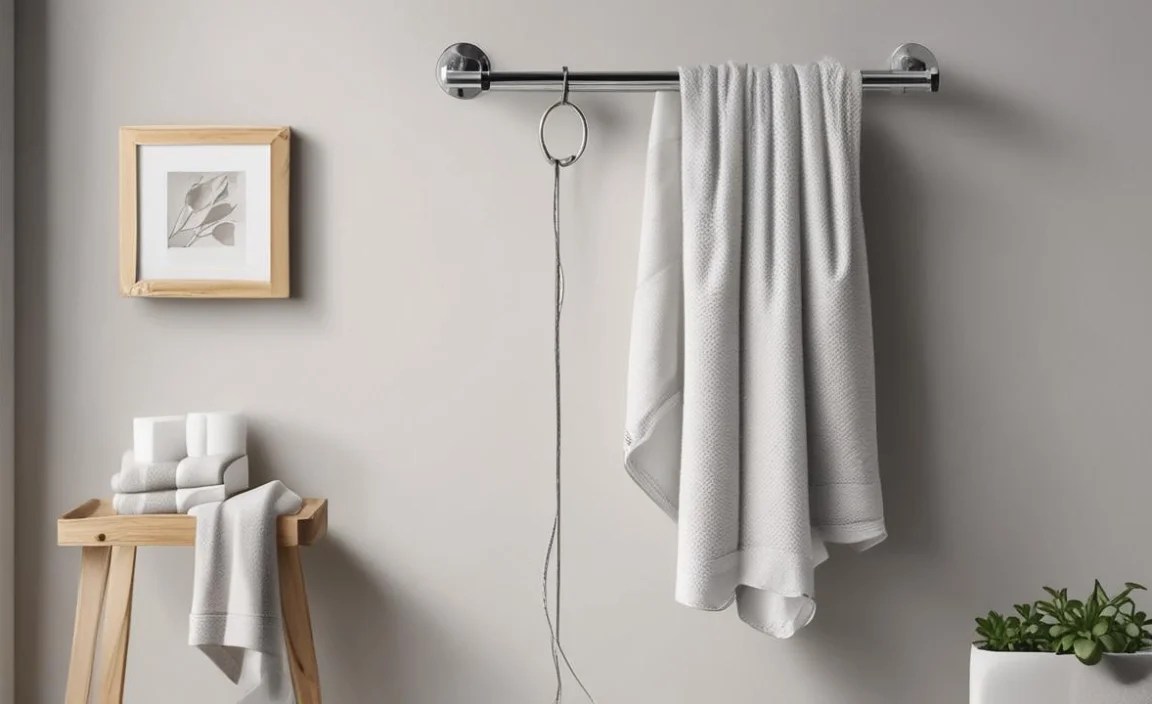
- Inspect Screws Periodically: Every few months, give your towel rack a gentle check. Make sure it still feels secure on the wall. If it wiggles, you might need to tighten the mounting screws. For mounted racks, this might involve removing the decorative covers or set screws to access them.
- Address Rust or Discoloration Immediately: If you notice any signs of rust or discoloration (especially on non-stainless steel types), address it promptly. For minor spots, a gentle polish or suitable cleaner might work, but for significant issues, professional advice might be needed.
- Consider a Protective Coating (for some materials): For certain finishes, like raw brass or unsealed metals, a very light application of furniture wax can add an extra layer of protection against moisture and fingerprints, though this is usually not necessary for modern, sealed finishes.
Proper care ensures your minimalist towel rack remains a stylish and functional part of your bathroom for years to come. It’s a small effort for a noticeable improvement in your bathroom’s overall appearance and tidiness.
Troubleshooting Common Issues
Even with the best planning, DIY projects can sometimes hit a small snag. Here’s how to handle a few common issues you might encounter during or after installing your minimalist wall-mounted towel rack.
Issue 1: The Rack Isn’t Level
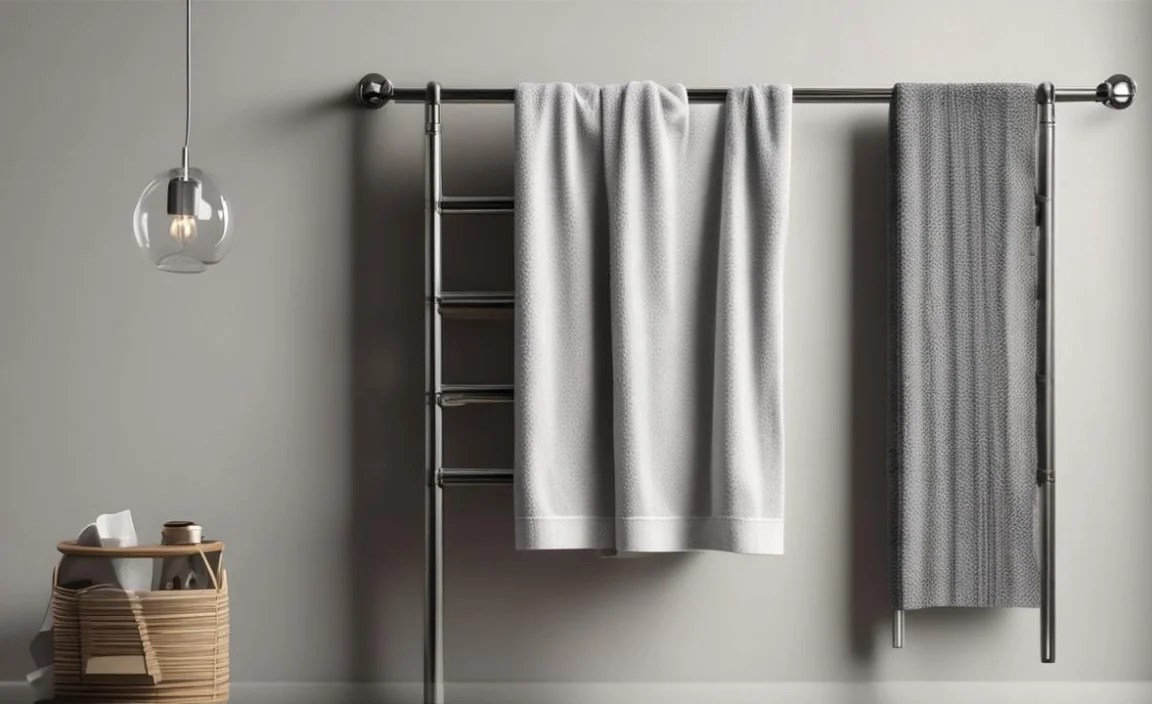
Symptom: You installed the rack, but it clearly slopes to one side.
Solution: Don’t panic! This is usually an easy fix. You’ll likely need to loosen the screws on one or both mounting brackets. Use your level to adjust the rack until it’s perfectly straight, then re-tighten the screws securely. If the rack is a single piece that screws directly into the wall with no separate brackets, you might need to remove it, adjust your marked holes, and redrill. Patience is key here.
Issue 2: Screws Won’t Tighten/Feel Loose
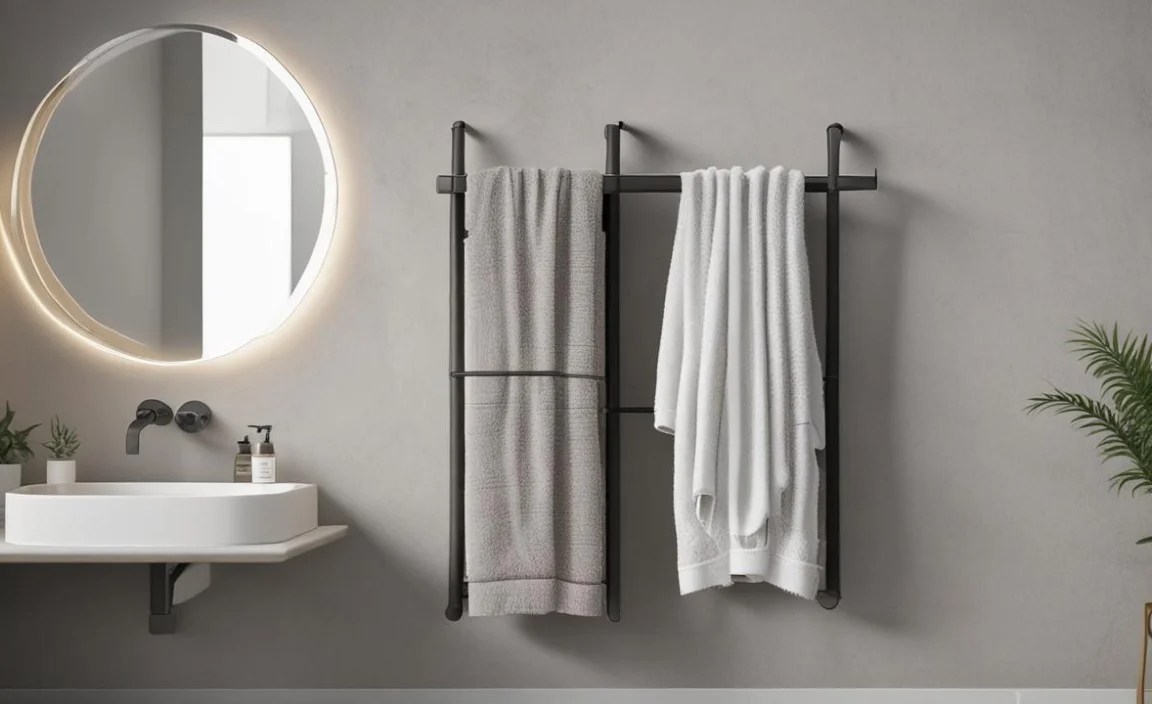
Symptom: The screws go in, but they don’t feel snug, or the rack still wiggles after tightening.
Solution: This usually means you either stripped the screw hole (either in the stud or the anchor) or the anchor isn’t seated correctly.
- For Wall Anchors: Try removing the screw and anchor. If the hole is too large, you might need a larger anchor. Alternatively, you can fill the hole with a wood filler or spackle, let it dry completely, and then try installing a new anchor or drilling a pilot hole in the hardened filler.
- For Stripped Studs: You can sometimes fix this by using a slightly longer screw that can reach deeper into the stud, or by using wood dowels and glue to fill the stripped hole. For more significant issues, consider adding a second anchor nearby or relocating the rack.
Issue 3: Mounting into Unexpected Obstacles
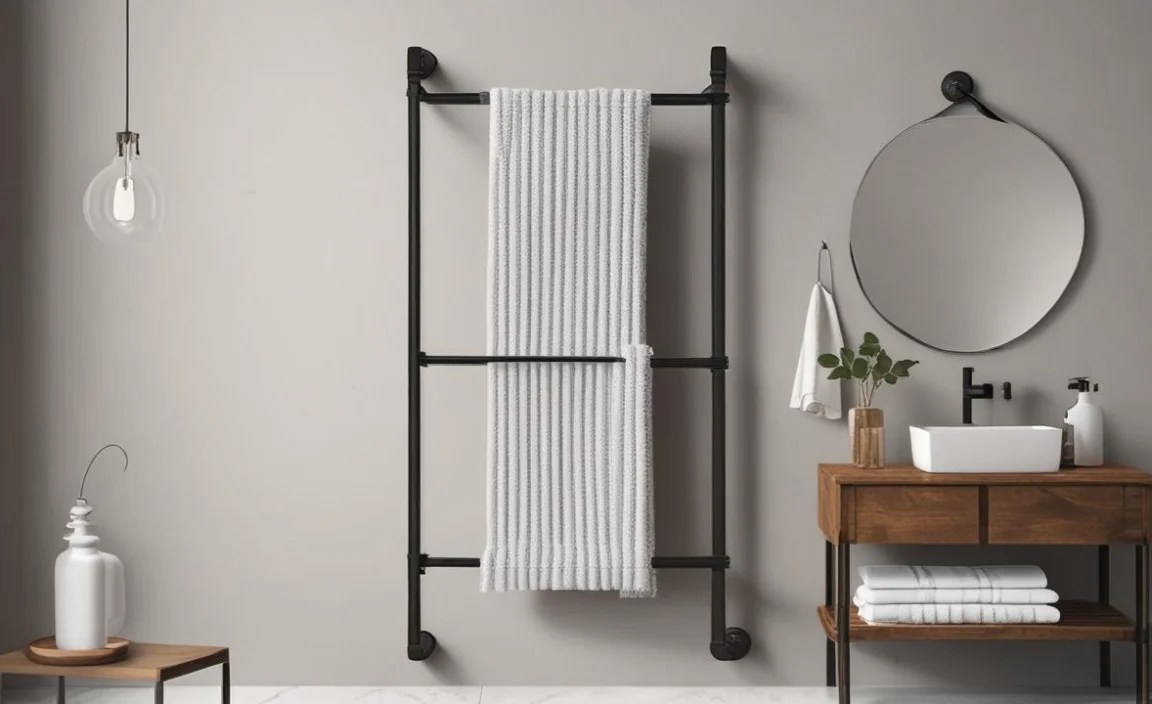
Symptom: Your drill hits something hard behind the wall that isn’t a stud (e.g., electrical conduit, plumbing pipe).
Solution: STOP DRILLING IMMEDIATELY. This is a critical safety issue. Do not force the drill. You must change the location for your mounting holes. Use your stud finder again and explore different areas. If you suspect you’ve hit electrical or plumbing lines, it’s best to contact a professional contractor to assess the situation before proceeding. For DIYers,
