
Low water pressure is a common plumbing problem often caused by simple issues like faulty fixtures or clogged pipes. This guide, Bryan Lee’s, provides easy DIY solutions to restore your home’s water pressure safely and effectively. Learn to diagnose and fix common causes, ensuring your faucets and showers run strong again.
Ever turn on the shower, only to be greeted by a sad trickle? Or maybe your dishwasher takes ages to fill? Low water pressure can be a real frustration, turning everyday tasks into a waiting game. It’s more than just an inconvenience; it can signal underlying issues in your plumbing system that, if left unchecked, could lead to bigger problems. But don’t worry! Many causes of weak water pressure are surprisingly simple to fix yourself. You don’t need to be a master plumber to get your water flowing strongly again. This guide will walk you through the common culprits behind diminished water pressure, offering clear, step-by-step solutions you can tackle with confidence.
Understanding Water Pressure
Before we dive into fixing things, let’s quickly talk about what water pressure actually is. Think of it as the force that pushes water through your pipes and out of your faucets, showerheads, and appliances. In North America, the standard water pressure for homes typically ranges from 40 to 60 pounds per square inch (PSI). If your pressure drops significantly below this range, you’ll start noticing the difference.
There are two main ways your water pressure can be measured: static and dynamic. Static pressure is the pressure in your pipes when no water is running. Dynamic pressure is what you experience when you actually turn on a faucet. Problems can arise with either, but the most noticeable are usually issues with dynamic pressure.
Understanding this basic concept helps us pinpoint where things might be going wrong. Is the pressure low everywhere in your house, or just at one faucet? The answer to this question is your first clue in solving the puzzle.
Common Causes of Water Pressure Breakdown

Several things can contribute to a frustrating drop in water pressure. Let’s break down the most frequent offenders:
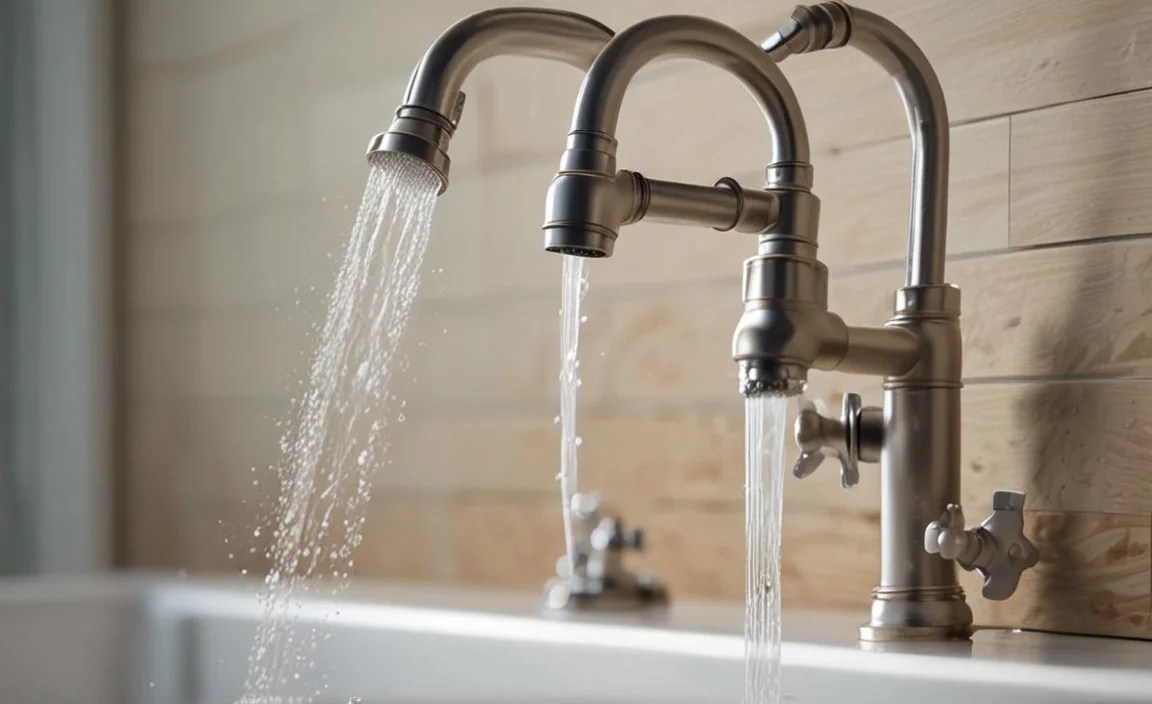
1. Clogged Fixtures and Aerators
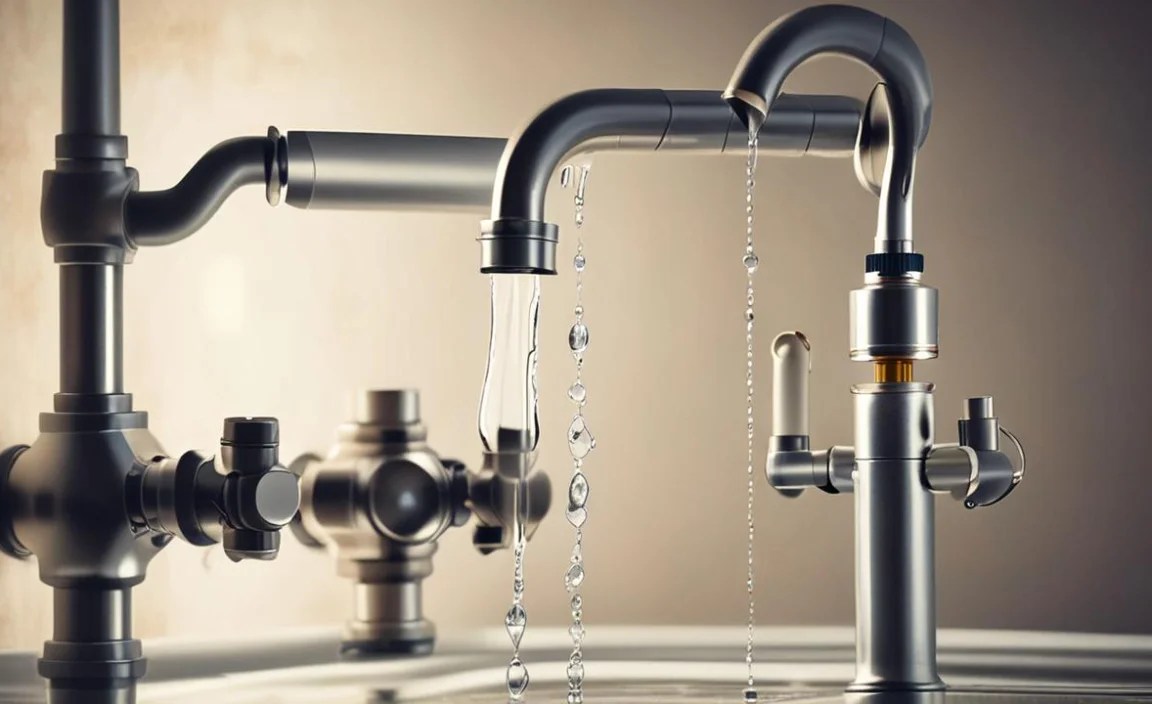
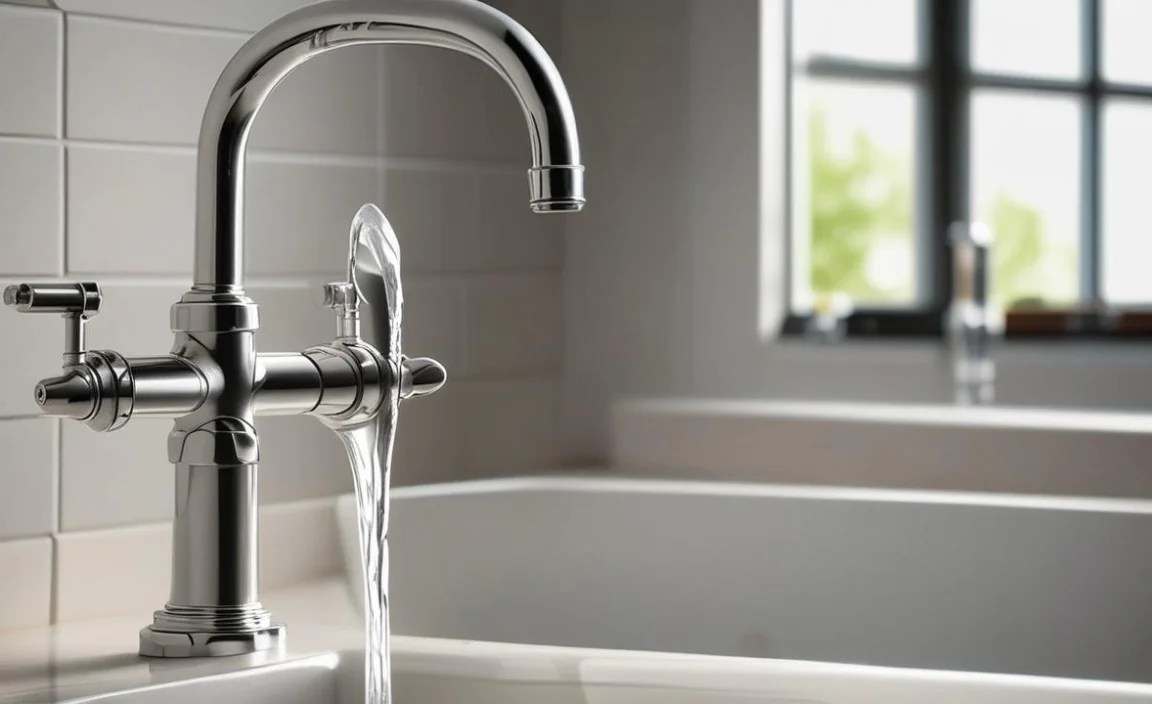
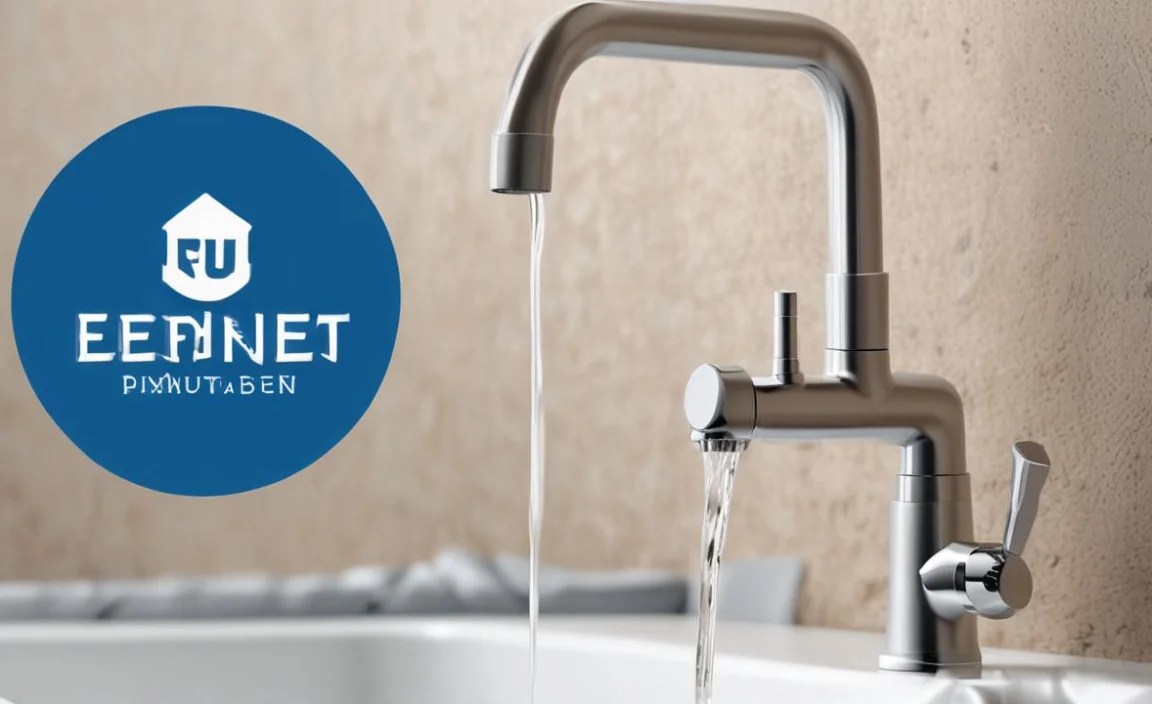
This is often the easiest fix! Over time, mineral deposits from your water (like calcium and lime) can build up inside faucet aerators and showerheads. These tiny screens are designed to mix air with water, creating that satisfying stream, but when they get clogged, they restrict water flow.
Signs of a clogged fixture:
- Low pressure at a single faucet or showerhead.
- Water sprays erratically from the spout.
- Visible mineral buildup around the aerator or showerhead.
2. Leaky Pipes or Fixtures
A hidden leak might be the culprit. Even a small drip can slowly reduce the overall pressure in your system as water escapes before reaching its intended destination. These leaks can be inside your walls, under your floors, or in accessible areas like under sinks.
Signs of a leak:
- Damp spots on walls or ceilings.
- Musty odors.
- Unexplained increases in your water bill.
- The sound of running water when no fixtures are on.
3. Issues with the Main Shut-Off Valve
Your home’s main shut-off valve controls all the water entering your house. If this valve isn’t fully open, it will significantly restrict the water supply and reduce pressure throughout your entire home. Sometimes, these valves can be accidentally bumped or partially closed.
Signs of a partially closed main valve:
- Low water pressure at every faucet and shower in the house.
- The problem appeared suddenly.
4. Problems with the Pressure Reducing Valve (PRV)
Many homes have a PRV installed where the water line enters the house. Its job is to protect your plumbing from excessively high water pressure by reducing it to a safe level. If your PRV fails or becomes clogged, it can either reduce pressure too much (causing low pressure) or fail to regulate it properly.
Signs of a faulty PRV:
- Low water pressure throughout the house, potentially fluctuating.
- A noticeable buzzing or hissing sound coming from the valve.
- Water hammer (a banging sound when faucets are turned off).
You can learn more about Pressure Reducing Valves (PRVs) and their function from this resource by Building Codes.
5. Clogged Water Pipes
Over many years, sediment, rust, and scale can build up inside your pipes, narrowing the passages through which water must flow. This is more common in older homes with galvanized steel pipes, which are prone to corrosion. This internal blockage is a significant cause of overall low water pressure.
Signs of clogged pipes:
- Gradual decrease in water pressure over time, affecting multiple fixtures.
- Discolored water (often rusty).
- Low pressure even after fixing fixtures.
6. Issues with the Water Main or Municipal Supply

Sometimes, the problem isn’t within your home’s plumbing at all. It could be an issue with the water main line on your street or a problem with your local water supplier’s system. This often happens after construction work or during water main repairs.
Signs of municipal supply issues:
- Low water pressure affecting multiple homes in your neighborhood.
- You receive a notice from your local water authority about service interruptions or issues.
7. Well Pump Problems (for homes with wells)
If your home is supplied by a private well, the water pressure is regulated by a well pump and a pressure tank. If the pump is failing, the pressure tank is low on air, or there’s a leak in your well system, you’ll experience low water pressure.
Signs of well system issues:
- Intermittent water pressure or pressure that drops when multiple fixtures are used.
- The well pump cycles on and off more frequently than usual.
- No water at all.
Essential Solutions for Water Pressure Breakdown
Now that we know the common causes, let’s get to the solutions. We’ll start with the simplest DIY fixes and move towards more involved steps.
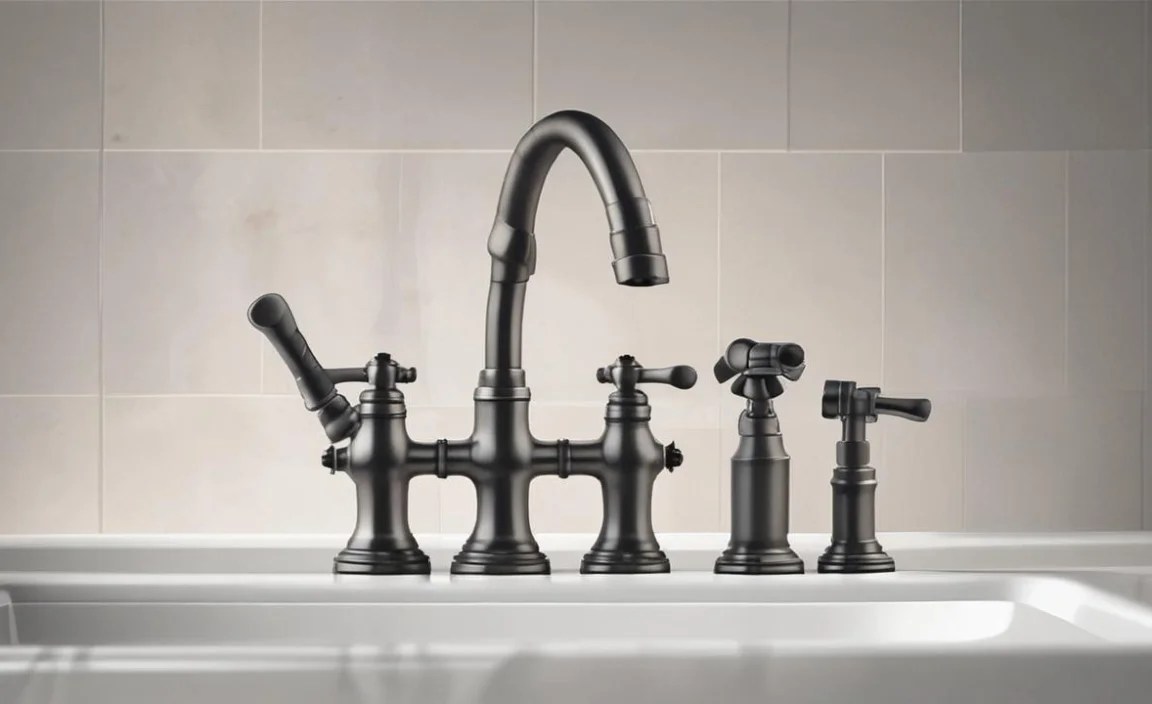
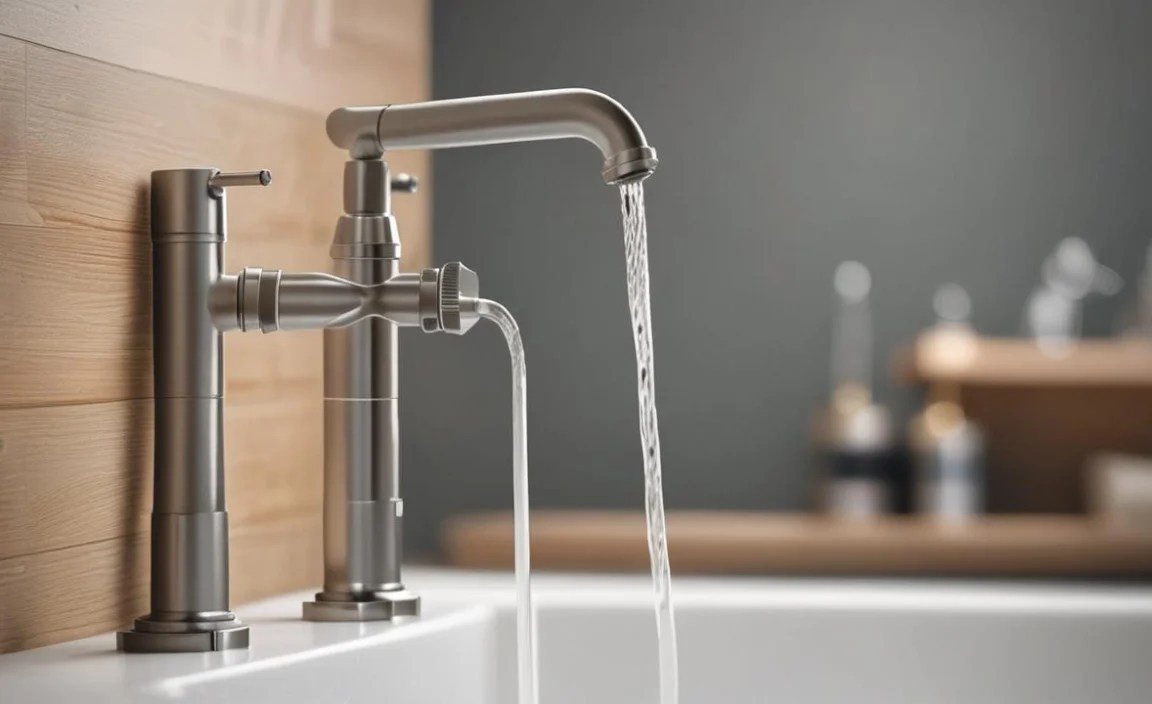
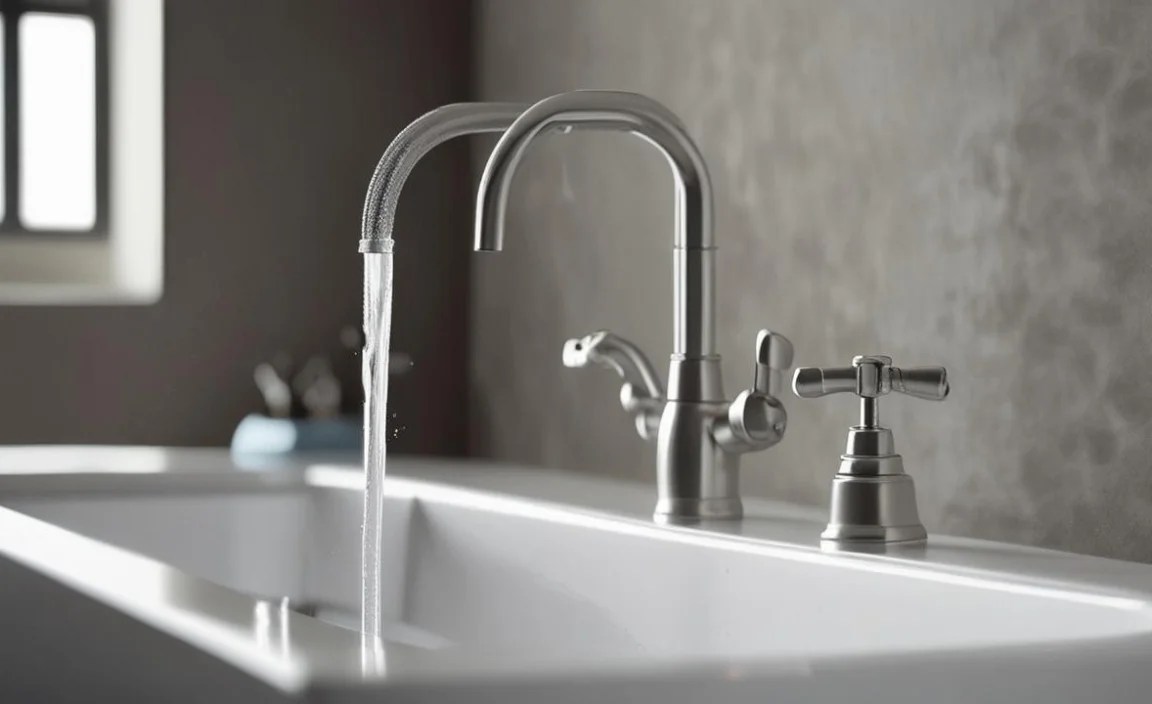
Solution 1: Clean or Replace Fixture Aerators and Showerheads
This is your first line of defense and the easiest DIY fix.
| Tool/Material | Purpose |
|---|---|
| Adjustable wrench or pliers | To gently unscrew the aerator or showerhead. |
| Old toothbrush or small brush | To scrub away mineral deposits. |
| White vinegar | To soak and dissolve stubborn mineral buildup. |
| Soft cloth | To wipe and dry. |
Steps:
- Turn off the water supply: For a faucet, simply turn off the hot and cold knobs. For a showerhead, you might need to shut off the main water supply to your house if there isn’t a dedicated shut-off valve to the fixture itself.
- Unscrew the aerator: Most faucet aerators can be unscrewed by hand. If it’s tight, use adjustable pliers or a wrench. Wrap the pliers with a cloth to avoid scratching the fixture.
- Clean the aerator: Rinse it under running water. If you see mineral buildup, soak it in a small bowl of white vinegar for a few hours or overnight. Then, scrub it with an old toothbrush to remove any remaining deposits.
- Reassemble and test: Screw the clean aerator back onto the faucet. Turn the water on slowly and check the pressure.
- Clean the showerhead: For showerheads, you can often unscrew the entire head. Submerge it in a bag filled with white vinegar or soak it in a basin. After soaking, scrub with a brush and rinse thoroughly before reattaching.
- Replace if necessary: If cleaning doesn’t help or the aerator/showerhead is old and significantly corroded, it’s best to replace it with a new one. They are inexpensive and widely available at hardware stores.
Solution 2: Check the Main Shut-Off Valve
This is a quick check that can solve a house-wide pressure problem.
Steps:
- Locate your main water shut-off valve: This is usually found where the water pipe enters your home. Common locations include the basement, crawl space, garage, or near your water meter (sometimes outside).
- Inspect the valve handle: The valve is typically a lever or a round “wheel” type.
- Ensure it’s fully open:
- Lever-style: The handle should be parallel to the pipe. If it’s perpendicular, it’s partially closed.
- Round handle: Turn it counter-clockwise until it stops.
- Test the pressure: Turn on a faucet to see if the water pressure has improved.
Safety Note: If the valve is stiff or difficult to turn, don’t force it. You could damage it. In such cases, or if you’re unsure, it’s best to call a plumber. If your valve is a type you’re unfamiliar with, consult your water utility or a plumber.
Solution 3: Inspect for Leaks
Finding and fixing leaks is crucial for both water pressure and preventing water damage.
Steps for leak detection:
- Read your water meter: Turn off all water-using appliances and fixtures in your home. Then, go to your water meter. Record the reading. Wait about 15-30 minutes, and check the meter again, ensuring no water has been used. If the numbers have changed, you likely have a leak somewhere.
- Perform fixture checks:
- Toilets: Put a few drops of food coloring in the toilet tank. Wait 15-20 minutes without flushing. If color appears in the toilet bowl, the flapper is leaking.
- Faucets and Showers: Check for drips from the spout or around the handle. Pay attention to shut-off valves under sinks and behind toilets.
- Hoses and Outdoor Faucets: Inspect any garden hoses, sprinkler systems, and outdoor faucets for leaks.
- Check behind the scenes: Look for water stains on walls, ceilings, or floors. Listen for dripping sounds, especially inside cabinets or behind appliances. A musty smell can also indicate hidden moisture.
Fixing minor leaks:
- Worn washers/O-rings: Many dripping faucets are caused by worn rubber washers or O-rings. These are inexpensive parts that can be replaced. You’ll usually need to shut off the water to the fixture, disassemble the handle and cartridge, replace the worn part, and reassemble.
- Toilet flapper: If your toilet has a leak, replace the flapper. It’s a simple rubber seal at the bottom of the tank.
When to call a plumber: If you suspect a leak within your walls, under your foundation, or if you can’t pinpoint the source, it’s time to call a professional. They have the tools and expertise to find and repair hidden leaks safely.
Solution 4: Test and Adjust the Pressure Reducing Valve (PRV)
If you find low pressure throughout your house, the PRV might be the cause. They are typically installed where the main water supply line enters your home, often near the main shut-off valve.
Tools/Materials:
- Water pressure gauge (available at hardware stores)
- Adjustable wrench
- Screwdriver
Steps:
- Locate your PRV: It’s usually a bell-shaped bronze or brass valve.
- Attach a pressure gauge: Connect a water pressure gauge to an outdoor faucet or a laundry sink faucet. Turn on the faucet and let the water flow.
- Read the static pressure: With no water running elsewhere in the house, note the PSI reading on the gauge. The ideal range is typically 45-60 PSI. If it’s significantly lower, the PRV might be faulty or set too low. If it’s too high (above 80 PSI), it can damage your plumbing.
- Adjust the PRV (if applicable): Most adjustable PRVs have a screw or bolt on top.
- Turning the screw clockwise usually increases pressure.
- Turning it counter-clockwise usually decreases pressure.
Make small adjustments (a quarter turn at a time) and re-test the pressure until it’s within the desired range.
- Check for issues: If the PRV is old, corroded, or making noise, it might need to be replaced. Adjustment screws can sometimes be seized.
Important: If your PRV is not adjustable, or if it appears damaged, it will need to be replaced by a plumber. Improper adjustment or a faulty valve can cause more significant problems.
Solution 5: Consider Water Pipe Descaling or Replacement
This is a more involved solution, typically for older homes where internal pipe corrosion is the issue.
Understanding Pipe Issues:
- Galvanized Steel Pipes: These pipes, common in homes built from the 1920s to the 1970s, are prone to internal rusting and mineral buildup, significantly reducing water flow over time.
- Copper Pipes: While more durable, copper pipes can experience mineral deposits or pinhole leaks over decades.
- PEX/CPVC Pipes: These are more modern materials and are less likely to corrode internally, though kinks in PEX can cause flow restriction.
Solutions:
- Water Pipe Descaling: Specialized companies can sometimes “descale” pipes without full replacement, using chemical or mechanical methods. This involves injecting solutions or using flexible tools to clean out blockages. This is a less common but viable option for specific types of pipe corrosion.
- Pipe Rerouting/Replacement: In cases of severe corrosion or widespread blockages, the most effective solution is to replace the affected pipes. This can involve rerouting new pipes (like PEX or copper) through walls, floors, or ceilings. This is a significant job that requires a professional plumber.
When to suspect pipe issues:
- If your home is more than 40-50 years old and has original plumbing, especially if it’s galvanized steel.
- If you consistently have low pressure that can’t be explained by other factors.
- If the water from your taps is often discolored or rusty.
For more in-depth information on plumbing materials and their lifespan, you can consult resources like EPA’s Materials for Drinking Water Systems Handbook.
Solution 6: Contact Your Water Supplier or Well Professional

If you’ve exhausted home-based troubleshooting and suspect the problem lies outside your property, it’s time to look outwards.
For Municipal Water:
- Check with neighbors: See if they are experiencing similar low water pressure issues.
- Contact your water utility: Report the problem and inquire if there are any known issues
