
Get the best home water pressure with a straightforward installation guide. Learn how to identify issues, choose the right solutions like pressure regulators or boosters, and understand the installation process step-by-step. We make achieving optimal water flow simple, ensuring your faucets and appliances work their best.
Tired of a weak trickle from your shower or a slow-filling washing machine? You’re not alone! Low water pressure is a super common frustration in many homes. But don’t worry, it doesn’t have to be complicated. With a little know-how, you can tackle water pressure issues and enjoy a powerful, consistent flow throughout your house. This guide will walk you through everything from understanding why your pressure is low to installing the right fix. We’ll break down simple solutions and clear steps, so you can feel confident making your home’s plumbing work better.
Understanding Water Pressure: What’s “Normal”?

Water pressure is simply the force that pushes water through your pipes. Think of it like the “oomph” behind your tap. Residential water pressure is typically measured in Pounds per Square Inch (PSI). Most homes get their water from either the municipal supply or a private well.
Municipal Supply: Your local water utility delivers water to your property. The pressure they provide can vary based on your location, elevation, and the overall demand on the system.
Private Well: If you have a well, a pump system (including a pressure tank) creates and maintains your home’s water pressure.
Ideally, your home’s water pressure should be between 40 and 60 PSI. Anything significantly below 40 PSI can lead to noticeable problems, while pressure consistently over 80 PSI can actually damage your plumbing and appliances.
Common Causes of Low Water Pressure
Before diving into installation, it’s crucial to pinpoint why your water pressure might be low. Here are some common culprits:
Plumbing Issues
- Clogged Pipes: Over time, minerals and sediment can build up inside your pipes, constricting water flow. This is more common in older homes with galvanized steel pipes.
- Leaky Pipes: Even small leaks can significantly reduce the volume of water reaching your fixtures.
- Faulty Fixtures: A clogged aerator in a faucet or a worn-out showerhead can restrict flow, making it seem like the overall pressure is low.
- Partially Closed Shut-off Valves: Check the main water shut-off valve for your house and any individual fixture valves. If they aren’t fully open, they can severely limit water flow.
Municipal Supply Problems
- Low Pressure from Utility: Sometimes, the issue is with the water supply coming into your home. This could be due to maintenance, high demand in your neighborhood, or infrastructure limitations.
- Pressure Reducing Valve (PRV) Issues: If your home has a PRV (often installed where the water line enters your house), it might be set too low or be malfunctioning.
Well System Issues (For Well Owners)
- Low Water Level in Well: If the water table drops, your pump might struggle to pull enough water.
- Failing Well Pump: The pump itself could be wearing out or have electrical issues.
- Pressure Tank Problems: Issues with the bladder or air charge in your pressure tank can cause inconsistent pressure.
Other Factors
- Too Many Fixtures Running: If multiple high-demand appliances (like washing machines, dishwashers, showers) are used simultaneously, it can temporarily reduce pressure at individual outlets.
- Water Softener Issues: Some water softeners can restrict flow, especially if they are clogged or not properly maintained.
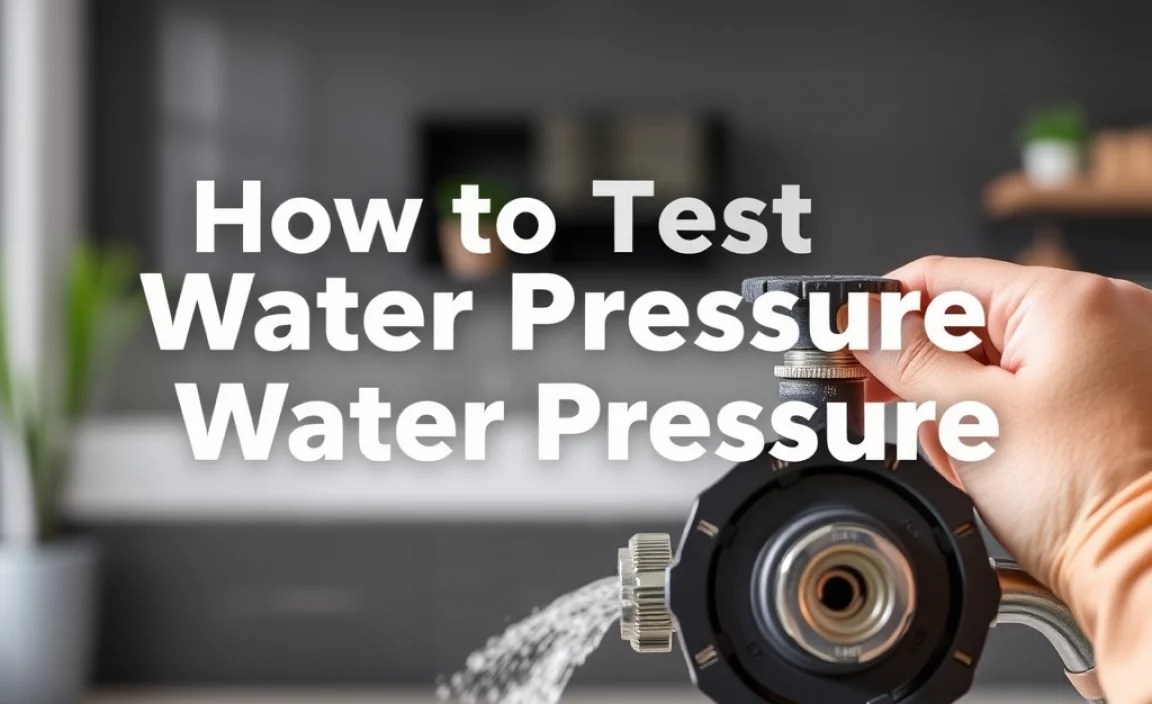
How to Test Your Water Pressure
Before you start any installation, it’s essential to measure your current water pressure accurately. This will help you determine if you have a problem and if your solution is working.
Tools You’ll Need
- Water Pressure Gauge: These are inexpensive and readily available at hardware stores. Look for one that screws onto an outdoor hose bib (spigot) or a faucet.
- Garden Hose (Optional, for outdoor testing): If testing at a hose bib.
Testing Steps
- Locate a Test Point: The easiest place to test is usually an outdoor hose bib. Alternatively, you can test at a laundry sink faucet or another easily accessible faucet that has a direct connection to the main line.
- Attach the Gauge: Screw the water pressure gauge securely onto the hose bib or faucet. Ensure it’s snug to prevent leaks that could affect the reading.
- Turn on the Water: Slowly turn on the faucet or hose bib completely. If testing an outdoor hose bib, make sure no hoses are attached.
- Read the Pressure: Let the water run for about 30 seconds to clear any air from the line. Read the PSI measurement on the gauge.
- Turn off the Water: Close the faucet or hose bib. Remove the gauge.
- Record Your Findings: Note down the PSI reading. If you want to test pressure when multiple fixtures are running, repeat the process with several faucets and appliances turned on simultaneously.
Tip: For a more comprehensive assessment, you might need to test the pressure both inside and outside your home, and potentially at different times of the day.
Solutions for Water Pressure Problems
Once you know your current pressure and have identified potential causes, you can choose the right solution.
Simple Fixes to Try First
Before investing in new equipment, try these easy checks:
- Check Shut-off Valves: Ensure your main water shut-off valve (usually near where the water line enters your home or where the water meter is located) and any individual fixture shut-off valves are fully open.
- Clean Faucet Aerators and Showerheads: Unscrew the aerator from your faucet or the showerhead. Soak them in vinegar overnight to dissolve mineral buildup, then scrub them clean with a brush and reattach. This can make a surprising difference!
- Inspect for Obvious Leaks: Walk around your home and listen for any dripping sounds. Check under sinks and around toilets for any signs of water damage or moisture.
Installing a Pressure Reducing Valve (PRV)
If your municipal water pressure is consistently too high (over 80 PSI), a PRV is essential to protect your plumbing and appliances. If your pressure is low, a faulty PRV might be the culprit, and replacing it could help. A PRV is typically installed on the main water line just after the main shut-off valve.
When You Might Need a PRV:
- Your home’s water pressure consistently exceeds 80 PSI.
- You hear water hammer (a banging noise when faucets are turned off).
- You notice leaks or damage to appliances, pipes, or fixtures that could be pressure-related.
- Your existing PRV is old, damaged, or not functioning correctly.
Tools and Materials for PRV Installation:
- New Pressure Reducing Valve (adjustable or fixed, choose based on your needs)
- Pipe wrench (two recommended)
- Pipe cutter
- Thread sealant tape (Teflon tape) or pipe dope
- Adjustable strap wrench (optional, for delicate pipes)
- Bucket and rags
- Safety glasses
- Gloves
- Soldering kit (if you have copper pipes and need to solder new fittings – this may require professional help!)
- Dielectric unions (if connecting dissimilar metals like copper and galvanized steel)
PRV Installation Steps:
- Shut off the Main Water Supply: Locate your main water shut-off valve and turn it off completely. Open a faucet at the lowest point in your house (like an outdoor spigot) to drain the remaining water from the pipes.
- Locate the Installation Point: The PRV is typically installed on the main water line shortly after the main shut-off valve, before the water branches off to your water heater or the rest of the house.
- Measure and Cut: Measure the section of pipe where the PRV will be installed. You’ll need enough space for the valve and any necessary fittings. Use a pipe cutter to make clean, straight cuts.
- Prepare the Pipe Ends: Clean the cut ends of the pipe thoroughly. If you have copper, deburr the edges.
- Apply Sealant: Wrap the male threads of the pipe fittings (or the male end of the PRV if it has threaded connections) with 3-4 layers of Teflon tape, moving in the direction of the threads. You can add a little pipe dope over the tape for extra security.
- Install the PRV: Screw the PRV onto the pipe. Pay close attention to the flow direction arrow on the valve body to ensure it’s installed correctly. Use two pipe wrenches – one to hold the pipe fitting steady and another to tighten the valve – to avoid stressing the plumbing. If connecting dissimilar metals, use dielectric unions.
- Tighten Securely: Tighten until the valve is snug and properly seated, but do not overtighten, as this can damage the valve or pipe.
- Turn Water Back On Slowly: Open the main shut-off valve very slowly. Check for any leaks around the new PRV and fittings. Apply thread sealant tape or pipe dope to any leaking connections and re-tighten gently.
- Test and Adjust Pressure: Once you’re sure there are no leaks, turn on a faucet. If you installed an adjustable PRV, use your pressure gauge. Turn the adjustment screw (usually at the bottom or top of the valve) to set your desired pressure, typically between 50-60 PSI. Many PRVs come pre-set to around 50 PSI.
Note: If your pipes are copper and you’re not comfortable with soldering, it’s best to hire a plumber for PRV installation.
Installing a Whole House Water Filter
While not directly for pressure boosting, a whole house filter can restore proper pressure if sediment is the cause. Sediment buildup in pipes, especially older galvanized ones, can significantly restrict flow. A filter catches this sediment before it enters your system. These are typically installed on the main water line after the PRV but before the water branches off.
Tools and Materials for Filter Installation:
- Whole house water filter system (choose one with appropriate flow rate for your home)
- Two pipe wrenches
- Pipe cutter
- Thread sealant tape (Teflon tape) or pipe dope
- Bucket and rags
- Safety glasses
- Gloves
- Appropriate fittings (e.g., PEX crimp rings and tool, SharkBite fittings, or threaded connectors depending on your pipe type)
Filter Installation Steps:
- Shut off Water Supply: Turn off the main water valve and drain the pipes as described in the PRV installation.
- Locate Installation Point: Install the filter on the main line after the PRV. Ensure you have enough space for the filter housing and for future filter changes.
- Measure and Cut: Cut a section of pipe to accommodate the filter’s inlet and outlet fittings.
- Prepare Pipe Ends: Clean and deburr the pipe.
- Attach Fittings: Install the necessary fittings onto the pipe ends according to your filter’s specifications and your home’s plumbing type (e.g., PEX, copper, PVC).
- Apply Sealant: Apply Teflon tape or pipe dope to the male threads of the filter inlet/outlet ports or any connecting pipe fittings.
- Install Filter: Connect the filter system to the prepared pipe. Tighten fittings securely but avoid overtightening.
- Turn Water On and Check for Leaks: Slowly turn the main water back on and carefully inspect all connections for leaks.
- Flush the System: Most filters require flushing to remove any manufacturing residue. Follow the manufacturer’s instructions for flushing.
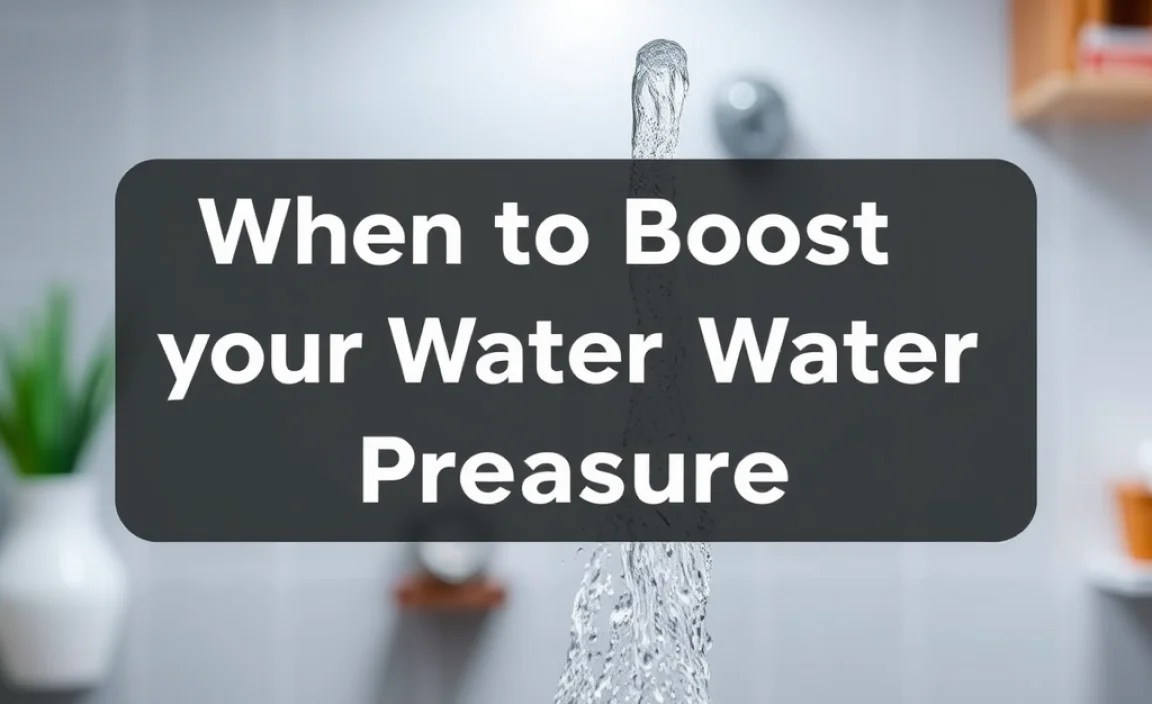
When to Boost Your Water Pressure
If you’ve tried the simple fixes, checked your PRV, and your water pressure is still consistently low (below 40 PSI), you might need to boost it. This is common in homes located at higher elevations, at the end of long water mains, or homes with older, undersized plumbing.
Water Pressure Booster Pump Systems
A water pressure booster pump system increases the incoming water pressure to a desired level. These systems typically consist of a pump and a small pressure tank. They are usually installed on the main water line where it enters the house, often after the main shut-off valve and any filtration.
Types of Booster Systems:
- Submersible Pumps: Used in well systems, these are placed directly inside the well.
- Jet Pumps and Centrifugal Pumps: These are typically installed outside the well or in a basement/utility room for above-ground installation. Many modern “booster pump systems” are compact, integrated units for home water line boosting.
Considerations Before Buying a Booster:
- Flow Rate: How much water your household typically uses simultaneously.
- Inlet Pressure: What pressure the system will receive.
- Desired Outlet Pressure: What pressure you want to achieve.
- Power Source: Ensure you have a suitable electrical outlet nearby.
- Noise: Some pumps can be noisy; consider placement.
- Local Codes: Check if any local plumbing codes require specific types of backflow prevention or installation methods. The U.S. Environmental Protection Agency (EPA) provides guidelines on safe plumbing practices, but always consult local building departments as well.
Installation of a Booster Pump System (General Guide):**
Disclaimer: Installing a pump system involves working with both plumbing and electrical lines, which can be dangerous if not done correctly. If you are not experienced with both, it is highly recommended to hire a qualified plumber and electrician.
Tools and Materials for Booster Installation:
- Water pressure booster pump system
- Pipe wrenches
- Pipe cutter
- Thread sealant tape or pipe dope
- Appropriate pipe fittings (for your home’s plumbing type)
- Electrical wiring, wire connectors, conduit (if needed for electrical connection)
- Voltage tester
- Safety glasses and gloves
- Bucket and rags
- Pressure gauge
Booster Installation Steps:
- Shut off Water and Electrical: Turn off the main water supply and the circuit breaker for the area where you’ll be working.
- Plan the Layout: Determine the best location for the pump and pressure tank. Ensure there’s access to a drain for maintenance and an electrical outlet. The system should be installed on the main water line after any filtration but before the water branches into your home.
- Install the Pump: Follow the manufacturer’s instructions precisely. This often involves cutting into the main water line and installing fittings to connect the pump. Ensure the pump is oriented correctly for water flow.
- Install the Pressure Tank: The pressure tank is crucial for preventing the pump from cycling on and off too frequently. It’s usually plumbed in parallel with the pump.
- Connect Plumbing: Use pipe wrenches and thread sealant to connect all plumbing lines to the pump, tank, and existing water supply.
- Electrical Connection: This is a critical step. Ensure the pump is correctly wired to the power source according to the manufacturer’s instructions and local electrical codes. If you are not experienced with electrical work, do not attempt this yourself.
- Turn Water and Power Back On: After all connections are made and checked, slowly turn the main water supply back on. Check thoroughly for leaks. Once you are confident there are no water leaks, turn the electrical circuit breaker back on.
