
Wet room structure pros and cons? Understanding the benefits of a waterproof, walk-in shower space versus its challenges is key. This guide breaks down everything beginners need to know for a successful, leak-free wet room project.
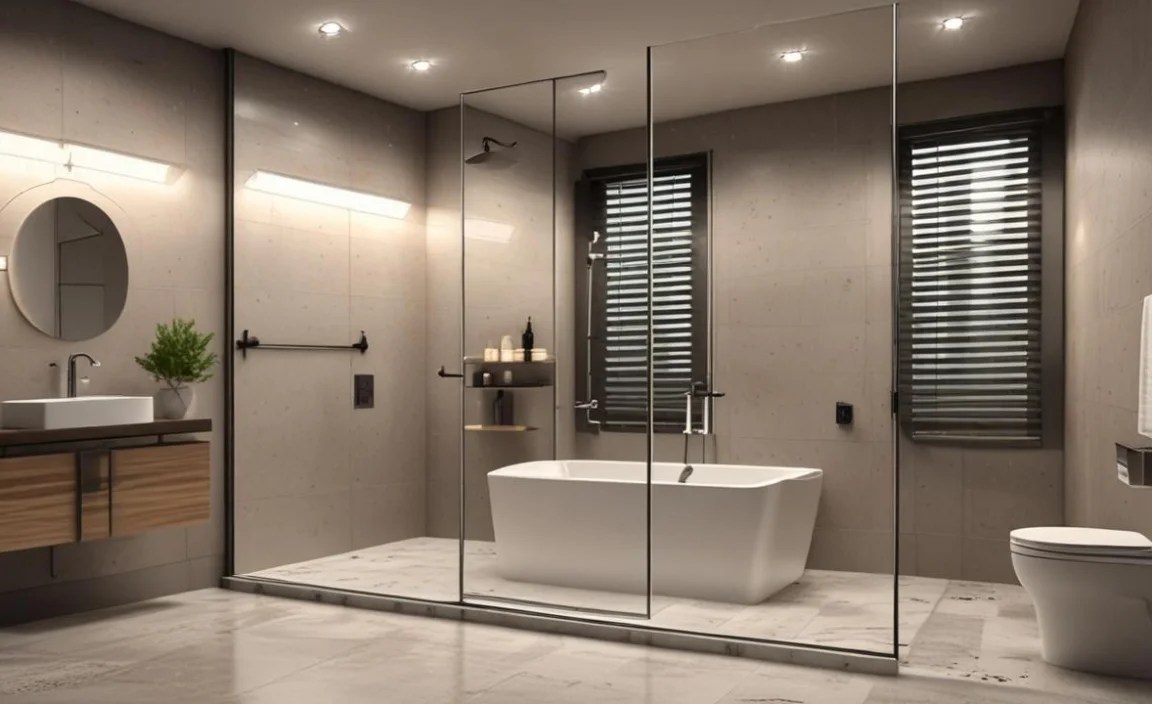
Planning a bathroom renovation, or perhaps just looking to upgrade your shower? You might have heard about “wet rooms.” They’re becoming increasingly popular, and for good reason! A wet room is essentially a fully waterproofed bathroom, or a section of a bathroom, designed for a walk-in shower without a traditional tray or screen. This means water can splash freely, creating a spacious, modern, and accessible shower experience. However, building one involves specific structural considerations to ensure it’s both functional and watertight. This guide will walk you through the pros and cons of different wet room structures, making the process clear and simple, even if you’re new to DIY projects. We’ll cover everything you need to know to feel confident about your wet room project. Get ready to transform your bathroom into a sleek and practical space!
Frequently Asked Questions
What exactly is a wet room?

A wet room is a bathroom where the showering area is not enclosed by a screen or cubicle. Instead, the entire bathroom, or a designated section, is completely waterproofed. This allows water to flow freely into a floor drain, creating a seamless, open shower space.
Are wet rooms safe for elderly or disabled people?

Yes, wet rooms are excellent for accessibility. With no steps or trays to trip over, they offer a safe and easy way to shower for people with mobility issues. Grab bars and shower seats can also be easily installed.
Do I need special waterproofing for a wet room?

Absolutely. Waterproofing is the most critical part of a wet room build. This involves a special membrane applied to the floor and walls around the shower area (and often the entire room) to prevent water damage to the building structure.
Can I install a wet room in any bathroom?

Generally, yes. However, considerations like floor slope (to ensure drainage), ventilation, and access to plumbing are important. You’ll also need to ensure your floor joists can support the load if you’re building a new structure or raising the floor level.
How is a wet room different from a walk-in shower?

A walk-in shower typically still has a tray and a glass screen or door to contain the water. A wet room is essentially a fully waterproofed shower space where water can spread without a tray, often with a slight slope directing it to a drain.
What kind of drain do I need for a wet room?

Wet rooms need a specialized drain system that can handle the volume of water. These are usually linear drains or point drains installed at the lowest point of the floor to ensure efficient water removal.
How much does a wet room structure cost?
The cost varies greatly depending on the size, materials, and whether you do it yourself or hire professionals. Waterproofing materials themselves can cost a few hundred pounds/dollars, but professional installation and any structural work can significantly increase the price.
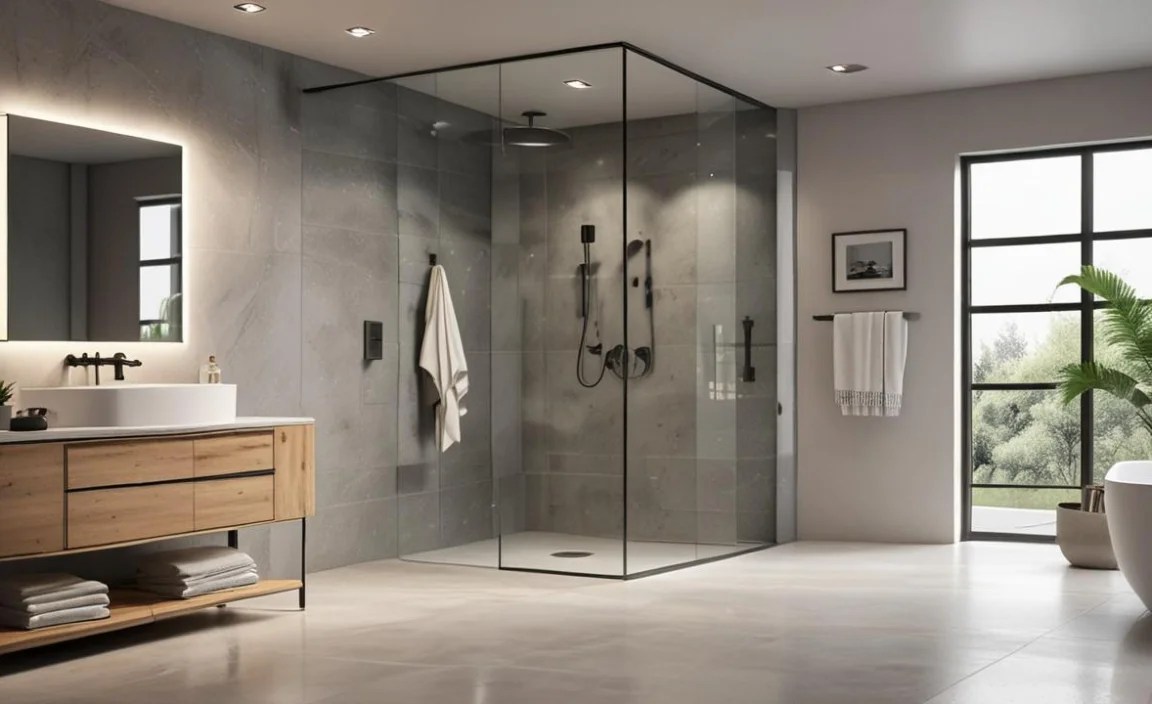
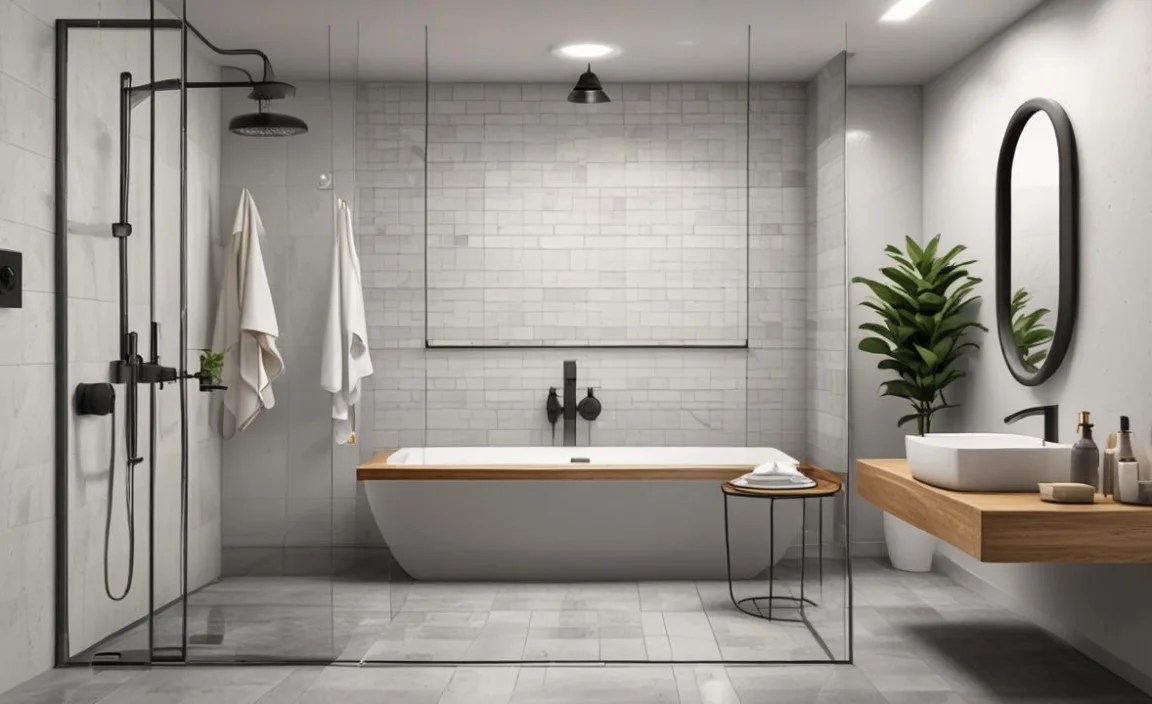
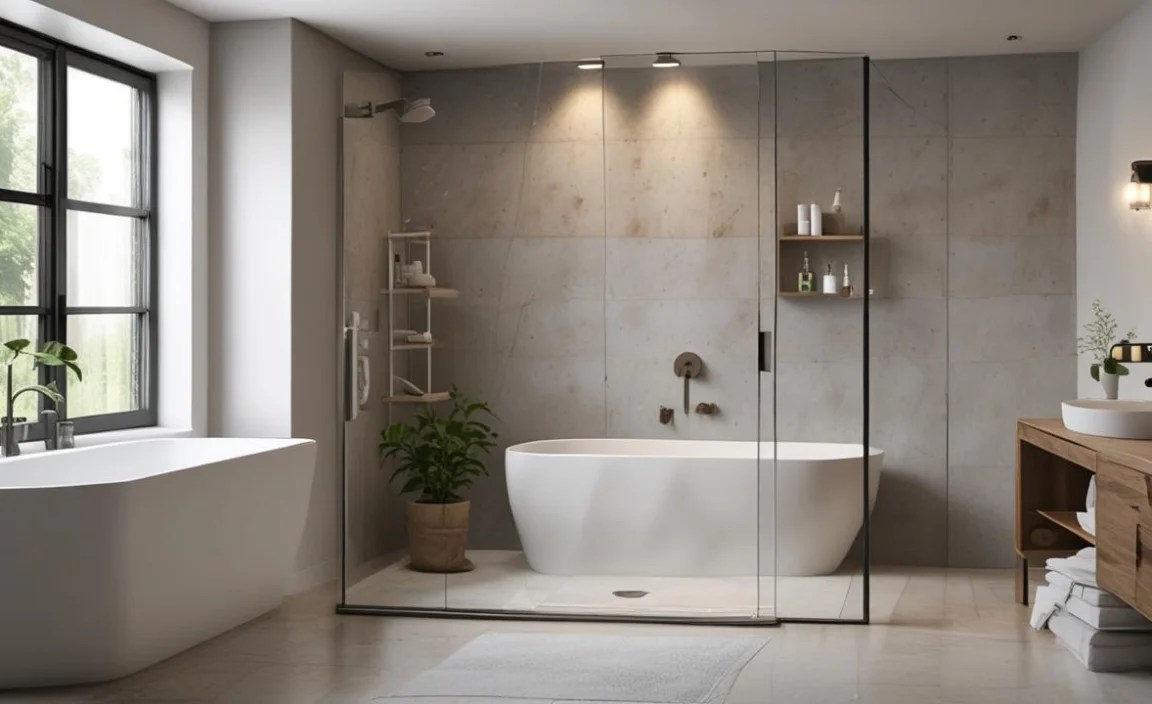
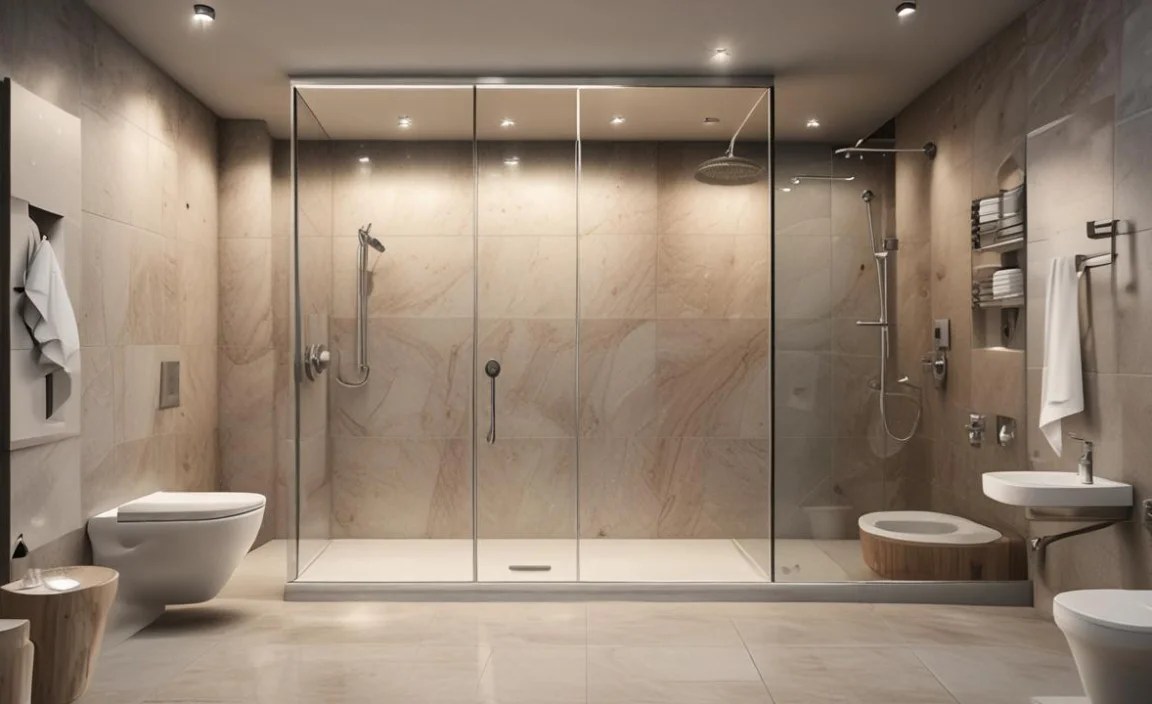
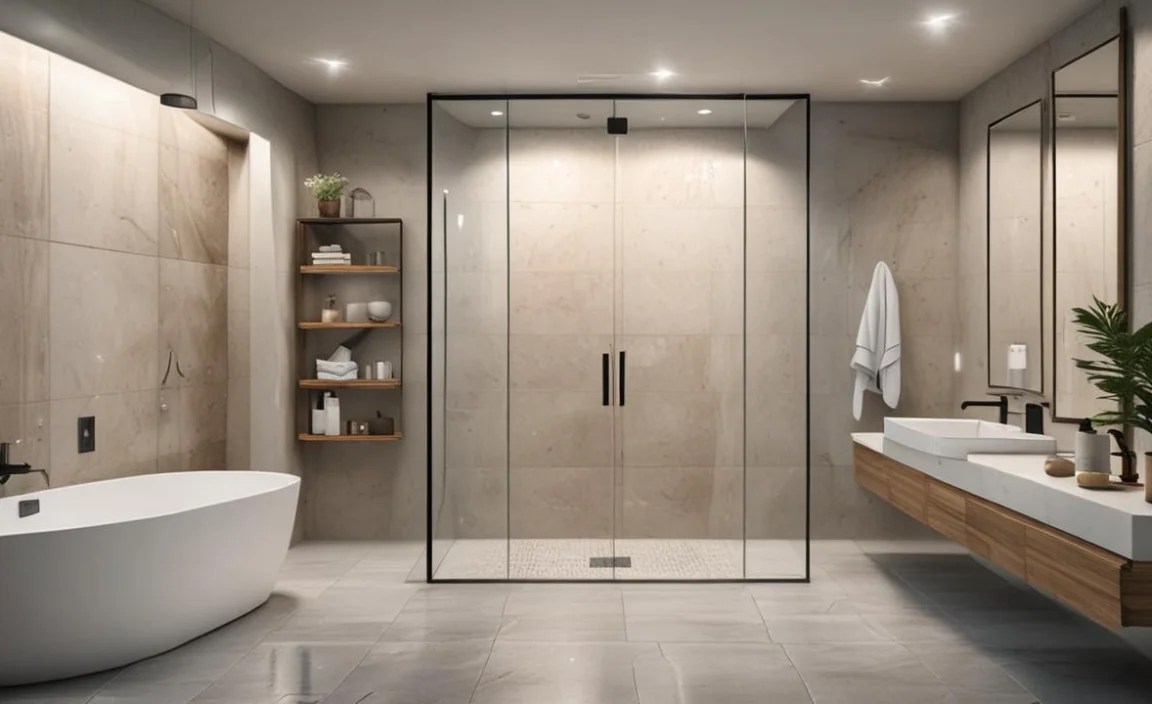
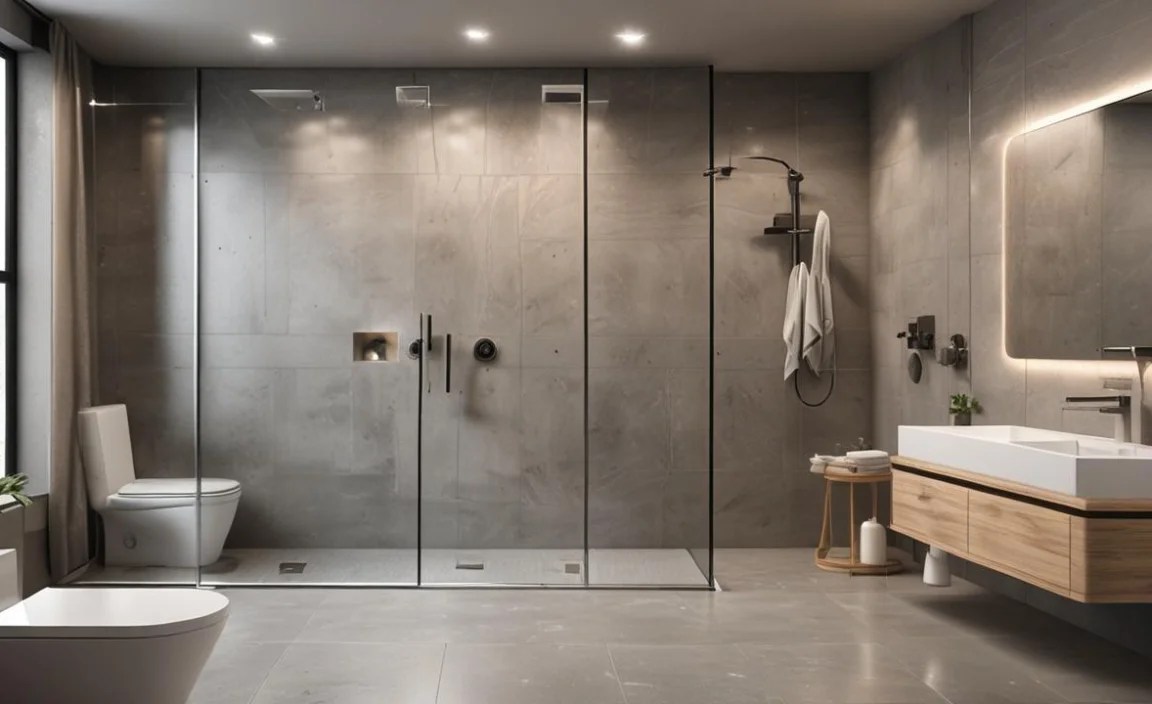
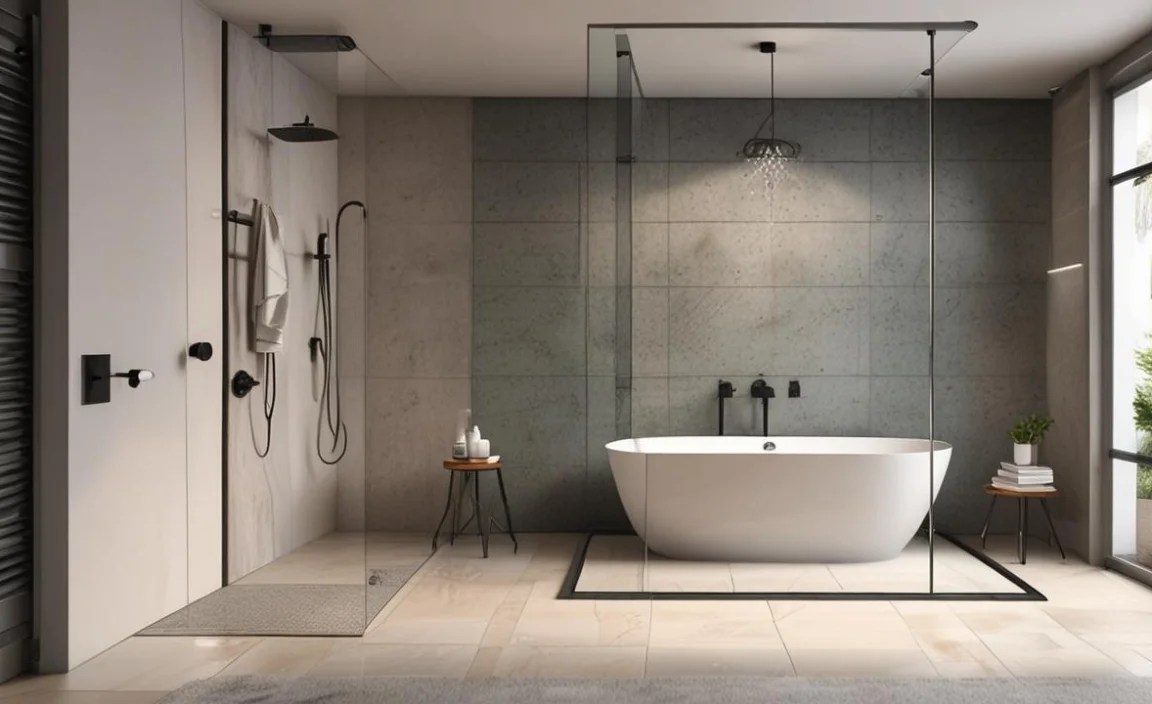
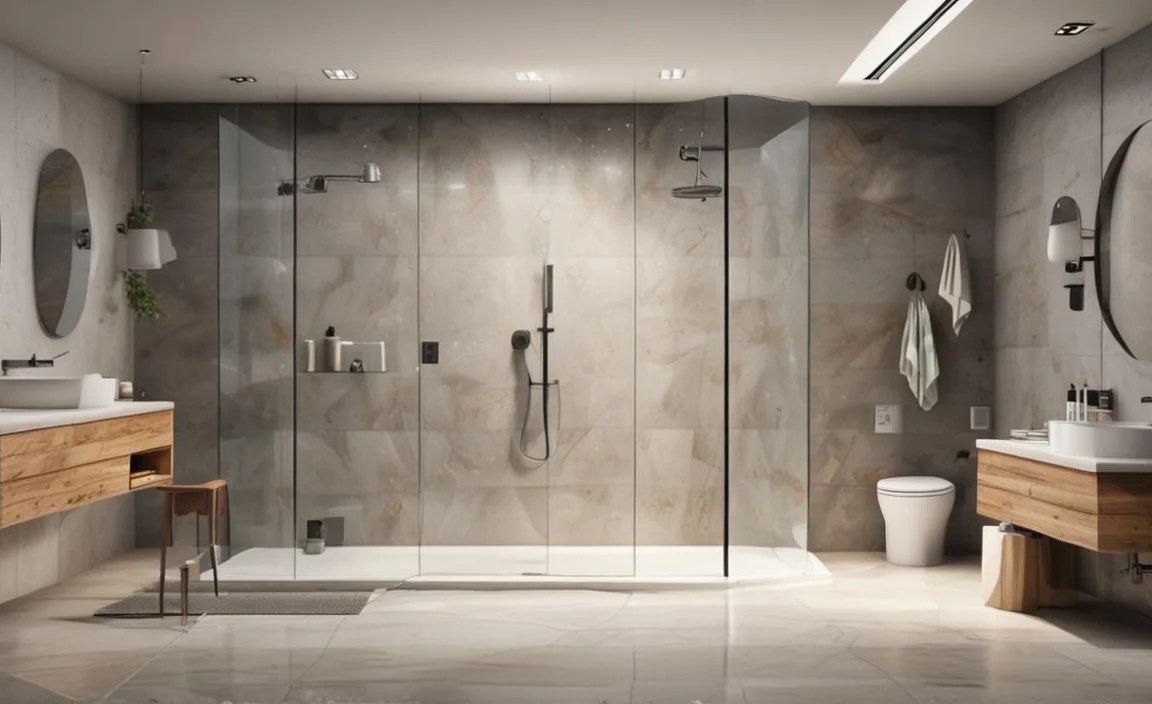
What is a Wet Room Structure?
A wet room structure is the foundation and framework that supports your fully waterproofed shower space. Unlike a standard bathroom with a raised shower tray and walls, a wet room is designed to handle water all over its floor area. This means special considerations go into building a floor that can be perfectly sealed and slopes correctly towards a drain. The walls surrounding the wet area also need robust waterproofing to protect them from constant moisture. Think of it as building a watertight box within your bathroom. This involves careful planning of drainage, sealing materials, and ensuring the supporting structure can handle the added weight and moisture exposure.
Pros of Wet Room Structure

Embracing a wet room design can bring several fantastic advantages to your home. These benefits often go beyond just aesthetics, offering practical improvements to your bathroom’s functionality and accessibility. Let’s dive into why a wet room structure might be the perfect choice for you.
1. Enhanced Accessibility
This is a major selling point for many. Wet rooms eliminate the need for a raised shower tray or entry step. This makes them incredibly user-friendly for people with mobility issues, the elderly, or families with young children. It creates a much safer environment, reducing the risk of trips and falls. The open-plan design allows for easy maneuverability for wheelchairs or walking aids, making showering a more comfortable and independent experience for everyone.
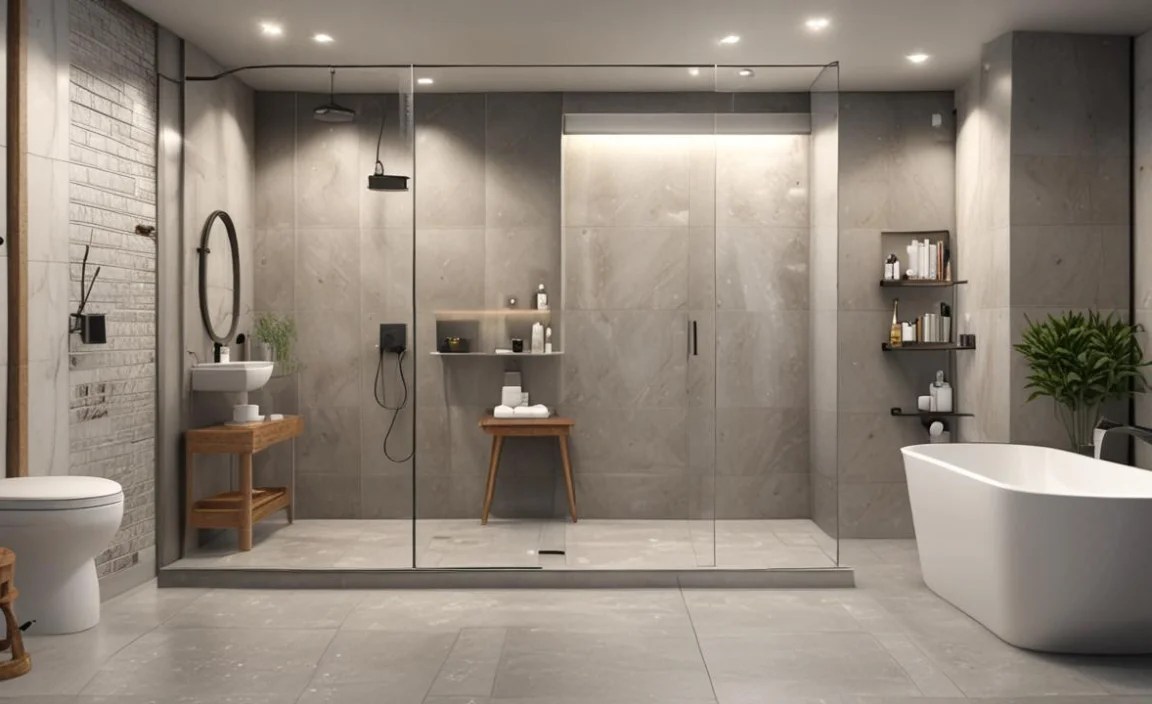
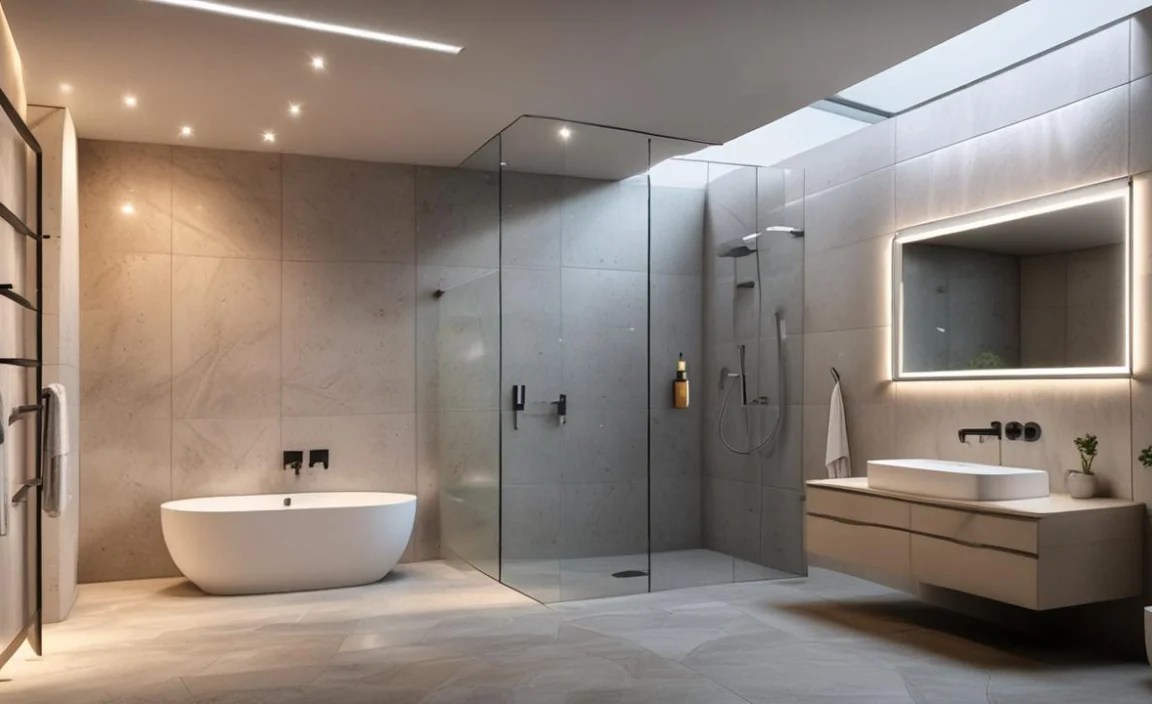
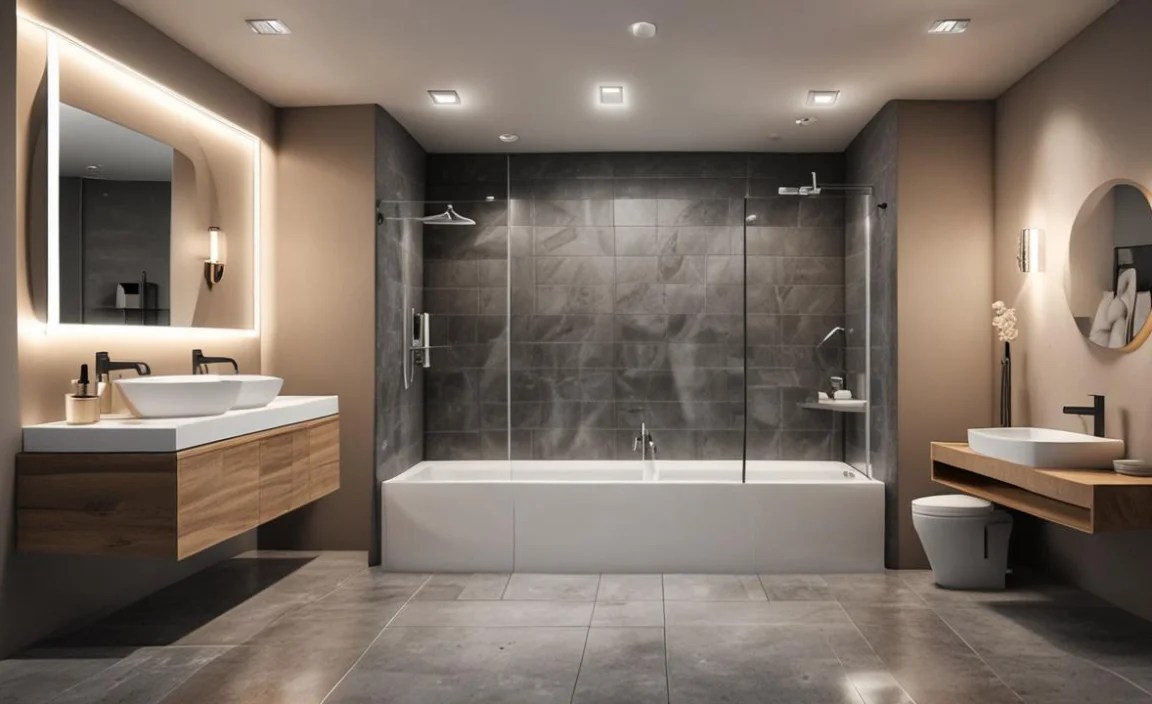
2. Space-Saving and Modern Aesthetics
Wet rooms can make even small bathrooms feel larger and more open. By removing the bulky shower enclosure, you create a seamless, minimalist look. This design can visually expand the space, making it feel more luxurious and airy. The sleek, modern aesthetic is highly desirable and can add significant value to your property. It’s a smart way to maximize the use of your bathroom, especially in compact living spaces.
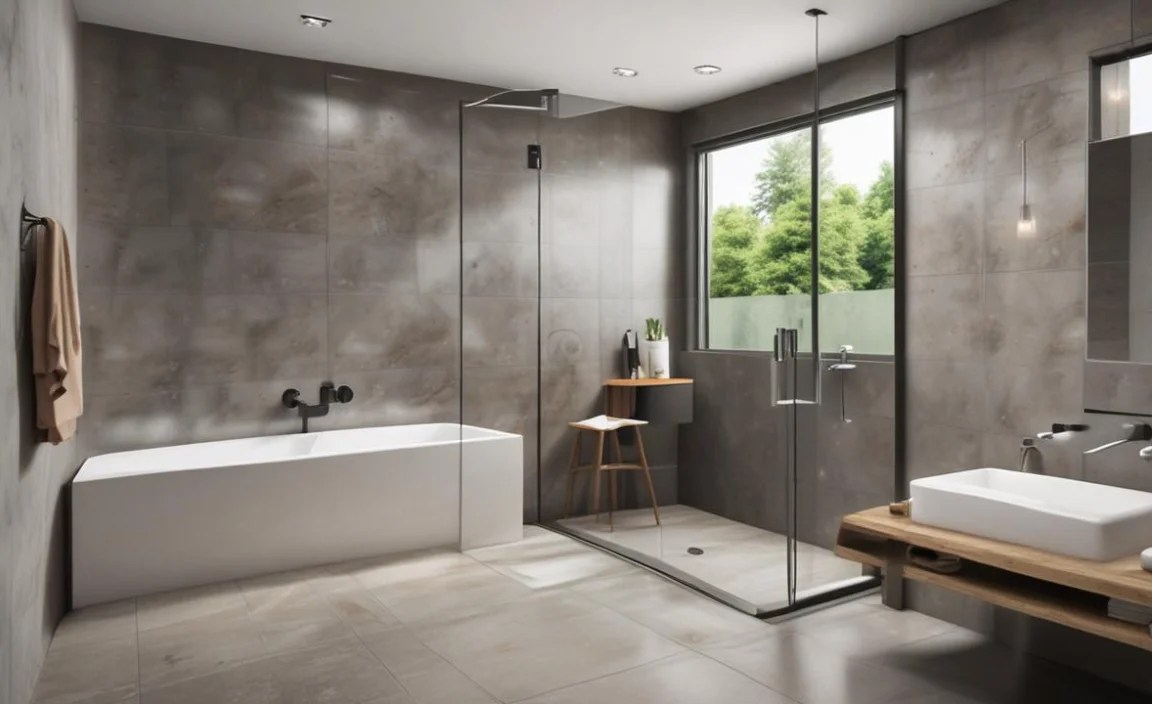
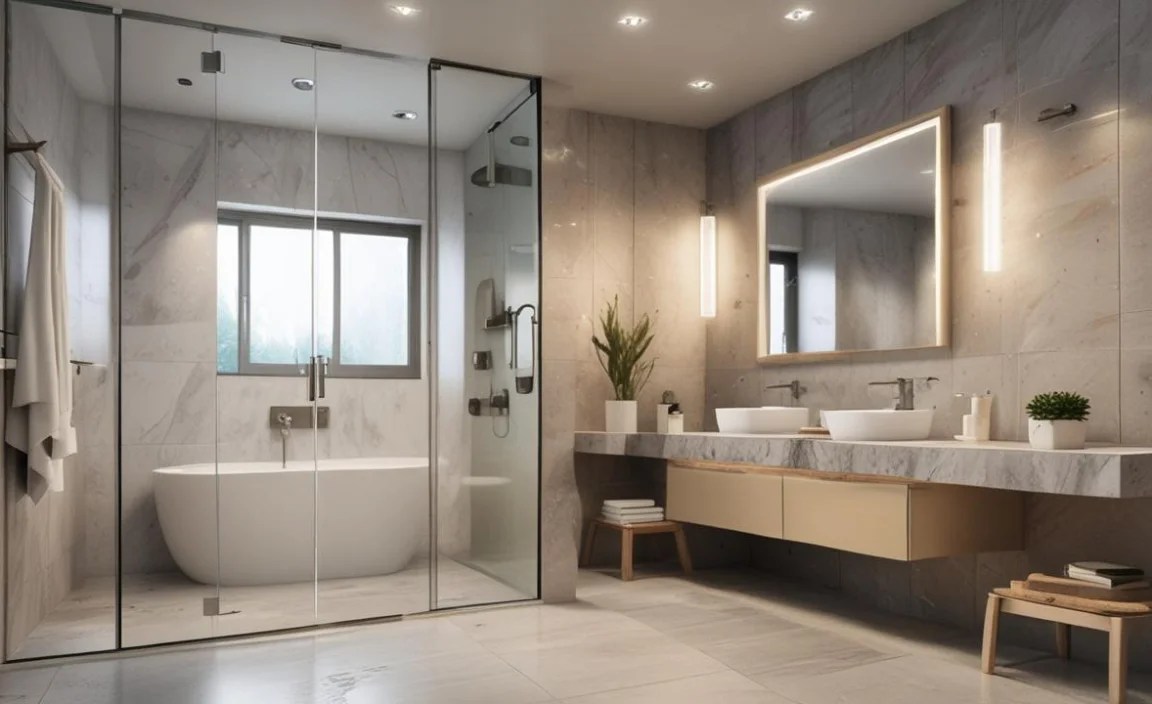
3. Flexible Design Options
The open nature of a wet room allows for incredible design flexibility. You can choose where to place your shower head, whether to incorporate a bench, and how to tile the space. Many people opt for large format tiles, which means fewer grout lines and a smoother, easier-to-clean surface. Materials like natural stone, resin-based showers, or high-quality ceramic tiles can create a spa-like atmosphere. You’re not confined by standard shower tray dimensions, giving you more freedom to personalize your bathroom.
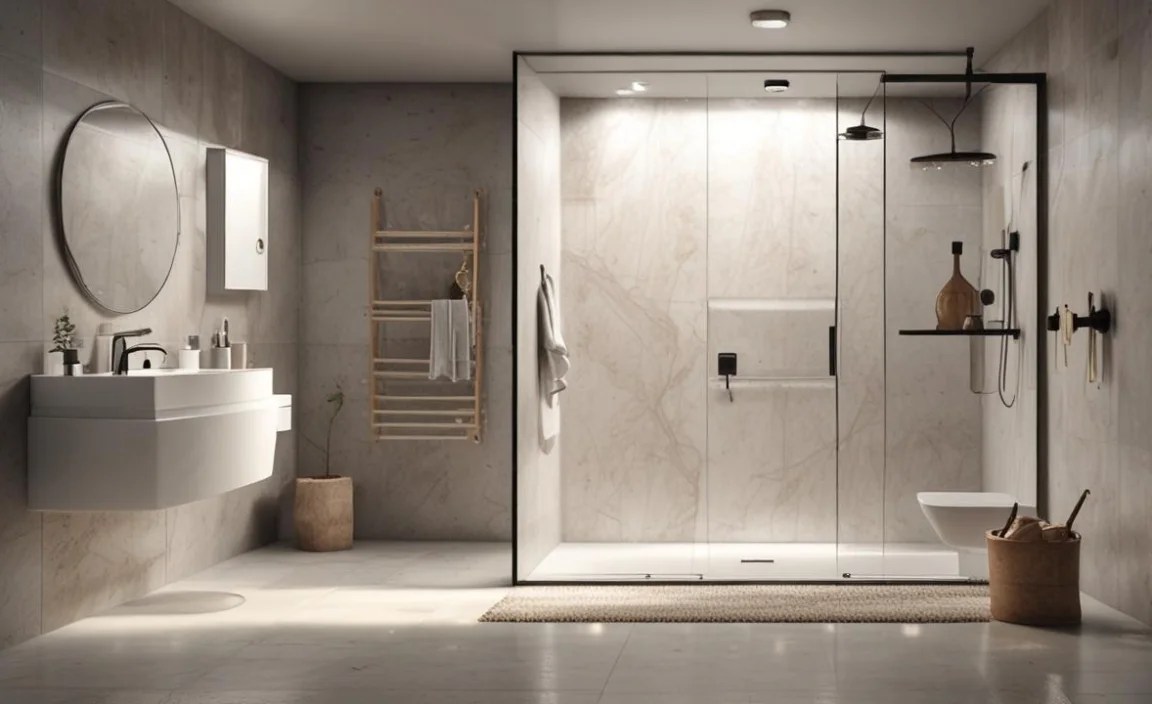
4. Easier Cleaning
With fewer nooks and crannies, a wet room can be surprisingly easy to clean. There are no shower doors with tracks to scrub, no shower trays to get grimy, and fewer edges where mould and mildew can hide. A simple wipe-down of the tiled surfaces and the floor drain is often all that’s needed.
5. Potential for Increased Property Value
A well-designed and professionally installed wet room can be a significant draw for potential buyers. Its modern look and enhanced accessibility features are highly sought after, particularly in properties aimed at a diverse range of occupants. This makes it a worthwhile investment for many homeowners.
Cons of Wet Room Structure

While wet rooms offer many advantages, it’s crucial to be aware of the potential downsides. Understanding these challenges upfront will help you plan effectively and avoid common pitfalls. Building a successful wet room requires meticulous attention to detail, especially regarding waterproofing.
1. Critical Importance of Waterproofing

This is the biggest challenge and requires absolute precision. If the waterproofing (often using a liquid membrane or sheet membrane) is not installed correctly, water can seep into the subfloor, walls, and ceiling below. This can lead to serious structural damage, mould growth, and costly repairs. Professional installation is highly recommended for this aspect. Understanding different waterproofing methods can help, but executing them perfectly takes practice.
2. Potential for Water Damage
As mentioned above, any failure in the waterproofing system or drainage can cause extensive water damage. This risk is higher than in a standard bathroom with a contained shower. It’s essential to use appropriate membranes and follow manufacturer guidelines strictly. Ensure your subfloor material is also suitable for wet environments.
3. Drainage Considerations
Effective drainage is paramount. The floor needs to be sloped consistently towards the drain, typically at a gradient of 1:80 or 1:100, according to building regulations. If the slope isn’t correct, water will pool, leading to potential issues with standing water and unpleasant odours. The chosen drain must also be capable of handling the water flow rate. A drain that’s too small can cause backups. For guidance on drainage, the Health and Safety Executive provides insights on designing accessible and safe spaces.
4. Ventilation Requirements
Because water can freely evaporate into the air, good ventilation is non-negotiable. Inadequate ventilation can lead to condensation buildup, mould, and mildew growth, not only in the bathroom but also within the building structure. A high-quality, humidity-sensing extractor fan is usually essential, and you might also consider a window that can be opened regularly.
5. Cost of Specialized Materials

While a wet room can reduce the need for some items like shower screens, it requires specialized waterproofing materials, suitable subfloor preparation, and often a more robust drainage system. These can be more expensive than standard bathroom components. You also have the option of buying pre-formed wet room shower formers, which simplify the process but add to the material cost.
6. Potential for Feeling Cold
With an open shower area, especially in colder climates, the space might feel cooler as you’re not enclosed by a typical shower cubicle which traps heat and steam. This can be mitigated by good heating in the bathroom and potentially underfloor heating, which is a common addition to wet rooms.
Types of Wet Room Structures
When planning your wet room, you’ll encounter a few different structural approaches. Each has its own method of ensuring a watertight and functional space. Understanding these will help you decide which is best suited for your project and your existing bathroom setup.
1. Pre-Formed Shower Formers (Trays)
These are rigid boards made from materials like XPS (extruded polystyrene) or fibreglass, specifically designed with a built-in slope and a pre-cut aperture for a drain. You install this former directly onto your subfloor, and then tile over it. They come in various sizes and shapes and are designed to be completely watertight when sealed correctly to the surrounding walls and floor.
Pros:
- Simplifies the creation of the floor slope.
- Reduces the risk of incorrect sloping.
- Can be easier and quicker to install for DIYers.
- Often used over timber joists to provide rigidity.
Cons:
- Can be more expensive than creating a screeded floor.
- Limited to available sizes and shapes.
- Still requires meticulous sealing.
2. Screeded Floor Method
This is a more traditional method often used in new builds or when undertaking significant renovation. It involves laying a layer of screed (a mixture of cement and sand) over the subfloor. This screed is carefully trowelled to create the necessary gradient towards the drain. Once dry, it’s covered by a waterproof membrane before tiling.
Pros:
- Highly durable and robust.
- Can be used to create custom shapes and sizes.
- Potentially more cost-effective for larger areas if done DIY.
Cons:
- Requires a high level of skill to get the slope perfect.
- Drying times for screed can be lengthy.
- Adds significant weight to the floor structure, which is crucial to consider.
3. Wooden Subfloor with Rigid Boards

This is a common scenario in many homes where the existing floor is made of timber joists and floorboards. The approach involves installing marine plywood or tile backer boards directly onto the joists. These are rigid, water-resistant boards. A waterproof membrane is then applied over these boards, ensuring all seams and edges are properly sealed. The drain is then installed through the boards.
Pros:
- Suitable for upper floors where weight is a concern.
- DIY-friendly with the use of appropriate boards.
- Provides a stable base for tiling.
Cons:
- Requires careful selection of water-resistant boards.
- Potential for flexing if not properly supported, which can damage the membrane.
- Waterproofing membrane is absolutely critical to prevent joist damage.
4. Concrete Subfloor with Membrane
If you have a concrete subfloor, you’re in a good position. Concrete is inherently strong and water-resistant, making it a suitable base. The process involves preparing the concrete surface, ensuring it’s clean and level. A waterproof membrane is then applied directly to the concrete, with meticulous attention paid to sealing around the drain and any wall junctions. You might need to create a slope using a self-levelling compound before applying the membrane if the concrete isn’t already sloped.
Pros:
- Concrete is a very stable and durable base.
- Less risk of floor deflection.
- Good for ground floors.
Cons:
- Concrete can be harder to work with or modify for slopes.
- Requires proper cleaning and preparation of the concrete surface.
- If it’s a suspended concrete slab, you still need to worry about what’s below.
Key Structural Considerations for a Wet Room
Building a wet room isn’t just about tiling a floor. It’s about creating a robust and waterproof structure that will last. Here are the critical elements to get right:
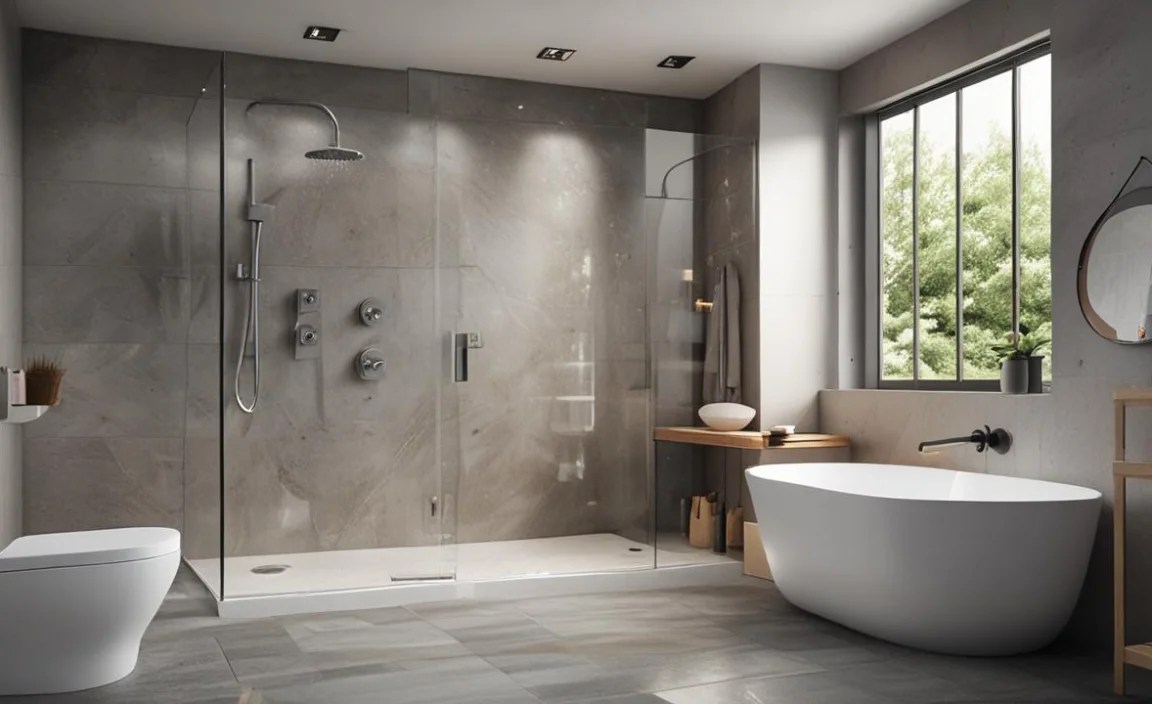
1. Floor Slope and Drainage
This is arguably the most important aspect. Your wet room floor must be precisely sloped so that water drains away quickly and efficiently. The standard recommendation is a slope of 1:80 to 1:100 (meaning for every 80 or 100cm horizontally, the floor drops 1cm vertically). This ensures water doesn’t pool and finds its way to the drain. You’ll need a suitable drain – either a linear drain (which runs along the wall) or a point drain (a single grate on the floor). Ensure the drain is correctly positioned and sealed.
For an example of building codes and standards related to drainage, you can consult resources like the British Standard BS EN 12056-3, which covers gravity drainage systems inside buildings.
2. Waterproofing Membrane

This is non-negotiable. A specialized waterproof membrane must be applied to the entire shower area, extending up the walls and across the floor. This is usually a liquid-applied membrane or a sheet membrane made of materials like bitumen or polyethylene. The membrane creates a seamless barrier against water penetration. Pay close attention to all corners, edges, and the area around the drain – these are common failure points.
3. Subfloor Material and Support
The material beneath your tiles and membrane is crucial. For timber floors, use moisture-resistant backer boards or marine-grade plywood. These should be securely fixed to the joists to prevent flexing, which can crack tiles and damage the membrane. Ensure your floor joists are strong enough to support the added weight of tiles, screed (if used), and the water itself. If you have a concrete subfloor, ensure it’s structurally sound and free of cracks. Some builders reinforce concrete subfloors with a waterproofing layer like a tanking slurry beneath the main membrane.
4. Wall Protection
While tiles provide a surface finish, the walls behind them also need protection. In a wet room, the walls in the splash zone should be tiled, and critically, should also have a waterproof membrane applied beneath the tiles. This protects plasterboard or other wall structures from moisture ingress, especially at grout lines and tile edges. Areas outside the immediate splash zone might only require a damp-proof membrane (DPM).
