
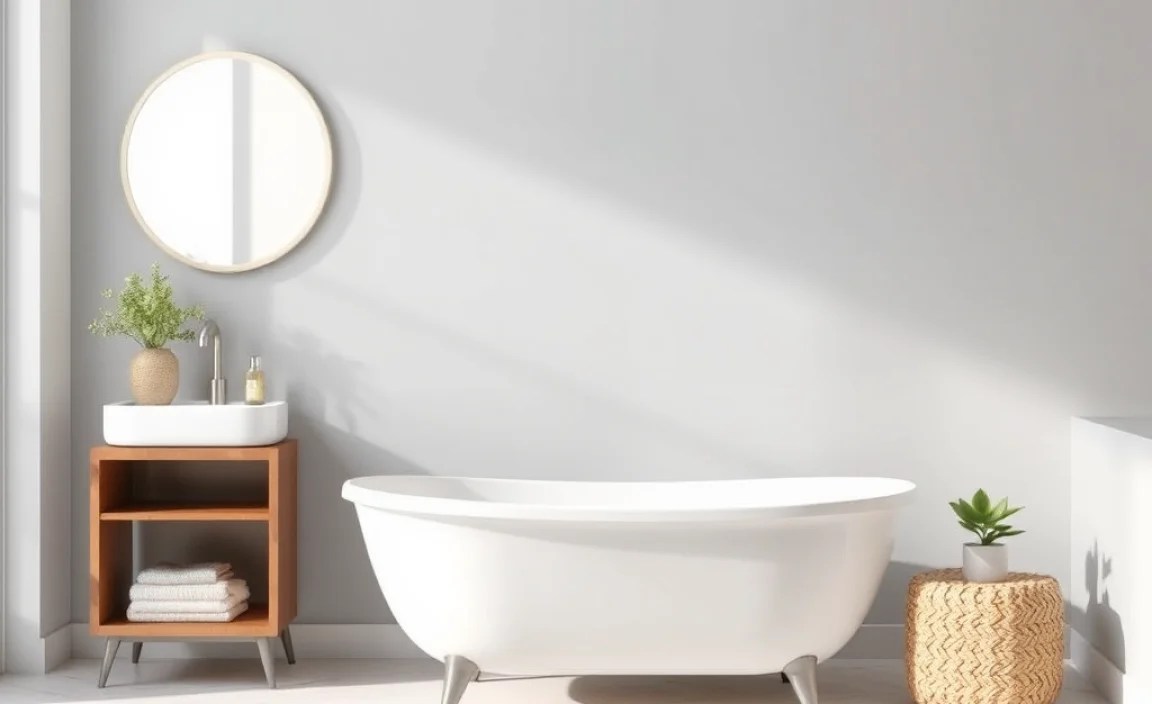
Transform your bathroom with easy DIY acrylic organizers! Learn how to create smart storage for makeup, toiletries, and more, decluttering your space affordably and stylishly. These simple projects are perfect for beginners and offer fantastic organization solutions.
Tangled in toiletries? Does your makeup collection feel like a chaotic mess? Many of us face bathroom clutter. It’s frustrating when you can’t find what you need, wasting precious morning minutes. But don’t worry! You can bring order to your bathroom with simple, affordable DIY acrylic organizers. These projects are easier than you think, even if you’re new to DIY. We’ll walk you through genius storage solutions that will make your bathroom feel like a spa. Get ready to declutter and discover a more organized, peaceful space!
Why DIY Acrylic Organizers?

Acrylic, also known as Plexiglas, is a fantastic material for home organization projects. It’s clear, lightweight, and surprisingly durable, making it perfect for corralling beauty products, bathroom essentials, and even small items like cotton swabs. Unlike glass, it’s more forgiving if dropped, which is a big plus in a busy bathroom environment.
Plus, you can often find acrylic sheets or repurposed acrylic items that are much cheaper than buying pre-made organizers, especially designer ones. As The Family Handyman highlights, smart storage is key to a functional bathroom, and DIY is a budget-friendly way to achieve it. By making your own acrylic organizers, you get custom-fit solutions tailored to your specific needs and space, all while enjoying the satisfaction of a project well done.
Getting Started with Acrylic for Your Bathroom

Before you dive into cutting and crafting, it’s important to understand a few basics about working with acrylic. Safety is always our number one priority in DIY projects. Acrylic is a plastic, and while it’s generally safe to work with, proper precautions will ensure a smooth and successful experience.
Essential Tools and Materials
You don’t need a workshop filled with fancy equipment to create beautiful acrylic organizers. Here’s a list of what you’ll likely need for most beginner-friendly projects:
- Acrylic Sheets or Pre-Cut Pieces: You can buy these at hardware stores or craft supply shops. For beginners, starting with pre-cut pieces for smaller projects can be easier.
- Measuring Tape or Ruler: For accurate measurements.
- Marker or Pencil: To mark your cutting lines on the acrylic. A grease pencil or a dry-erase marker often works best, as it can be wiped away easily.
- Cutting Tool:
- Utility Knife with a Scoring Tool: This is excellent for thinner acrylic sheets. You score the line multiple times and then snap the acrylic over an edge.
- Hand Saw (with fine teeth) or Jigsaw: For thicker acrylic or more intricate cuts. Use a blade designed for plastics.
- Acrylic Scorer/Cutter: Specialized tools are available for clean, straight cuts.
- Sandpaper (fine-grit): To smooth rough edges after cutting.
- Acrylic Cement or Adhesive: Look for glues specifically designed for bonding acrylic.
- Clamps: To hold pieces together while the adhesive dries.
- Protective Gear: Safety glasses are a must to protect your eyes from any flying debris. Gloves can also be helpful.
- Cleaning Supplies: Isopropyl alcohol and a soft cloth for cleaning the acrylic before and after assembly.
Safety First!
Working with any tool requires common sense and preparation. Here are some crucial safety tips for DIY acrylic projects:
- Always wear safety glasses. Acrylic can chip or shatter, sending small pieces flying.
- Work in a well-ventilated area, especially when using acrylic cement, as the fumes can be strong.
- Read the instructions for any adhesives or tools you are using.
- Secure your acrylic sheet firmly before cutting.
- Keep your work area clean to avoid tripping hazards.
DIY Acrylic Organizer Project Ideas

Let’s get hands-on! Here are some beginner-friendly DIY acrylic organizer projects that can instantly upgrade your bathroom storage.
Project 1: Simple Makeup Brush Holder
Tired of digging through your makeup bag for the right brush? This simple cylindrical or square holder is a game-changer. It keeps brushes upright, organized, and easy to see.
Materials Needed:
- One piece of clear acrylic sheet (e.g., 8″ x 8″ for a square holder, or a rectangular piece for a cylindrical one)
- Acrylic cement or strong adhesive
- Ruler and marker
- Utility knife or acrylic scorer
- Sandpaper (fine-grit)
- Clamps
Step-by-Step Guide:
- Measure and Cut: Decide the height and diameter (or sides for a square) of your holder. For a square, cut four identical rectangular pieces for the sides. For a cylinder, cut one long rectangular piece that will wrap around to form the tube. You’ll also need a square or circular base. Remember to account for the thickness of the acrylic when calculating measurements for wrapping a cylinder – you might need to trim the overlap.
- Smooth Edges: Gently sand all cut edges with fine-grit sandpaper until they are smooth to the touch. This prevents snagging and gives a cleaner finish.
- Assemble the Sides (for Square): Apply a thin, even bead of acrylic cement along the vertical edges of two side panels. Press them firmly together at a 90-degree angle and hold with clamps. Repeat for the remaining sides until you have a four-sided box.
- Assemble the Cylinder (for Round): Apply acrylic cement along the short edge of your long rectangular piece. Overlap the edge and press firmly to create a cylinder. You may need to use tape temporarily to hold its shape while the adhesive starts to set before clamping.
- Attach the Base: Once the sides are secure and fully dried (check your adhesive’s instructions), apply acrylic cement to the bottom edges of your assembled sides (or around the bottom edge of the cylinder). Carefully place the base piece onto the adhesive and press down.
- Secure and Cure: Use clamps to hold the base in place. Allow the entire organizer to cure completely according to the adhesive manufacturer’s instructions. This can take 24 hours or more for maximum strength.
- Clean Up: Once cured, remove any clamps. Wipe down the entire organizer with a soft cloth and isopropyl alcohol to remove any residue or fingerprints.
Pro Tip for Cylinders: If cutting a large circle for the base of a cylinder feels daunting, consider using a pre-made circular acrylic piece or even a sturdy, clear plastic container base that fits. For easier cutting of thinner acrylic, you can also use a scoring tool as shown in this DIY acrylic scoring demonstration, which helps create a clean break.
Project 2: Drawer Dividers for Cosmetics
Stop makeup and toiletries from sliding around in your drawers! Custom-fit dividers create neat compartments for palettes, bottles, and tools.
Materials Needed:
- Thin acrylic sheets (e.g., 1/8″ or 3mm thick)
- Ruler and marker
- Utility knife or acrylic scorer
- Sandpaper (fine-grit)
- Small pieces of acrylic or plastic strips (optional, for securing)
- Strong adhesive suitable for acrylic, or small screws if you’re comfortable drilling
Step-by-Step Guide:
- Measure Your Drawer: Carefully measure the inside dimensions of your drawer (length, width, and height).
- Plan Your Layout: Sketch a simple diagram of how you want your dividers to be arranged. Decide on the number and placement of dividers to create compartments for your specific items.
- Cut the Dividers: Based on your plan, cut acrylic pieces to the required lengths and heights. The height should be slightly less than the drawer’s internal height so they don’t get in the way when closing.
- Smooth Edges: Sand all cut edges smooth.
- Assemble the Dividers: You have a few options here:
- Simple Slots: If you want to create a grid without permanent adhesive, you can cut small notches into the sides of your dividers where they intersect. Carefully measure and cut these slots so the pieces slide together snugly.
- Adhesive Method: For a more permanent solution, apply acrylic cement or strong adhesive to the edges where the dividers meet. Hold them in place until the bond begins to set.
- Securing Strips (Advanced): You can also create small, L-shaped brackets from scrap acrylic and glue them at the base where dividers meet or where they meet the drawer sides for extra stability.
- Test Fit: Place your assembled dividers into the drawer. Adjust as needed for a perfect fit.
- Secure (Optional): If you want them to stay put, you can use a tiny dab of strong adhesive on the bottom edge of the dividers where they meet the drawer base. Be sure it’s a type that won’t damage your drawer.
Project 3: Wall-Mounted Shelf for Small Items
Free up counter space by mounting a small acrylic shelf to hold essentials like your toothbrush, toothpaste, or a small soap dispenser. This is great for small bathrooms or powder rooms.
Materials Needed:
- One piece of clear acrylic sheet for the shelf (e.g., 12″ long, 4″ deep)
- Two small acrylic brackets (pre-made or DIY)
- Acrylic cement or strong adhesive
- Screws and wall anchors suitable for your wall type
- Drill with appropriate drill bits
- Stud finder (recommended)
- Level
- Measuring tape and pencil
- Sandpaper (fine-grit)
Step-by-Step Guide:
- Cut and Prepare Shelf: If not pre-cut, cut your acrylic shelf to your desired dimensions. Sand all edges smooth.
- Prepare Brackets: If you’re making your own brackets, cut two small rectangles (e.g., 4″ x 4″). Fold them in half to create an L-shape, or cut a tab that can be glued to the wall and the shelf. Ensure enough surface area for secure adhesion or screw placement. Sand edges smooth.
- Attach Brackets to Shelf: Apply acrylic cement to the top edge of each bracket (the part that will touch the shelf). Place the shelf on top, ensuring it’s centered and flush with the front edge of the brackets. Clamp them together and allow to cure fully.
- Mark Wall Location: Hold the assembled shelf against the wall where you want to mount it. Use a level to ensure it’s straight. Mark the screw hole locations for the brackets on the wall with a pencil.
- Install Wall Anchors: Use a stud finder to locate wall studs if possible for maximum strength. If not mounting into studs, drill pilot holes at your marked locations and insert appropriate wall anchors. This Old House offers great advice on choosing the right anchors.
- Mount the Shelf: Align the screw holes in the brackets with the wall anchors. Insert screws and tighten them firmly to secure the shelf to the wall.
- Final Check: Ensure the shelf is sturdy and level. Wipe it down with a soft cloth and cleaner.
Note on Adhesives: When gluing acrylic to acrylic, ensure you use a cement specifically made for acrylic plastics. Cyanoacrylate (super glue) might work for small, non-structural bonds, but dedicated acrylic cement provides a much stronger, fused bond that will last. Always follow the product instructions!
Project 4: Clear Toiletries Tray
Create a simple, elegant tray to hold your collection of lotions, perfumes, or daily toiletries. This keeps everything contained and looks beautiful on your vanity or dresser.
Materials Needed:
- One piece of acrylic sheet for the base (e.g., 10″ x 6″)
- Four pieces of acrylic for the sides (e.g., two 10″ long, two 6″ long, and 1.5″ high)
- Acrylic cement or strong adhesive
- Ruler and marker
- Utility knife or acrylic scorer
- Sandpaper (fine-grit)
- Clamps or masking tape
Step-by-Step Guide:
- Cut Your Pieces: Cut the base to your desired dimensions. Then, cut four side pieces. Two should match the length of the base, and the other two should match the width of the base. The height of the sides will determine how substantial your tray is – a 1.5″ to 2″ height is typical.
- Smooth Edges: Carefully sand all cut edges until they are smooth.
- Assemble the Sides: Apply acrylic cement between the short edges of the two longer side pieces and the ends of the shorter side pieces to form a rectangular frame that will fit around your base. Hold the corners together firmly with clamps or strong masking tape until secure.
- Attach the Base: Once the side frame is dry and stable, apply acrylic cement to the bottom edges of the frame. Carefully place the base piece onto the frame, ensuring it is centered.
- Press and Cure: Apply gentle pressure to ensure good contact between the base and the sides. Use clamps if needed. Allow the entire tray to cure completely, usually 24 hours, for maximum strength.
- Clean Up: Remove clamps and tape. Wipe the tray with a soft cloth and cleaner to remove any fingerprints or adhesive residue.
Tips for Working with Acrylic Sheets
Acrylic can be a bit tricky if you’re not used to it. Here are some professional tips to help you achieve cleaner cuts and stronger bonds:
- Keep the Protective Film On: Whenever possible, leave the protective film on the acrylic sheets while cutting and assembling. This prevents scratches. You’ll peel it off at the very end.
- Score and Snap for Straight Lines: For thin acrylic (under 1/8 inch), use a sharp utility knife or a dedicated scoring tool. Score the line multiple times with firm, consistent pressure. Then, place the score line over the edge of a table or sturdy surface and apply firm, even pressure downwards to snap the acrylic.
- Use the Right Blade for Power Tools: If using a jigsaw or hand saw, ensure you have a blade designed for cutting plastic or Plexiglas. A regular wood blade can melt the plastic or cause rough, jagged cuts.
- Go Slow: Rushing any part of the process—cutting, gluing, or curing—is a recipe for mistakes and weak bonds. Patience is key!
- Ventilation is Crucial: Acrylic cement often contains solvents. Always work in a well-ventilated area to avoid inhaling fumes, and consider wearing a respirator if you’re sensitive or working for extended periods. The Occupational Safety and Health Administration (OSHA) provides safety information on common solvents used in adhesives.
- Proper Cleaning: Use a soft microfiber cloth with a mild soap and water solution or an acrylic cleaner. Avoid abrasive cleaners or paper towels, which can scratch the surface. For stubborn residue, isopropyl alcohol is usually effective.
