
Caulking is a flexible sealant used to fill gaps and cracks, preventing air, water, and pests from entering your home. Mastering its application is a DIY skill that protects your property, improves energy efficiency, and enhances its appearance. This guide provides essential steps and tips for a perfect caulk job every time.
Ever notice those small gaps around your windows, doors, or sinks? They might seem insignificant, but over time, they can lead to big problems like drafts, water damage, and even pest infestations. It’s frustrating when you try to tackle these issues, only to end up with messy caulk lines or leaks. But don’t worry! Caulking is one of those fundamental DIY tasks that, with a little knowledge and practice, you can absolutely master. This guide will break down everything you need to know about caulking, from understanding what it is to applying it like a pro. We’ll cover the tools you’ll need, the different types of caulk, and a simple, step-by-step process to get you a neat, durable finish that will make your home look better and feel more comfortable. Get ready to seal up those gaps and boost your home’s defenses!
What is Caulking? A Deep Dive for Beginners

At its core, caulking is all about sealing. Think of it as a flexible, gap-filling superhero for your home. It’s a type of sealant, usually applied from a tube or cartridge, that hardens to create a watertight and airtight barrier. This barrier is crucial for preventing common household issues. Without proper caulking, your homes can become less energy-efficient, allowing warm air to escape in the winter and cool air to escape in the summer, leading to higher energy bills. It also acts as a first line of defense against moisture, which can cause rot, mold, and mildew in areas like bathrooms and kitchens, or around exterior windows and doors. Beyond protection, a clean caulk line can dramatically improve the aesthetic appeal of your home, making transitions look crisp and finished.
Why is Caulking So Important?
- Energy Efficiency: Sealing gaps prevents drafts, keeping your home warmer in winter and cooler in summer. This directly translates to lower energy bills.
- Moisture Prevention: It stops water from seeping into walls, under sinks, or around bathtubs and showers, preventing mold, mildew, and structural damage.
- Pest Control: Tiny cracks and holes can be highways for ants, spiders, and other small pests. Caulking seals these entry points.
- Aesthetics: A fresh bead of caulk creates a clean, finished look around edges, moldings, and fixtures.
- Sound Dampening: While not its primary function, sealing gaps can slightly reduce noise transmission between rooms.
Understanding Different Types of Caulk

Walking down the aisle at the hardware store can be a bit overwhelming with all the different caulk options. They might look similar in their tubes, but their ingredients and best uses vary significantly. Choosing the right type of caulk for your project is half the battle. Here’s a breakdown of the most common types you’ll encounter:
1. Latex/Acrylic Caulk (Painter’s Caulk)
This is your go-to for most interior DIY tasks. It’s water-based, meaning it’s easy to clean up with just soap and water. Latex caulk is also flexible and paintable once dry, making it perfect for filling gaps around trim, baseboards, windows, and doors where you plan to paint over it.
- Pros: Easy cleanup, paintable, inexpensive, widely available.
- Cons: Less durable than silicone, can shrink over time, not ideal for high-moisture areas or exterior use.
- Best For: Interior trim, baseboards, window and door frames (if painting), drywall seams.
2. Silicone Caulk
Silicone caulk is known for its superior flexibility and waterproof properties. It’s remarkably resistant to extreme temperatures and moisture, making it the champion for bathrooms, kitchens, and any exterior gaps. However, one major drawback is that most silicone caulks are not paintable. Also, cleanup requires mineral spirits.
- Pros: Highly waterproof, very flexible, durable, resistant to mold and mildew, good for extreme temperatures.
- Cons: Not paintable, difficult cleanup (requires solvents), can be challenging to work with for beginners.
- Best For: Bathrooms (around tubs, showers, sinks), kitchens (around countertops), windows and doors (exterior), areas with high moisture.
3. Polyurethane Caulk
This is a heavy-duty option. Polyurethane caulk is incredibly durable, paintable, and highly flexible. It offers a strong bond and is excellent for exterior applications where it needs to withstand weather and movement, as well as for larger gaps. It’s also excellent for areas where you want a very strong, long-lasting seal.
- Pros: Very durable, paintable, excellent flexibility, strong adhesion, good for exterior use, can fill larger gaps.
- Cons: More expensive, requires mineral spirits for cleanup, can be trickier to tool smoothly than latex.
- Best For: Exterior joints, window and door frames (exterior and interior if painting), gaps in siding, concrete cracks, gutters.
4. Silicone-Latex (Siliconized Acrylic) Caulk
This type is a hybrid, aiming to combine the best of both worlds. It’s easier to clean up than pure silicone and is paintable, but offers better flexibility and water resistance than plain latex. It’s a good middle-ground option for many interior and some semi-exterior applications.
- Pros: Paintable, easier cleanup than silicone, decent flexibility and water resistance.
- Cons: Not as waterproof or flexible as pure silicone, may shrink slightly.
- Best For: Interior applications where slightly better performance than latex is needed (e.g., bathroom trim, kitchen backsplashes), less critical exterior sealing.
Caulk Selection Guide
To make things even simpler, here’s a quick table:
| Caulk Type | Best Used For | Paintable? | Cleanup | Pros | Cons |
|---|---|---|---|---|---|
| Latex/Acrylic | Interior trim, windows, doors (paintable) | Yes | Water & Soap | Easy, inexpensive | Less durable, shrinks, not for wet areas |
| Silicone | Bathrooms, kitchens, exteriors (wet areas) | No | Mineral Spirits | Waterproof, flexible, durable | Not paintable, harder cleanup |
| Polyurethane | Exterior joints, large gaps, high-traffic areas | Yes | Mineral Spirits | Durable, flexible, strong bond | More expensive, harder cleanup |
| Silicone-Latex | Interior semi-wet areas, trim | Yes | Water & Soap | Good balance, paintable | Not as robust as pure silicone/polyurethane |
Essential Tools and Materials for Caulking
Before you even think about squeezing that tube, gather your supplies. Having everything ready ensures a smooth process and a professional-looking result. Here’s what you’ll need:
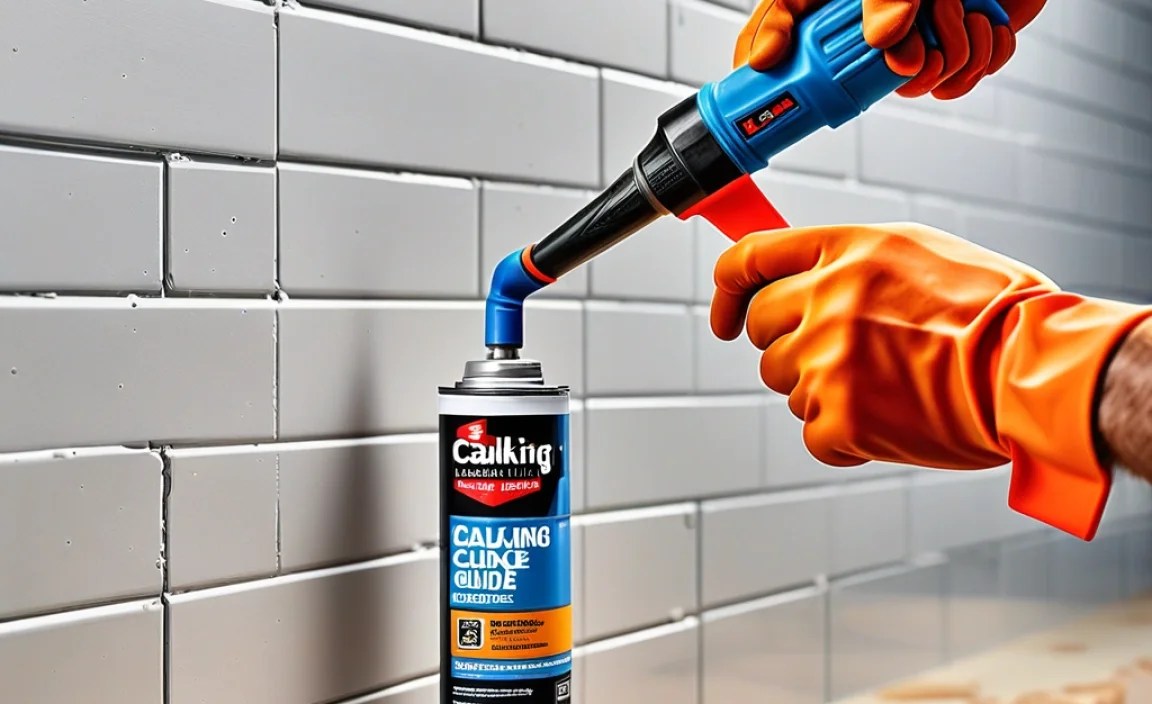
- Caulking Gun: This is the dispenser for your caulk cartridge. Look for one with a comfortable grip, a smooth trigger action, and a drip-stop feature to prevent accidental drips. A dripless caulk gun is a game-changer for beginners.
- Caulk Cartridges: Choose the type of caulk that best suits your project (as discussed above). Get more than you think you’ll need, especially for larger projects.
- Utility Knife or Caulk Cutter: For opening the caulk cartridge tip and for removing old caulk.
- Putty Knife or Scraper: Essential for removing old caulk and debris.
- Screwdriver or Awl: To puncture the inner seal of the caulk cartridge after cutting the tip.
- Masking Tape (Painter’s Tape): For creating clean, straight lines, especially for beginners. This is a great way to ensure a perfect edge.
- Caulk Tooling Tools: These are specialized plastic tools with different-sized curves to help you create a smooth, uniform bead. You can also use a damp finger (dip in water or cleaning solution depending on caulk type) or the back of a spoon in a pinch, but dedicated tools give the best results.
- Damp Cloths or Paper Towels: For wiping away excess caulk during the tooling process and for general cleanup.
- Bucket of Water or Mineral Spirits: Depending on the caulk type, for cleaning your tools and your hands, and for dipping your tooling tool or finger.
- Safety Glasses: To protect your eyes from debris or splattering caulk.
- Gloves: To keep your hands clean.
- Respirator Mask (Optional but Recommended for Polyurethane/Silicone): Especially if working in a poorly ventilated area.
Step-by-Step Guide to Applying Caulk
Ready to get caulking? This step-by-step process will guide you from preparation to a perfectly sealed finish, even if you’ve never done this before.
Step 1: Prepare the Area – This is Crucial!
A good caulk job starts with a clean surface.:
- Remove Old Caulk: Use a utility knife or scraper to carefully cut and peel away any old, cracked, or peeling caulk. Get as much of it off as possible. For stubborn caulk, you might need a dedicated caulk remover product, but use caution and follow instructions carefully.
- Clean the Surface: Wash the area where you’ll be applying caulk. Remove any dust, dirt, grease, or soap residue. A clean surface ensures the new caulk will adhere properly. For bathrooms, make sure surfaces are completely dry.
- Repair Any Damage: If you find cracks or holes larger than what caulk can fill, consider using a wood filler or epoxy putty for repairs first. Caulking is for sealing gaps, not for structural repair.
- Apply Masking Tape (Optional but Recommended for Beginners): For super-straight lines, apply painter’s tape along both edges of the gap. Leave a gap between the tape strips that is slightly wider than the bead of caulk you intend to apply. This acts as a guide and ensures a clean finish without messy edges.
Step 2: Prepare the Caulk Gun and Cartridge
Getting your caulk tube ready correctly is key to a controlled application:
- Cut the Tip: Use a utility knife to cut the nozzle tip of the caulk cartridge at a 45-degree angle. Start by cutting a small amount off – you can always cut more if needed. You want the opening to be about the size of the gap you’re filling. A smaller opening gives you more control.
- Puncture the Seal: Most cartridges have an inner seal. Use the puncture rod on your caulk gun (or a long nail or screwdriver) to break this seal.
- Load the Gun: Pull back the plunger rod on the caulk gun, insert the cartridge nozzle-first, and then push the plunger rod back into the gun until it meets the back of the cartridge.
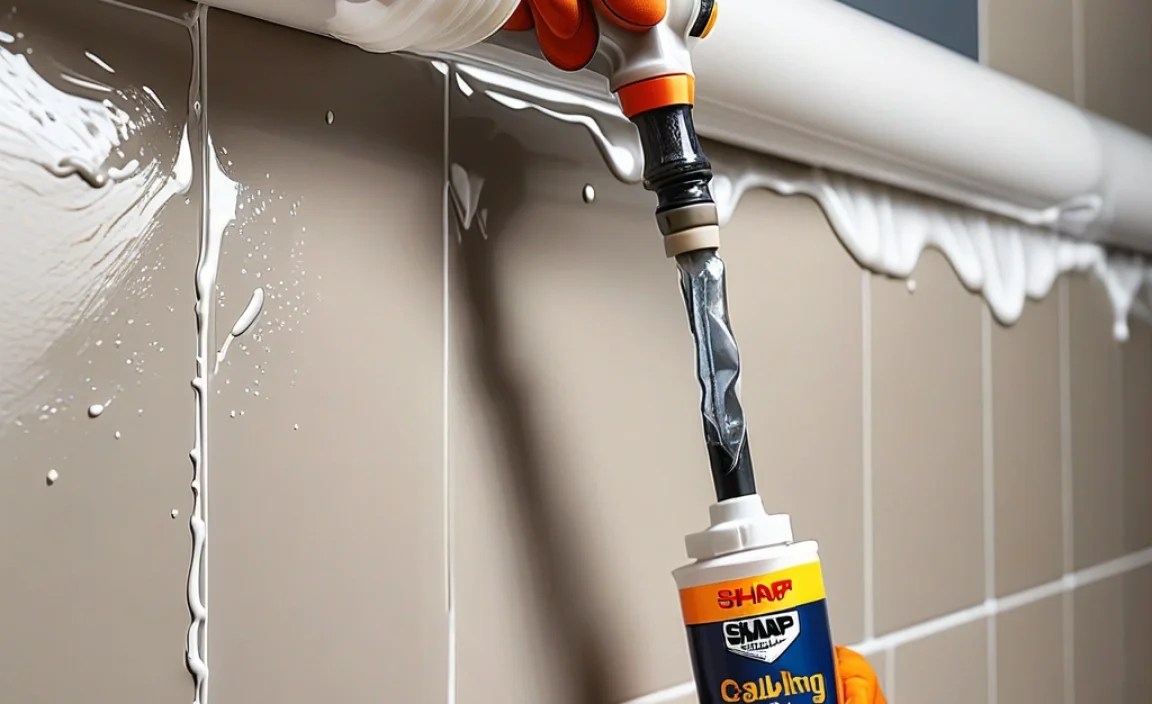
Step 3: Apply the Caulk Bead
This is where practice makes perfect:
- Test First: Before applying to your project, test the caulk on a piece of scrap material or cardboard. This helps you get a feel for the pressure needed on the trigger and the flow rate.
- Steady Pressure: Place the nozzle tip at the beginning of the gap. Apply steady, even pressure to the caulk gun trigger. Move the gun smoothly along the gap at a consistent speed. Aim to create a continuous bead of caulk that fills the gap completely.
- Maintain Consistency: Try to keep the angle of the caulk gun and the speed of your movement consistent. This ensures a uniform bead size and appearance. Don’t overfill the gap; you can always add more if necessary. A bead that’s too large can be messy.
- Release Trigger and Release Rod: When you reach the end of the run, release the trigger and pull back the release rod on the caulk gun slightly. This stops the flow of caulk and prevents it from oozing out.
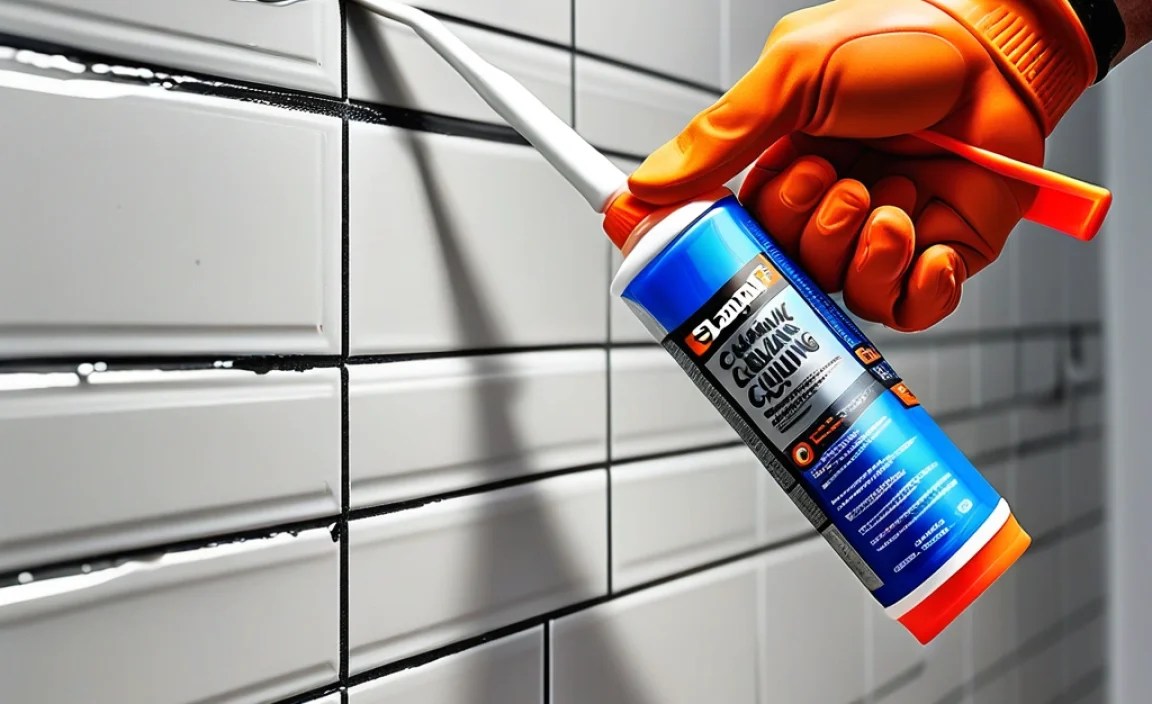
Step 4: Tool the Caulk Bead
This step smooths out the bead and ensures good adhesion:
- Wipe Your Tool: Dip your caulk tooling tool, damp cloth, or finger into your cleaning solution (water for latex, mineral spirits for others).
- Smooth the Bead: Gently run your chosen tool along the bead of caulk, pressing lightly. This pushes the caulk into the gap, seals it, and removes excess. The angled edge of the tooling tool or tape lines will help create a neat, concave (or desired) profile.
- Wipe Away Excess: Immediately wipe away any smeared caulk from the surface or tape with your damp cloth. If you’re using a tool that requires cleaning, rinse it frequently.
- Work in Sections: For longer runs or specific areas, it might be easier to apply caulk in 2-3 foot sections, tool it, and then clean up before moving to the next section.
Step 5: Final Cleanup and Curing
The finishing touches make all the difference:
- Remove Masking Tape: If you used masking tape, carefully peel it off immediately after tooling the caulk. Pull the tape away at an angle, away from the fresh caulk bead. This will leave you with crisp, clean edges.
- Final Wipe-Down: Use a clean, damp cloth to gently wipe away any tiny remaining smudges or residue from the surrounding surface.
- Allow to Cure: Let the caulk dry and cure completely according to the manufacturer’s instructions. Drying time can vary from a few hours to a full day or more. Avoid getting the area wet or painting over it until it’s fully cured.
- Clean Up Tools Promptly: Clean your caulk gun and any tools immediately with the appropriate cleaner (water or mineral spirits) to prevent hardening.
Common Caulking Mistakes and How to Avoid Them
Even with the best intentions, some common pitfalls can trip up beginners. Knowing these ahead of time can save you from frustration:
- Using the Wrong Caulk: Applying interior latex caulk in a shower or exterior silicone on trim will lead to premature failure. Always check the label for the intended use and environment.
- Not Preparing the Surface: Applying new caulk over dirt, grease, or old caulk is a recipe for poor adhesion and a short lifespan for your new caulk bead.
- Cutting the Tip Too Large: A caulk bead that’s too thick is hard to control, difficult to tool smoothly, and can look sloppy. Always start small and cut more if needed.
- Caulking Too Fast: Moving the caulk gun too quickly results in an uneven bead that doesn’t properly fill the gap. Slow, steady movement is key.
- Not Tooling the Caulk: Skipping the tooling step means the caulk might not fully seal the gap or adhere well. It also leaves a bumpy, unprofessional finish.
- Caulking Over Paint (on Flexible Joints): While you can caulk and then paint the caulk, applying caulk over a joint that is already painted and flexible can cause the paint to crack. It’s better to remove old paint from the joint itself.
- Poor Cleanup: Letting excess caulk dry on surfaces or tools makes for a messy job and can permanently stain surfaces. Clean as you go.
Maintaining Your Caulk for Longevity
Once your caulking is applied and cured, a little ongoing care can ensure it lasts for years:
- Regular Cleaning: Gently clean caulk lines with a mild non-abrasive cleaner and a soft cloth. Avoid harsh chemicals or scrub brushes that can damage the sealant.
- Inspect Annually: Check your caulking at least once a year for signs of cracking, pulling away from the surface, or mildew growth. Pay extra attention to areas exposed to moisture or extreme weather.
- Prompt Repairs: If you notice any small cracks or gaps developing, repair them immediately. Delaying small repairs can lead to bigger issues down the line, allowing moisture or air to penetrate.
- Ventilation: In bathrooms and kitchens, ensure good ventilation (use exhaust fans) to minimize humidity and reduce the chance of mold and mildew growth on or around the caulk. Resources like the U.S. Department of Energy provide excellent tips on home energy efficiency, which proper caulking contributes to.
