
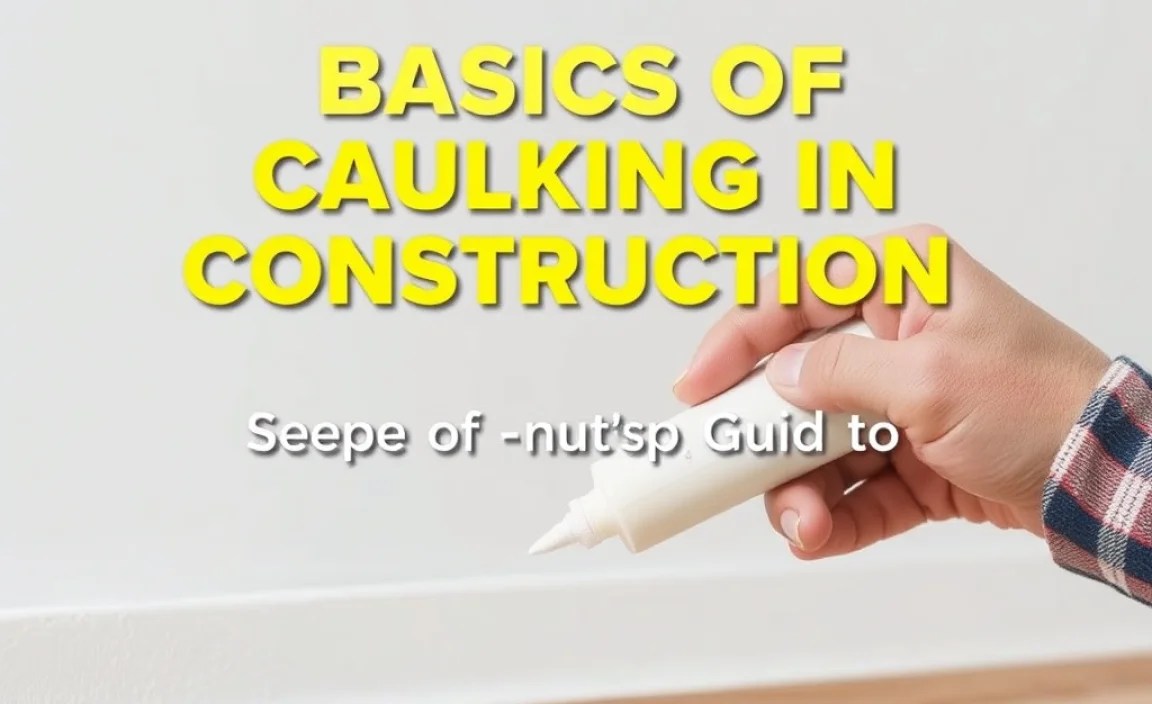
Mastering the basics of caulking in construction seals gaps, prevents leaks, and improves energy efficiency. This guide provides simple, step-by-step instructions for beginners to achieve professional-looking results, ensuring a watertight and polished finish for any DIY project.
Ever noticed those little gaps around your windows, doors, or in your bathroom and wondered how to fix them? These small openings might seem minor, but they can lead to drafts, water damage, and energy loss. The good news is, filling them is simpler than you think! Caulking is a fundamental skill in construction and home maintenance, and it’s surprisingly easy for beginners to learn. With the right tools and a little practice, you can achieve a neat, watertight seal that protects your home and makes it look great. Ready to tackle those gaps like a pro? Let’s get started!
What is Caulking and Why is it Important?

Caulking is the process of applying a flexible, sealant material into gaps and joints in construction. Think of it as the “glue” that fills in the tiny spaces where different building materials meet. This sealant, commonly called caulk, is designed to be durable, flexible, and resistant to weather, moisture, and temperature changes.
So, why is this so crucial in construction? It’s all about protecting your home and making it more comfortable and efficient. Let’s break down the main benefits:
- Waterproofing: This is perhaps the most critical role. Caulk prevents water from seeping into the structure of your home through gaps around windows, doors, siding, and bathroom fixtures. This is vital for preventing rot, mold, and structural damage.
- Draft Prevention: Gaps can let in outside air, making your home drafty and uncomfortable. Proper caulking creates an airtight seal, keeping warm air in during winter and cool air in during summer, which directly impacts your energy bills.
- Pest Control: Small cracks and openings can be entry points for insects and other small pests. Caulking seals these potential entryways.
- Aesthetics: A well-caulked finish looks clean and professional. It fills unsightly gaps, giving a smooth, finished appearance to your walls, trim, and exterior.
- Sound Insulation: While not its primary purpose, caulking can help reduce some noise transmission between rooms or from the outside.
Understanding these benefits highlights why getting the basics of caulking right is so important for any DIYer or homeowner. It’s a small task that yields significant results in protecting and improving your living space.
Common Types of Caulk and Their Uses

Walking into a hardware store, you’ll see a dizzying array of caulk tubes. Don’t worry! Most beginner projects can be handled with a few common types. Knowing which caulk to choose is key to a successful, long-lasting seal.
Acrylic Latex Caulk (Interior/Exterior)
This is the most common and versatile type, often labeled as “latex caulk” or “painter’s caulk.”
- Pros:
- Easy to use and clean up with water.
- Dries relatively quickly.
- Flexible enough for most applications.
- Can be painted over once dry.
- Available in various formulations for interior and exterior use.
- Cons:
- Not as durable or flexible as silicone for high-moisture areas.
- May shrink slightly as it dries.
- Best For: General interior sealing around trim, baseboards, windows, and door frames. Exterior applications where painting will follow.
Silicone Caulk (Waterproof)
Silicone caulk is known for its superior flexibility and waterproofing capabilities.
- Pros:
- Excellent waterproofing – ideal for bathrooms and kitchens.
- Highly flexible and durable, even with significant expansion and contraction.
- Resistant to mold and mildew (look for “kitchen and bath” formulations).
- Cons:
- Can be difficult to clean up (requires mineral spirits or special cleaners).
- Cannot be painted over.
- Less forgiving for beginners if applied unevenly.
- Best For: Bathrooms (around tubs, showers, sinks), kitchens (around countertops and sinks), and exterior applications requiring maximum weather resistance.
Siliconized Acrylic Latex Caulk
This is a hybrid that tries to offer the best of both worlds.
- Pros:
- Easier cleanup than pure silicone.
- More flexible and water-resistant than basic acrylic latex.
- Paintable.
- Cons:
- Not as waterproof or flexible as 100% silicone.
- Best For: A good all-around choice for areas that need better water resistance and durability than basic latex but also need to be painted, like interior trim and some exterior applications.
For most beginner DIY projects, an acrylic latex or siliconized acrylic latex caulk will serve you well. Always check the product label for specific recommendations and suitability for your project.
Essential Tools for Caulking
Before you start, gather your tools. Having everything ready will make the process smooth and efficient. You don’t need many specialized items!
- Caulking Gun: This is the tool that dispenses the caulk from the tube. There are manual versions (the most common and affordable) and electric/battery-powered ones. For beginners, a good quality manual caulk gun with a smooth trigger is perfect. Look for one with a built-in cutter and a ‘release lever’ to stop the flow.
- Caulk Tube Cutter: Many caulk guns have a small blade for puncturing the seal inside the tube, but a utility knife or a dedicated caulk tube cutter works well too.
- Utility Knife or Caulk Removal Tool: Essential for cutting away old caulk before you start applying new.
- Putty Knife or Scraper: Helpful for removing stubborn old caulk.
- Masking Tape (Painter’s Tape): This is a beginner’s best friend! It creates clean, straight lines and helps prevent caulk from getting where you don’t want it.
- Damp Cloths or Sponges: For wiping away excess caulk and cleaning up mistakes.
- Rubbing Alcohol or Mineral Spirits (depending on caulk type): For cleaning tools and sometimes for cleaning the joint before caulking.
- Gloves: To keep your hands clean and protected.
How to Prepare a Surface for Caulking

Proper preparation is arguably the most important step for a lasting, professional caulk job. Rushing this part will lead to problems down the line.
- Remove Old Caulk:
- This is crucial. New caulk won’t adhere well to old, peeling caulk.
- Use a utility knife or a dedicated caulk removal tool to carefully cut along the edge of the old caulk. Work slowly and steadily.
- For stubborn bits, a putty knife or scraper can help gently lift the material. Be careful not to damage the surrounding surfaces (like drywall or trim).
- If you’re working in a bathroom, and suspect mold, it’s especially important to remove all traces of the old caulk.
- Clean the Joint:
- Once the old caulk is gone, the gap needs to be clean and dry.
- Wipe down the area with a damp cloth to remove dust and debris.
- If there are any greasy residues (common in kitchens), clean with a mild detergent or rubbing alcohol.
- For silicone caulk removal, mineral spirits might be necessary for residue. For latex, water is usually enough.
- Ensure the area is completely dry before proceeding. Moisture will prevent the new caulk from adhering properly.
- Apply Masking Tape (Optional but Recommended for Beginners):
- For perfectly straight lines, apply painter’s tape along both edges of the gap you’ll be filling.
- Leave just enough space between the tape lines for the bead of caulk you intend to apply. This is your guide and will catch any stray caulk, ensuring a clean finish.
Taking the time to prepare the surface ensures that your new caulk will bond properly and create a durable, seamless seal. A clean, dry, and well-taped surface is the foundation for a great caulking job.
Step-by-Step Guide to Applying Caulk
Now for the fun part! Applying caulk is straightforward once you get the hang of it. Follow these steps for a smooth, professional finish.
Step 1: Prepare the Caulk Tube
If you’re using a new tube of caulk, you’ll need to prepare it:
- Cut the Tip: Using your caulk tube cutter or utility knife, cut the very tip of the nozzle at a 45-degree angle. Start with a small opening – you can always cut it larger if needed. A smaller opening gives you more control.
- Puncture the Seal: Most caulk tubes have an internal seal. Insert a long nail, wire, or the puncture tool on your caulk gun into the nozzle and push it through to break the seal.
Step 2: Load the Caulk Gun
- Pull back the plunger rod on the caulk gun.
- Insert the caulk tube into the gun, nozzle first.
- Push the plunger rod firmly into the base of the caulk tube until it seats securely.
Step 3: Apply the Caulk
This is where control is key, especially for beginners. Don’t squeeze the trigger too hard initially.
- Position the Gun: Place the angled tip of the caulk tube against the joint you’re filling. The angle should be consistent.
- Start Squeezing: Gently and steadily squeeze the trigger of the caulk gun. Move the gun along the bead you are applying. Aim for a continuous, even bead that fills the gap.
- Maintain Speed and Pressure: Try to maintain a consistent speed and consistent pressure on the trigger. It’s often easier to move the gun from left to right (or right to left) in one continuous motion rather than stopping and starting.
- Release the Trigger (and Plunger): When you reach the end of the run, release the trigger. Then, pull back the small release lever on the caulk gun (usually a small metal tab near the trigger) to relieve pressure and stop the caulk from continuing to flow.
Step 4: Smooth the Caulk Bead
This step makes all the difference between a DIY job and a professional finish.
- Timing is Key: You need to do this while the caulk is still wet.
- Use Your Finger (with a little help): Lightly dip your finger (wear a glove, or try a damp cloth wrapped around your finger) into clean water (for latex caulk) or rubbing alcohol/mineral spirits (for silicone caulk).
- Gentle Pressure: Run your moistened finger along the bead of caulk at a consistent angle. This pushes the caulk firmly into the gap and creates a smooth, slightly concave surface.
- Wipe Excess: Wipe away excess caulk from your finger onto a damp cloth or paper towel frequently.
- Alternative Tools: You can also use a child’s spoon, a popsicle stick, or a specialized caulk smoothing tool for this step.
Step 5: Clean Up
This is where your damp cloths and tape come in handy.
- Remove Masking Tape: If you used masking tape, carefully peel it off immediately after smoothing the caulk bead, while the caulk is still wet. Pull the tape away at a 45-degree angle from the bead. This leaves a super clean line.
- Wipe Smudges: Use your damp cloths (or appropriate cleaner for the caulk type) to wipe away any caulk smudges or excess that got onto surrounding surfaces.
- Clean Tools: Clean your caulk gun and any smoothing tools thoroughly. For latex caulk, soap and water are usually sufficient. For silicone, mineral spirits are typically needed.
Step 6: Let it Cure
Allow the caulk to dry and cure according to the manufacturer’s instructions before exposing it to moisture or painting. Curing times can vary significantly.
Tips and Tricks for a Professional Finish
Even with the best instructions, practice makes perfect. Here are some pro tips to help you achieve that showroom look:
- Practice on Scrap Material: Before tackling your actual project, grab a piece of scrap wood or cardboard and practice applying a bead of caulk and smoothing it. This helps you get a feel for the pressure and speed needed.
- Work in Sections: Don’t try to caulk an entire long wall or a whole window in one go. Work in manageable sections (e.g., 3-4 feet at a time). This way, you can apply and smooth the caulk before it starts to dry.
- Consistency is Key: Aim for a consistent bead size. This means using the same angle, the same pressure on the trigger, and the same speed of movement.
- Don’t Overwork It: Smooth the caulk bead only once. Going over it multiple times can pull the caulk out of the joint or create an uneven mess.
- Cleanliness Prevents Stains: Have plenty of rags and paper towels handy. Wipe away excess caulk immediately. For latex caulk, even a small smudge can become hard to remove once dry.
- Use the Right Caulk for the Job: As discussed, using a waterproof caulk in bathrooms and kitchens is essential. Using paintable caulk around trim is a must if you plan to paint.
- Check for Gaps After Smoothing: After smoothing, step back and look closely at your caulk line. If you see any small gaps or low spots, you can carefully reapply a thin bead to those areas and smooth them again.
- Consider a Caulk Finishing Tool: While your finger works well, dedicated caulk finishing tools can provide even more consistent results and different profiles for smoothing.
Remember that even if your first attempt isn’t perfect, you can usually scrape it off and try again. The goal is progress, not immediate perfection. The more you caulk, the better you’ll become!
When to Call a Professional
While learning the basics of caulking is a great DIY skill, there are times when it’s best to leave the job to the pros:
- Extensive Water Damage: If you discover significant water damage or rotting wood that needs repair before caulking, this is a job for a contractor.
- Large or Complex Joints: Very wide expansion joints, joints in unusual materials, or areas requiring specialized sealants might be beyond a beginner’s scope.
- High-Rise Exterior Work: Exterior caulking on higher levels of a building carries significant safety risks.
- Mold Remediation: If you suspect a large or deeply embedded mold problem, professional remediation services are necessary for your health and safety.
- If You’re Uncomfortable: If you’ve tried and are consistently unhappy with the results, or if you’re simply not comfortable with the task, hiring a professional ensures a quality finish and peace of mind.
For most typical home maintenance tasks, like sealing around a bathroom vanity or a window frame, you can absolutely achieve excellent results yourself by following these guides. The basics of caulking are well within reach for any motivated DIYer.
FAQ: Your Caulking Questions Answered
Q1: How long does caulk take to dry?
Drying and curing times vary by caulk type and environmental conditions (temperature, humidity). Latex and siliconized latex caulks often dry to the touch in 30 minutes to a few hours, but full cure can take 24 hours or more. Silicone caulk can take 2-24 hours to cure, with slower curing in humid conditions. Always check the product label for specific times.
Q2: Can I paint over all types of caulk?
No. Acrylic latex and siliconized acrylic latex caulks are paintable once dry. 100% silicone caulk cannot be painted over and will repel paint. If you need to paint the caulk line, ensure you choose a paintable product.
Q3: What happens if I use the wrong type of caulk?
Using the wrong caulk can lead to premature failure. For example, using non-waterproof latex caulk in a shower will break down quickly from moisture, leading to leaks and mold. Using silicone where paint is required will prevent you from painting the area.
