
Bathroom fan mold is a pervasive issue that many homeowners face. Often lurking in the dark, damp recesses of ventilation systems, this unsightly and potentially unhealthy buildup can go unnoticed for years. Fortunately, tackling bathroom fan mold doesn’t have to be a daunting or labor-intensive task. With the right approach and a few simple steps, Effortless Removal of this common nuisance is well within reach.
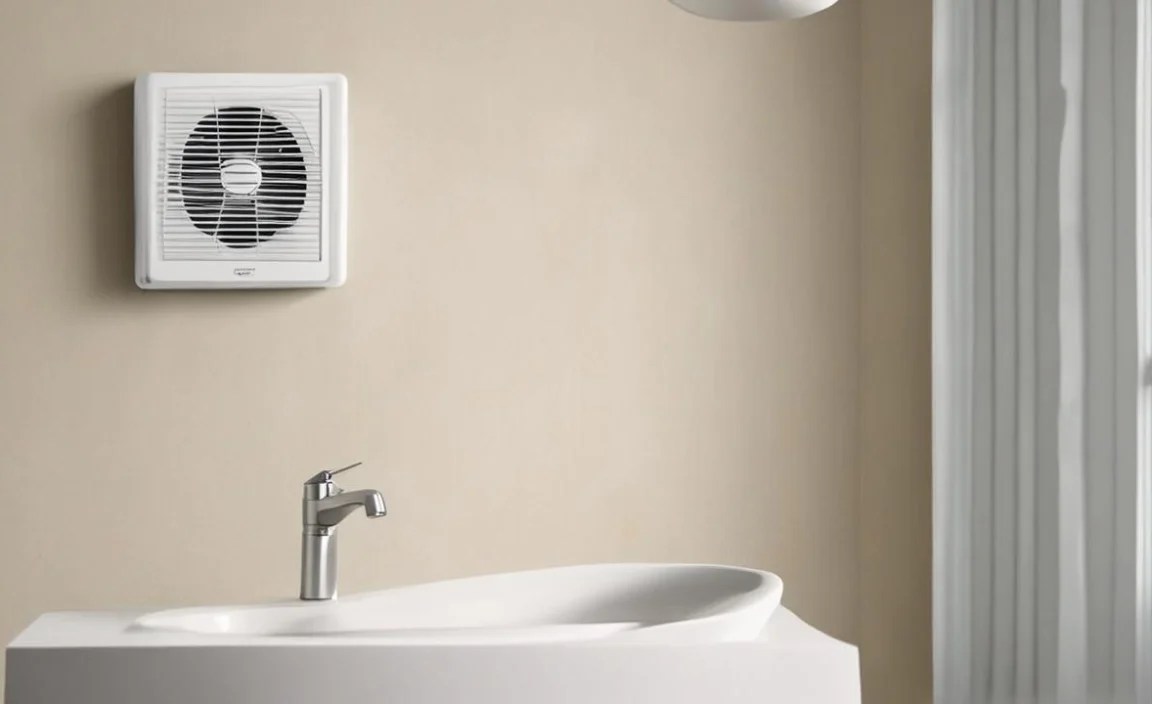
The damp environment created by steam and humidity from showers and baths provides a perfect breeding ground for mold spores. While exhaust fans are designed to mitigate this, they can, ironically, become a hotspot for mold growth themselves if not regularly maintained. Mold on your bathroom fan isn’t just an aesthetic problem; it can circulate spores throughout your home, potentially impacting air quality and exacerbating respiratory issues. Understanding how to identify and eliminate it efficiently is key to maintaining a healthy and pleasant bathroom environment.
Understanding the Culprit: Why Mold Appears on Bathroom Fans

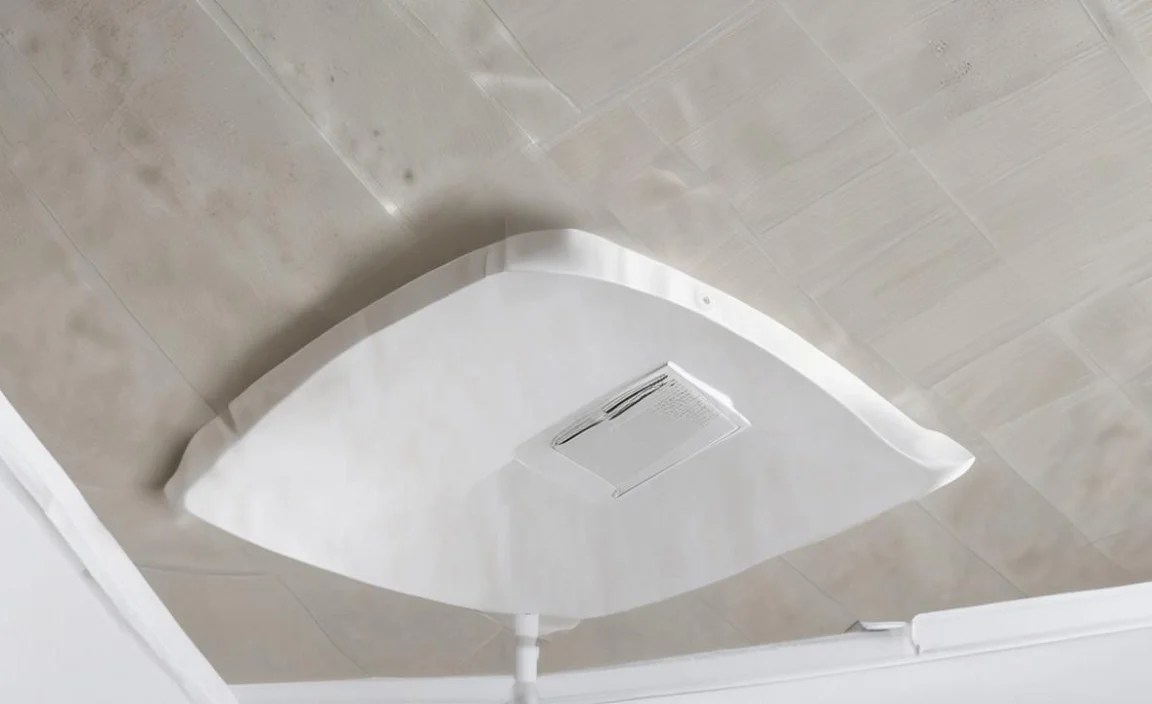
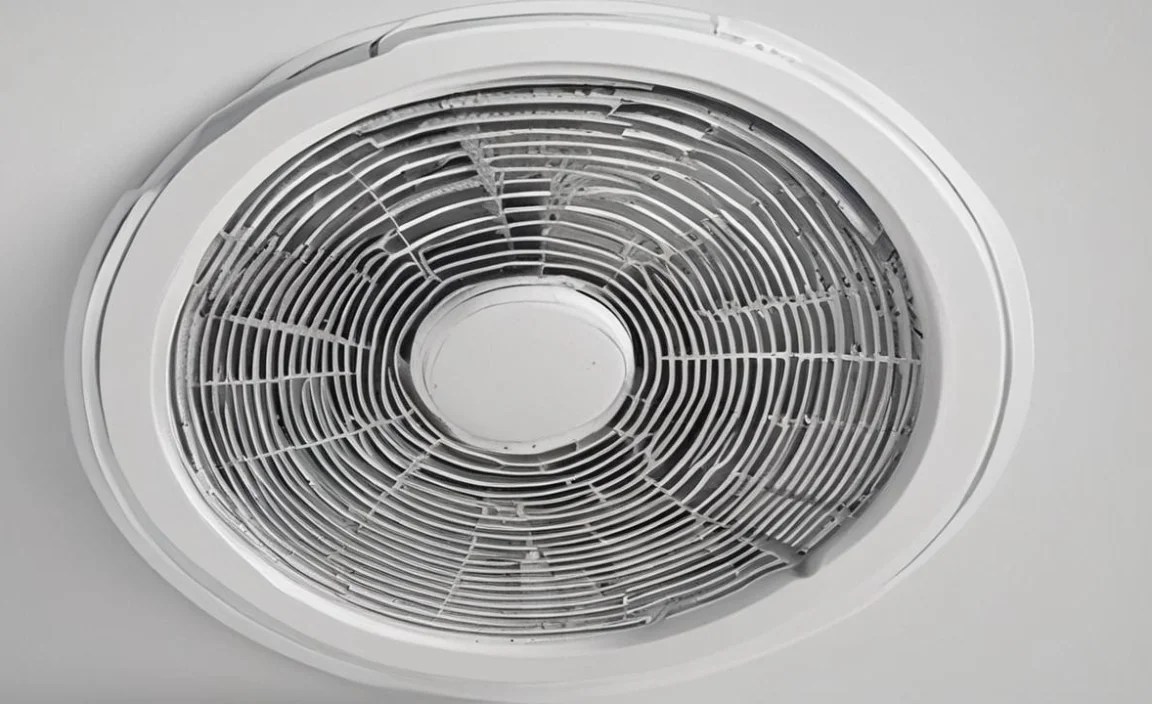
Before diving into removal, it’s helpful to understand why mold gravitates towards your bathroom fan. The primary culprit is moisture. Every shower, bath, or even a hot sink usage releases a significant amount of water vapor into the air. Your bathroom fan’s job is to vent this humid air outside. However, if the fan isn’t running long enough, or if there are leaks in the ductwork, moisture can linger. This condensation can settle on the fan blades, motor housing, and the surrounding vent cover, creating an ideal microscopic ecosystem for mold to thrive.
Several factors contribute to this:
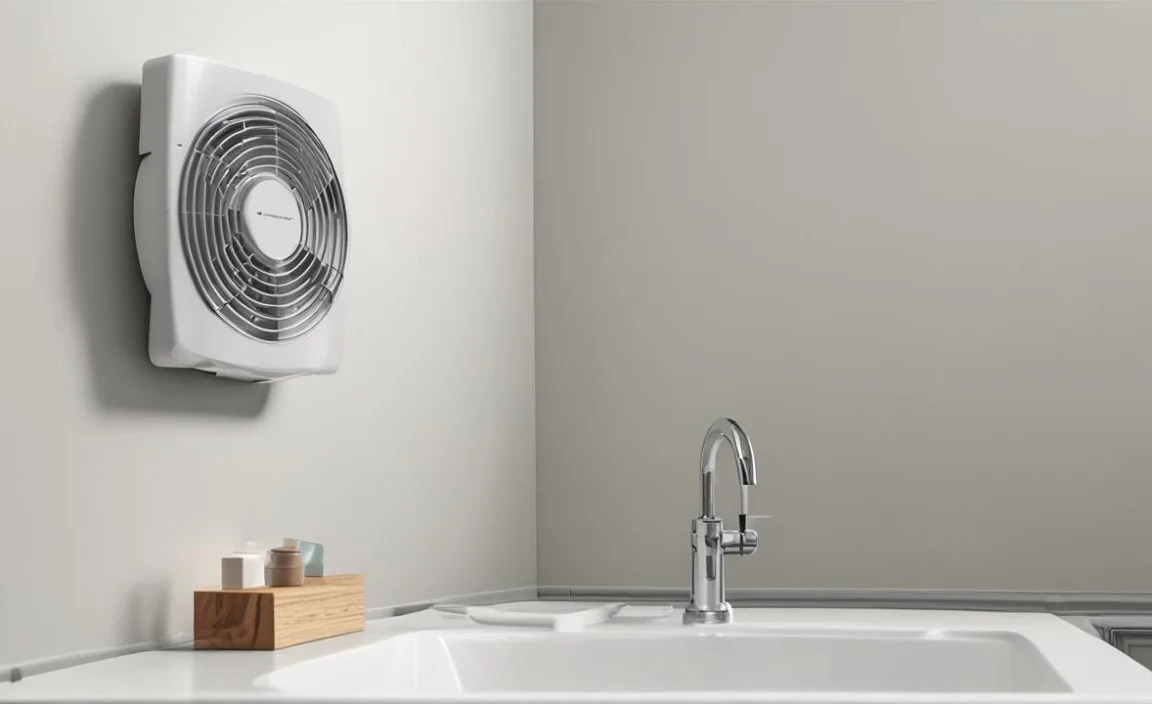
Inadequate Ventilation: If your fan is undersized for the bathroom’s square footage or not used consistently after moisture-generating activities, it can’t effectively remove all the humidity.
Ductwork Issues: Leaky or uninsulated ductwork can allow moist air to escape into wall cavities or attics, promoting mold growth in those areas, and can also draw in moist air from outside when the fan is off.
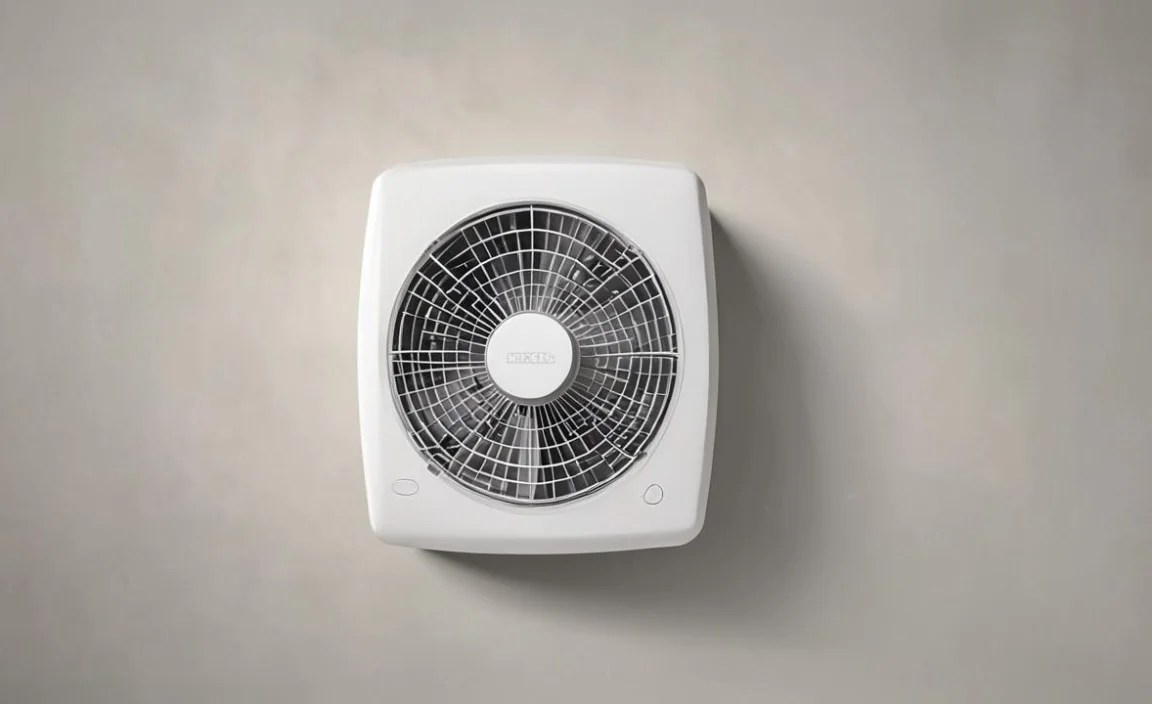
Filter Blockages: Some fans have filters that can become clogged with dust and debris, hindering airflow and trapping moisture.
High Humidity Levels: Homes in generally humid climates are more susceptible to mold issues.
The Effortless Bathroom Fan Mold Removal Process
The good news is that cleaning a moldy bathroom fan is generally a straightforward DIY project. Here’s how to tackle it with minimal hassle:
Step 1: Preparation is Key
Safety first! Before you begin, ensure you have the necessary protective gear. This includes:
Gloves: To protect your skin from mold and cleaning solutions.
Mask: A N95 respirator is recommended to avoid inhaling mold spores.
Eye Protection: Goggles will prevent any cleaning solution or mold particles from entering your eyes.
Old Clothes: You don’t want to ruin your good attire.
You’ll also need a stable step stool or ladder, a screwdriver (if you need to remove the fan cover), and cleaning cloths or sponges. It’s also a good idea to lay down an old towel or drop cloth beneath the fan to catch any drips.
Step 2: Disconnecting Power
This is a crucial safety step that cannot be overlooked. Locate your home’s electrical panel and flip the breaker that controls your bathroom fan. To be absolutely certain, try to turn the fan on to confirm the power is indeed off.
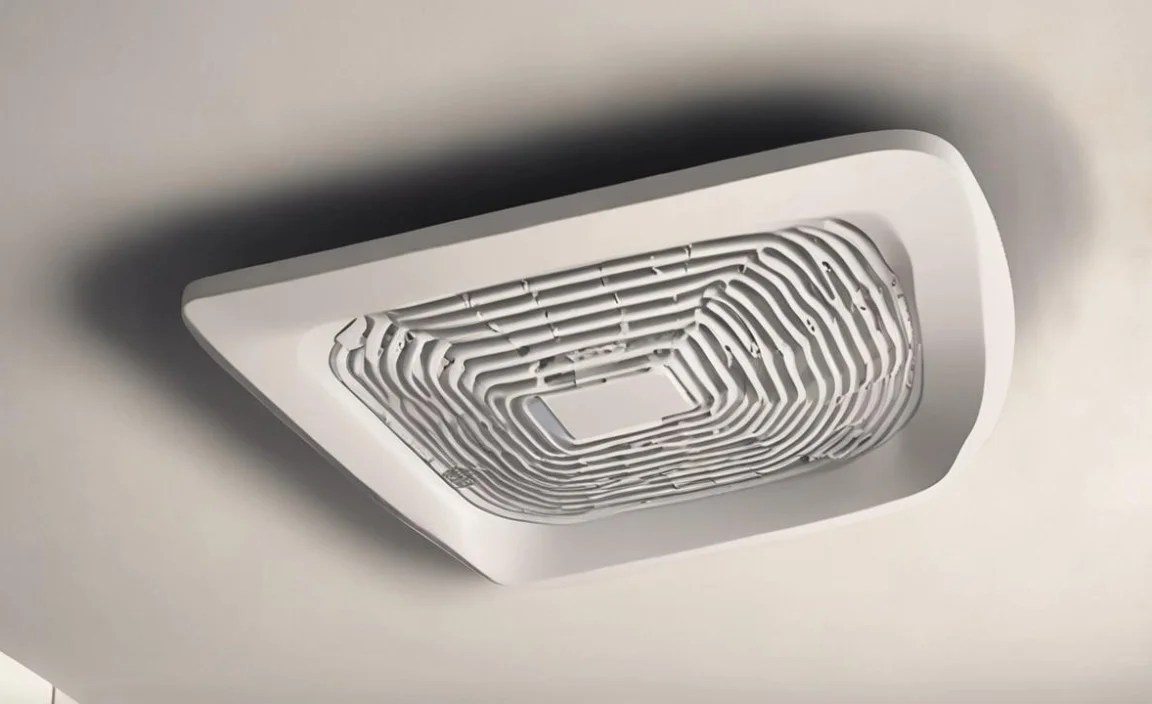
Step 3: Accessing the Fan
Most bathroom fan covers are secured with clips or screws. Gently detach the cover. If it’s a clip-on style, you might need to carefully pry it downwards or sideways. For screw-on covers, use your screwdriver. Once the cover is removed, you’ll have better access to the fan itself.
Step 4: Cleaning the Fan and Vent Cover

For the effortless removal of surface mold from the vent cover and accessible fan parts, a mild cleaning solution works wonders. A mixture of:
One part bleach to ten parts water is highly effective against mold.
Alternatively, a solution of white vinegar (undiluted) is another excellent mold killer and is less harsh.
For very mild cases, warm soapy water might suffice.
Dip a cloth or sponge into your chosen solution and thoroughly clean the vent cover, ensuring you get into all the nooks and crannies. If you can safely reach them, gently wipe down the fan blades and housing. Be cautious not to oversaturate any electrical components.
Step 5: Dealing with Stubborn Mold
If the bleach or vinegar solution doesn’t immediately remove all the mold, let it sit on the affected areas for 10-15 minutes. Then, gently scrub with a soft brush or sponge. For mold that has deeply penetrated porous materials, you might need to repeat the process or consider replacing the vent cover if it’s severely affected and difficult to clean.
Step 6: Rinsing and Drying
After cleaning, wipe down all the surfaces with a clean, damp cloth to remove any residual cleaning solution and loosened mold. Then, thoroughly dry all the components with a clean, dry cloth. This step is vital in preventing mold from returning. Ensure the fan motor area is completely dry; you can even let it air dry for a while with the fan cover off.
Step 7: Reassembly and Power On

Once everything is clean and completely dry, reattach the fan cover securely. Return to your electrical panel and flip the breaker back on. Test the fan to ensure it’s working correctly.
Preventing Future Bathroom Fan Mold
The key to truly effortless mold removal is preventing its return. Implement these strategies:
Run Your Fan Consistently: Always turn on your bathroom fan before showering or bathing and leave it running for at least 20-30 minutes afterward to allow all moisture to dissipate. Consider installing a timer switch for added convenience.
Check for Leaks: Periodically inspect your bathroom for any signs of water leaks, especially around the shower, tub, and sink.
Improve Insulation: If your ductwork runs through unheated spaces like an attic or crawl space, ensure it’s adequately insulated to prevent condensation.
Regular Cleaning: Make cleaning your bathroom fan and vent cover a part of your regular bathroom cleaning routine, perhaps every few months. This prevents mold from getting a strong foothold.
Dehumidify: If your bathroom consistently feels damp, consider using a small dehumidifier.
By following these straightforward cleaning and prevention methods, you can ensure your bathroom fan remains a tool for a healthy environment, rather than a breeding ground for mold. Effortless removal and proactive prevention go hand-in-hand for a mold-free, healthy home.
