
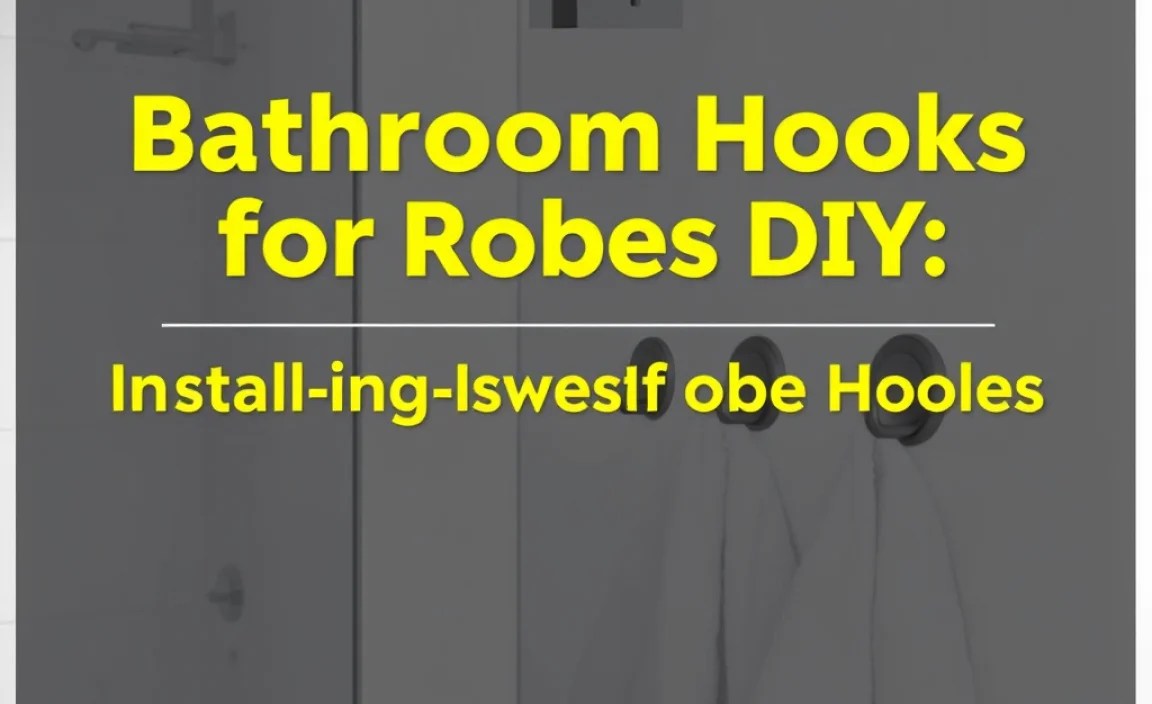
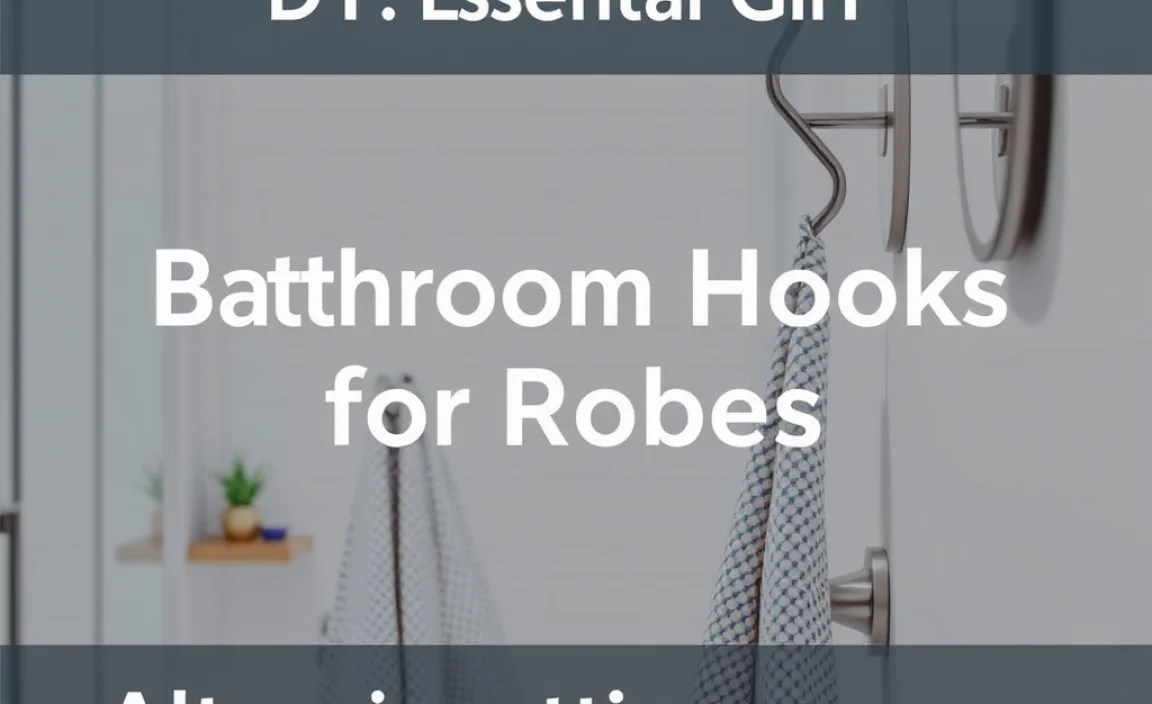
Transform your bathroom with easy-to-install robe hooks! This guide gives you everything you need to confidently hang stylish and sturdy hooks for your robes, making your space more organized and functional. Get ready to elevate your bathroom experience with a simple DIY project.
We all love stepping out of a warm shower and reaching for a plush robe. But where do you put it? A damp robe draped over a toilet lid or the edge of the sink just doesn’t cut it. It’s a small problem, but one that can add a little frustration to your daily routine. Thankfully, adding bathroom hooks for robes is a wonderfully simple DIY project that makes a big difference. You don’t need to be a master handyman to get this done. With a few basic tools and a little guidance, you can securely attach hooks that will keep your robes, towels, and even your clothes neatly hung and readily accessible. Let’s get your bathroom organized and looking great!
Why Add Robe Hooks to Your Bathroom?

Adding robe hooks to your bathroom isn’t just about aesthetics; it’s about enhancing the functionality and comfort of your personal space. Think about it: no more stepping over damp towels, no more searching for a place to hang your robe after a relaxing soak. Robe hooks offer a designated spot, keeping your bathroom tidy and your robes ready when you need them. They’re a small upgrade that brings a significant boost in convenience and a touch of hotel-like luxury to your everyday life.
Organization and Decluttering
One of the most immediate benefits of installing robe hooks is enhanced organization. Bathrooms can quickly become cluttered spaces with towels, bathmats, and personal care items. Hooks provide a dedicated place for robes, keeping them off the floor, counters, and other surfaces. This single addition can dramatically reduce visual clutter, making your bathroom feel larger, cleaner, and more peaceful. It’s a simple step towards a more serene environment.
Convenience and Accessibility
Imagine stepping out of the shower and having your cozy robe immediately within reach. Robe hooks make this a reality. They offer unparalleled convenience, ensuring your robe is always where you expect it to be. This is especially helpful for families with children or for anyone who appreciates having essentials easily accessible. It streamlines your post-shower routine, turning a simple act into a moment of effortless comfort.
Aesthetic Appeal
Beyond function, robe hooks can also be a stylish addition to your bathroom décor. Available in a vast array of designs, finishes, and materials, hooks can complement existing fixtures or serve as a subtle design element. Whether you prefer sleek modern chrome, warm brushed nickel, or classic matte black, the right robe hook can add a polished finishing touch, elevating the overall look and feel of your bathroom. They are small details that can make a significant impact on your bathroom’s personality.
Protecting Your Walls and Fixtures
Leaving robes draped over various surfaces can sometimes lead to dampness against walls or cabinets, potentially causing damage over time. Robe hooks provide a proper hanging solution, preventing such issues. They also protect delicate fixtures or furniture from the weight and moisture of a full-sized robe, ensuring they remain in good condition.
Choosing the Right Bathroom Hooks for Robes

With so many options available, selecting the perfect robe hooks for your bathroom might seem daunting. But don’t worry! We’ll break down the key factors to consider to ensure you choose hooks that are not only functional but also match your style and are suitable for your bathroom’s needs.
Types of Robe Hooks
Robe hooks come in various designs and mounting styles. Understanding these differences will help you pick the best fit for your space and your DIY skills.
Adhesive Hooks
- Pros: Extremely easy to install, no drilling required, ideal for renters or those who prefer not to alter walls.
- Cons: May not hold as much weight as screwed-in hooks, adhesion can weaken over time, especially in humid environments, and removal might leave residue or damage paint.
- Best for: Lightweight items, temporary solutions, or situations where drilling is not an option. Look for reputable brands known for strong, waterproof adhesives.
Suction Cup Hooks
- Pros: Very easy to install and reposition, no wall damage.
- Cons: Limited weight capacity, can lose suction over time, especially in steamy bathrooms, and require smooth, non-porous surfaces.
- Best for: Very light items like a washcloth or a small hand towel. Not recommended for the weight of a bath robe.
Screw-In Hooks (Traditional)
- Pros: Most secure and durable option, can hold significant weight, a wide variety of styles and finishes.
- Cons: Requires drilling into your wall, which means making permanent holes.
- Best for: Anyone looking for a permanent, strong, and reliable solution. This is the go-to for most homeowners.
Tension Rod Hooks
- Pros: No drilling needed, adjustable to fit between walls or shower curtain rods.
- Cons: Can slide down if not installed properly, weight capacity is limited by the tension rod’s strength.
- Best for: Temporary solutions or very light items, sometimes used within shower curtains.
Over-the-Door Hooks
- Pros: No installation required, can be easily moved, good for renters.
- Cons: Can scratch doors if not padded, limited by the door’s thickness, might not be the most aesthetically pleasing option for some.
- Best for: Instant organization without any permanent changes.
Magnetic Hooks
- Pros: Easy to reposition, strong hold if on a metal surface.
- Cons: Only work on metal surfaces (like some shower enclosures or radiators), weight capacity varies greatly.
- Best for: Specialized situations where you have a suitable metal surface.
Material and Finish
The material and finish of your hooks should not only complement your bathroom’s style but also withstand moisture. Common options include:
- Stainless Steel: Excellent corrosion resistance, durable, and available in polished or brushed finishes. A top choice for bathrooms.
- Brass: Can be finished in polished, brushed, or antique styles. Needs to be coated to resist tarnishing in humid environments.
- Zinc Alloy: Often used for decorative hooks, can be plated with various finishes. Durability can vary.
- Plastic: Lightweight and inexpensive, but less durable and can look less premium.
- Chrome: A very popular finish offering a shiny, reflective look. Durable and easy to clean, but can show water spots.
- Nickel (Brushed or Polished): Offers a softer, warmer look than chrome. Brushed nickel hides water spots better.
- Matte Black/Bronze: Modern and classic options that add a sophisticated touch. Ensure they are powder-coated for durability.
When choosing a finish, consider how it will look with your faucets, showerheads, towel bars, and other hardware. Consistency can create a harmonious look.
Weight Capacity
This is crucial! A standard bath robe can be surprisingly heavy, especially when wet. Always check the manufacturer’s stated weight capacity for any hook you consider. Screw-in hooks will generally offer the highest weight capacity, making them the most reliable choice for bath robes. Adhesive or suction cup hooks may be suitable for lighter items like hand towels but are generally not recommended for the secure hanging of heavy, wet robes.
Installation Considerations
Think about where you want your hooks. Near the shower? By the vanity? On the back of the door? This will influence the type of hook and the installation method. For screw-in hooks, you’ll need to consider the wall material (drywall, tile, plaster) and ensure you’re mounting them securely, preferably into a wall stud for maximum support.
Tools and Materials You’ll Need

Gathering the right tools before you start your DIY robe hook installation will make the process smoother and more efficient. For the most common and secure method, installing screw-in hooks, here’s what you’ll likely need:
Essential Tools
- Robe Hooks: Your chosen hardware.
- Drill with Drill Bits: A cordless drill is convenient. You’ll need a bit for pilot holes and potentially a masonry bit if drilling into tile or plaster.
- Screwdriver: To match the screw heads on your hooks (usually Phillips head).
- Level: Essential for ensuring your hooks are mounted straight.
- Pencil or Marker: For marking drilling locations.
- Stud Finder: Highly recommended for drywall installation to ensure maximum support by locating wall studs. You can find electronic stud finders that are quite easy to use.
- Measuring Tape: To determine the ideal placement and spacing of your hooks.
Optional but Helpful Tools
- Painter’s Tape: Useful for marking drilling locations on tile to prevent the drill bit from slipping.
- Caulk Gun and Bathroom Caulk: For sealing around screw-in hooks, especially in tile or near shower areas, to prevent moisture infiltration.
- Safety Glasses: Always a good idea when drilling or working with tools.
- Work Gloves: To protect your hands.
- Hammer: If you’re using wall anchors in drywall.
Knowing what to get beforehand prevents those annoying trips back to the hardware store mid-project. It’s all about being prepared!
Step-by-Step Guide: Installing Screw-In Robe Hooks
This guide focuses on the most common and durable method: installing robe hooks that screw directly into the wall. This ensures they can handle the weight of a wet robe and last for years.
Step 1: Choose Your Location and Mark It
Decide exactly where you want your robe hook(s). Consider:
- Proximity to shower/tub: Should be within easy reach.
- Height: Typically around 60-70 inches from the floor, but adjust for your height and who will be using them.
- Clearance: Ensure there’s enough space for a robe to hang without touching walls or other fixtures.
Once you’ve decided, hold the hook base on the wall (or use the template if provided) and use your pencil to lightly mark the screw hole locations. Use a level to ensure your marks are perfectly straight if installing multiple hooks.
Step 2: Check for Studs (Highly Recommended for Drywall)
If you’re drilling into drywall, finding a wall stud is the strongest way to mount your hook.
- Turn on your stud finder and slide it horizontally across the wall where you plan to install the hook.
- It will signal when it detects the edge or center of a stud.
- Mark the center of the stud. If no stud is available at your desired location, you’ll need to use appropriate drywall anchors (see Step 3).
Mounting into a stud is always best for maximum support. For more information on finding studs, resources like This Old House offer great visual guides.
Step 3: Drill Pilot Holes
This step should be done carefully to ensure the screws go in straight and the hole is the correct size.
- If drilling into a stud: Select a drill bit that is slightly smaller than the diameter of the screws that came with your hooks. This creates a pilot hole for the screw without weakening the stud too much.
- If drilling into drywall (no stud): You’ll need to use drywall anchors. The package for your anchors will specify the correct drill bit size. Drill the hole as instructed for the anchor. Insert the anchor into the hole; it should fit snugly.
- If drilling into tile: Use a masonry drill bit designed for tile. Start slowly, and consider using painter’s tape over the spot to prevent the bit from wandering. You may need to drill into the grout line or carefully into the tile itself.
Drill your pilot holes at the marked locations. Make sure they are deep enough for the screws. If using anchors, ensure they are properly seated.
Step 4: Mount the Hook
Now it’s time to attach the hook.
- Align the hook or its mounting plate over the pilot hole(s).
- Insert the screws provided with your hooks.
- Using your screwdriver (or drill on a low torque setting), carefully drive the screws into the pilot holes.
- Ensure the hook is straight as you tighten the screws.
- Don’t overtighten, as this can strip the screw hole or damage the hook.
Step 5: Test the Hook
Give the hook a gentle tug to ensure it’s securely fastened to the wall. You can then hang your heaviest robe on it for a moment to be absolutely sure it can take the weight. You want it to feel solid and unwavering.
Step 6: Seal (Optional but Recommended for Bathrooms)
To add extra protection against moisture, especially if you installed hooks on tile or near the shower, you can seal around the base of the hook where it meets the wall with a bead of bathroom-grade caulk. Use a caulk gun, apply a thin, even bead, and then smooth it with a wet finger or a caulk tool. Wipe away any excess immediately.
Alternative Installation Methods
Not everyone wants to or can drill into their walls. Fortunately, there are effective alternatives for hanging robe hooks.
Adhesive Hooks: The No-Drill Solution
Adhesive hooks are a popular choice for their ease of installation and lack of wall damage. They are particularly useful for renters or for making quick upgrades.
How to Install Adhesive Hooks:
- Clean the Surface: This is the MOST critical step. The wall area must be perfectly clean and dry. Use an alcohol-based cleaner or a specialized adhesive spray and wipe thoroughly. Any dust, soap scum, or moisture will prevent the adhesive from sticking properly.
- Mark the Location: Decide where you want the hook and mark the general area with a pencil.
- Apply the Adhesive: Most adhesive hooks have a backing you peel off. Carefully align the hook with your mark and press it firmly against the wall.
- Apply Pressure: Hold the hook in place for the manufacturer’s recommended time (often 30-60 seconds or more). This ensures maximum adhesion.
- Wait Before Use (Crucial!): Allow the adhesive to cure fully before hanging anything on the hook. This is often 24-48 hours. Skipping this waiting period is the most common reason for adhesive hook failure. Check the product instructions for specific cure times.
Important Note: While convenient, adhesive hooks have limitations. They are best suited for lighter items. Always check the weight rating. For heavy bath robes, especially when wet, screw-in hooks are far more reliable. For guidance on bathroom renovation and materials, the HGTV website offers comprehensive resources.
Over-the-Door Hooks: Instant Organization
These require no wall modification at all and are perfect for immediate organization.
How to Use Over-the-Door Hooks:
- Select the Right Fit: Ensure the hook is designed for your door’s thickness. Too loose and it will slide; too tight and it might damage the door or make it hard to close.
- Hang It: Simply hook the hardware over the top of your bathroom door.
- Check Stability: Gently test it to make sure it’s secure and won’t easily slip off. Some come with small pads to protect the door surface.
Pros: Extremely easy to use, no tools required, great for renters, easily removable.
Cons: Can potentially scratch doors, might not be the most decorative option, can make closing the door noisy, limited weight capacity.
Maintaining Your Bathroom Hooks
Proper maintenance will ensure your robe hooks stay secure, functional, and looking good for years to come. Even the best-installed hooks need a little attention.
Regular Cleaning
Just like any other bathroom fixture, hooks can accumulate soap scum, toothpaste splatters, or hairspray residue. Clean them regularly with a soft cloth dampened with mild soap and water. For stubborn spots, a damp microfiber cloth usually does the trick. Avoid abrasive cleaners or scrub brushes, as these can scratch the finish.
Checking for Tightness (Screw-In Hooks)
Periodically (every few months), give your screw-in hooks a gentle wiggle to ensure they haven’t loosened. If they feel loose, carefully.
