
Quick Summary:
Choosing waterproof bathroom hooks for robes is simple! Look for materials like stainless steel, treated wood, or high-quality plastic, and ensure a secure, moisture-resistant installation method like strong adhesive or drilling. These hooks keep your robe dry and easily accessible in your bathroom.
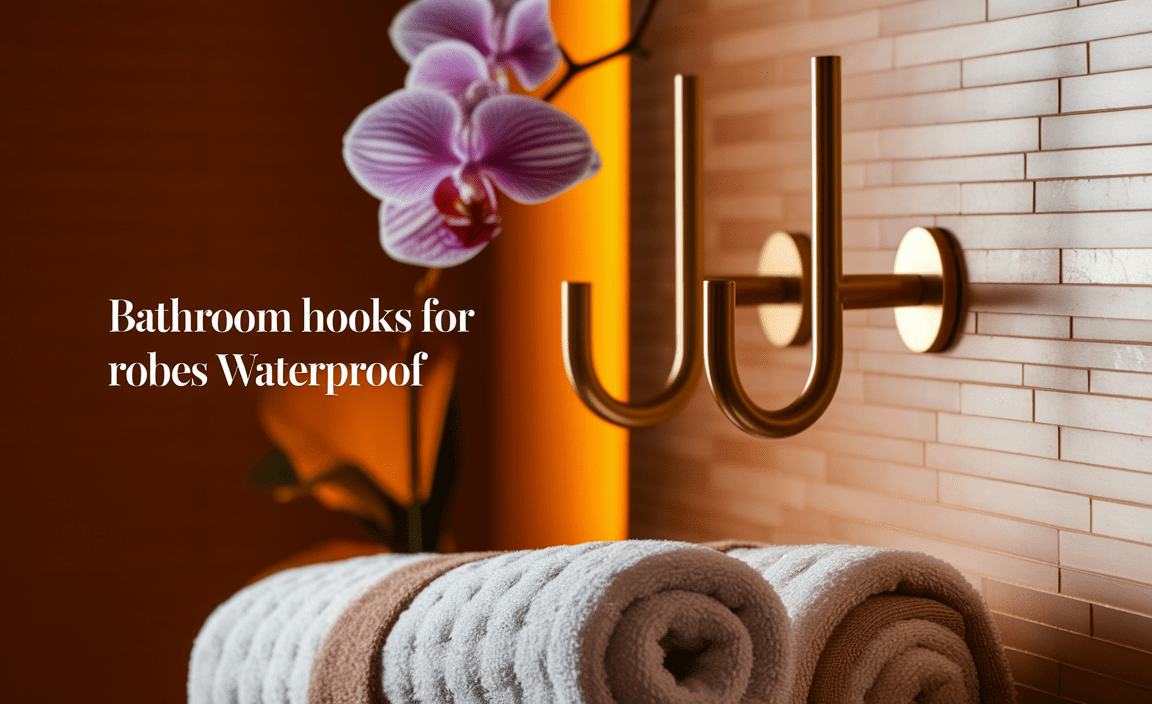
Ever reached for your cozy bathroom robe after a steamy shower, only to find it dripping wet or falling off a flimsy hook? It’s a common frustration that can easily be solved. A good waterproof robe hook is a small but mighty addition to your bathroom, keeping your robe dry, tidy, and exactly where you need it. Don’t let dampness or falling items ruin your relaxation! This guide will walk you through everything you need to know to pick and install the perfect waterproof hooks for your robes. We’ll cover what makes a hook truly waterproof, what materials work best, and how to make sure it sticks around for the long haul. Get ready to transform your bathroom routine!
Your Complete Guide to Waterproof Bathroom Hooks for Robes
As Bryan Lee, your go-to for home and DIY, I know that the right accessories can make a huge difference in your daily life. Bathroom hooks for robes might seem like a small detail, but when you’re dealing with moisture consistently, choosing the right ones becomes essential. A poorly chosen hook can rust, fall off, or even damage your wall. But a correctly selected waterproof hook? It’s a reliable helper, keeping your plush robe off the floor and away from splashes. This guide is designed to make choosing and installing these little lifesavers totally straightforward, even if you’ve never hung a hook before.

Why Waterproof is Key for Bathroom Robe Hooks
Bathrooms are inherently humid environments. Showers, baths, and even just running the sink create a lot of moisture. Standard hooks, especially those made from materials like untreated metal or particleboard, can succumb to this dampness. Here’s why waterproof matters:
- Prevents Rust and Corrosion: Metal hooks that aren’t properly treated will quickly develop rust spots, looking unsightly and weakening the hook over time.
- Avoids Mold and Mildew: Porous materials can absorb moisture, becoming a breeding ground for mold and mildew. This is not only unattractive but also unhygienic.
- Maintains Wall Integrity: Moisture seeping behind a hook can damage drywall or paint, leading to peeling or rot.
- Longevity: Waterproof materials are built to withstand constant exposure to steam and splashes, meaning your hooks will last much longer.
- Aesthetics: No one wants a rusty, peeling hook in their bathroom. Waterproof options look better and stay looking better.
Choosing the Right Material for Your Waterproof Hooks
The material of your hook is the first line of defense against moisture. When looking for bathroom hooks for robes waterproof, consider these super-durable options:

1. Stainless Steel
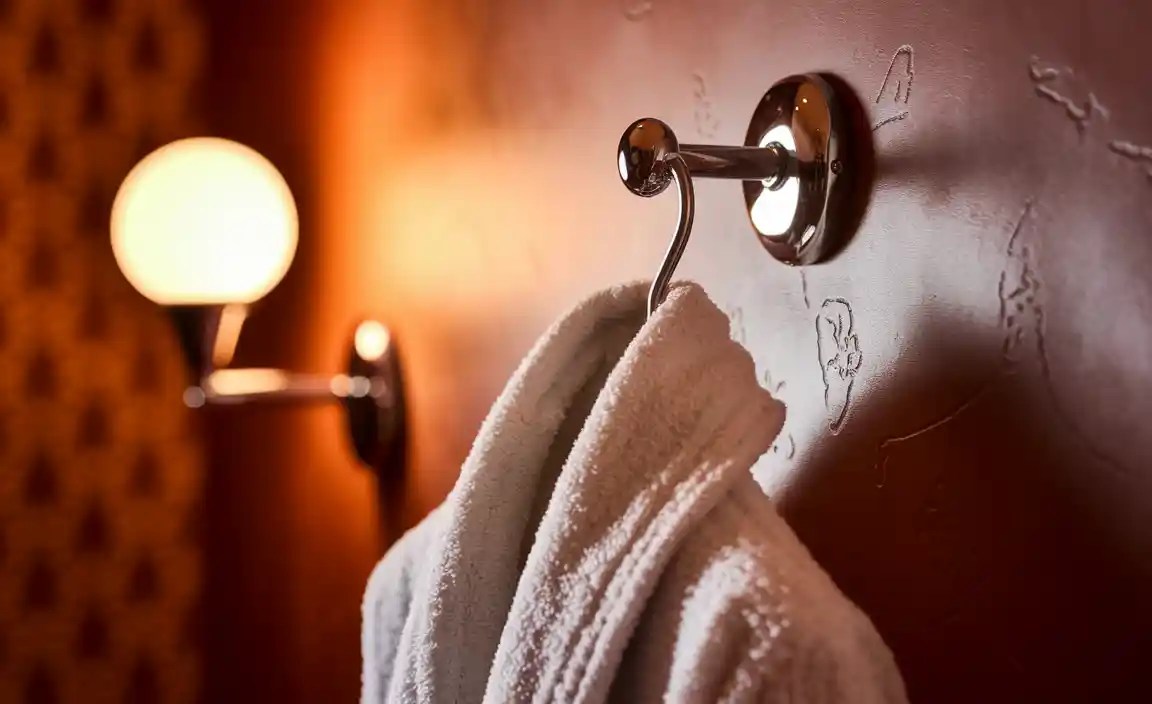
Stainless steel is a champion in wet environments. It’s naturally resistant to rust and corrosion. Look for hooks made from marine-grade stainless steel for the absolute best protection, though even standard high-quality stainless steel will perform exceptionally well. It offers a sleek, modern look that fits into almost any bathroom decor.
2. Solid Wood (Treated)
Wood can be beautiful, but it needs protection! Opt for hooks made from hardwoods like teak, bamboo, or oak, and ensure they have a robust waterproof sealant. These sealants, often a high-gloss varnish or a specialized outdoor wood treatment, create a barrier that prevents water absorption. Properly treated wood hooks can add a warm, natural element to your bathroom.
3. High-Quality Plastics and Polymers
Don’t dismiss plastics just yet! Modern, high-quality plastics and polymers are incredibly durable and completely waterproof. They are often lightweight, resistant to staining, and available in a wide array of colors and styles. Look for terms like “ABS plastic” or “resin” as indicators of a strong, moisture-resistant material.
4. Coated Metals
Some metal hooks have a protective coating over them. This could be powder coating, a thick enamel, or a chrome plating. While these can be effective, it’s crucial to inspect the coating for any chips or scratches. If the coating is compromised, the underlying metal is exposed and vulnerable to rust.
Installation Methods: Sticking Power in a Steamy Room
Even the best material won’t hold your robe if it doesn’t stay attached to the wall. For bathrooms, secure, moisture-resistant installation is paramount. Here are the most common and reliable methods:
1. Adhesive Hooks
These are incredibly popular for beginners because they require no drilling. They rely on very strong, waterproof adhesive strips. The key to success with adhesive hooks is proper surface preparation.
Pros:
- Easy to install.
- No tools required.
- Removable without damaging most surfaces (if done carefully).
- Great for renters.
Cons:
- May not hold extremely heavy robes.
- Adhesive can fail if the surface isn’t perfectly clean or if the humidity is excessively high for an extended period.
- Not ideal for textured or uneven tiles.
When using adhesive hooks, the process is simple but crucial:
- Clean the Surface: Thoroughly clean the area where the hook will go with rubbing alcohol. This removes soap scum, grease, and moisture that could prevent the adhesive from sticking.
- Dry Completely: Ensure the area is completely dry.
- Apply the Hook: Peel off the backing and press the hook firmly onto the wall.
- Wait: This is critical! Follow the manufacturer’s instructions, but typically, you should wait at least 24 hours before hanging anything on the hook. This allows the adhesive to cure fully.
For more information on proper cleaning and surface preparation techniques, the EPA provides excellent resources on managing mold and moisture in homes, which indirectly highlights the importance of a clean, dry installation process.
2. Screw-In Hooks (Drilling Required)
For maximum security and weight-bearing capacity, drilling and screwing hooks into the wall is the gold standard. This method is permanent (or at least requires patching to remove) but offers unparalleled reliability.
Pros:
- Holds the most weight.
- Extremely secure and long-lasting.
- Ideal for heavier robes or multiple items.
Cons:
- Requires tools (drill, screwdriver, possibly a stud finder).
- Leaves holes in the wall when removed.
- Can be trickier for beginners.
If you opt for screw-in hooks, here’s a step-by-step:
- Gather Tools: You’ll need a drill, drill bits, a screwdriver, the hook hardware, and possibly wall anchors.
- Mark the Spot: Hold the hook base against the wall at your desired height and mark the screw hole locations with a pencil.
- Drill Pilot Holes: Using a drill bit slightly smaller than the screws, drill pilot holes at your marked spots. If you’re not drilling into a wall stud (recommended for maximum strength), you’ll need to use wall anchors.
- Insert Anchors (if needed): Gently tap the wall anchors into the pilot holes.
- Attach the Hook: Place the hook base over the holes/anchors and drive the screws in firmly with your screwdriver or drill.
For guidance on using drills and wall anchors safely, resources from reputable tool manufacturers often provide excellent beginner tutorials. For instance, a site like Milwaukee Tool’s drilling section can offer visual guides and safety tips.
3. Tension Rod Hooks
While less common for robes and often used for shower curtains, some specialized tension rod hooks can work in a pinch, especially within a shower stall. They rely on spring-loaded tension to stay in place.
Pros:
- No drilling required.
- Easy to adjust and move.
Cons:
- Limited weight capacity.
- May not feel as secure as other methods.
- Not suitable for all bathroom layouts.
Key Features to Look for in Waterproof Robe Hooks
Beyond material and installation, a few other features can make your choice even better:
- Sturdy Design: Ensure the hook itself is well-formed and doesn’t have sharp edges that could snag fabric.
- Weight Capacity: Check the product description for how much weight the hook is designed to hold. A thick, fluffy robe can be surprisingly heavy, especially when wet.
- Finish: Even with stainless steel, brushed, matte, or polished finishes can affect how it looks and how visible water spots or smudges are.
- Size and Shape: Consider the size of your robe’s loop. A hook with a wider curve or a longer projection might be more practical.
Where to Install Your Bathroom Robe Hooks
The location is just as important as the hook itself. Think about convenience and minimizing water exposure.
- Behind the Bathroom Door: A classic spot that keeps the hook out of sight and away from direct shower spray.
- Next to the Shower or Tub: Extremely convenient for quickly grabbing your robe. Ensure this spot isn’t in the direct line of water spray.
- On a Vanity or Cabinet Door: If you have a sturdy cabinet, this can be a good option, especially for smaller, lighter hooks.
- On a Tiled Wall: A common and stylish choice, but ensure the tiles are suitable for drilling or that the adhesive can adhere well.
Tip: Always consider the height. A good rule of thumb is to install hooks at a height that allows your robe to hang freely without touching the floor, typically around 5-6 feet from the floor, but adjust based on your robe’s length and your personal preference.
A Comparison of Waterproof Hook Options
To help you visualize the differences, let’s compare common waterproof hook types in a table:
| Hook Type | Material Examples | Installation Method | Best For | Considerations |
|---|---|---|---|---|
| Single Robe Hook | Stainless Steel, Treated Wood, ABS Plastic | Adhesive, Screw-In | Standard robes, maximizing space | Ensure enough projection for robe loop. |
| Double Robe Hook | Stainless Steel, Heavy-Duty Plastic | Screw-In (recommended) | Multiple robes, damp towels | Requires a larger wall space and strong mounting. |
| Swivel Arm Hook | Stainless Steel, Chrome-Plated Metal | Adhesive, Screw-In | Drying towels quickly, versatile use | Arm can snag if not positioned carefully. |
| Hook with Shelf/Tray | Stainless Steel, Treated Wood | Screw-In (usually) | Robes plus small items (e.g., loofah) | Requires more wall space and robust mounting. |
Step-by-Step: Installing Your Waterproof Robe Hook (Adhesive Method)
Let’s get hands-on! Here’s how to install an adhesive waterproof robe hook with confidence:
Step 1: Choose Your Location
Decide where you want your hook. Think about convenience, aesthetics, and avoiding direct water spray. Mark the spot lightly with a pencil.
Step 2: Prepare the Surface
This is the most critical step for adhesive hooks!
- Use a clean cloth.
- Apply rubbing alcohol (isopropyl alcohol) to the cloth.
- Thoroughly wipe down the marked area, removing any soap scum, dust, or residue. Pay special attention to grout lines if you’re on tile.
Step 3: Ensure It’s Dry
Allow the wall to air dry completely. You can gently dab it with a clean, dry cloth, but avoid excessive rubbing which might leave lint. The surface must be bone dry for the adhesive to bond properly.
Step 4: Apply the Hook
Carefully peel the protective backing off the adhesive strip on the back of your hook. Avoid touching the adhesive surface with your fingers, as oils from your skin can weaken the bond. Align the hook with your pencil mark and press it firmly against the wall. Apply steady pressure for about 30 seconds to ensure full contact.
Step 5: Wait!
Resist the urge to hang your robe immediately. Most manufacturers recommend waiting at least 24 hours for the adhesive to fully cure. Some strong adhesives might even recommend 48-72 hours for maximum hold. Check the product packaging for specific instructions.
Step 6: Test (Gently)
After the waiting period, gently tug on the hook to ensure it’s secure. Then, you can hang your robe! If it feels solid, enjoy your new, organized bathroom.
Step-by-Step: Installing Your Waterproof Robe Hook (Screw-In Method)
Ready for a super secure mount? Here’s how to install a screw-in waterproof robe hook:
Step 1: Gather Your Tools
You’ll need:
- Your screw-in robe hook
- A pencil
- A drill
- Drill bits (appropriate size for pilot holes and anchors)
- A screwdriver (or drill with screwdriver bit)
- Wall anchors (if not drilling into a stud)
- A tape measure (optional, for precise placement)
- A level (optional, for perfect alignment)
Step 2: Determine Placement
Decide on the exact spot for your hook. Use a pencil to mark the desired height and whether you’ll be drilling into a stud (ideal for strength) or using wall anchors. Lightly trace around the mounting plate of the hook, or mark the exact spots for the screws.
Step 3: Drill Pilot Holes
This step is crucial for preventing damage and ensuring screws go in straight.
- If mounting into drywall without a stud: Use a drill bit slightly smaller than your chosen wall anchor. Drill through your anchor into the wall until the anchor is nearly flush.
- If mounting into a stud (or if your hook came with specific pilot hole recommendations): Use a drill bit that is smaller than the diameter of the screw itself. Drill a pilot hole at your marked location.
- If mounting into tile: Use a masonry or tile drill bit. Start slowly and with light pressure to avoid cracking the tile. Consider placing a piece of painter’s tape over the mark to help the drill bit grip and prevent slipping.
Step 4: Insert Wall Anchors (If Applicable)
If you used wall anchors, ensure they are fully seated in the wall. Sometimes a gentle tap with a hammer is needed.
Step 5: Mount the Hook
Position the hook’s mounting plate over the pilot holes or anchors. Insert the screws and tighten them with your screwdriver. Make sure the hook is straight and snug against the wall. Don’t overtighten, as this can strip the holes or damage the wall.
Step 6: Test for Stability
Give the hook a firm pull to ensure it’s securely mounted. If it feels loose, you may need to re-drill or use a different type of anchor. Once stable, you’re ready to hang your robe!
For deeper dives into DIY drilling techniques and home repair, I often refer to resources like This Old House magazine or sites like This Old House’s guide on drilling into tile, which offers practical advice for challenging surfaces.
Maintaining Your Waterproof Hooks
Even waterproof hooks benefit from a little care. Periodically:
- Wipe them down: Use a soft, damp cloth to remove any soap residue or mineral deposits.
- Check the adhesive: If you have adhesive hooks, gently check their security every few months. If they start to feel loose, it’s time to replace them before they fall.
- Inspect for damage: For coated hooks, check for any chips or scratches that might compromise their waterproof integrity.
