
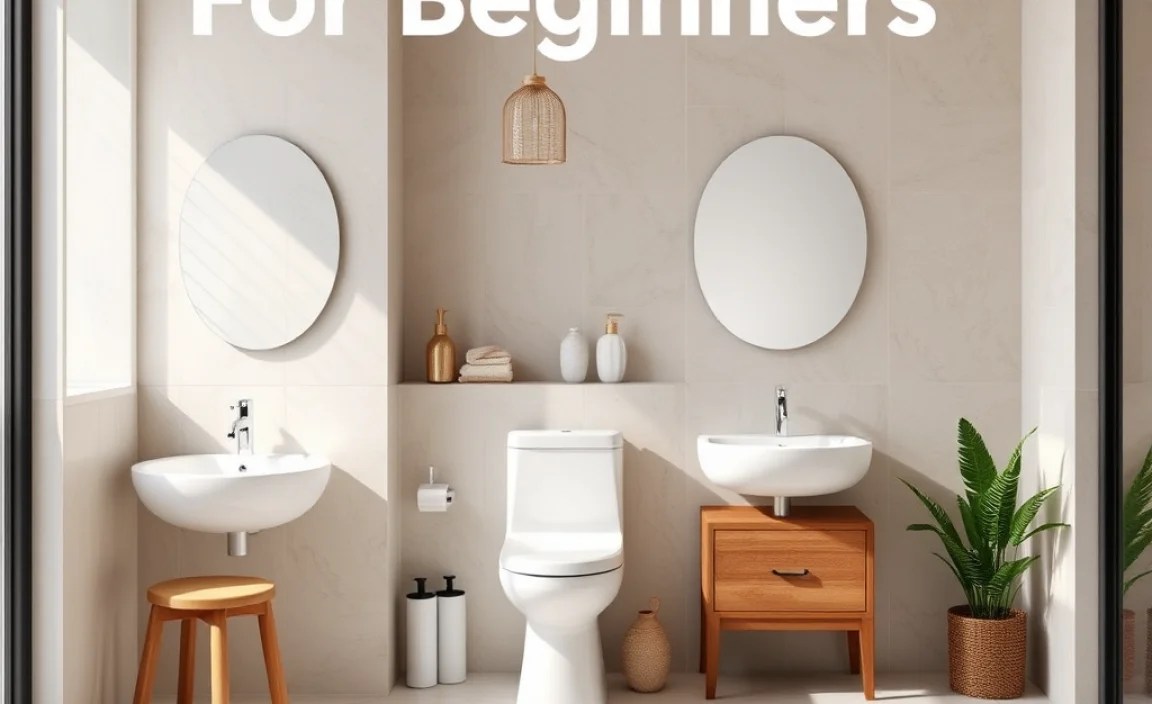
Unlock your bathroom’s secrets! This guide breaks down common bathroom jargon into simple terms. Learn essential vocabulary for DIY, repairs, and upgrades, empowering you to confidently tackle any bathroom project.
Ever felt lost when talking about bathroom fixtures or plumbing? You’re not alone! Many of us stare at confusing terms on product descriptions or hear unfamiliar words during a DIY project. It can make simple tasks feel overwhelming. But don’t worry, understanding bathroom jargon for beginners is easier than you think. This guide will demystify the language, one term at a time. Get ready to feel more confident and capable when it comes to your bathroom!
We’ll cover everything from faucets to vent pipes, making sure you know what’s what. By the end, you’ll be speaking the language of bathrooms like a pro!
Why Does Bathroom Jargon Matter for Beginners?
Understanding bathroom terms is super helpful, even if you’re just starting with DIY. Knowing the right words means you can:
- Shop Smarter: You’ll know exactly what to look for when buying new fixtures like toilets, sinks, or showerheads.
- Communicate Better: Whether you’re talking to a plumber, a salesperson, or even a friend who’s handy, clear communication prevents mistakes.
- DIY with Confidence: Following tutorials or reading instructions becomes much easier when you understand the terminology.
- Avoid Costly Errors: Buying the wrong part or misunderstanding instructions can lead to wasted money and time.
Think of this guide as your personal translator for all things bathroom! It’s designed to be super easy to follow, so you can pick it up and start using the information right away.
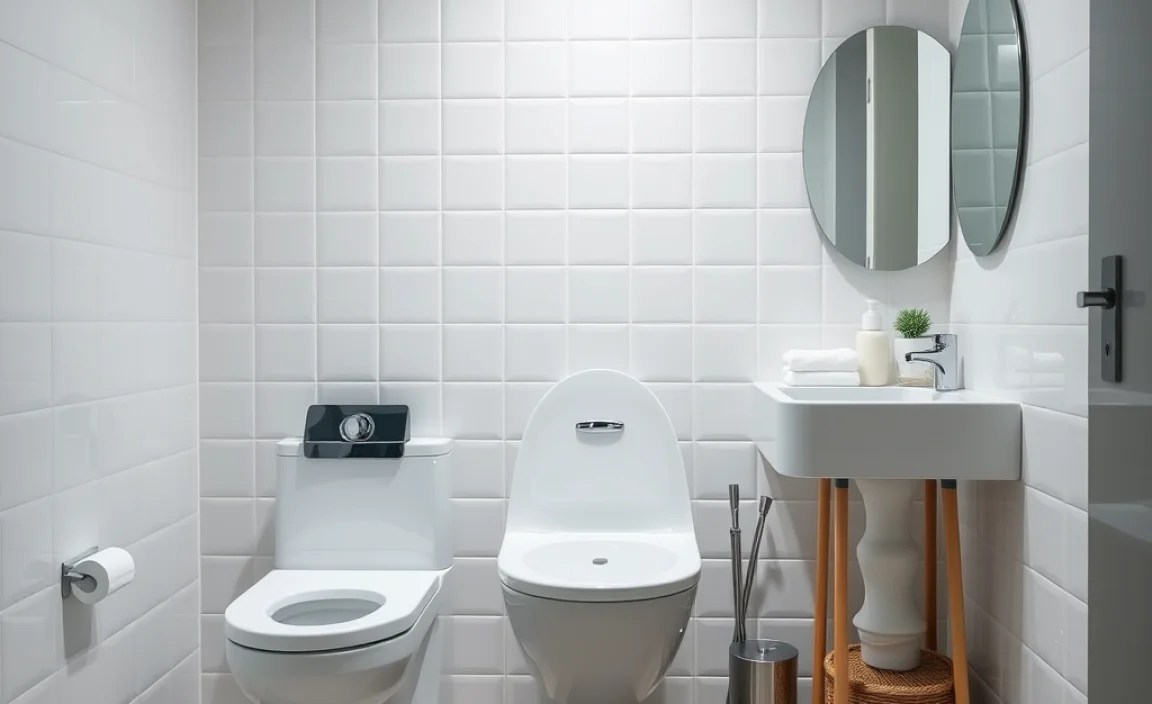
Common Bathroom Fixtures: What’s What?

Let’s start with the most obvious parts of your bathroom. These are the fixtures you see and use every day.
The Toilet
The toilet is a central part of any bathroom. It has several key components that are good to know:
- Tank: This is the back part of the toilet that holds water for flushing.
- Bowl: The part you, well, use. It holds water and waste before flushing.
- Lid: The cover for the bowl.
- Seat: The ring that rests on the bowl, comfortable for… sitting.
- Flush Lever/Button: What you press or pull to release water from the tank into the bowl and clear it.
- Flapper: A rubber seal inside the tank that lifts to let water into the bowl during a flush and then drops back down to reseal the tank.
- Fill Valve (or Ballcock): Another part inside the tank that controls water refilling after a flush.
- Siphon Jet: A small hole at the bottom of the bowl that helps clear waste with a powerful jet of water.
The Sink (or Vanity)
The sink is where you wash your hands, face, and brush your teeth. It’s usually part of a vanity unit.
- Basin/Bowl: The part that holds water.
- Faucet (or Tap): The fixture with knobs or a handle to control the hot and cold water flow.
- Spout: Where the water comes out of the faucet.
- Handles/Knobs: Used to turn the water on and off, and control temperature.
- Aerator: A small screen at the tip of the spout that mixes air with water, reducing splash and saving water.
- Drain: The opening where water leaves the basin.
- Stopper (or Plug): A device to block the drain and fill the basin with water.
- Overflow: A small hole near the top of the basin that prevents flooding if the stopper is left in and the water runs too high.
- Vanity: The cabinet or counter that the sink is mounted into, often with storage underneath.
The Shower and Bathtub
Whether you prefer a quick shower or a relaxing bath, these are the fixtures you’ll be dealing with.
- Bathtub: The larger basin, designed for soaking.
- Shower Base (or Tray): The floor of a standalone shower stall.
- Showerhead: The fixture that sprays water for showering. They come in many types, like fixed, handheld, or rain showerheads.
- Shower Valve: The control that mixes hot and cold water and directs it to the showerhead.
- Shower Door/Curtain: To keep water inside the shower area.
- Drain: Located at the bottom of the tub or shower base to let water escape.
Plumbing and Pipework Jargon You Need to Know
This is where things can get a bit technical, but we’ll keep it simple. Plumbing refers to the system of pipes that brings water into your bathroom and takes wastewater away.
Water Supply Lines
These pipes bring fresh, clean water to your fixtures.
- Hot Water Line: Carries hot water from your water heater.
- Cold Water Line: Carries cold water from your main water supply.
- Shut-off Valve: An important control valve that lets you stop the flow of water to a specific fixture or the entire house. Crucial for DIY! Always know where these are.
Drainage and Venting
This system carries used water and waste away from your bathroom.
- Drain Pipe: Carries wastewater from sinks, toilets, and showers to the main sewer line.
- P-Trap: A U-shaped bend in the pipe under a sink or shower. It holds a bit of water, creating a seal that stops sewer gases from coming back up into your bathroom. This is super important for a fresh-smelling bathroom!
- Vent Pipe (or Vent Stack): Joins the drain pipes and extends up through the roof. It allows air into the drainage system to help wastewater flow smoothly and prevents the water in P-traps from being siphoned out.
- Main Sewer Line: The largest pipe that carries all wastewater from your house to the municipal sewer or septic system.
Knowing about the P-trap and vent system can help you understand why sometimes you might smell odd odors or why drains might gurgle. For more detailed information on how plumbing systems work, the Environmental Protection Agency (EPA) offers great resources on water efficiency and plumbing.
Common Bathroom Problems and Their Jargon

Even with the best care, bathrooms can develop issues. Here’s some jargon related to common problems.
- Leak: Unwanted water escaping from pipes, fixtures, or seals. Can be a drip, a trickle, or worse!
- Clog (or Blockage): When debris prevents water from flowing freely down a drain. This is when you might need a plunger or a snake.
- Low Water Pressure: When water doesn’t come out of faucets or the shower with much force. Can be caused by clogs, valve issues, or problems with the main supply.
- Running Toilet: A toilet that continues to fill the tank and let water into the bowl even after flushing, often due to a faulty flapper or fill valve. This wastes a lot of water!
- Gurgling Drain: A noisy sound from a drain, often indicating a venting issue or a partial clog.
If you’re dealing with a clog, understanding the difference between a simple blockage and a deeper plumbing issue is key. For a basic clog, a good plunger is your first line of defense. For more stubborn clogs, a drain snake can be very effective.
Common Toilet Issues Illustrated
Here’s a quick look at what can go wrong inside your toilet tank:
| Problem | What It Looks Like | Common Cause |
|---|---|---|
| Toilet Runs Continuously | Water constantly trickles into the bowl after flushing, or the tank keeps refilling. | Faulty flapper, fill valve problems, or flush handle chain too short/long. |
| Weak Flush | Toilet doesn’t clear the bowl effectively, or requires multiple flushes. | Low water level in the tank, clogged rim jets, or a partially blocked siphon jet. |
| Tank Not Filling Properly | After flushing, the tank refills very slowly or not at all. | Issue with the fill valve, or a blocked water supply line to the toilet. |
Tools of the Trade: Essential for Any Bathroom DIYer
When tackling bathroom projects, having the right tools makes all the difference. Here are some common ones you might encounter or need:
- Plumber’s Wrench (or Pipe Wrench): Used to grip and turn pipes and fittings. Be careful not to overtighten with these!
- Adjustable Wrench: Versatile for various nuts and bolts.
- Basin Wrench: A specialized tool designed to reach nuts that hold a faucet in place under the sink.
- Plunger: Your best friend for clearing clogs. There are different types for sinks and toilets.
- Drain Snake (or Auger): A flexible cable used to dislodge stubborn clogs deep in pipes.
- Pliers: Various types, like slip-joint and needle-nose, are handy for gripping and bending.
- Screwdriver Set: Essential for removing and installing covers, handles, and other components.
- Tape Measure: For ensuring new fixtures will fit and for planning layouts.
- Level: To make sure sinks, vanities, and shower bases are installed correctly.
- Safety Glasses and Gloves: Always important for protecting yourself!
For more in-depth guides on specific tools and their uses, resources like This Old House provide excellent practical advice for homeowners.
Bathroom Materials and Finishes
When choosing new items for your bathroom, you’ll come across different materials and finishes. Knowing these terms can help you pick durable and stylish options.
Materials
- Ceramic: Commonly used for toilets and sinks. It’s durable, easy to clean, and relatively inexpensive.
- Porcelain: Similar to ceramic but fired at a higher temperature, making it even stronger and less porous. Most modern toilets and sinks are porcelain.
- Acrylic: Often used for bathtubs and shower bases. It’s lightweight, durable, and can be molded into various shapes.
- Cast Iron: Traditionally used for bathtubs. Extremely durable and retains heat well, but very heavy.
- Solid Surface: Materials like Corian or quartz used for countertops and sometimes sinks. They are non-porous, durable, and can be seamless.
- Stainless Steel: Common for faucets and sink drains due to its durability and resistance to corrosion.
Finishes for Fixtures (Especially Faucets and Hardware)
The finish refers to the outer coating of metal fixtures. It affects appearance, durability, and price.
- Chrome: A very popular, bright, and reflective finish. It’s durable, affordable, and easy to clean, making it a great choice for beginners. It resists corrosion well.
- Brushed Nickel: Has a softer, matte look compared to chrome, with a slight texture. It’s popular because it hides water spots and fingerprints well.
- Polished Nickel: Similar to brushed nickel but with a higher shine, offering a warmer look than chrome.
- Bronze (various types like Oil-Rubbed, Venetian): Offers a darker, antique look. Oil-rubbed bronze typically has brown and black tones with hints of copper.
- Matte Black: A modern and bold choice, offering a sleek finish that can contrast beautifully with lighter materials.
- Brass (Polished or Unlacquered): Can range from bright yellow to a more antique gold. Unlacquered brass will develop a patina over time.
When picking finishes, consider how they’ll match other elements in your bathroom and how easy they are to maintain. Chrome and brushed nickel are generally the most beginner-friendly due to their durability and ease of care.
Bathroom Ventilation: Keeping Things Dry
A crucial but often overlooked aspect of a healthy bathroom is ventilation. This is all about removing moist air to prevent mold and mildew growth. The star player here is the exhaust fan.
- Exhaust Fan (or Vent Fan): Installed in the ceiling to vent moisture-laden air from the bathroom outside. This is essential!
- Ducting: The tube or pipe that carries air from the fan to the outside vent.
- Exterior Vent Cap/Grille: The cover on the outside of your house where the fan’s air exits.
A properly working exhaust fan is key to preventing long-term damage from humidity. If you notice persistent fog on your mirror or walls that don’t dry quickly, your ventilation might need attention. The U.S. Department of Energy has resources on efficient home ventilation.
Conclusion
Navigating the world of bathroom jargon doesn’t have to be a headache. By understanding these essential terms for fixtures, plumbing, tools, and materials, you’ve taken a big step towards feeling more confident in your home maintenance journey. Whether you’re planning a small upgrade, tackling a DIY repair, or just want to chat with a plumber without feeling out of the loop, you’re now equipped with the knowledge to do so.
Remember, the goal is to make your bathroom functional, comfortable, and a space you enjoy. Don’t be afraid to ask questions, consult resources, and take on small projects. Every little bit of understanding you gain empowers you further. Happy fixing, and enjoy your newly demystified bathroom!
Frequently Asked Questions (FAQ) About Bathroom Jargon
Q1: What is the most important plumbing term for a beginner to know for safety?
A1: The most critical term is “shut-off valve.” Knowing how to locate and operate the shut-off valves for your toilet, sink, and main water supply can prevent major water damage during repairs or emergencies.
Q2: What does “rough-in” mean in bathroom remodeling?
A2: “Rough-in” refers to the initial stage of plumbing, electrical, or HVAC installation before walls are closed up. It includes installing pipes, wires, and ducts within the walls and floors.
Q3: Why is a P-trap U-shaped?
A3: The U-shape is designed to hold a small amount of water. This water acts as a seal, preventing unpleasant sewer gases from rising out of the drain and into your bathroom. It’s a clever and simple design!
Q4: What’s the difference between a flush lever and a flush button?
A4: Both do the same job: activate the flush. A flush lever is the traditional handle on the side of the tank that you pull down. A flush button is usually on top of the tank and is pressed, often differentiating between a full or half flush for water conservation.
Q5: What’s a “water hammer” in plumbing?
A5: “Water hammer” is a loud banging noise that occurs when water flowing through pipes is suddenly stopped or redirected, causing a pressure wave. It’s often caused by quick-closing valves, like those in some washing machines or even fast-acting faucets.
Q6: How do I know if my faucet is leaking from the cartridge or the O-ring?
A6: For sink faucets, leaks around the handle often indicate a worn O-ring. Leaks from the spout or when the faucet is on usually point to a problem with the internal cartridge or valve stem. Replacing these parts is a common DIY fix once you identify the issue.
Q7: Is it difficult to replace a showerhead?
A7: No, replacing a showerhead is one of the easiest bathroom DIY tasks! Typically, you just unscrew the old showerhead (sometimes by hand, sometimes with pliers or a wrench for stubborn ones) and screw on the new one. Hand-tighten plus a quarter turn with a wrench is usually sufficient. Remember to use plumber’s tape on the threads for a good seal!
