
Quick Summary: Create a serene, organized bathroom with minimalist jar labels. Easy-to-apply labels enhance your decor, clearly identify contents, and provide a clean, uncluttered aesthetic. This guide offers simple steps for a beautiful, functional, and minimal bathroom space.
Tired of rummaging through unlabelled bottles and jars in your bathroom? It’s a common frustration that can quickly lead to a cluttered feel, even in a small space. You want your bathroom to feel like a calm sanctuary, a place to relax and refresh. But when everything looks the same, finding what you need becomes a daily chore. Don’t worry!
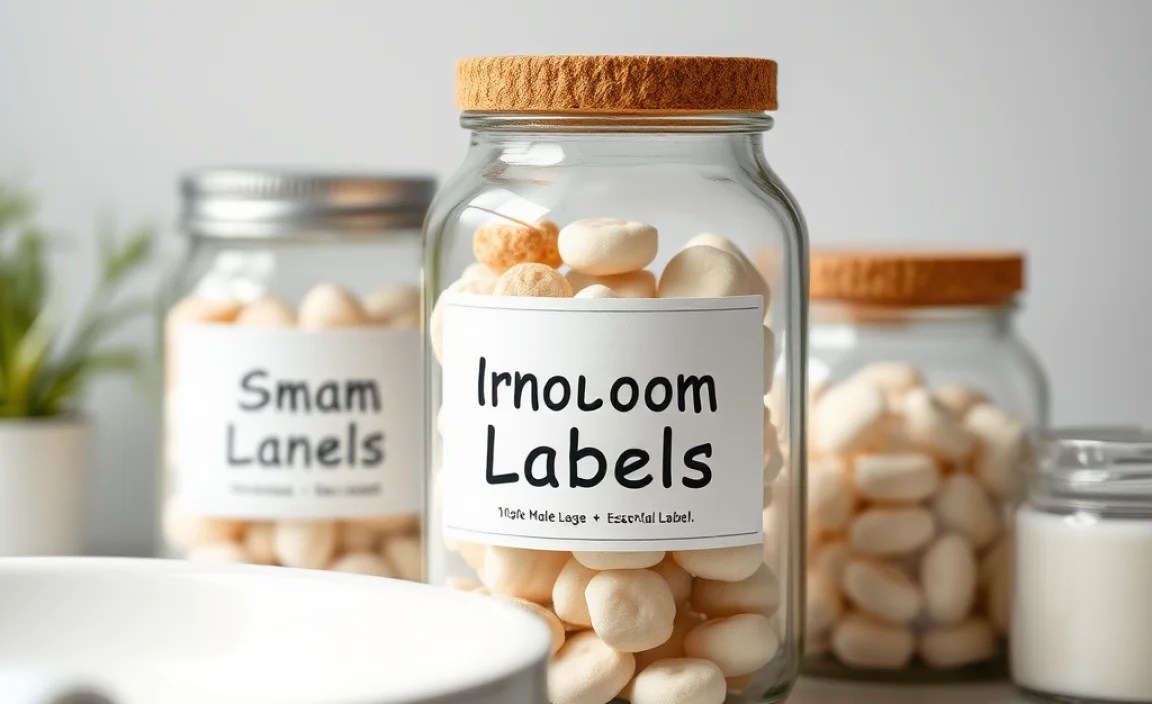
Achieving a clean, organized, and stylish bathroom doesn’t require a complete overhaul. We’ll walk you through how to create essential minimalist labels for your bathroom jars. This simple DIY task will bring order and a touch of elegance to your everyday routine, making your bathroom a pleasure to be in. Let’s get started on transforming your space with clarity and style.
Why Minimalist Bathroom Labels for Jars? The Zen of Organization

In a world buzzing with constant activity, our homes should be havens of peace. The bathroom, in particular, is a space intended for personal care and relaxation. Yet, it’s often a place where small items, from cotton swabs to bath salts, can pile up, creating visual noise. This is where the magic of minimalist bathroom labels for jars comes in. They aren’t just about aesthetics; they’re about intentionality and ease.
A minimalist approach focuses on simplicity, functionality, and a clean visual appeal. When applied to bathroom jars, this translates to uncluttered surfaces, easy identification of products, and a cohesive look that promotes a sense of calm. Instead of a jumble of different packaging, you get uniform jars with clear, understated labels. This reduces visual distraction, making your bathroom feel more spacious and serene. Think of it as decluttering your senses as much as your countertops.
The benefits extend beyond just looks. Imagine reaching for your moisturizer without having to squint at tiny print or pick up three different bottles to find the right one. Minimalist labels bring instant clarity. This is especially helpful for families or shared bathrooms where different family members might have various products. Knowing what’s in each jar saves time and prevents mix-ups.
Furthermore, embracing minimalism in label design often means using simple fonts, neutral colors, and high-quality materials. This aligns perfectly with contemporary bathroom décor trends that favour natural textures, clean lines, and a sophisticated yet understated vibe. It’s a small change that can have a significant impact on the overall atmosphere of your most personal space.
Choosing the Right Jars: Your Canvas for Calm

Before you even think about labels, selecting the right jars is crucial for achieving that coveted minimalist look. The jar itself sets the foundation for your organized display. For a cohesive and high-end feel, consistency is key. This means choosing jars that share similar characteristics.
Material Matters
The material of your jars can greatly influence the overall aesthetic. Consider:
- Glass Jars: Clear glass jars are incredibly versatile. They allow you to see the contents, which can be visually appealing for items like bath salts or decorative soaps. Amber or colored glass jars can add a touch of warmth and hide the contents for those who prefer a uniformly opaque look. They also tend to look more sophisticated and are easy to clean.
- Ceramic Jars: For a more substantial and spa-like feel, ceramic jars with lids are an excellent choice. They offer a matte finish that can complement natural stone or wood elements in your bathroom. Ensure they have a smooth, non-porous surface for easy cleaning.
- Bamboo or Wood Jars: If your bathroom embraces a natural, eco-friendly theme, bamboo or wooden jars with lids can be stunning. They bring an organic warmth to the space. Just be mindful of moisture; opt for sealed wood or bamboo that can withstand humidity.
- Frosted Acrylic Jars: These offer a modern, sleek look, similar to frosted glass. They are lightweight and less prone to breakage than glass, making them a practical option, especially if you have children.
Shape and Size Harmony
To achieve a truly minimalist look, aim for uniformity or subtle variation in jar shapes and sizes. Avoid a chaotic mix of tall, thin jars alongside short, squat ones unless deliberately arranged for visual interest. Consider:
- Uniform Cylinders: A collection of identical cylindrical jars provides an immediate sense of order.
- A Set with Graduated Sizes: If you use a set, choose one where the shapes are consistent, but the sizes vary slightly. This creates visual progression without looking haphazard.
- Square or Rectangular Jars: These can offer a modern edge and fit together efficiently, maximizing counter space.
Lid Considerations
The lid is an integral part of the jar’s design. For a minimalist aesthetic, opt for simple, unadorned lids that match the jar. Materials like bamboo, brushed metal, or matte ceramic lids often work best. If your jars have clear plastic lids, consider if you want to swap them for a more elegant material, or if the clarity fits your organized vision.
Before committing, measure your available counter or shelf space. This will help you choose jar sizes that fit practically and aesthetically. A well-chosen set of jars is the perfect foundation for your minimalist labeling project.
Designing Your Minimalist Bathroom Labels

The heart of a minimalist look lies in its simplicity. Your bathroom labels should be understated, functional, and aesthetically pleasing, seamlessly integrating with your décor rather than competing with it. Here’s how to design labels that hit the mark.
Font Choice: Less is More
The font you choose speaks volumes. For a minimalist vibe, steer clear of overly decorative, script, or novelty fonts. Instead, opt for:
- Sans-Serif Fonts: Think clean, straight lines that are easy to read and project modernity. Popular choices include Helvetica, Arial, Open Sans, and Lato.
- Simple Serif Fonts: Some classic serif fonts with clean, defined lines can also work, offering a slightly more traditional yet still minimalist feel. Examples include Times New Roman (use sparingly, as it can sometimes look dated), Georgia, or Garamond.
- Consider Weight and Spacing: Extra-light, light, or regular font weights are usually best. Avoid bold or heavy fonts which can dominate the label. Ensure there’s adequate spacing between letters (kerning) and lines (leading) for readability and a refined look.
Color Palette: Neutrals and Subtlety
Minimalism often embraces a neutral or muted color palette. Your labels should complement, not clash. Common choices include:
- White/Off-White Labels: These offer a clean, crisp look against darker jars or a seamless blend with white ceramic.
- Black Labels: Timeless and sophisticated, black labels stand out clearly on lighter jars and add a touch of contrast to almost any material.
- Grey Labels: A softer alternative to black, grey provides subtle contrast and an understated elegance.
- Kraft Paper or Natural Tones: If your bathroom has a more organic or rustic minimalist feel, labels in natural brown or beige hues can be perfect.
- Accents (Use Sparingly): If you want a hint of color, choose very muted tones like soft sage green, dusty rose, or a muted navy. These should be used as a subtle accent, perhaps in a thin border or a tiny icon, rather than the main background or text color.
Size and Placement
Minimalist labels are typically small and unobtrusive. They should be large enough to read easily but small enough not to dominate the jar.
- Proportion: A label that occupies no more than 1/3 of the jar’s visible surface area is often a good rule of thumb.
- Placement: The most common placement is centered on the front of the jar. However, for a very streamlined look, consider placing one on the lid or even on the side near the bottom. Consistency is key – if you label the front of one jar, do the same for all.
Content of the Label
Keep it simple and clear. What information is absolutely essential?
- Product Name: “Cotton Swabs,” “Bath Salts,” “Lotion,” “Face Masks.”
- Key Ingredient (Optional): For homemade items, you might include a main ingredient like “Lavender Bath Soak.”
- Quantity (Optional): Sometimes helpful for tracking, like “50 ct.”
- Avoid: Long descriptions, brand names (unless it’s your own DIY product), or anything that distracts from clarity.
Tools and Materials for Design
You don’t need to be a graphic designer to create beautiful minimalist labels. Here are some accessible options:
- Online Design Tools: Websites like Canva offer free templates specifically for labels and stickers. They provide access to various fonts and customization options.
- Word Processing Software: Programs like Microsoft Word or Google Docs can be used to design labels. Set up a document with your desired dimensions and use the text and shape tools.
- Label Maker: A modern label maker with sleek, minimalist tape options (like white text on black tape or clear tape) can be a quick and easy solution.
Creating Your Minimalist Labels: Step-by-Step
Now that you have a vision for your minimalist bathroom labels, let’s get them made! This process is straightforward and adaptable to your preferred tools and materials.
Step 1: Measure and Plan
Before you design, measure the area on your jars where you intend to place the labels. This ensures your labels will fit perfectly. Jot down a list of all the items you need to label. This helps streamline the design and printing process.
Step 2: Design Your Labels
Using your chosen design tool (Canva, Word, etc.) or label maker, create your labels based on the design principles discussed earlier: simple fonts, neutral colors, and essential content. Aim for consistency across all labels.
- For Digital Design (Canva/Word):
- Set your document to the desired label size (e.g., 1 inch wide by 2 inches tall).
- Add your text (e.g., “Cotton Balls,” “Bath Salts”).
- Choose your font, size, and color. Ensure text is centered for a balanced look.
- If using a background color, opt for white, off-white, or a subtle neutral.
- Save your design. You can print these on full-sheet label paper or individual sticker sheets.
- For Label Maker:
- Select a font that looks clean and uncluttered on the label maker’s display.
- Choose your tape and text color combination (e.g., black on white, black on clear).
- Type in the item name (e.g., “Q-Tips”).
- Preview the label on the screen to ensure it looks neat and spaced well.
- Print the label.
Step 3: Print Your Labels
If you designed them digitally, you’ll need to print them. You have a few options:
- Print at Home: Purchase full-sheet adhesive sticker paper. Print your designs onto this paper. You can then cut out each label. For a cleaner edge, consider using a paper trimmer or a craft knife and cutting mat.
- Professional Printing: For a more polished look, consider using an online printing service or a local print shop. They can often print on high-quality sticker paper with precise cutting.
Tip: Always print a test label on plain paper first to check the size and layout before printing on your sticker paper.
Step 4: Cut Out Your Labels
If you printed on full sheets, carefully cut out each label. Precision here makes a difference. A ruler and a craft knife on a cutting mat will give you the straightest edges. If you have a shape you want to follow, scissors will work, but aim for smooth lines.
Step 5: Apply the Labels
This is the final, satisfying step! Ensure your jars are clean and dry. Dust, moisture, or oils can prevent labels from adhering properly.
- Peel a corner of the label backing away carefully.
- Align the label precisely where you want it on the jar. Start with the edge you peeled.
- Smooth the label down gradually, working from the aligned edge outwards. Use your finger or a credit card to press out any air bubbles as you go.
- Once applied, gently rub over the entire label to ensure it’s firmly adhered.
If your label is slightly crooked, you may be able to gently peel it off and reapply, especially if using matte paper labels. Glossy labels can be trickier to reposition. If using a label maker, the process is simpler: just peel the backing and stick.
Materials and Tools for Creating Minimalist Labels
To bring your minimalist bathroom labels to life, you’ll need a few key items. The good news is that most of these are common household or easily accessible craft supplies.
Essential Tools
- Computer or Smartphone: For designing your labels using software or apps.
- Printer: An inkjet or laser printer capable of printing on sticker paper.
- Cutting Tools:
- Scissors: For basic cutting.
- Paper Trimmer or Guillotine: For perfectly straight edges.
- Craft Knife and Cutting Mat: For precision cutting or creating custom shapes.
- Ruler: To measure your labels and ensure straight cuts.
Recommended Materials
- Adhesive Sticker Paper:
- Full Sheet Sticker Paper: Available in matte, gloss, or clear finishes. You’ll design multiple labels on one sheet and cut them out.
- Pre-cut Round/Square Stickers: If your design fits standard sticker sizes, this can save cutting time.
- Label Maker and Tape (Optional but Recommended): For a quick, consistent, and often very sleek look. Many modern label makers offer clean fonts and minimalist tape colors like white on black, black on clear, or metallic finishes.
- High-Quality Jars: As discussed earlier, the right jars (glass, ceramic, bamboo) are the foundation.
- Cleaning Supplies: Isopropyl alcohol or a mild detergent and cloth to clean the jars before applying labels.
Optional Enhancements
- Laminator or Laminating Sheets: To protect your printed labels from moisture and wear, especially in a humid bathroom environment.
- Clear Sealant Spray (Matte Finish): For added durability on paper labels. Test on a scrap piece first.
The choice between designing digitally and printing yourself versus using a label maker often comes down to personal preference and the desired level of customization. A label maker is fantastic for speed and simplicity, while digital design offers more control over aesthetics.
Durability and Maintenance of Your Labels
Bathroom environments can be harsh on labels due to humidity, water splashes, and frequent handling. Ensuring your minimalist labels stand the test of time is important for maintaining that clean look.
Protecting Your Labels
Consider the following methods to enhance durability:
- Lamination: If you printed your labels at home on sticker paper, laminating them is an excellent way to protect them. You can use a home laminating machine with pouches or self-adhesive laminating sheets. Trim the excess laminate around the label for a clean finish. This creates a barrier against moisture and wear.
- Clear Sealant Spray: For paper-based labels (matte finish works best), a light coat of a clear sealant spray can add protection. Opt for a matte finish to maintain the minimalist aesthetic. Ensure you spray in a well-ventilated area and allow it to dry completely, as per the product instructions.
- High-Quality Vinyl Labels: If you’re opting for professionally printed labels or using a high-end label maker, choose vinyl sticker paper. Vinyl is naturally more water-resistant and durable than paper.
- Label Maker Tape Quality: For label makers, investing in genuine brand name tapes (e.g., Brother TZe, P-touch; Epson labels) often provides better adhesion and resistance to fading and peeling compared to generic alternatives.
Cleaning Around Your Labels
Gentle cleaning is key:
- Wipe Gently: Use a soft, damp cloth to wipe the surface of your jars and labels. Avoid abrasive cleaners or scrubbing pads, which can damage or peel the labels.
- Avoid Direct Water Exposure: Try to prevent direct, prolonged contact with water. While some protection methods add water resistance, it’s best not to let jars sit in puddles of water.
- Use Mild Cleaning Agents: If you need to use a cleaning solution, opt for a mild soap and water mixture or a diluted glass cleaner. Apply the cleaner to your cloth, not directly to the label, and wipe gently.
When Labels Need Replacing
Even with protective measures, labels may eventually.
