
Master bathroom plumbing terms with this essential guide specifically for beginners. Understand common words used by plumbers to confidently tackle DIY projects, communicate clearly, and keep your bathroom running smoothly.
Ever felt lost when talking about your bathroom pipes or fixtures? You’re not alone! Plumbing can sound like a foreign language, filled with puzzling terms. But understanding these words is key to fixing small issues yourself, confidently talking to a plumber, and even choosing the right parts for a renovation. Don’t let confusing jargon hold you back from maintaining your home. This guide breaks down common bathroom plumbing terminology into simple, easy-to-understand explanations. We’ll cover everything from the basics of your toilet to the ins and outs of your shower, empowering you to feel more in control of your bathroom’s upkeep. Let’s demystify those terms and make your next home maintenance task a breeze!
Why Understanding Bathroom Plumbing Terms Matters
Think of plumbing terms as the building blocks of a functional bathroom. Knowing them helps you:
- Communicate effectively: When you can ask for what you need clearly, whether at the hardware store or with a professional plumber, you save time and avoid misunderstandings.
- DIY with confidence: Many minor repairs become much easier when you understand the names of the parts involved. No more pointing vaguely at a leaky pipe!
- Make informed purchasing decisions: Whether you’re buying a new faucet or a replacement part, knowing the terminology ensures you get exactly what you need.
- Prevent costly mistakes: Misunderstanding instructions or part names can lead to errors that are expensive and time-consuming to fix.
Essential Bathroom Plumbing Components: A Beginner’s Glossary

Let’s dive into the most common terms you’ll encounter when dealing with your bathroom. I’ve organized them by fixture for easier reference.
Toilet Terminology
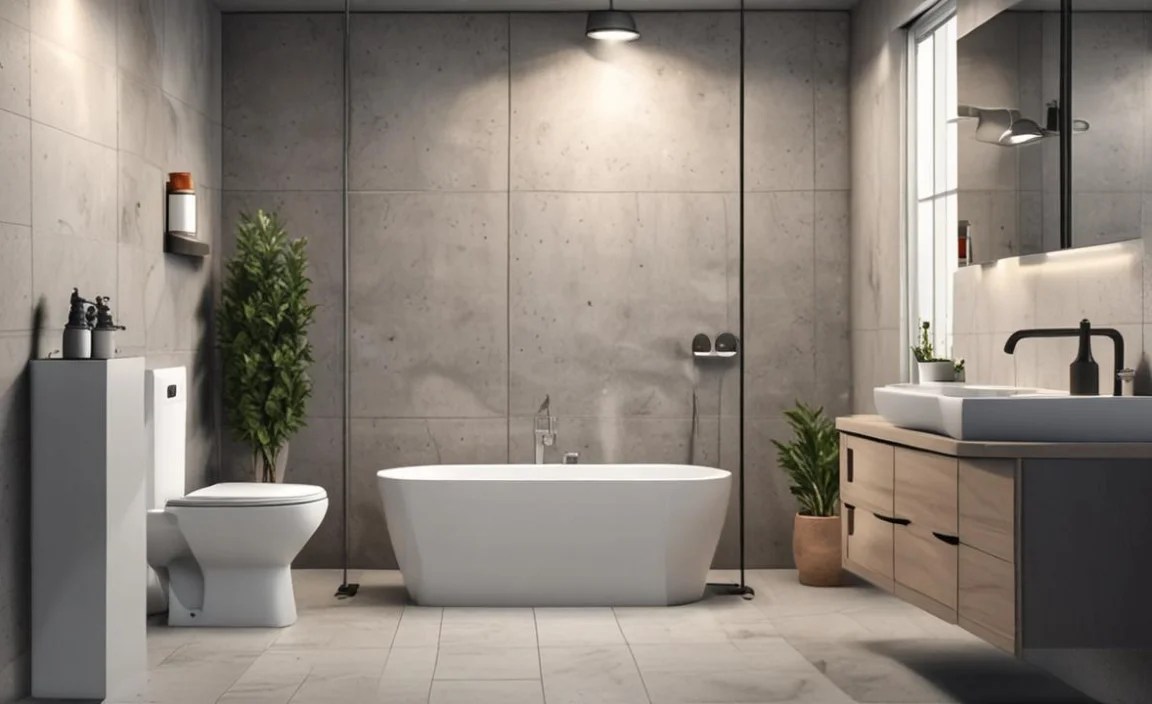
Your toilet is a complex piece of engineering, but its parts have straightforward names.
- Toilet Bowl: This is the main basin of the toilet where waste collects before flushing.
- Toilet Tank (or Cistern): The upper part of the toilet that holds water for flushing.
- Toilet Seat: The hinged seat you lift before using the toilet.
- Toilet Lid: The cover for the toilet seat.
- Flush Handle/Lever: The arm on the side of the tank that, when pushed or pulled, initiates the flush.
- Flush Button: In modern toilets, usually located on the top of the tank, this button activates the flush mechanism. Dual-flush buttons offer options for liquid or solid waste, saving water.
- Flapper: A rubber seal at the bottom of the tank that lifts when you flush, allowing water to enter the bowl. It then reseals the tank.
- Fill Valve (or Ballcock): This assembly controls the refilling of the toilet tank after a flush. It includes a float that rises with the water level to signal when to shut off the water supply.
- Flush Valve: The large opening at the bottom of the tank that the flapper covers. When the flapper lifts, water rushes through this valve into the bowl.
- Overflow Tube: A central vertical tube within the tank. If the fill valve malfunctions and the water level rises too high, excess water flows down this tube into the toilet bowl, preventing an overflow onto your bathroom floor.
- Tank-to-Bowl Gasket: A crucial rubber seal found between the toilet tank and the toilet bowl, preventing leaks.
- Toilet Bolt Caps: Decorative covers that hide the nuts and bolts securing the toilet to the floor.
- Toilet Flange (or Closet Flange): A ring, usually made of PVC or metal, that sits on the drainpipe and to which the toilet is bolted. It forms a watertight seal with the wax ring.
- Wax Ring: A crucial seal placed between the toilet flange and the bottom of the toilet bowl. It creates a watertight and airtight barrier, preventing leaks and sewer gas from escaping.
Sink (Lavatory) Terminology
Your bathroom sink involves several key components for water supply and drainage.
- Sink Basin (or Bowl): The main part of the sink where water collects.
- Faucet (or Tap): The fixture that controls the flow of hot and cold water into the sink basin.
- Aerator: A small screen at the tip of the faucet spout that mixes air with water, creating a smoother, splash-free stream and reducing water consumption.
- Handle(s): The part(s) of the faucet you turn to control water flow and temperature. Single-handle faucets control both, while double-handle faucets have separate hot and cold controls.
- Spout: The arm of the faucet from which water is dispensed.
- Escutcheon (or Flange): A decorative plate or trim ring that covers the hole where the faucet mounts to the sink or countertop, providing a finished look.
- Pop-Up Stopper Assembly: Located within the drainpipe, this mechanism is controlled by a lever (often behind the faucet) to open or close the drain, allowing you to fill the sink.
- Drain Flange: The visible metal ring inside the sink basin around the drain opening.
- Sink Strainer: The basket or piece inside the drain flange that catches debris to prevent clogs.
- P-Trap: A U-shaped section of pipe located directly beneath the sink drain. It always holds a small amount of water, creating a seal that prevents sewer gases from entering your bathroom.
- Supply Lines: Flexible hoses that connect the faucet to the shut-off valves under the sink.
- Shut-off Valves (or Stop Valves): Small valves located on the hot and cold water pipes leading to the faucet. They allow you to turn off the water supply to the sink without affecting the rest of the house.
Shower and Bathtub Terminology
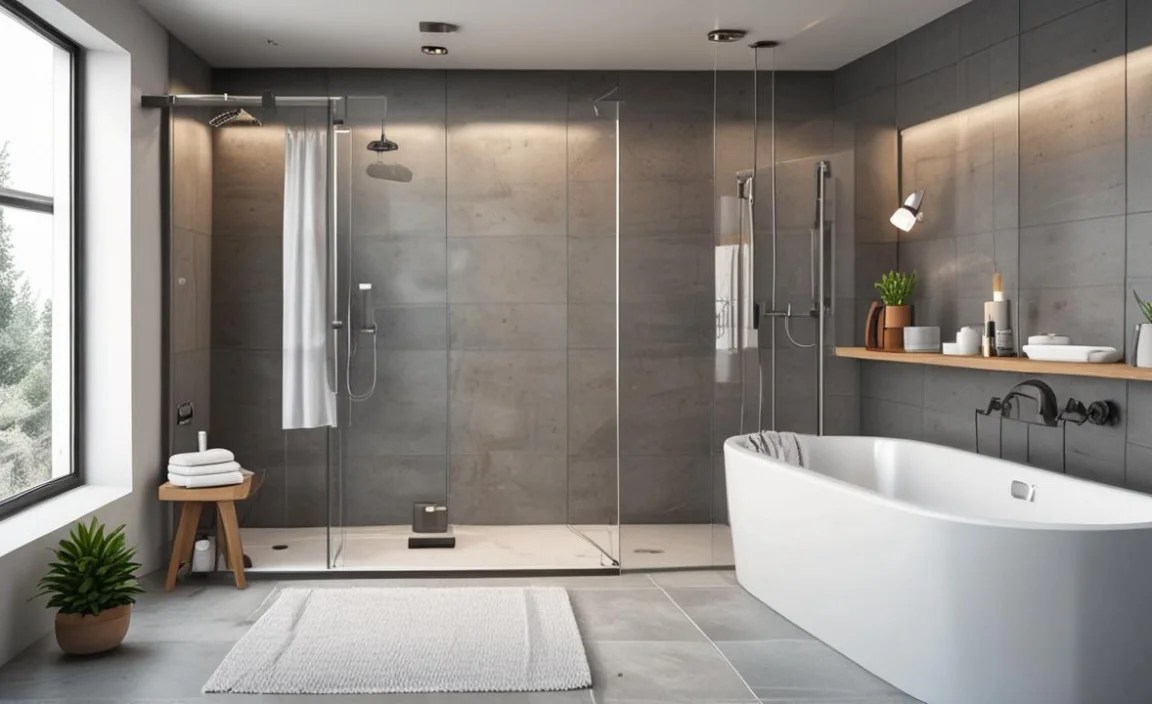
These fixtures have their own unique set of parts for the water experience.
- Shower Head: The fixture that sprays water onto the user. They come in various types, including fixed, handheld, and rain shower heads.
- Shower Arm: The pipe that connects the shower head to the water supply inside the wall.
- Shower Valve: The control mechanism behind the wall that regulates water flow, temperature, and pressure to the shower head. It’s typically operated by a handle and trim plate.
- Tub Spout: The fixture at the end of the bathtub that dispenses water. Some tub spouts have a diverter mechanism to send water to a shower head.
- Diverter: A valve within the tub spout or shower valve that redirects water flow from the tub spout to the shower head, or vice versa.
- Bathtub Drain: The opening at the bottom of the tub where water exits.
- Drain Stopper: The device used to plug the bathtub drain, allowing the tub to fill. Types include push-pull, lift-and-turn, and pop-up stoppers.
- Overflow Drain: A safety feature located near the top of the bathtub. It’s connected to the main drain and prevents the tub from overflowing if the main drain is plugged.
- Shower/Tub Drain Assembly: The complete set of parts that connect the tub drain opening to the P-trap and the waste pipe. This includes the drain flange, strainer, and the pipe itself.
- Rough-in: This refers to the plumbing work done behind the walls and floors before finishes like tile or drywall are installed. It includes pipes, valves, and the basic structure of the shower/tub system.
Understanding Pipe Types and Connections

Pipes are the arteries of your plumbing system. Knowing the common types and how they connect is essential.
- Supply Pipes: These pipes bring clean water from your main water supply into the bathroom. They are typically made of copper, PEX (cross-linked polyethylene), or CPVC (chlorinated polyvinyl chloride). These pipes are under pressure and deliver water to your fixtures.
- Drain/Waste/Vent (DWV) Pipes: These pipes carry wastewater away from your fixtures and out of your house. They are usually made of PVC (polyvinyl chloride) or cast iron. DWV pipes work by gravity, so they need to be sloped correctly.
- Vent Pipe: An essential part of the DWV system, vent pipes extend from the drain pipes up through the roof. They allow air into the system, which prevents vacuum locks and ensures smooth drainage. They also allow sewer gases to escape safely outside. You can learn more about home plumbing ventilation from resources like This Old House.
- Fittings: These are the connectors used to join pipes together. Common fittings include elbows (to change direction), tees (to create branches), couplings (to join two straight pipes), and reducers (to connect pipes of different sizes).
- Threaded Fittings: These fittings have male or female threads that screw together. They are often used for connecting fixtures or valves.
- Solvent Weld Fittings: These fittings, commonly used with PVC and CPVC pipes, use a primer and cement to create a permanent, watertight bond when applied to the pipe and fitting.
- Compression Fittings: These use a nut and a ferrule (a small metal ring) to create a seal when tightened onto a pipe. They are often used for connecting supply lines and are generally easy to install without special tools.
Common Plumbing Problems and Related Terms
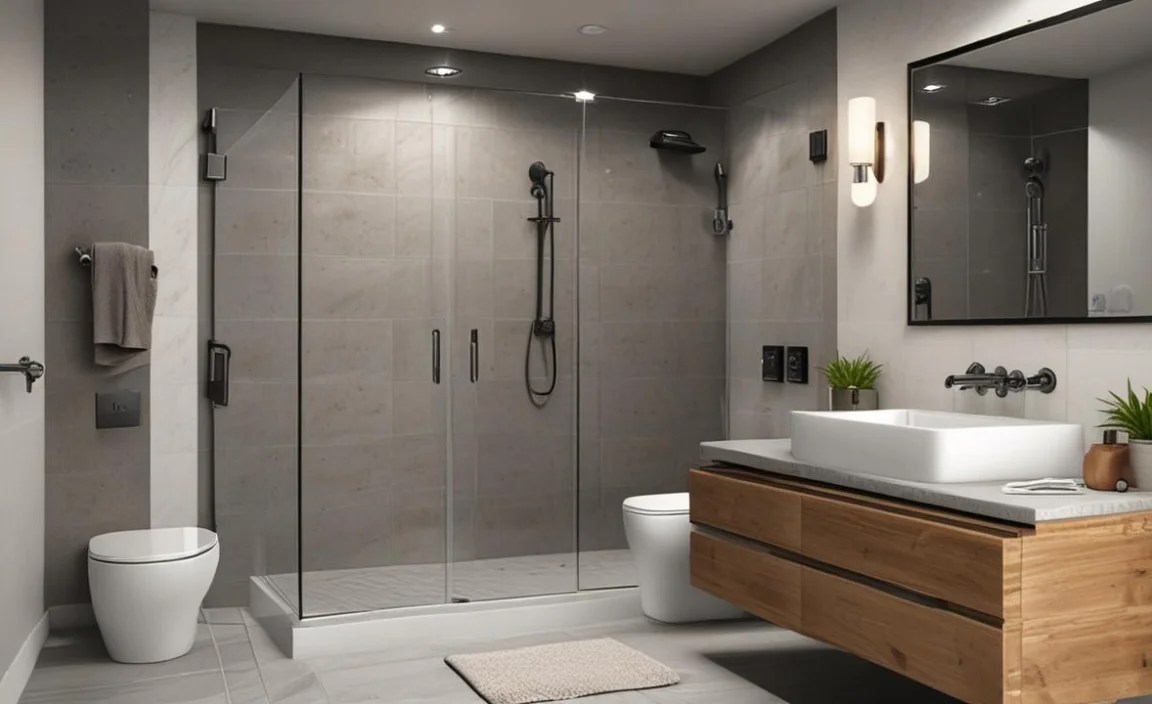
Even with the best maintenance, issues can arise. Here are terms associated with common bathroom plumbing woes.
- Leak: An unintended escape of water from pipes, fixtures, or connections. Leaks can happen at joints, valves, or due to corrosion.
- Drip: A small, persistent leak, often from a faucet.
- Clog (or Blockage): When something obstructs the normal flow of water in a drainpipe, preventing it from draining properly.
- Backflow: The unwanted reversal of water flow, which can potentially contaminate the potable water supply. Backflow prevention devices are used to stop this.
- Water Pressure: The force with which water is delivered to your fixtures. Low water pressure can be a sign of a leak, a partially closed valve, or issues with the municipal supply.
- Hard Water: Water with a high mineral content (especially calcium and magnesium). Over time, it can lead to mineral buildup (scale) inside pipes and fixtures, restricting water flow and causing damage.
- Sewer Gas: Gases produced during the decomposition of waste. The P-trap and vent system are designed to keep these odorous and potentially harmful gases out of your home.
Let’s organize some common plumbing parts and fixtures into a handy table for quick reference.
| Plumbing Component | Primary Function | Typical Location |
|---|---|---|
| Toilet Tank | Stores water for flushing | Top rear of the toilet |
| Flapper | Seals the tank, opens to allow flush | Bottom of the toilet tank, over the flush valve |
| Fill Valve | Refills the tank after flushing | Inside the toilet tank |
| P-Trap | Prevents sewer gas escape | Under sinks and tubs, in the drain line |
| Shut-off Valve | Controls water supply to fixture | On hot and cold water lines leading to faucet/toilet |
| Shower Head | Disperses water for showering | Mounted on shower arm |
| Diverter | Redirects water flow (tub to shower) | In tub spout or shower valve |
Tools Every DIYer Should Know

When you’re ready to tackle a DIY plumbing task, having the right tools makes all the difference. Here are some essentials and their uses:
- Pipe Wrench: Used for gripping and turning pipes, especially larger metal ones. They have adjustable jaws that lock onto the pipe.
- Channel Locks (or Plumber’s Pliers): Extremely versatile pliers with adjustable jaws that allow them to grip various sizes of pipes and fittings.
- Adjustable Wrench (Crescent Wrench): Similar to a pipe wrench but with smoother jaws, good for nuts and bolts on fixtures.
- Basin Wrench: A specialized tool designed to reach up behind the sink basin to tighten or loosen the nuts holding the faucet in place.
- Plumber’s Tape (PTFE Tape): A white, non-adhesive tape wrapped around threaded fittings (like those on faucet spouts or supply lines) to create a watertight seal.
- Plumber’s Putty: A soft, pliable putty used to create a watertight seal between a drain flange and the sink basin or tub.
- Hacksaw: For cutting PVC or metal pipes if necessary.
- Bucket and Rags: Essential for catching any residual water and cleaning up.
- Safety Glasses: Always protect your eyes from debris or unexpected splashes.
Here is a guide on essential plumbing tools from the Family Handyman, which can offer more insight.
A Step-by-Step Example: Replacing a Faucet Aerator

Let’s put some of this terminology into practice with a simple, common task: replacing a clogged or worn-out faucet aerator.
Why replace an aerator?
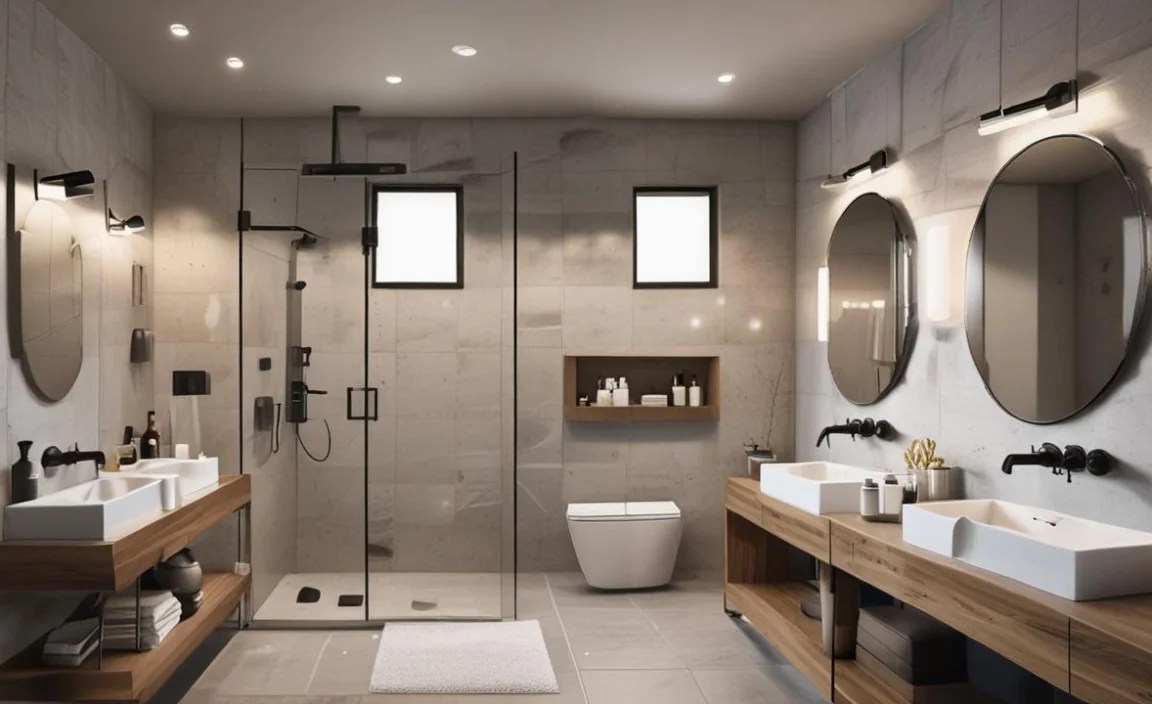
Over time, aerators can become clogged with mineral deposits or debris, leading to reduced water flow or a sputtering stream. Replacing it is an easy fix.
What you’ll need:
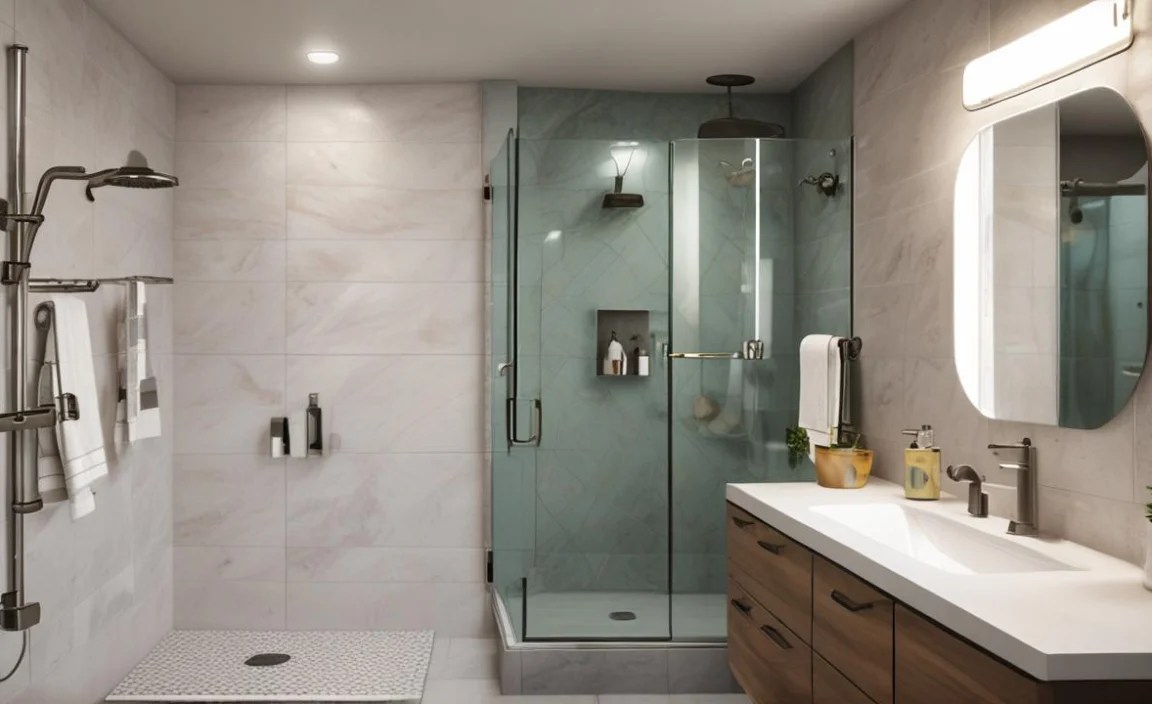
- A new aerator (typically found at hardware stores; bring the old one or measure the spout thread size if unsure)
- Adjustable wrench or channel locks (optional, often can be done by hand)
- Rag
Steps:

- Turn off the water: Locate the shut-off valves under the sink for both hot and cold water. Turn them clockwise until they are snug to stop the water supply to the faucet.
- Test: Turn on the faucet to ensure the water is off and to drain any remaining water from the lines.
- Remove the old aerator: Place a rag over the aerator to protect the finish. Most aerators can be unscrewed by hand by turning counter-clockwise. If it’s stuck, use your adjustable wrench or channel locks, being careful not to damage the spout finish.
- Clean the threads: Check the threads on the faucet spout for any debris or old plumber’s tape and clean them.
- Install the new aerator: Screw the new aerator onto the faucet spout, turning clockwise. Hand-tighten it first.
- Check for tightness: If needed, use the wrench again to snug it up, but do not overtighten, as this can damage the aerator or spout seal.
- Turn water back on: Slowly turn the shut-off valves back on by turning them counter-clockwise.
- Test the new aerator: Turn on the faucet and check for a smooth stream of water and any leaks around the aerator.
This simple task involves terms like ‘shut-off valves,’ ‘faucet spout,’ and ‘aerator’ – and you’ve just successfully used them!
Frequently Asked Questions (FAQs)
Q1: What is the most common cause of a running toilet?

A1: The most common cause is a faulty flapper. If the flapper doesn’t create a good seal, water leaks from the tank into the bowl, causing the fill valve to constantly refill the tank. A worn-out or misaligned flapper needs replacement.
Q2: How do I know if my toilet flange is damaged?

A2: If your toilet rocks excessively after being bolted down, or if you notice water leaks around the base of the toilet after flushing, your toilet flange or wax ring might be damaged or improperly installed.
Q3: What does “turning off the water main” mean?

A3: The water main shut-off is the main valve that controls the entire water supply to your house. It’s usually located where the water pipe enters your home, often in the basement, utility room, or near the water meter. Turning it off stops all water flow throughout the entire house.
Q4: Why is my bathroom faucet sputtering?

A4: Usually, a sputtering faucet is caused by a clogged aerator. Mineral deposits and sediment get trapped in the small holes of the aerator, restricting water flow and causing it to spray erratically. Removing and cleaning or replacing the aerator often solves this.
Q5: What is a P-trap, and why is it important?

A5: A P-trap is the U-shaped pipe under your sink or tub. It’s designed to hold a small amount of water, which acts as a barrier. This water seal prevents unpleasant and potentially harmful sewer gases from rising up through your
