
If you’re looking for the best 24-gallon air compressor, you’ve landed in the right spot! This size offers a fantastic balance of power and portability for a wide range of DIY projects. We’ll help you cut through the jargon and find the perfect unit for your needs, ensuring your projects run smoothly and efficiently. Get ready to tackle your to-do list with confidence!
Welcome, DIY heroes and home improvers! Ever feel like you’re wrestling with a project, wishing you had just a little more oomph? An air compressor might be the secret weapon you’re missing. Specifically, a 24-gallon air compressor hits a sweet spot. It’s powerful enough for many tasks but not so bulky it becomes a burden. It’s the workhorse that can keep up with your ambition. Overwhelmed by all the specs like PSI and CFM? Don’t be! We’re here to guide you through it, making sure you understand exactly what makes a great 24-gallon air compressor so you can choose wisely and get to work with peace of mind.
How to Choose the Best 24 Gallon Air Compressor: Your Ultimate Guide

Hey everyone, Bryan Lee here! When it comes to powering up your DIY projects, nothing beats the versatility and sheer force of an air compressor. For many home mechanics and serious DIYers, a 24-gallon air compressor is the perfect sweet spot. It offers ample air storage and decent power output without taking up your entire garage. But with so many options out there, how do you pick the best one for your needs? Let’s break it down, step-by-step, so you can make an informed decision and get back to building, fixing, and creating!
Why 24 Gallons? The Sweet Spot for DIY Power

So, why is a 24-gallon tank size often recommended for home users and hobbyists? It’s all about balance. Smaller compressors might leave you waiting for them to refill too often, while larger industrial units are often overkill and difficult to move. A 24-gallon compressor offers enough air capacity to run tools like impact wrenches, sanders, and paint sprayers for reasonable periods before needing a recharge. It’s a fantastic all-arounder for tasks ranging from inflating tires to powering pneumatic nail guns, giving you the muscle you need without the logistical headaches of a bigger machine.
Think of it this way:
- Enough Air for Most Home Projects: You won’t run out of air halfway through inflating a tire or nailing in a section of trim.
- Manageable Size: It’s usually portable enough to move around your workshop or even to a job site.
- Power Versatility: Can handle a broad range of pneumatic tools effectively.
- Efficient Refills: The tank size helps smooth out air delivery, and refills are generally quicker than with much larger tanks.
Key Features to Consider for Your 24 Gallon Air Compressor

When you’re shopping for the best 24-gallon air compressor, a few key specifications will make a big difference in performance and usability. Don’t let the numbers scare you; we’ll explain them simply!
1. Cubic Feet per Minute (CFM)
CFM is arguably the MOST important number. It tells you how much air the compressor can deliver at a specific pressure. Tools that use air have their own CFM requirements – you need a compressor that can supply at least that much. If your tool needs 5 CFM, and your compressor only delivers 3 CFM, your tool will struggle or stop working.
- What to look for: Always check the CFM rating of your most air-hungry tool. Aim for a compressor that offers CFM at 90 PSI (pounds per square inch) that is at least 1.5 to 2 times higher than your tool’s requirement. This buffer ensures consistent performance.
- Why it matters: Insufficient CFM is the number one reason air tools underperform.
2. Pounds per Square Inch (PSI)
PSI measures the air pressure. Most air tools operate within a specific PSI range. A compressor’s “maximum PSI” indicates how high it can build pressure in the tank. While important, the CFM rating is usually more critical for tool operation than the maximum PSI itself, as long as the max PSI is sufficient for your tools (typically 100-150 PSI is plenty for most DIY applications).
- What to look for: A max PSI of 125-175 PSI is standard and suitable for most home workshop needs.
- Why it matters: Too low a PSI won’t power your tools effectively.
3. Horsepower (HP)
Horsepower refers to the motor’s power. While often advertised prominently, it’s less critical than CFM. A higher HP might mean the compressor can reach its full CFM potential faster or sustain it longer, but two compressors with the same CFM rating might have very different HP numbers.
- What to look for: Focus on CFM first. HP will usually be adequate if the CFM is right.
- Why it matters: It’s a general indicator of power, but not the definitive measure of air delivery.
4. Tank Material and Design
Most 24-gallon compressors have steel tanks. Some are oil-lubricated, others are oil-free.
- Oil-Lubricated: Generally more durable, quieter, and last longer. They require regular oil checks and changes.
- Oil-Free: Lighter, require less maintenance (no oil to add or change), and produce cleaner air. However, they can be louder and may not last as long under heavy use.
Consider the orientation too: vertical tanks take up less floor space, while horizontal tanks might be more stable on uneven surfaces.
5. Portability and Noise Level
Even though it’s a 24-gallon tank, portability still matters. Look for sturdy wheels and a good handle. Noise is another factor; compressors can be LOUD. Some models are designed with noise reduction in mind. Check the decibel (dB) rating if this is a concern for your workspace.
- Noise Levels: Residential compressors often range from 70-95 dB. For context, a normal conversation is around 60 dB, and a lawnmower is about 90 dB.
6. Duty Cycle
This tells you how long the compressor can run continuously before needing to cool down. For typical DIY use, a 50% duty cycle (meaning it can run for 5 minutes out of every 10) is usually sufficient. If you plan on very heavy, continuous use, look for a higher duty cycle.
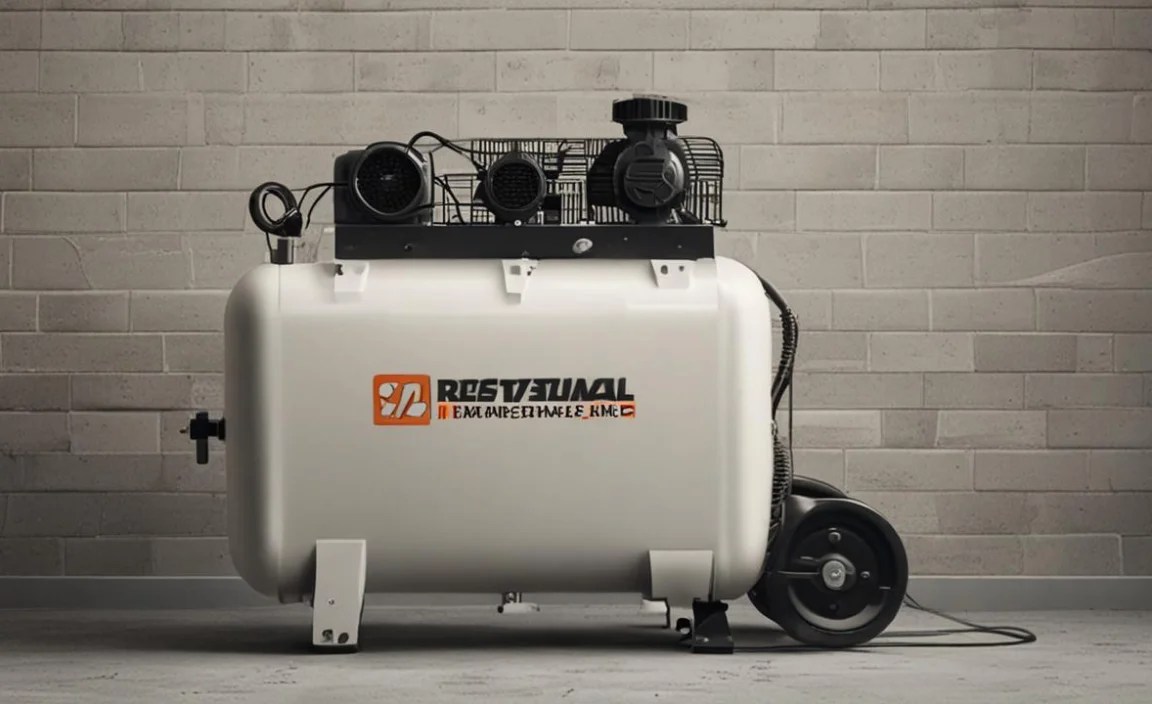
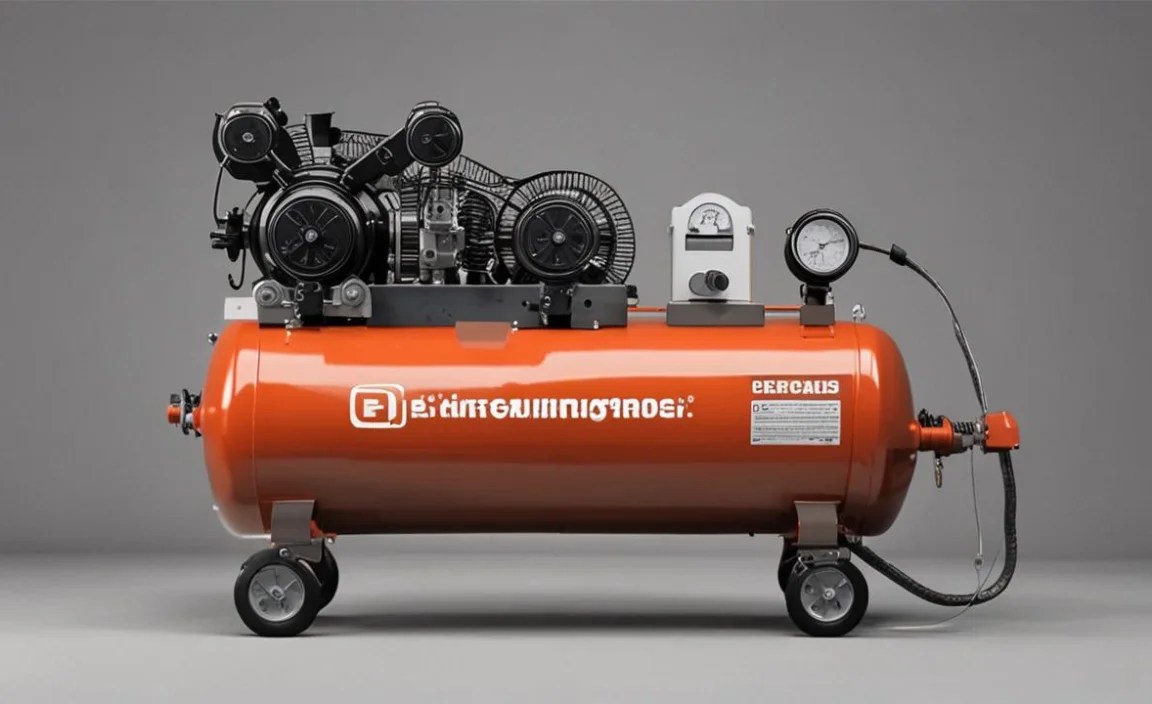
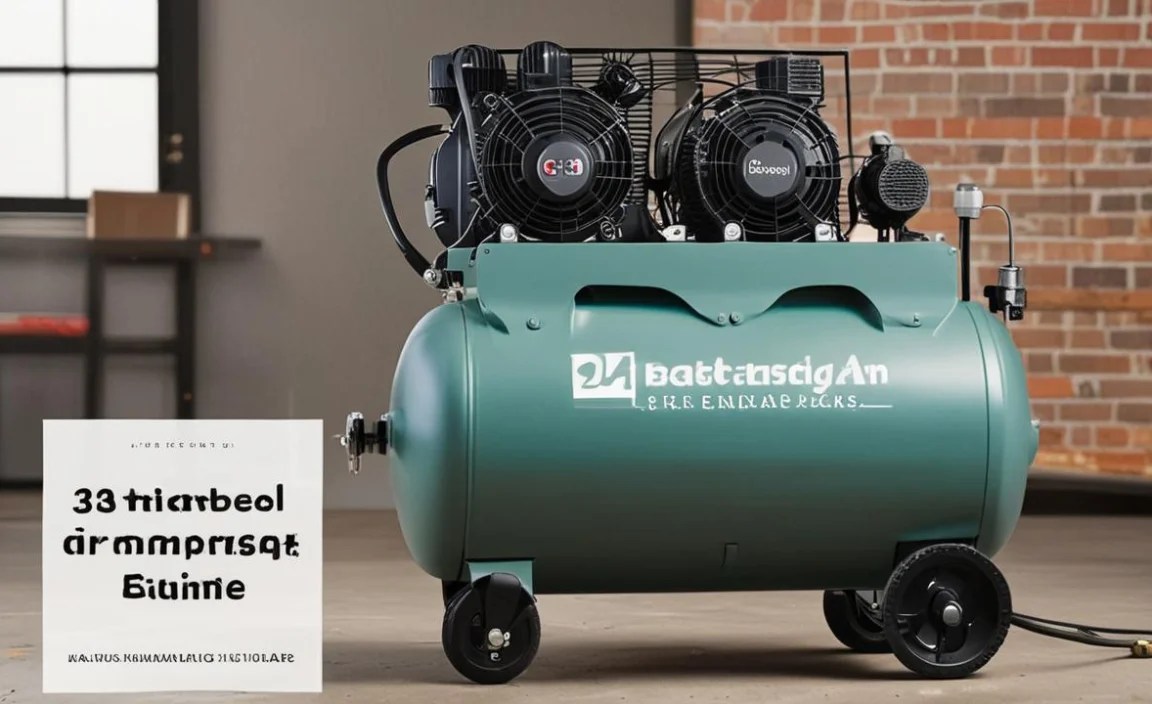
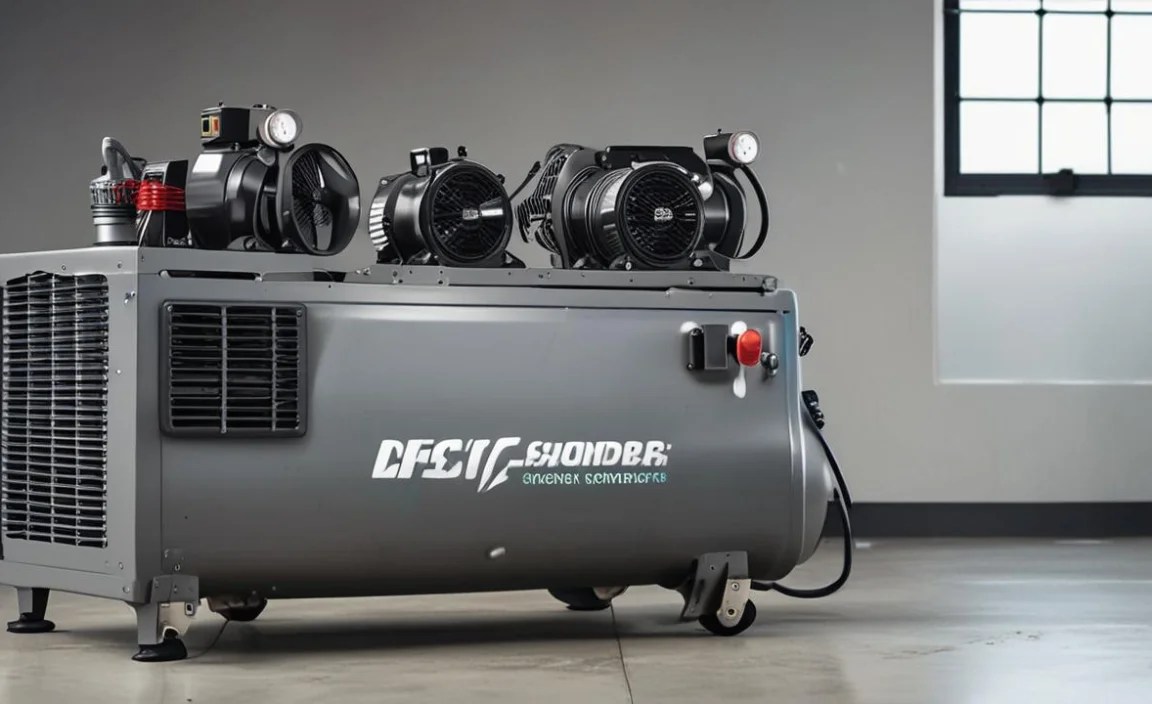
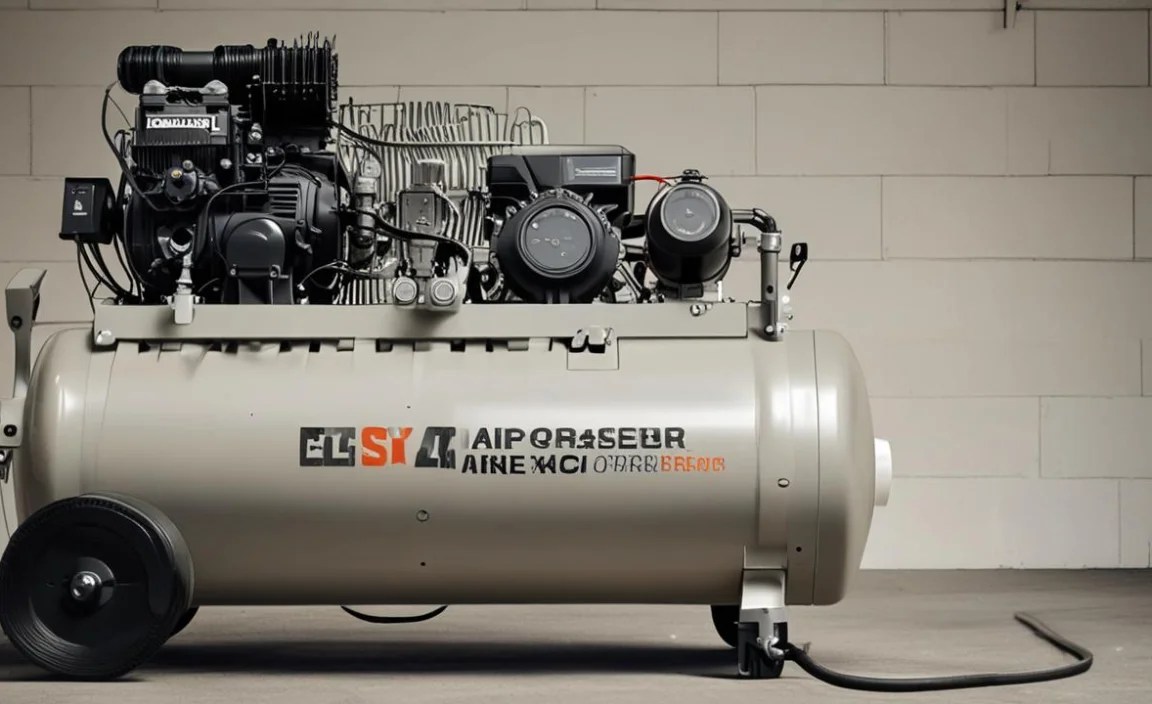
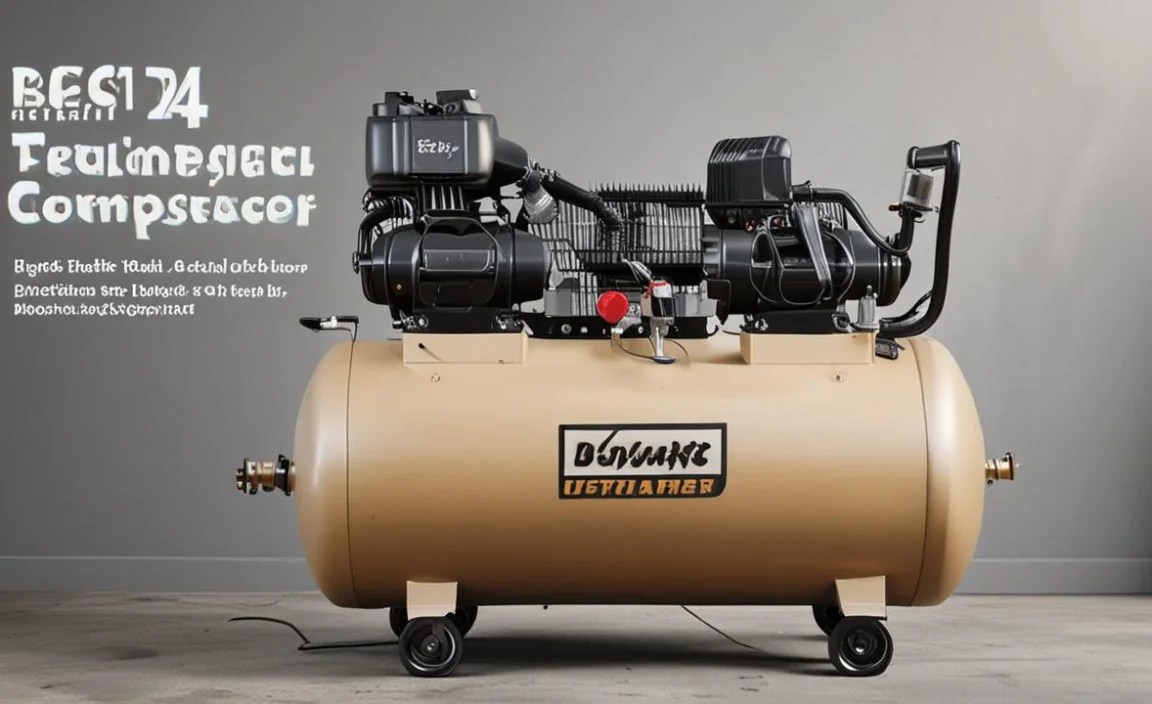
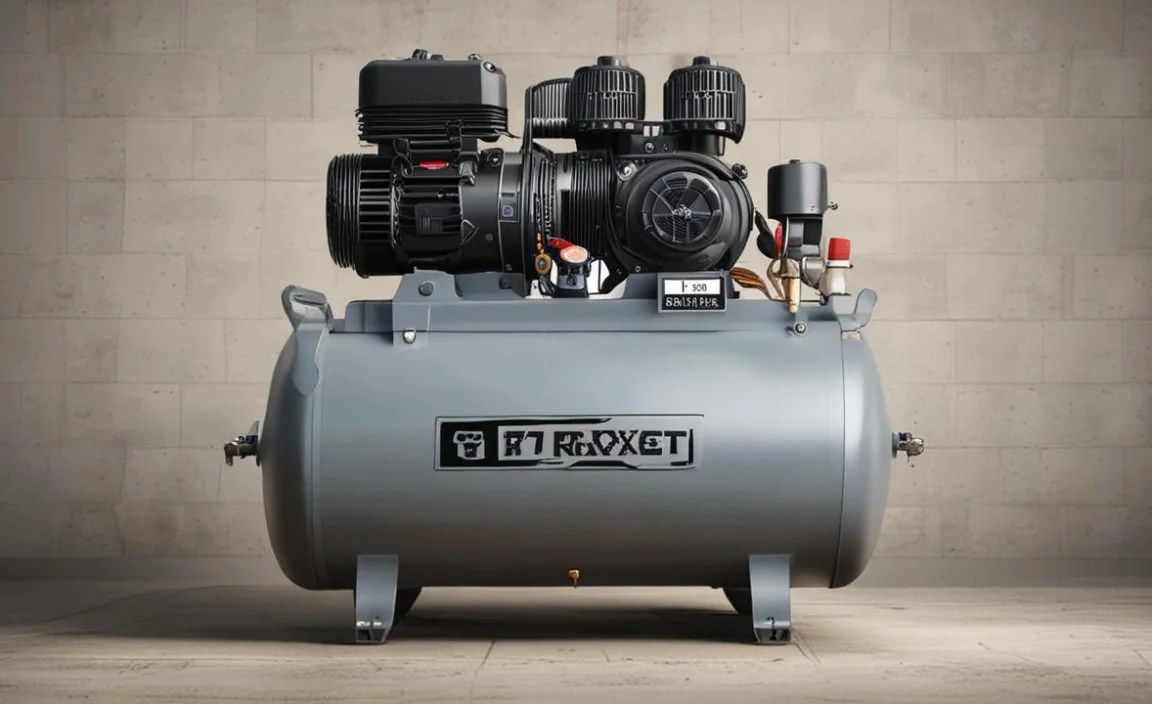
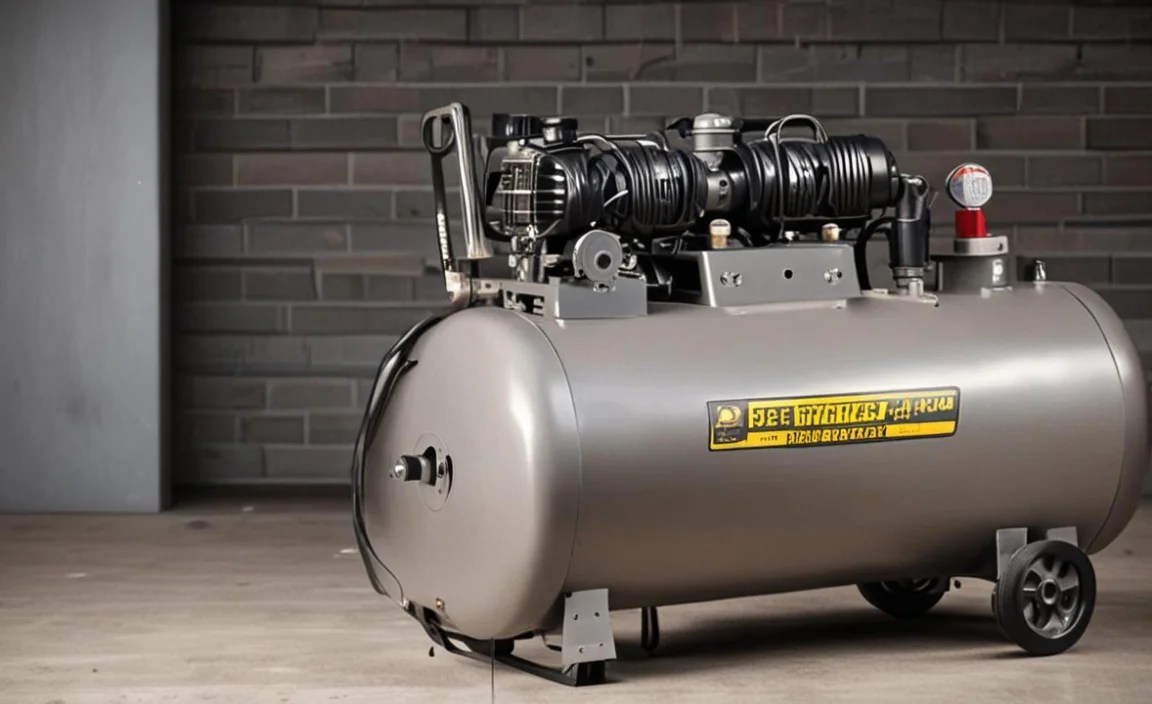
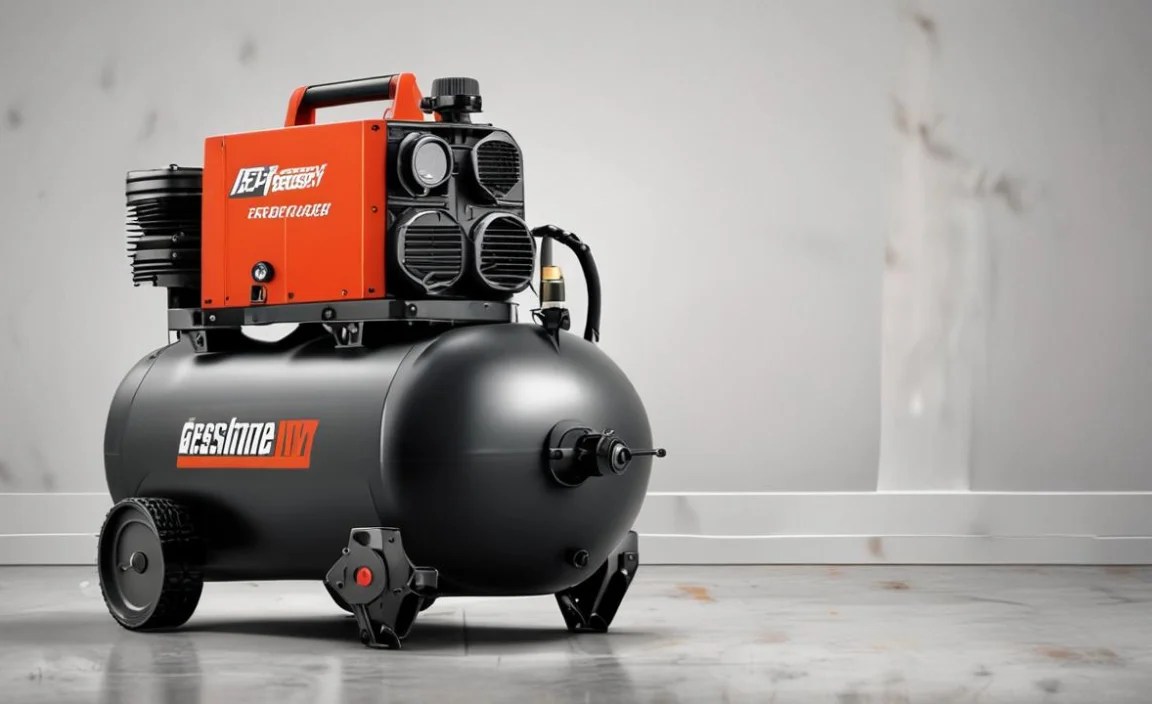
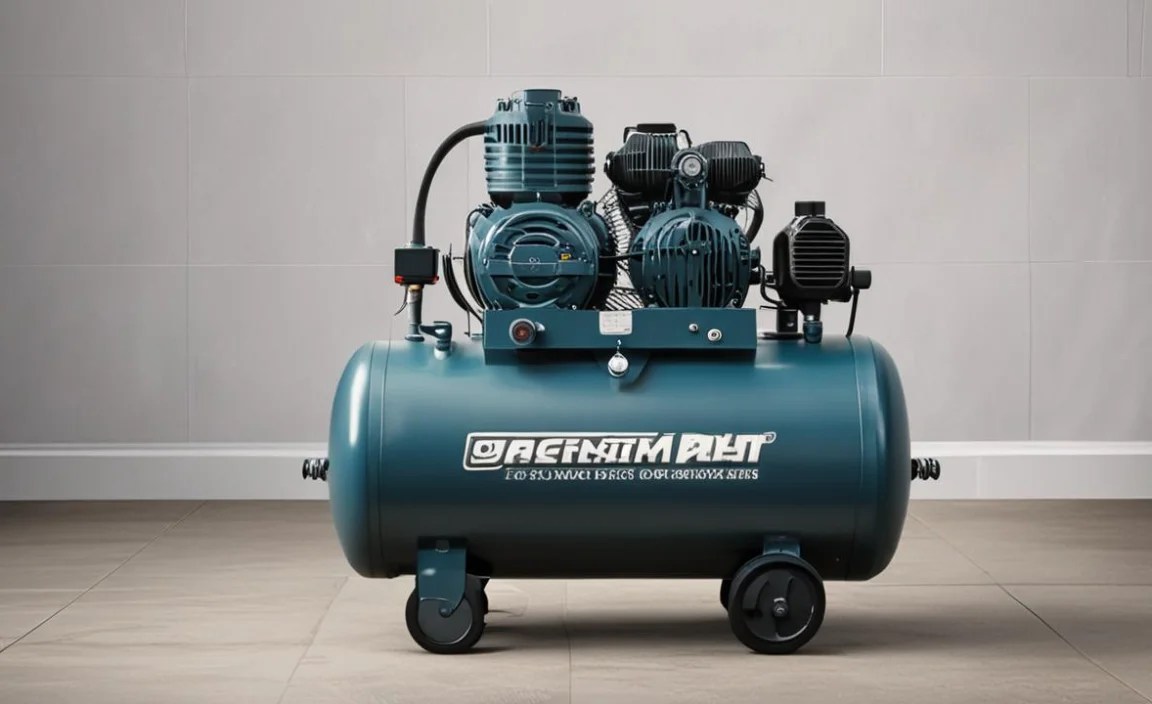
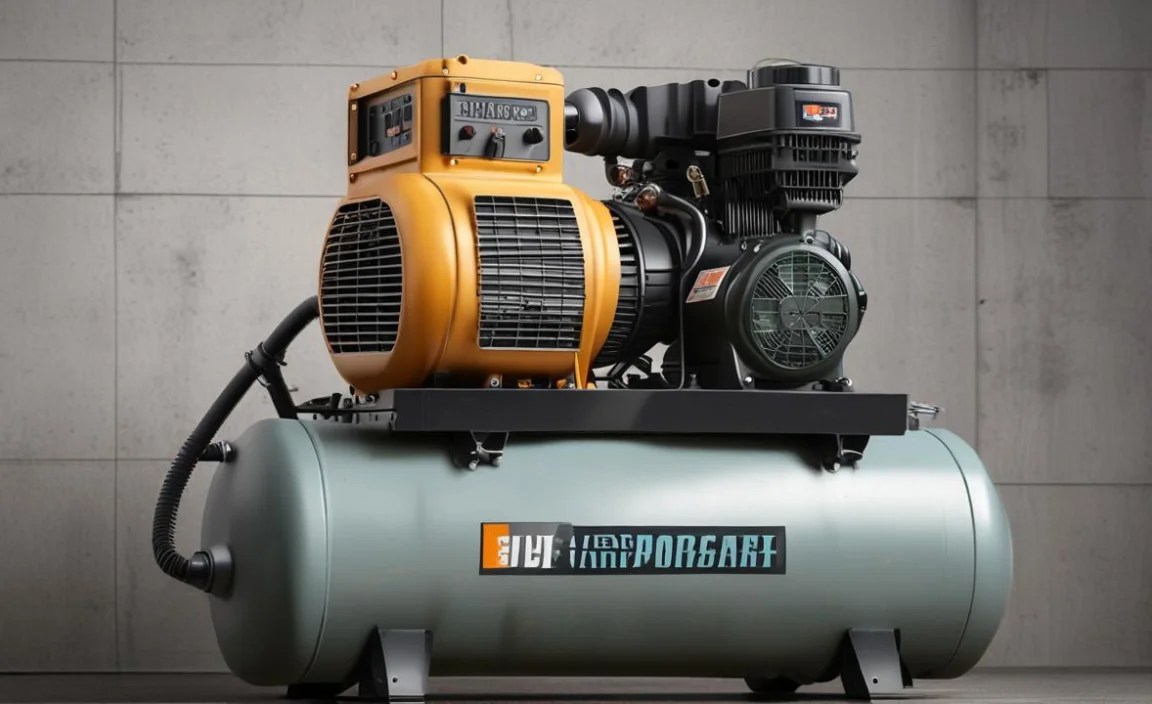
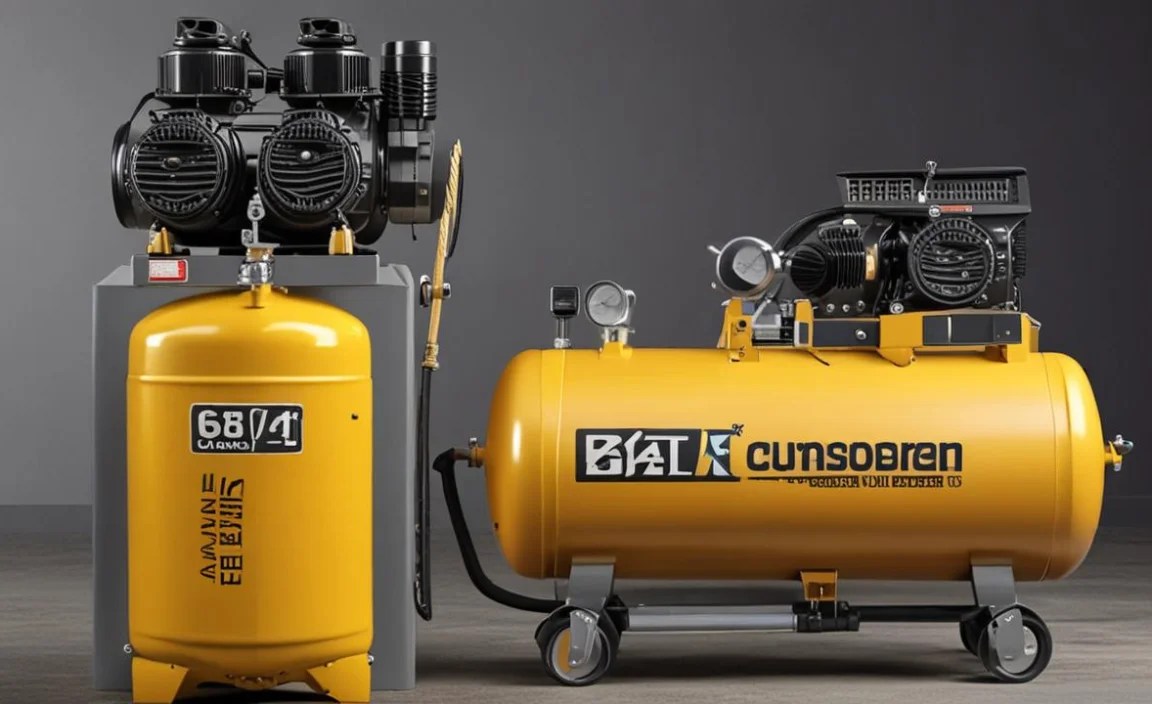
Top 5 Best 24 Gallon Air Compressors for DIYers (Spotlight on Performance!)

While the “best” is always subjective to your specific needs and budget, here are a few highly recommended 24-gallon models that consistently impress DIYers for their performance, durability, and value. We’ll focus on what makes them stand out.
When looking for a 24-gallon compressor, you’ll often see the following metrics. It’s crucial to understand what these mean for your tools. Always check the manufacturer’s specifications for the most accurate data.
| Compressor Type | Typical CFM @ 90 PSI | Typical Max PSI | Oil-Lubricated/Oil-Free | Portability |
|---|---|---|---|---|
| Vertical Stationary (often wheeled) | 5.0 – 6.5 CFM | 150 – 175 PSI | Both | Good (wheels for maneuverability) |
| Portable Horizontal (less common at 24 gal but available) | 4.5 – 6.0 CFM | 125 – 150 PSI | Both | Very Good (often designed for transport) |
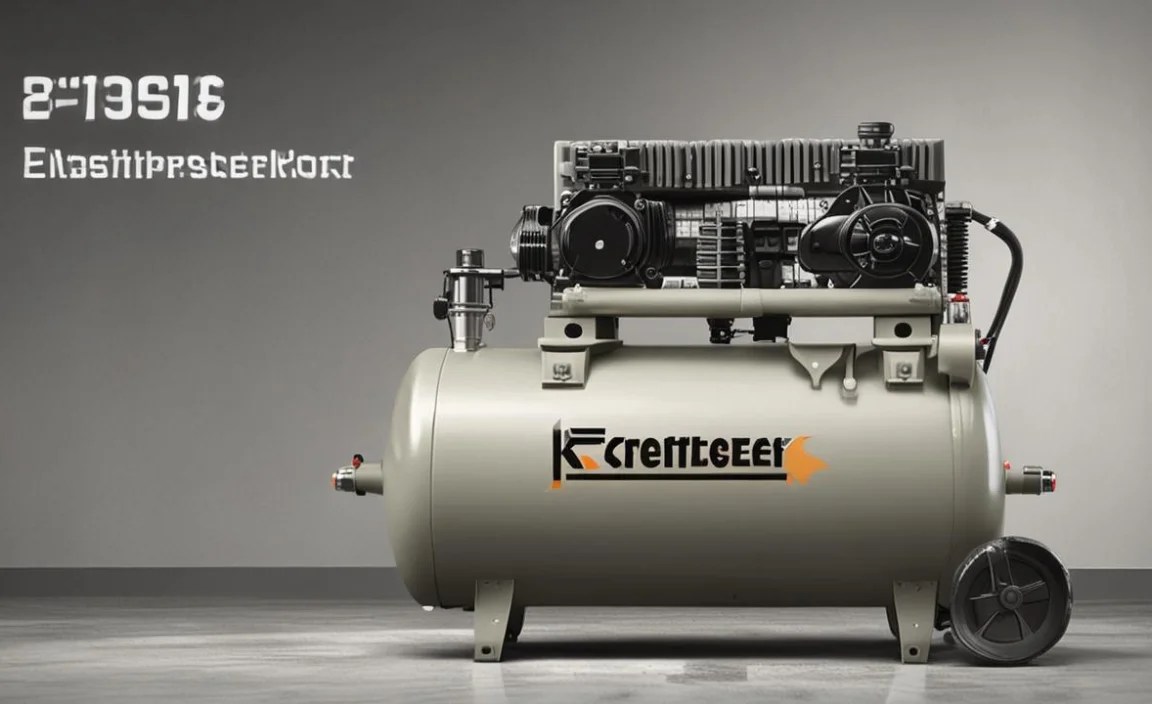
1. Ingersoll Rand SS5L5 (or Similar Models)

Ingersoll Rand is a name synonymous with industrial-grade air power, and their 24-gallon offerings often deliver. These are typically robust, oil-lubricated units designed for longevity and consistent performance. They might boast higher CFM ratings for their size, making them excellent for high-demand tools like framing nailers or impact wrenches used for extended periods.
- Pros: Excellent durability, high CFM for its tank size, reliable performance.
- Cons: Can be pricier, often heavier than oil-free models.
2. DEWALT DXCMLA2746056 (or equivalent 2.5 HP model)
DEWALT is a favorite among DIYers for a reason – they offer a great blend of power, features, and value. Look for their 2-3 HP, 60-gallon or 80-gallon models in the 24-gallon size. They often feature cast-iron pumps for durability and are designed for good airflow. Many are oil-lubricated for quieter operation and longer life.
- Pros: Good CFM, durable pump, well-regarded brand support.
- Cons: Can be a bit noisy, check specific model weights.
3. Craftsman CMXECXA8023300 (or similar 2.5+ CHP electric)

Craftsman has long been a staple in home workshops. Their 24-gallon electric compressors often provide around 5 CFM at 90 PSI and a healthy max PSI. They’re usually designed with portability in mind, featuring wheels and handles, making them manageable for most users. Expect an oil-lubricated pump on most of their robust models.
- Pros: Good value for the performance, reliable for common tasks.
- Cons: May have slightly lower CFM than premium brands.
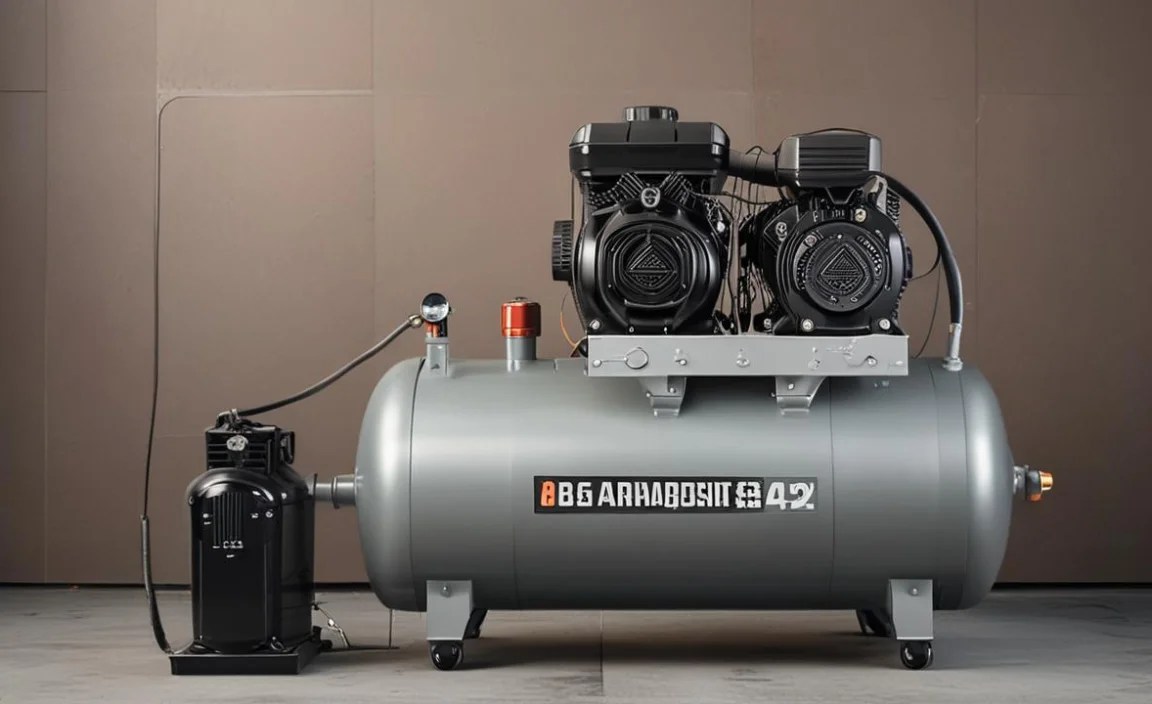
4. California Air Tools 5510SE (or similar ultra-quiet models)

If noise is a major concern for you (e.g., you work in a shared space or live in a densely populated area), California Air Tools specializes in ultra-quiet compressors. Their 24-gallon variants often operate at a much lower decibel level than standard compressors, sometimes around 60-70 dB. While they might have slightly less CFM than some louder competitors, they offer a much more pleasant working environment.
- Pros: Extremely quiet operation, low vibration.
- Cons: Can be more expensive, CFM might not be as high as equivalently priced louder models.
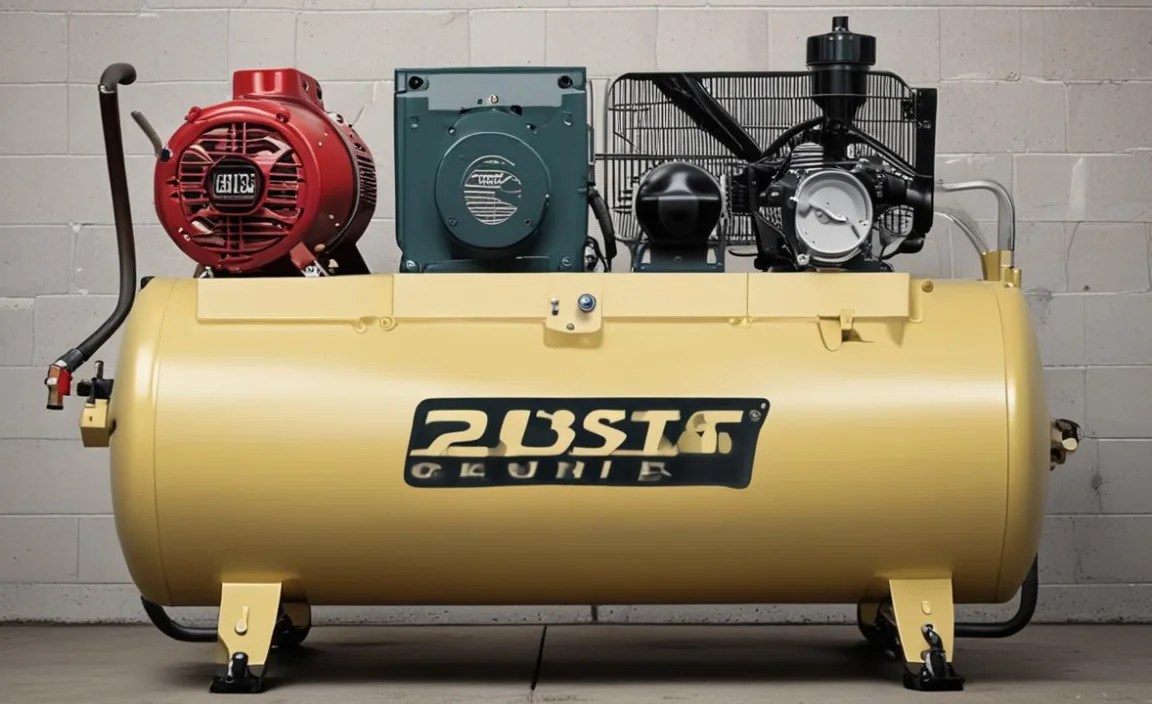
5. Rolair FC20Plus (or similar industrial-grade “workhorse” models)

Rolair is known for building incredibly durable, professional-grade compressors that can withstand tough conditions. While sometimes less “feature-rich” than consumer brands, their 24-gallon models often boast cast-iron cylinders and robust motors that are built to last. They are excellent choices if you prioritize longevity above all else.
- Pros: Exceptional durability, built for heavy-duty use.
- Cons: Can be heavy, typically more expensive, basic features.
Always cross-reference these models with current reviews and specifications, as manufacturers update their lines regularly. Reading user reviews on sites like Amazon, Home Depot, or specialized tool forums can provide valuable real-world insights.
Getting Started: What You Can Do With a 24 Gallon Air Compressor
A 24-gallon air compressor isn’t just a hunk of metal; it’s a gateway to a world of DIY possibilities! Here are some of the common, yet impactful, tasks you can tackle:
1. Automotive Maintenance and Repair

This is where a 24-gallon compressor truly shines. It’s ideal for powering:
- Impact Wrenches: Easily loosen and tighten lug nuts, suspension bolts, and other stubborn fasteners.
- Air Ratchets: Great for those tight spots where a manual ratchet is awkward.
- Tire Inflation: Quickly inflate car, bike, or trailer tires.
- Grease Guns: Keep your equipment running smoothly.
- Air Blow Guns: Clean dirt and debris from engine bays or work areas.
2. Woodworking and Carpentry

For home carpentry or furniture making, a 24-gallon compressor is indispensable:
- Nail Guns: Power framing nailers, brad nailers, and finish nailers for quick and precise fastening.
- Staplers: Useful for upholstery or securing materials.
- Sander: Pneumatic sanders can offer a smoother finish and less vibration than their electric counterparts.
- Grinders/Polishers: For preparing wood surfaces or working with metal components.
3. Painting and Finishing
Achieve a professional finish on your projects:
- Spray Guns: Compatible with many types of detail, HVLP (High Volume, Low Pressure), and conventional spray guns for painting furniture, cars, or walls. Ensure your compressor’s CFM meets the spray gun’s needs.
- Air Brushes: For intricate detail work and fine art applications.
4. Cleaning and Preparation
Dust and debris are no match for compressed air:
- Blow Guns: Blast away sawdust, dirt, and debris from work surfaces, tools, or even sensitive electronics.
- Sandblasting (with appropriate attachments): For removing rust, old paint, or preparing surfaces. This is a more demanding application that might push the limits of a 24-gallon unit depending on the sandblaster’s CFM requirement.
To get the most out of your compressor, consider investing in essential accessories like air hoses, quick-connect fittings, and the specific air tools you plan to use.
Setting Up Your New 24 Gallon Air Compressor: Easy Steps

Getting your new compressor ready for action is simpler than you might think. Follow these steps for a smooth setup and safe operation.
Step 1: Unboxing and Inspection
Carefully remove the compressor from its packaging. Inspect it for any visible damage that may have occurred during shipping. Check that all included parts and accessories are present as per the manual.
Step 2: Choose a Location
Find a well-ventilated, dry, and level spot for your compressor. It needs good airflow for cooling and should be protected from the elements. Position it so the exhaust isn’t blowing directly onto you or valuable items. If it’s a stationary vertical tank, ensure it’s stable.
Step 3: Check Oil (If Applicable)
If your compressor is oil-lubricated, this is a critical step. Locate the oil sight glass and the oil fill cap. Add the type and amount of oil recommended in your owner’s manual. Do NOT overfill. For oil-free models, skip this step.
4. Connect the Air Filter
Most compressors come with an intake air filter. Screw or attach it securely to the intake port. This prevents dust and debris from entering the pump, which is vital for its longevity.
5. Connect Power
Ensure your electrical outlet matches the voltage and amperage requirements of your compressor. Use a heavy-duty extension cord if necessary, but avoid excessively long or thin cords, as they can reduce power and potentially damage the motor. Plug it in.
6. Initial Run and Leak Check
Turn on the compressor. It will start filling the tank. Listen for any unusual.
