
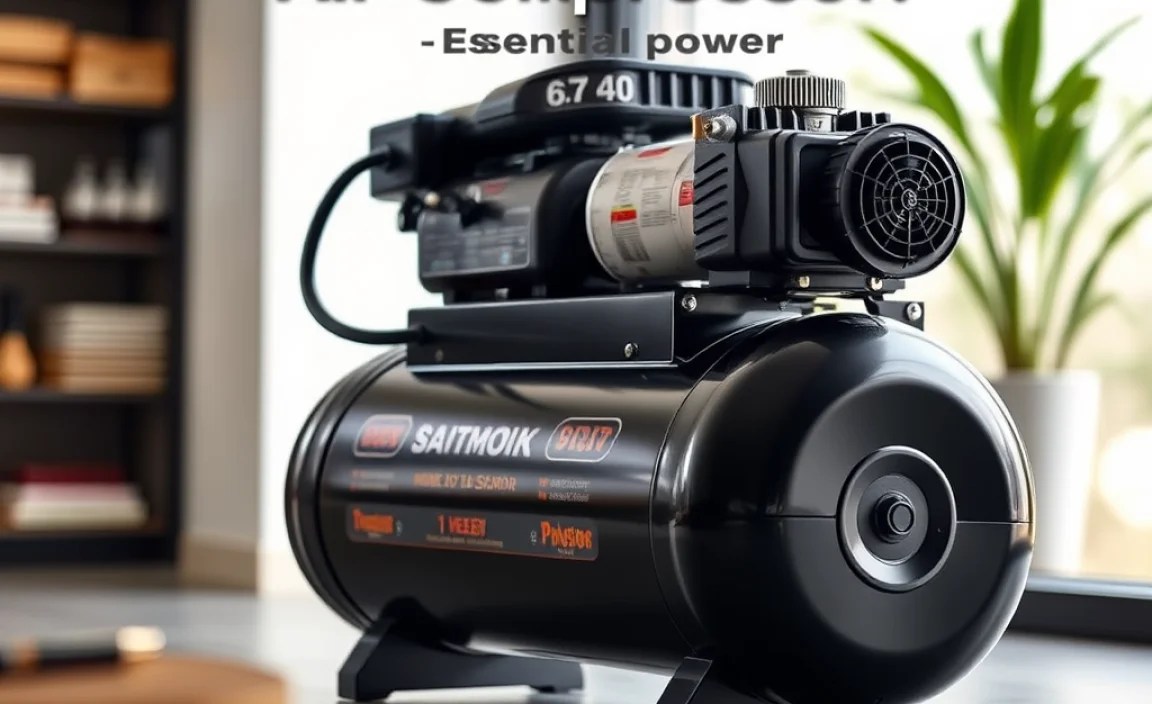
Looking for a powerful air compressor for your DIY projects? The best 240V 21-gallon air compressor offers robust performance for demanding tasks without frequent refills. These models provide consistent, high-volume airflow, perfect for workshops, automotive repairs, and heavy-duty tool operation. Choosing the right one ensures efficiency and saves you time. This guide will help you find the perfect fit for your power needs.
Tackling bigger projects at home often means needing more air power than your standard compressor can provide. You might have a great set of tools, but if your air compressor is struggling to keep up, those projects could feel frustratingly slow. That’s where a 240-volt, 21-gallon air compressor comes in. It’s like upgrading from a garden hose to a fire hose for compressed air – ready for serious work!
Sometimes, the technical specs can seem a bit much, making it hard to know where to start. But don’t worry! We’re here to break it all down. We’ll walk through what makes these compressors so great and how to pick the best one for your needs. Get ready to power up your workshop and tackle those bigger jobs with confidence. Let’s dive into finding the essential power you’ve been looking for!
Why Choose a 240V 21 Gallon Air Compressor?

When you’re pushing your DIY limits or running a small home workshop, a standard 120V compressor might leave you waiting more often than working. You’ve probably experienced that moment when your air tool sputters, and the compressor kicks on, only to take ages to build pressure again. A 240V 21-gallon air compressor is designed to solve exactly that problem. It’s the sweet spot for serious DIYers who need a reliable, powerful air source for a wide range of applications.
These machines offer a significant step up in performance. The higher voltage means they can draw more power, which translates directly into faster tank filling and sustained airflow. The 21-gallon tank provides a substantial reserve of compressed air, meaning your tools get a consistent supply, and the compressor doesn’t have to cycle on as frequently. This is crucial for tasks that require a steady stream of air, like painting, running impact wrenches, or operating sanders. Think of it as having a power reserve that lets you keep going strong.
Benefits at a Glance
Increased Power and Performance: 240V power allows for a stronger motor, leading to faster compression and higher CFM (Cubic Feet per Minute) output.
Extended Run Times: The 21-gallon tank holds a large volume of air, allowing you to use air tools for longer periods without interruption.
Reduced Cycling: The larger tank means the compressor motor runs less often, which extends its lifespan and reduces noise interruptions.
Versatility: Suitable for a wide range of demanding tasks, from automotive repair and spray painting to running multiple air tools simultaneously.
Efficiency: While they use more power, they often complete tasks faster, potentially saving overall energy when considering project completion time.
What Does 240V and 21 Gallons Actually Mean?
Let’s quickly demystify those numbers:
240 Volts (V): This refers to the electrical power requirement. Most homes have 120V outlets, but 240V outlets are common for larger appliances like electric dryers or central air conditioners. This means you’ll likely need a dedicated 240V circuit installed for your compressor. The higher voltage allows the motor to be more powerful and efficient for its size.
21 Gallons (Gal): This is the capacity of the air tank. The tank stores compressed air. A larger tank means you have a bigger reserve of air ready to go. For a 21-gallon tank, this is a substantial amount, providing a good buffer for tools that are air-hungry.
Key Features to Look For in a 240V 21 Gallon Air Compressor

When you’re shopping for the “best” 240V 21-gallon air compressor, it’s not just about the voltage and tank size. Several other features can make a big difference in how well the compressor performs for your specific needs and how enjoyable it is to use. Think about how you’ll be using it, what tools you’ll be powering, and where it will live.
1. Horsepower (HP) and Motor Type
The horsepower (HP) of the motor is a good indicator of the compressor’s power. For a 240V 21-gallon model, you’ll typically see motors ranging from 2 HP up to 5 HP or more. A higher HP generally means faster air production and the ability to sustain output for demanding tools.
Induction Motors: These are more durable, quieter, and run cooler than some other types, making them ideal for continuous use. They are a great choice for a home workshop.
Oil-Lubricated vs. Oil-Free:
Oil-Lubricated: These tend to be quieter and last longer because the oil keeps the components lubricated and cool. They require regular oil checks and changes.
Oil-Free: These are generally lighter, require less maintenance (no oil changes), and are often more portable. However, they can be louder and may have a shorter lifespan under heavy, continuous use. For a 21-gallon model, an oil-lubricated, induction motor is often preferred for longevity and quieter operation.
2. Cubic Feet per Minute (CFM)
CFM is arguably the most important spec for air compressors. It tells you how much air the compressor can deliver at a certain pressure. You need to match the CFM output of the compressor to the CFM requirements of your air tools. You’ll often see CFM ratings at different PSI (Pounds per Square Inch) levels, typically 40 PSI and 90 PSI.
Higher CFM is Better: For demanding tools like impact wrenches, sanders, grinders, and spray guns, you’ll need a higher CFM. Always check the CFM requirements for your tools and choose a compressor that provides at least 1.5 to 2 times that amount to ensure consistent performance.
Example: If your favorite paint sprayer needs 6 CFM at 40 PSI, you’ll want a compressor that can easily deliver this, ideally with some headroom.
3. Maximum Pressure (PSI)
Most compressors have a maximum PSI rating, usually around 150 PSI for 21-gallon models. This is the highest pressure the tank can hold. While many tools operate at lower pressures (e.g., 90 PSI), a higher maximum pressure setting allows the compressor to run longer before needing to refill. It also gives your regulator more range to dial in the exact pressure your tools need.
4. Duty Cycle
The duty cycle indicates how long a compressor can run before needing to cool down. It’s usually expressed as a percentage (e.g., 75%, 100%).
100% Duty Cycle: This means the compressor can run continuously without overheating. This is ideal for extended use with tools that consume a lot of air.
Lower Duty Cycle: A compressor with a 50% duty cycle can only run for 5 minutes out of every 10-minute period. This is suitable for intermittent tasks but could be frustrating for continuous ones. For a 240V 21-gallon compressor used in a workshop, a 75% or 100% duty cycle is highly desirable.
5. Portability and Design
While a 21-gallon tank isn’t going to be something you carry under your arm, some models are designed with portability in mind. Features like sturdy wheels, well-placed handles, and manageable weight distribution can make it easier to move around your garage or workshop. Consider vertical tank designs, which take up less floor space.
6. Noise Level (Decibels – dB)
Air compressors can be loud, and a 240V unit, especially a powerful one, can be a significant source of noise. If your workshop is close to living areas or you work at odd hours, look for models that advertise lower decibel (dB) ratings. Some manufacturers use features like enclosed pumps or sound-dampening materials to reduce noise. Check specifications for dB ratings; lower numbers are quieter.
7. Additional Features
Thermal Overload Protection: This is a safety feature that shuts off the motor if it overheats, preventing damage.
Oil Sight Glass (for oil-lubricated models): Allows you to easily check the oil level.
Drain Valve Type: A ball valve is easier to operate than a petcock for draining condensation from the tank.
Outlet Types: Ensure it has the right type and number of air outlets (couplings) for your common tools.
Top Use Cases for a 240V 21 Gallon Air Compressor

The versatility of a 240V 21-gallon air compressor makes it a go-to choice for a wide array of tasks. Its substantial air reserve and powerful output mean it can handle jobs that would overwhelm smaller units. Here’s a look at where this type of compressor truly shines:
Automotive Repair and Maintenance
This is where a 240V, 21-gallon compressor really proves its worth.
Impact Wrenches: For removing lug nuts, stubborn bolts, and engine components, a good impact wrench needs a consistent supply of high-pressure air. A 21-gallon tank provides enough air to prevent the wrench from losing power midway through a job.
Air Ratchets: Useful for tight spaces, air ratchets benefit from steady airflow.
Sandblasting: Whether you’re cleaning rust off parts or preparing a surface for paint, sandblasters are incredibly air-hungry. A powerful compressor is essential to keep the abrasive material flowing.
Tire Inflation: Quickly and efficiently inflate car, truck, or even large off-road tires.
Grease Guns: For applying lubricant effectively.
Woodworking and Furniture Making
Woodworkers rely on pneumatic tools for precision and efficiency.
Nail Guns and Staplers: For assembling cabinets, furniture, or trim work, a compressor with sufficient CFM ensures these tools fire nails or staples reliably and deeply without needing frequent pauses.
Orbital Sanders: Continuous airflow keeps sanders running smoothly for longer finishing sessions.
Air Brushes and Spray Guns: For applying finishes like varnish, stain, or paint to furniture or woodworking projects. A higher CFM allows for a more consistent spray pattern and better coverage.
Chisels and Routers: For shaping and carving wood.
Home Improvement and DIY Projects
From exterior painting to interior renovations, these compressors are invaluable.
Spray Painting: Whether it’s a car, furniture, or a fence, a good spray gun requires a consistent, high-volume air supply. A 21-gallon tank provides this, leading to a smoother finish. According to the Occupational Safety and Health Administration (OSHA), proper ventilation and tool maintenance are crucial when using spray equipment, and having adequate air power contributes to efficient operation.
Nail Guns for Framing or Trim: Building decks, fences, or completing interior trim work becomes much faster.
Inflating Large Items: Beyond car tires, you might need to inflate air mattresses, inflatable pools or structures.
Cleaning: Using air blow guns to clear sawdust from tools and work areas, or to clean out engines and machinery.
Medium-Scale Production or Professional Use
While not industrial-grade, these compressors can certainly handle light professional use or small-batch production due to their robust nature. This includes small auto body shops, custom furniture makers, or specialized repair services.
Comparing Popular 240V 21 Gallon Air Compressor Models

Choosing the absolute “best” is subjective, as it depends on your budget, specific needs, and brand preferences. However, several models consistently receive high marks from users for their reliability, performance, and features. Here, we highlight a few types of machines you might encounter and what makes them stand out.
When comparing, pay close attention to the specifications relevant to your tasks, especially CFM at 90 PSI.
| Brand/Model (Example) | Motor (HP) | Tank Size (Gal) | Max PSI | CFM @ 90 PSI (Approx.) | Motor Type | Noise Level (dB) | Key Features |
| Ingersoll Rand SS5 | 5.0 | 21 | 175 | 15.0 | Oil-Lub. | ~70-80 | Durable cast iron pump, high CFM, long life |
| California Air Tools 2120STC | 2.0 | 21 | 175 | 5.35 | Oil-Free | ~70 | Very quiet for an oil-free, lightweight |
| Porter-Cable PXCP210H | 3.5 | 21 | 150 | 9.2 | Oil-Lub. | ~80 | Good balance of power and portability, cast iron |
| Kobalt 21 Gallon | 3.7 | 21 | 150 | 9.0 | Oil-Lub. | ~80 | Solid performance, good value, sturdy build |
| DEWALT DXCM211 | 1.9 | 21 | 175 | 5.0 | Oil-Lub. | ~75 | Compact design, good for DIY, cast iron pump |
Note: Specifications can vary by exact model number and are subject to change by the manufacturer. Always check the latest product details before purchasing.
What to Consider When Reading Reviews
Real-world CFM: Does the user report that it meets their tool’s needs?
Durability: How long have users owned the compressor, and has it held up?
Noise: Is it quieter or louder than advertised?
Ease of Use: Are there any issues with assembly, maintenance, or operation?
Installation and Setup: Getting Your Compressor Ready
Once you’ve chosen the perfect 240V 21-gallon air compressor, the next step is getting it set up and running safely. This usually involves electrical connections, initial checks, and understanding how to operate it.
1. Electrical Considerations
This is the most critical part. A 240V compressor requires a 240V outlet. If you don’t have one readily available near where you plan to put your compressor, you’ll need to hire an electrician to install one.
Dedicated Circuit: It’s highly recommended that your compressor runs on its own dedicated 240V circuit breaker. This prevents tripping other breakers and ensures the compressor gets the stable power it needs. The amperage of the breaker will depend on the compressor’s motor draw; check your owner’s manual.
Proper Plug and Receptacle: Ensure the plug on your compressor matches the receptacle you’ll be plugging into. Older 240V outlets may have different configurations.
Extension Cords: Avoid using long or undersized extension cords. If you must use one, ensure it’s rated for 240V and the appropriate amperage, and as short as possible. It’s always best to plug directly into the wall outlet if feasible. For guidance on electrical safety, the U.S. Consumer Product Safety Commission (CPSC) offers valuable resources.
2. Initial Checks and Assembly
Unpacking: Carefully unpack the compressor and check for any shipping damage.
Wheels and Handles: If your model has wheels, attach them according to the instructions. Make sure they are securely fastened.
Air Filter: Most compressors come with an air filter. Ensure it’s correctly installed on the intake of the pump.
Oil Level (for oil-lubricated models): Before first use, check the oil level. Many compressors don’t ship with oil filled, or they may be overfilled. Use the type and amount of oil recommended in your owner’s manual.
3. Break-In Procedure (Very Important!)
Many compressors, especially oil-lubricated ones, have a break-in procedure. This is crucial for seating the piston rings and ensuring the compressor has a long, healthy life. It usually involves running the compressor for a specific period (e.g., 30 minutes to an hour) without using any air, or with very light use, allowing the internal components to properly mate.
Consult Your Manual: Always refer to your specific compressor’s owner’s manual for the exact break-in steps. Skipping this can shorten the compressor’s lifespan.
Purpose: The break-in period allows internal parts to wear in slightly, creating a better seal and improving efficiency and longevity.
4. Draining the Tank
Before your first use, and regularly afterward, you’ll want to drain any condensation from the tank. Water can build up over time and can cause corrosion or damage your pneumatic tools.
Locate the Drain Valve: It’s usually at the bottom of the tank.
Operate the Valve: Open the valve (ball valves are easier than petcocks) and let the air escape slowly. You may hear some water spray out.
