
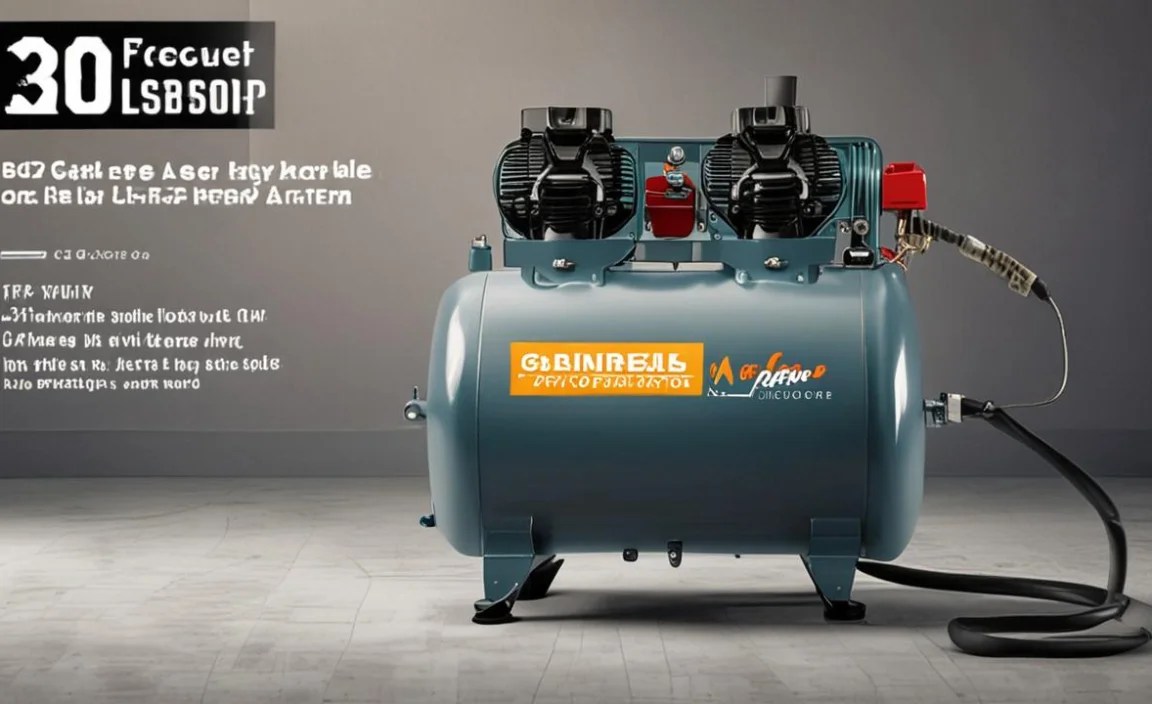
A 240V 22-gallon air compressor is a brilliant choice for DIYers and homeowners needing robust power for various tasks. It offers a great balance of portability and performance, handling everything from inflating tires to running air tools with ease.
Let’s talk power for your projects! Ever feel like your tools just aren’t keeping up, or that you’re waiting around for things to get done? It’s a common frustration, especially when you’re tackling a weekend project or a home repair. That’s where the right air compressor comes in. Specifically, a 240V 22-gallon air compressor hits a sweet spot, offering more than enough muscle for many jobs without being overly bulky. If you’re feeling a bit lost in the world of CFM and PSI, don’t worry! We’re here to break it down simply and show you why this size and voltage might be your perfect match. Get ready to feel confident about choosing and using your new powerhouse tool.
Why a 240V 22 Gallon Air Compressor is a Smart Move


Choosing the right air compressor can feel like a big decision, but the 240V 22-gallon model often makes the most sense for a wide range of home shop and DIY enthusiasts. It’s not too small that it struggles with demanding tasks, yet not so massive that it becomes impractical for a typical garage or workshop.
Here’s why this particular configuration shines:
Power to Spare: The 240-volt operation means you’re getting more efficient power delivery compared to standard 120V outlets. This translates to faster tank filling and sustained air pressure when you need it most.
Generous Capacity: A 22-gallon tank provides a substantial reserve of compressed air. This is crucial for tools that require a continuous airflow, like impact wrenches, sanders, or spray paint guns, preventing them from bogging down as quickly.
Versatility Champion: This size is perfect for a broad spectrum of tasks. Whether you’re inflating tires on your car or truck, using pneumatic tools for woodworking, tackling auto repair, or even doing some painting, a 22-gallon capacity often fits the bill.
Balance of Performance and Space: It’s big enough to perform, but typically manageable for most home garages and workshops. You won’t need an industrial-sized shop to house it.
Many DIYers find that once they upgrade to a 240V 22-gallon compressor, they wonder how they ever managed without one. It truly elevates the capability of your tool arsenal.
Understanding the Specs: What Those Numbers Really Mean
When you look at air compressors, you’ll see a lot of numbers and acronyms. Let’s demystify the most important ones for a 240V 22-gallon model:
Voltage (V): This tells you the electrical power requirement. 240V compressors require a specific 240V outlet, often a heavier-duty circuit than standard household outlets. This is a key difference from 120V models.
Gallons (Gal): This is the size of the air tank. A 22-gallon tank stores a good amount of compressed air, meaning the compressor won’t need to run as constantly as a smaller tank.
CFM (Cubic Feet per Minute): This is perhaps the most critical spec. It measures the volume of air the compressor can deliver at a specific pressure. You need to match your tool’s CFM requirement to your compressor’s output. Often, compressors list CFM at different PSI (pounds per square inch) levels. For example, a compressor might deliver 5.0 CFM at 90 PSI. You’ll want to check the CFM needs of the tools you plan to use. For a 22-gallon, 240V unit, you can typically expect CFM ratings that support more demanding tools.
PSI (Pounds per Square Inch): This measures the pressure of the air. Most compressors have a maximum PSI rating (e.g., 150 PSI). Your tools will operate at a specific PSI, which you can usually adjust via a regulator on the compressor.
Horsepower (HP): While often advertised, HP can be a bit misleading as it’s measured differently by manufacturers. CFM is a more reliable indicator of a compressor’s actual performance. However, a higher HP generally correlates with better performance in this class of compressor.
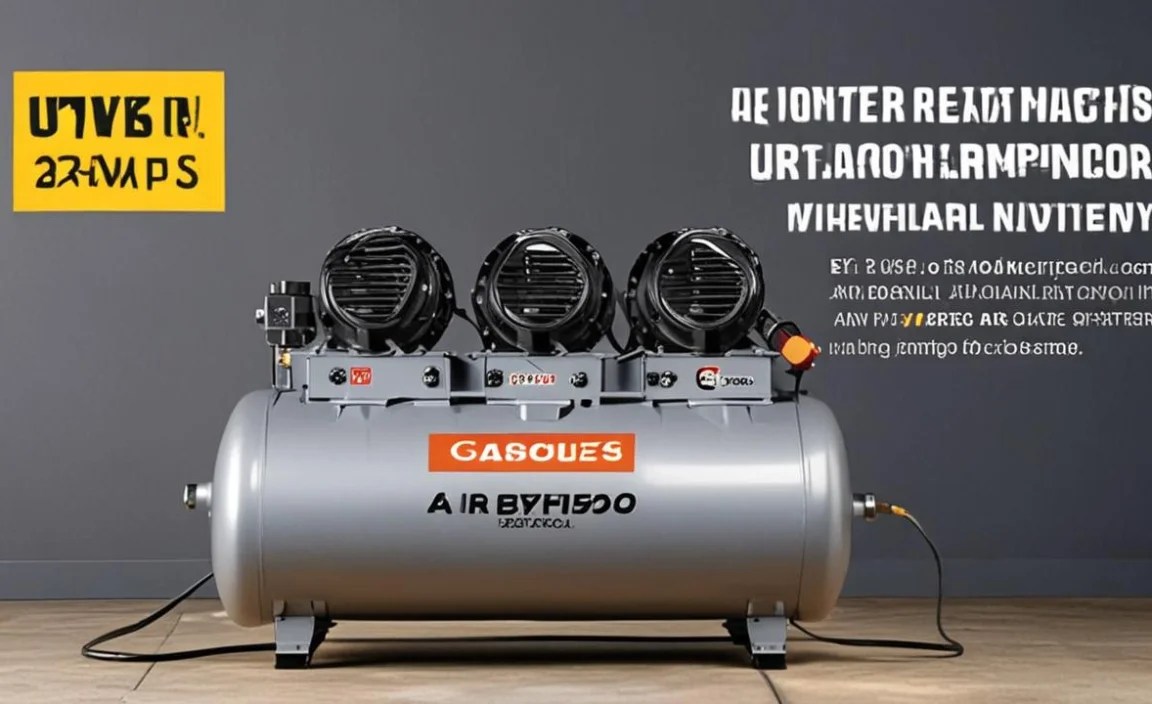
Key Features to Look For in a 240V 22 Gallon Air Compressor

When you’re shopping for the “best” 240V 22-gallon air compressor for your needs, consider these features that can make a big difference in usability and longevity:
Oil Lubed vs. Oil-Free:
Oil-Lubricated: Generally quieter, run cooler, and have a longer lifespan. They require regular oil checks and changes.
Oil-Free: More portable, require less maintenance (no oil to change), and are often lighter. However, they can be louder and may have a shorter operational life compared to oil-lubed models.
Pump Type:
Single-Stage: Compresses air in one step. Good for lighter-duty tasks.
Two-Stage: Compresses air twice, resulting in higher pressure and more consistent airflow. Essential for heavier-duty tools like framing nailers, die grinders, or sanders. A 240V, 22-gallon compressor is often a two-stage model.
Portability: While 22 gallons is a good size, some models are designed to be more mobile than others. Look for sturdy wheels, comfortable handles, and a balanced design if you plan to move it around your workspace.
Noise Level: Compressors can be loud! If noise is a concern, look for models that are advertised as “quiet” or “low noise.” Oil-lubricated, cast-iron pump units are often quieter than their oil-free counterparts.
Durability and Build Quality: Cast iron cylinders are generally more durable than aluminum. Check reviews for manufacturers known for reliable construction.
Drain Valve: An easy-to-access drain valve at the bottom of the tank is crucial for releasing condensation. This prevents rust and prolongs the life of your tank. Ball valves are often preferred over petcock-style drains for ease of use.
Safety Features: Look for thermal overload protection on the motor and a relief valve to prevent over-pressurization.
Top Contenders: Comparing Popular 240V 22 Gallon Air Compressors

While “best” is subjective and depends on your specific needs and budget, here are some types of 240V 22-gallon air compressors that consistently receive high marks from users for their performance and reliability. It’s always a good idea to check recent reviews and pricing from reputable retailers.
| Brand/Model Type | Pump Type | Oil Type | Typical CFM @ 90 PSI | Key Strengths | Potential Considerations |
| DeWalt (Various Models) | Often 2-Stage | Often Oil-Lubed | 5.0+ | Durable construction, good reputation, strong performance for demanding tools. | Can be on the pricier side. |
| Porter-Cable (C2002-Equivalent 240V) | Often 2-Stage | Often Oil-Lubed | 5.0+ | Excellent value, robust build, reliable for consistent use. | May require a higher amperage 240V circuit. |
| Campbell Hausfeld (Various Models) | Varies | Varies | 4.5 – 6.0 | Wide range of options, often competitively priced, good for general use. | Some models might be louder; check pump material. |
| Husky (Home Depot Brand) | Varies | Varies | 4.5 – 6.0 | Accessible pricing, decent performance for home use, readily available. | Durability can vary by specific model; check reviews. |
| California Air Tools (CAT) | Often 2-Stage (some models) | Often Oil-Free | 5.0+ | Known for quieter operation (especially oil-free models), fast fill times. | Some larger models may still be moderately loud. |
Note: CFM ratings can vary significantly between specific models within a brand. Always verify the exact CFM at 90 PSI for the model you are considering.
Setting Up Your 240V 22 Gallon Air Compressor: A Beginner’s Guide

Getting your new air compressor ready to go is straightforward, but there are a few crucial steps to ensure safety and proper function.
What You’ll Need:
Your 240V 22-gallon air compressor
Owner’s Manual (very important!)
Appropriate 240V outlet and circuit
A good quality air hose (check the pressure rating)
Air tool fittings/couplers
Compressed air oil (if it’s an oil-lubricated model)
A level, stable surface to place the compressor on
Safety glasses and hearing protection
Step-by-Step Setup:
1. Read the Manual: Seriously, this is step one. Every compressor is slightly different. Your manual will have specific instructions, safety warnings, and troubleshooting tips.
2. Choose the Location: Find a well-ventilated spot for your compressor. It shouldn’t be placed in an enclosed space where heat can build up. Ensure the floor is level and can support the weight of a full tank. A concrete floor is ideal. Position it so the intake of the compressor is not drawing in dust or debris.
3. Check for Oil (If Applicable): If your compressor is oil-lubricated, open the oil fill cap and check the oil level. It should be at the indicated mark on the dipstick or sight glass. Add the specific type and amount of oil recommended in your manual if it’s low. Never run an oil-lubed compressor without oil!
4. Connect the Power: This is where the 240V comes in. You will need a 240V outlet. These are often different from standard household outlets and may require a dedicated circuit installed by an electrician if you don’t already have one. Safety First: Ensure the compressor is unplugged until you are ready to run it for the first time. Confirm that your circuit breaker is properly rated for the compressor’s electrical draw. A resource on 240V circuits can be helpful here, but always consult a qualified electrician if you’re unsure.
5. Attach Air Hose and Fittings: Connect your air hose to the compressor’s outlet port using the appropriate fittings. Make sure the connection is secure. Attach the quick-connect coupler to the other end of the hose, ready for your air tools.
6. Initial Startup and Leak Check:
Ensure the tank drain valve is closed.
Plug in the compressor.
Turn on the power switch.
Listen for any unusual noises.
Let the tank fill until the pressure switch turns the motor off automatically (it will likely cut out around its maximum PSI).
Once the motor has stopped, check all connections (hose, fittings, drain valve) for leaks by spraying a soapy water solution on them. Bubbles indicate a leak. Tighten connections as needed before proceeding.
7. Test the Regulator: Once the compressor has filled and shut off, locate the pressure regulator. Turn the knob counter-clockwise to reduce the pressure to zero. Connect a tool (like a blow gun) and slowly turn the regulator knob clockwise to set your desired working pressure. Test that the pressure on the gauge reflects what you’ve set.
Using Your 240V 22 Gallon Air Compressor Safely and Effectively
Now that your compressor is set up, let’s talk about how to use it without any headaches.
Essential Safety Practices:
Always Wear Eye Protection: Compressed air can propel debris at high speeds. Safety glasses are non-negotiable.
Use Hearing Protection: Air compressors, especially older or oil-free models, can be very loud. Protect your hearing with earplugs or earmuffs, particularly during extended use.
Never Stand on or Near the Compressor When It’s Operating: Maintain a safe distance and be aware of moving parts.
Do Not Aim Air at People or Animals: The force of compressed air can cause serious injury.
Inspect Hoses and Fittings Regularly: Look for cracks, wear, or damage. Replace any damaged components immediately.
Understand Your Tools’ Needs: Always match the compressor’s output (CFM and PSI) to the requirements of your air tools. Over-driving a tool or under-supplying it can lead to poor performance or damage. You can find more on matching tools in guides like this.
Never Exceed Maximum Pressure Ratings: Both for the compressor and your air tools.
Maintaining Peak Performance:
1. Drain the Tank Regularly: This is the MOST IMPORTANT maintenance step. After each use, or at least daily, open the drain valve at the bottom of the tank to release accumulated moisture. Water in the tank can lead to rust and corrosion. A ball valve drain is much easier to use than a petcock.
2. Check Oil Level (Oil-Lubed Models): For oil-lubricated compressors, check the oil level before each use and top it off or change it according to your manual’s schedule. Use the recommended type of oil.
3. Clean Air Filters: The air intake filter prevents dust and debris from entering the compressor. Check and clean or replace it regularly, especially if you operate in a dusty environment. A clogged filter reduces performance and strains the motor.
4. Inspect the Belt (Belt-Driven Models): If your compressor has a belt-driven pump, periodically check the belt for wear and proper tension. Loose or frayed belts can lead to reduced performance or break.
5. Keep it Clean: Wipe down your compressor periodically to remove dust and dirt. This helps with cooling and makes it easier to spot any developing issues.
Common Uses for Your 240V 22 Gallon Workhorse

With its robust power and ample air reserve, your 240V 22-gallon air compressor can handle a surprising range of tasks around your home and workshop.
Automotive Maintenance:
Inflating tires (cars, trucks, bicycles)
Using impact wrenches for lug nuts and other fast work
Operating air ratchets for tighter spaces
Running air impact chisels for rust removal or minor demolition
Cleaning with a blow gun
Woodworking:
Powering nail guns (framing, finishing, bradnailers) for quick assembly
Running sanders (orbital, belt) for smooth finishes
Operating routers or die grinders for shaping and detailing
Dust collection systems (check CFM requirements)
Painting and Finishing:
Using HVLP (High Volume, Low Pressure) spray guns for furniture or projects
Applying primers and sealers
Cleaning surfaces before painting
General Home & DIY:
Powering staple guns for upholstery or DIY projects
Inflating sporting equipment like basketballs or pool toys
Running small air tools for various repairs and installations
The key is ensuring your tool’s CFM requirement at its operating PSI does not exceed what your compress
