
Best 240V 27 Gallon Air Compressor: Stunning Power for Your Projects! Find the perfect, powerful 240V 27-gallon air compressor to tackle demanding DIY tasks. This guide simplifies choosing the right one, so you can power up your workshop with confidence. Get ready for serious tool performance!
Tired of air tools that sputter and lose power halfway through a job? Many DIYers face this frustration, wishing for the kind of robust, consistent air supply that professional workshops enjoy. Having the right air compressor can transform your DIY experience, making tasks like painting, sanding, and using impact wrenches feel effortless. Choosing a 240V 27-gallon air compressor is a fantastic step towards unlocking that professional-level power for your home projects. Don’t let confusing specs hold you back! This guide will walk you through everything you need to know, making it simple to find the perfect, powerful compressor for your needs.
Why a 240V 27 Gallon Air Compressor is Your Powerhouse Choice

When you’re looking for serious muscle in your workshop, a 240V 27-gallon air compressor hits a sweet spot. Let’s break down why this combination is so effective for serious DIYers and home mechanics.
Understanding the “240V” Advantage
Most standard household outlets provide 120V of power. While fine for smaller appliances and most portable tool outlets, 120V compressors simply can’t deliver the sustained high output needed for larger tools or continuous operation. A 240V connection, similar to what an electric dryer or oven uses, provides double the voltage. This means your compressor motor can draw more power efficiently, leading to:
- Higher Airflow (CFM): More power translates directly to the ability to compress more air per minute.
- Faster Tank Refills: The compressor can replenish its air supply more quickly, keeping your tools running without long downtimes.
- Sustained Pressure: Essential for tools that require a consistent, high volume of air, preventing dips that can halt your work.
This increased power is crucial for running demanding tools like large spray guns, sanders, grinders, and professional-grade impact wrenches when you need them most.
The “27 Gallon” Sweet Spot
The tank size is where the compressor stores compressed air. A 27-gallon tank offers a significant advantage for DIY applications:
- Buffer for Demanding Tools: A larger tank acts as a reservoir, smoothing out the air delivery. This means tools that use air rapidly won’t immediately drain the tank, giving you valuable time before the motor needs to kick in and refill.
- Reduced Motor Cycling: Because there’s more air to draw from, the compressor’s motor won’t have to run as frequently. This not only reduces wear and tear on the motor but also makes the compressor quieter and more energy-efficient during use.
- Balanced Performance and Footprint: While larger tanks exist (e.g., 60+ gallons), a 27-gallon model often provides a great balance. It’s sizable enough for robust tasks without taking up excessive space in a typical home garage or workshop.
Think of it as a fuel tank for your air tools. A larger tank means you can drive further (or in this case, work longer) before needing to refuel (recharge the tank).
Combining Power and Capacity
When you pair the 240V power supply with a 27-gallon tank, you create a compressor capable of meeting the demands of a wide array of workshop tools. Whether you’re finishing a furniture project with a spray gun, stripping paint with a sander, or performing automotive maintenance with an impact wrench, this setup provides the reliable airflow needed for professional-quality results. It’s an investment that significantly boosts your workshop’s capabilities.
Key Features to Look For in the Best 240V 27 Gallon Air Compressor

Shopping for an appliance with “stunning power” can sound intimidating, but focusing on a few key specs will guide you to the right choice. Here’s what matters most:
Horsepower (HP) and Amps
While often advertised prominently, horsepower (HP) on air compressors can be a bit misleading. It’s often “peak” or “running” HP. For a 240V compressor, look for a higher running HP (typically 2 HP or more) for consistent power. Amperage (amps) is also important, indicating how much electrical current the motor draws. A higher amp rating, when combined with a 240V circuit, signifies more power available to the motor.
CFM (Cubic Feet per Minute) Rating
This is arguably the most critical specification. CFM tells you the volume of air the compressor can deliver at a certain pressure. You’ll see ratings like “CFM @ 90 PSI.” To ensure your tools run smoothly, you need a compressor that delivers more CFM than your most air-hungry tool requires at its operating pressure. For a 27-gallon 240V unit, aim for a CFM rating of at least 5.0 or higher at 90 PSI. Check your tool’s manual for its specific CFM requirement.
PSI (Pounds per Square Inch)
PSI measures the air pressure. Most compressors offer a maximum PSI of 125-175 PSI. For most DIY applications, a maximum of 90-110 PSI is adequate. The compressor’s regulator allows you to dial in the precise pressure needed for each tool, so a higher maximum PSI offers more flexibility.
Pump Type: Oil-Lubricated vs. Oil-Free
- Oil-Lubricated Pumps: Generally more durable, run cooler, and last longer. They are often quieter and better suited for continuous use. However, they require regular oil checks and changes.
- Oil-Free Pumps: Require less maintenance (no oil to check!). They are typically lighter and more portable. However, they can be louder, run hotter, and may have a shorter lifespan under heavy use compared to their oil-lubricated counterparts.
For a 27-gallon 240V compressor, which is meant for more demanding tasks, an oil-lubricated pump is often preferred for longevity and performance.
Duty Cycle
This is the percentage of time the compressor motor can run within a given period (usually 10 minutes) without overheating. A higher duty cycle (e.g., 75% or 100%) is better for tasks that require continuous airflow. A 240V 27-gallon compressor designed for your needs should ideally have a high duty cycle, often indicated by its sturdy construction and cooling mechanisms.
Noise Level (Decibels – dB)
Compressors can be loud! If you’re working in a residential area or a shared garage, pay attention to the decibel (dB) rating. Lower numbers mean a quieter operation. Some models have acoustic enclosures or specific motor designs to reduce noise.
Portability and Design
While a 27-gallon tank isn’t as portable as a small pancake compressor, consider wheels and handles. Many horizontal 27-gallon tanks are designed with sturdy wheels for easier movement around your garage or driveway.
Top 240V 27 Gallon Air Compressor Recommendations & Features

Choosing the “best” model depends on your specific needs and budget, but here are some popular and highly-regarded types and features you’ll often find in this category:
General Features of High-Performing 240V 27 Gallon Compressors
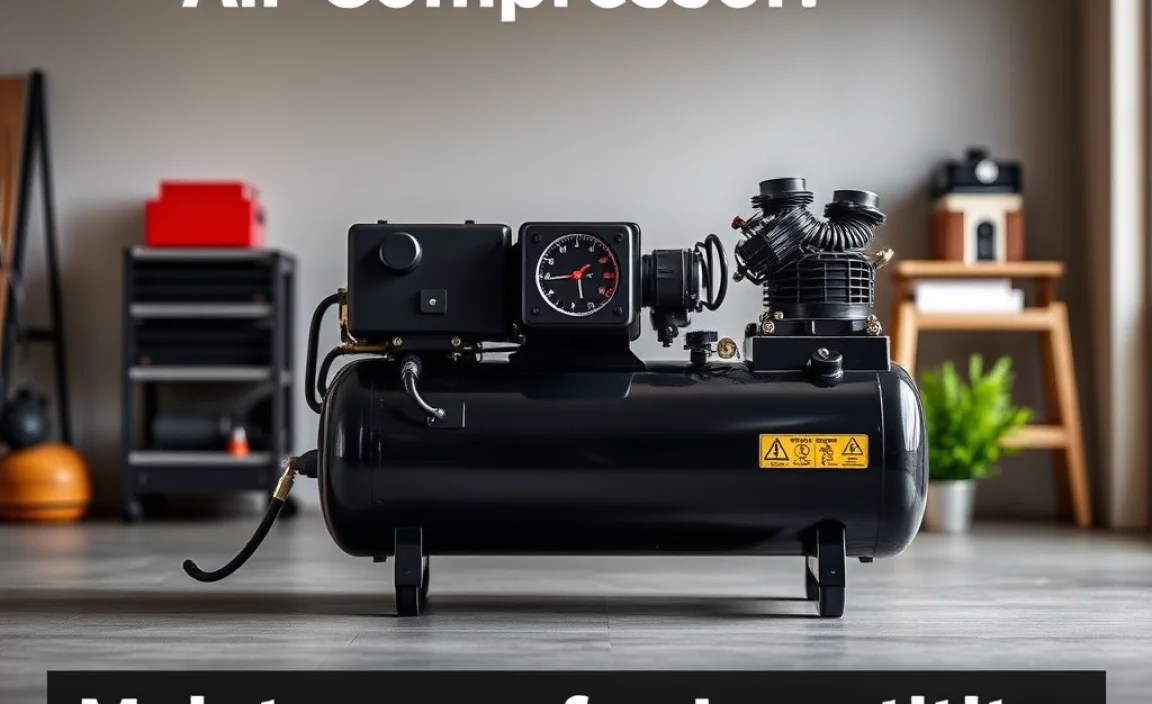
These compressors are built for durability and consistent power delivery. Expect features like:
- Cast Iron Cylinders: Known for their durability and heat dissipation, contributing to a longer pump life.
- Large Flywheels: These help keep the pump cool by moving more air over the motor and help maintain a steady RPM.
- Thermal Overload Protection: A vital safety feature that shuts off the motor if it overheats, preventing damage.
- Pressure Relief Valve: A safety mechanism to release excess pressure from the tank.
- Built-in Regulator: Allows you to easily adjust the output air pressure to suit your tools.
- Water Strainer/Drain Valve: Essential for draining moisture that accumulates in the tank. Regular draining prevents rust and corrosion.
Example Models (Illustrative)
While specific models change, here’s the type of compressor you’ll find in the best 240V 27-gallon category. Brands like Ingersoll Rand, Quincy, California Air Tools, and DEWALT often have models fitting these descriptions:
| Feature | Typical Description for a High-Performance 240V 27 Gal Compressor |
|---|---|
| Power Source | 240V, requires dedicated circuit |
| Tank Size | 27 Gallons |
| Running Horsepower | 2.0 HP or Higher |
| CFM @ 90 PSI | 5.0 CFM to 7.0+ CFM |
| Max PSI | 150-175 PSI |
| Pump Type | Often Oil-Lubricated (for durability) |
| Duty Cycle | 75% to 100% (for continuous use) |
| Noise Level | Varies, aim for under 85 dB if possible, though many are louder. |
| Key Features | Cast iron pump, thermal overload, easy drain valve, gauge and regulator. |
What Can You Power?
With a 240V 27-gallon compressor, you unlock the potential for many larger tools:
- Impact Wrenches: Tackle lug nuts, suspension components, and more with ease.
- Air Sanders/Orbital Sanders: For smooth finishes on furniture, auto body work, or larger DIY projects.
- Paint Sprayers (HVLP & Conventional): Achieve professional finishes when painting cars, furniture, or walls.
- Die Grinders: For metal fabrication, grinding, and polishing.
- Air Ratchets: Quick and efficient for fastening in tight spaces.
- Nail Guns and Staplers: Even higher volume framing nailers can be powered effectively.
This capacity makes it an excellent choice for automotive repair, woodworking, metal fabrication, and any serious home improvement project.
Installation and Setup: Getting Your Compressor Ready
Setting up a 240V air compressor involves a bit more than plugging it in. Safety and correct installation are paramount. If you’re not comfortable with electrical work, it’s best to hire a qualified electrician.
Electrical Requirements
This is the most critical step. A 240V compressor needs a dedicated 240V circuit. This typically requires:
- A Double-Pole Breaker: A standard 120V breaker is a single pole; 240V applications use a double-pole breaker installed in your electrical panel. The amperage of this breaker (e.g., 20A, 30A) will be specified by the compressor manufacturer.
- Appropriate Wiring: You’ll need wiring rated for 240V and the required amperage running from the panel to where the compressor will be located.
- 240V Outlet/Receptacle: A specific 240V outlet (matching the plug on your compressor’s cord) will need to be installed. These look different from standard 120V outlets.
Important: Refer to your local electrical codes and the compressor’s manual. Incorrect electrical installation can be dangerous and damage the compressor. For more information on electrical basics, resources like Energy.gov’s Home Energy Saving Tips can provide general context on household electrical usage and safety, though they won’t detail specific compressor wiring.
Choosing the Right Location
Consider these factors when deciding where to place your compressor:
- Ventilation: Compressors generate heat. Ensure the area has good airflow to prevent overheating. Avoid enclosed cabinets unless specifically designed for it.
- Proximity to Power: Ideally, place it near the 240V outlet.
- Drainage: You’ll need to drain moisture regularly. Place it where you can easily access the drain valve and direct the expelled water.
- Noise: If noise is a concern, consider placing it in a separate workshop or enclosed space away from living areas.
- Surface: Place it on a level, stable surface. Some compressors have anti-vibration pads.
Assembly and Initial Run
- Unboxing: Carefully unpack the compressor and inspect for any shipping damage.
- Attaching Accessories: Some compressors come with wheels, air filters, or exhaust shrouds that need to be attached according to the manual.
- Checking Oil (if applicable): If it’s an oil-lubricated model, ensure it’s filled to the correct level with the recommended type of oil before the first start-up.
- Connecting Air Hoses: Attach your primary air hose to the output port, typically via a quick-connect fitting, and connect your tool to the other end.
- First Startup:
- Ensure the tank is empty (open the drain valve slightly).
- Plug in the compressor.
- Turn on the power at the breaker.
- Start the compressor motor (usually a switch).
- Monitor for Leaks: Listen for any hissing sounds that might indicate air leaks in fittings or hoses.
- Shutting Down: Once the tank is full, the compressor should shut off automatically. Close the drain valve. To shut it down manually, switch off the motor, then release pressure slowly by opening the drain valve or a connected tool.
Maintenance for Longevity and Peak Performance
Even the best 240V 27-gallon air compressor needs a little care to keep performing at its best. Consistent maintenance ensures it lasts for years and keeps delivering that “stunning power.”
Essential Daily/Weekly Checks:
- Drain the Tank: This is the most critical step. Open the drain valve (usually at the bottom of the tank) to release accumulated moisture. Doing this after each use prevents rust and maintains tank integrity. You can let it drain into a bucket or onto a suitable surface.
- Check Oil Level (Oil-Lubricated Models): Like a car engine, the oil needs to be at the correct level for lubrication and cooling. Check the sight glass and add oil as needed, using only the type recommended by the manufacturer.
- Inspect Air Filters: Dirty air filters restrict airflow, making the compressor work harder. Clean or replace them according.
