
Quick Summary
Installing a bidet during construction is straightforward. This guide covers essential steps like planning, plumbing, electrical needs, and mounting, ensuring a clean, comfortable, and modern bathroom from the start. We’ll make bidet installation in construction easy for any DIYer.
Adding a bidet to a new home or during a major renovation is a fantastic idea! It’s much simpler to integrate one when the walls are open and the plumbing is being laid out. Many people think bidets are a luxury, but they’re becoming a common, eco-friendly, and hygienic choice for modern bathrooms. If you’re building a new home or undertaking a significant remodel, this is the perfect time to plan for bidet installation in construction. Don’t worry if you’re new to this; we’ll walk you through every step, making it clear and manageable. Throughout this guide, we’ll cover everything from the initial planning to the final touches, so you can enjoy a superior bathroom experience from day one.
Why Install a Bidet During Construction?
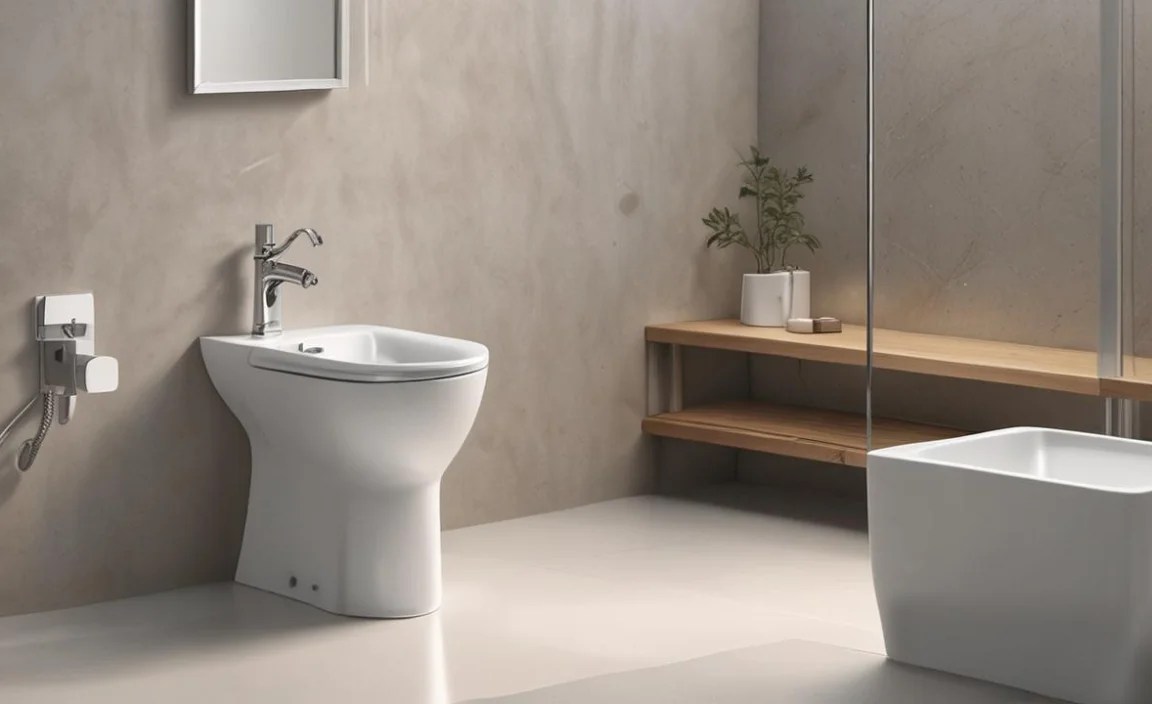
Integrating a bidet during the construction phase offers unparalleled advantages over retrofitting. When your home is being built or extensively renovated, you have direct access to all the necessary spaces for plumbing and electrical work. This means less hassle, minimal disruption, and a cleaner, more integrated look. You can hide all the pipes and wires seamlessly, avoiding the need for surface-mounted solutions later.
Consider these key benefits:
- Aesthetics: All the plumbing and electrical components can be hidden within the walls for a sleek, built-in look.
- Efficiency: It’s easier and often more cost-effective to run new plumbing lines and electrical outlets while construction is ongoing.
- Flexibility: You can choose the ideal bidet location and type without being constrained by existing structures.
- Future-Proofing: You’re adding a desirable and hygienic feature that adds value to your home.
Types of Bidets and Their Installation Needs
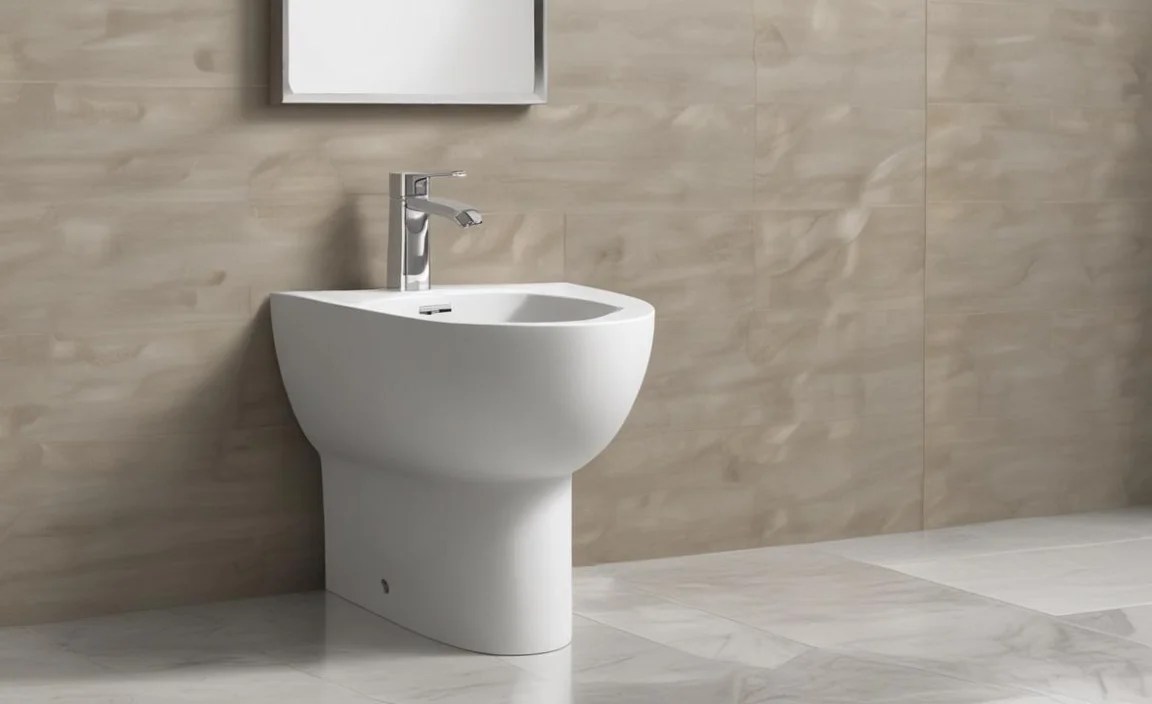
Not all bidets are made the same, and understanding the types will help you decide which one fits your construction plan and budget. The main difference in installation comes down to whether they need electricity.
Non-Electric Bidets (Bidet Seats & Attachments)
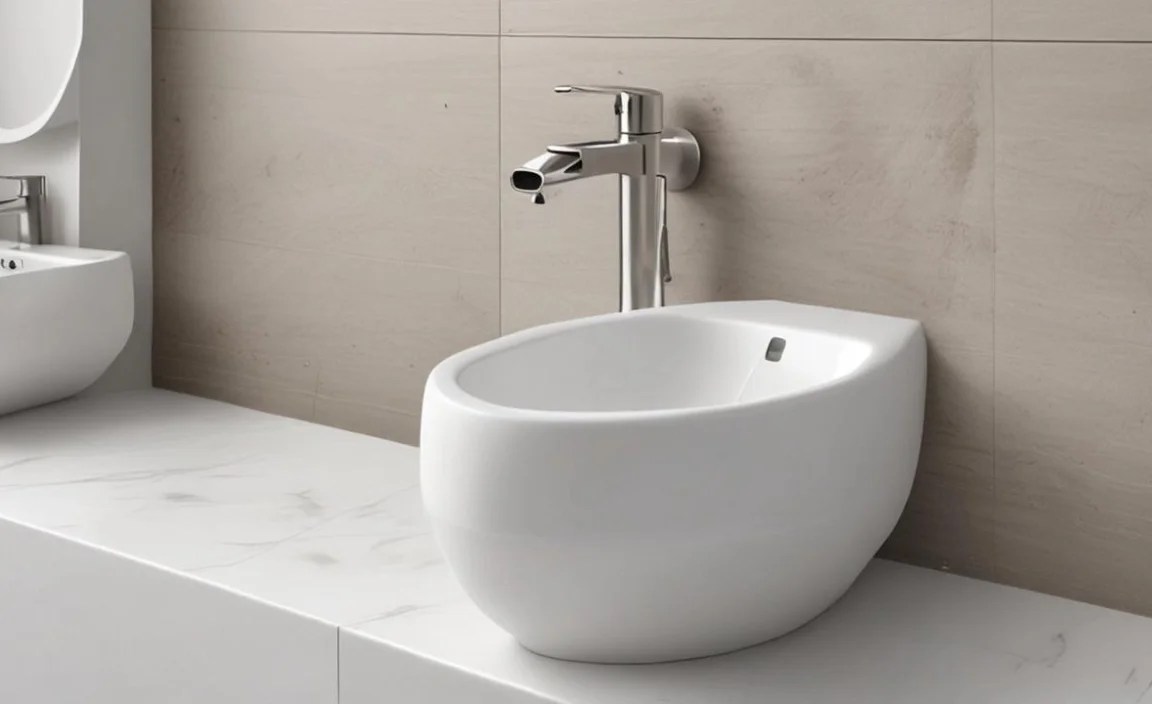
These are the simplest and most common types. They connect directly to your existing toilet’s water supply line.
- How they work: They use water pressure from your home’s supply to spray water.
- Installation: Require cold water connection. Some models can also tap into the hot water line, but this is less common during initial construction as it means running an extra pipe.
- Pros during construction: Very easy to install, no electrical work needed, minimal plumbing required (just a T-valve).
- Cons: Water temperature is typically cold unless you opt for a hot water hookup during construction.
Electric Bidets (Bidet Seats & Toilets)

These modern wonders offer a variety of features like heated seats, warm water washes, air dryers, and adjustable nozzles, all powered by electricity.
- How they work: They have internal heating elements for water and air and often motors for nozzle movement.
- Installation: Require both a water connection and a nearby GFCI (Ground Fault Circuit Interrupter) electrical outlet.
- Pros during construction: All wiring and plumbing can be concealed within walls for a clean finish. You can strategically place the outlet behind the toilet or along the wall to be hidden by the tank.
- Cons: Require electrical work, which adds to the construction scope and cost.
Standalone Bidets
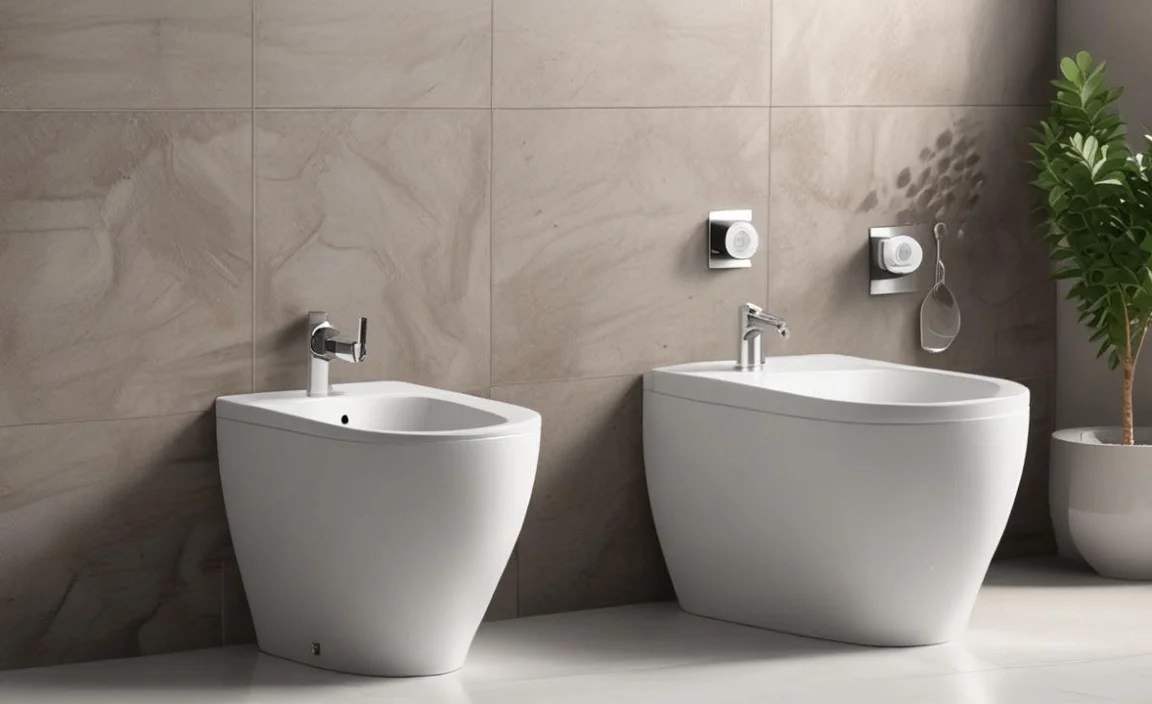
These installed separately from the toilet, resembling a small sink. They require their own dedicated water supply and drainage.
- How they work: Function like a small sink with a faucet.
- Installation: Need both hot and cold water supply lines and a P-trap for drainage, just like a standard sink.
- Pros during construction: Can be fully integrated into plumbing plans.
- Cons: Take up more space than toilet-integrated bidets, require more complex plumbing.
Planning Your Bidet Installation During Construction
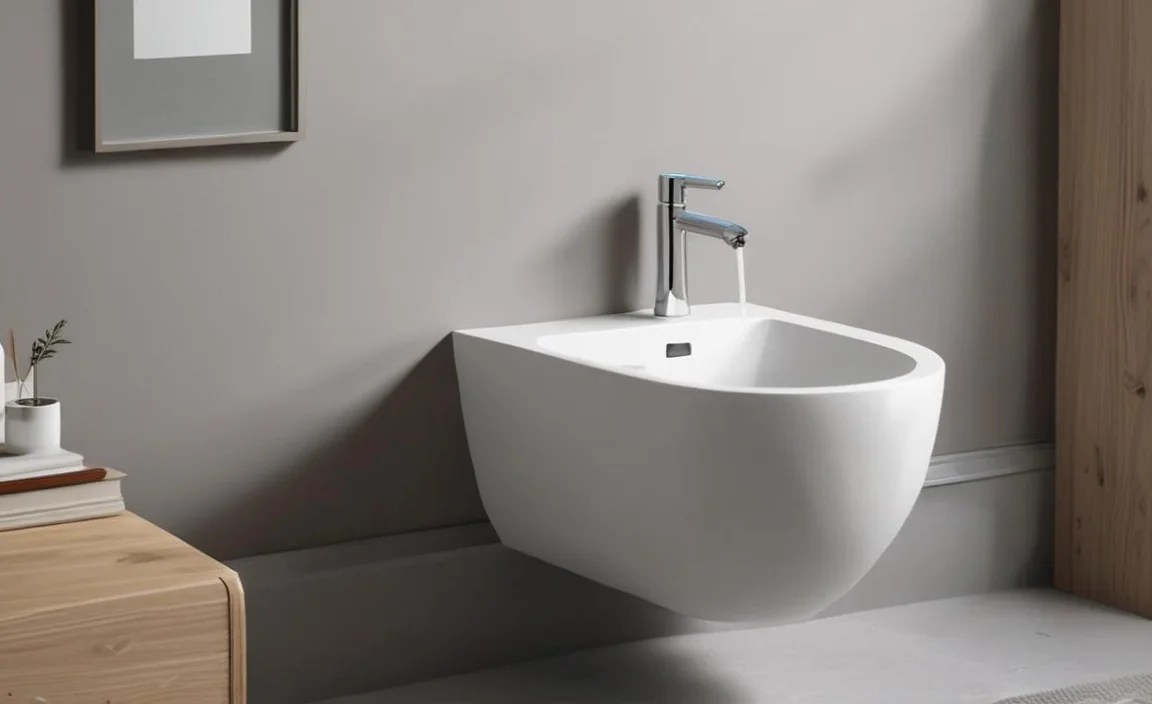
Smart planning is key when integrating a bidet into your new build or renovation. The earlier you make these decisions, the smoother the process will be.
1. Choose Your Bidet Type
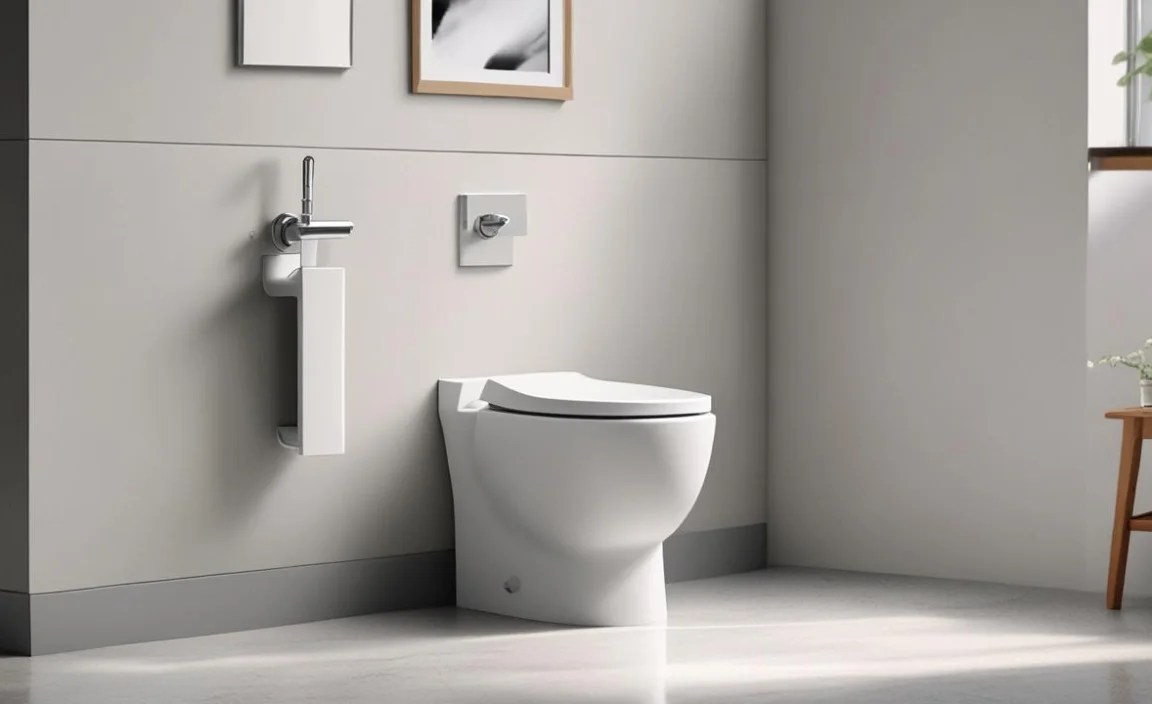
Based on your budget, desired features, and bathroom design, select the bidet type that best suits your needs. For most new constructions, electric bidet seats are a popular choice due to the ability to easily conceal wiring and enjoy warm water washes.
2. Determine the Location
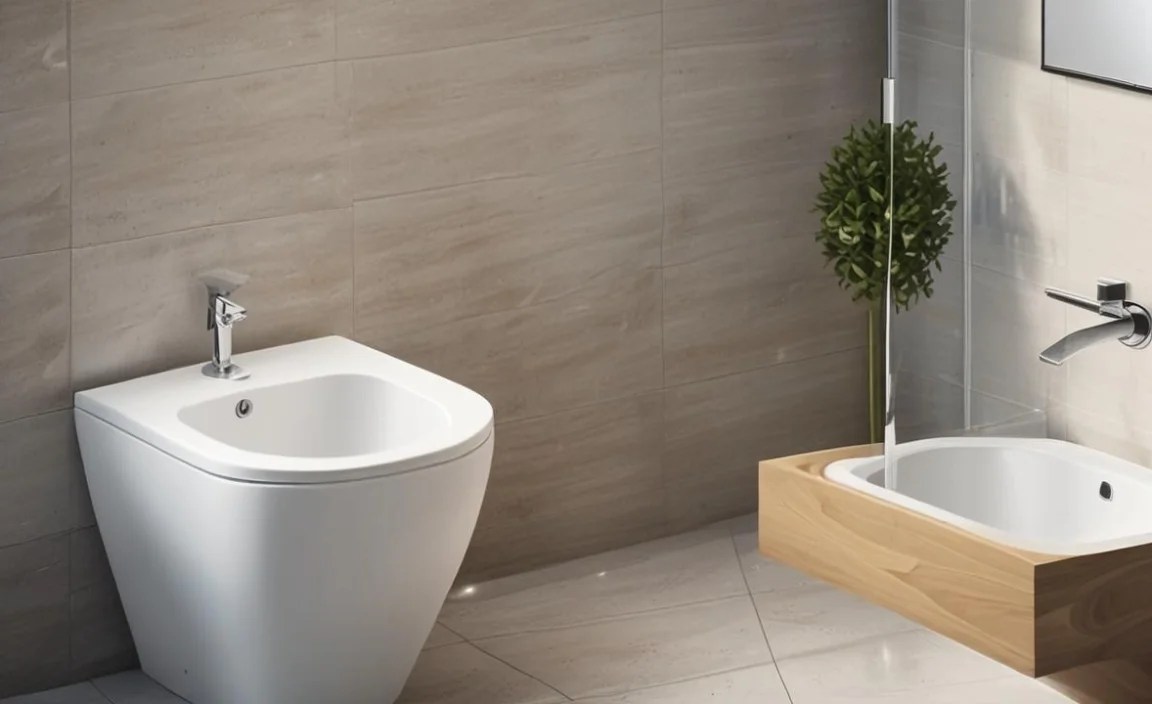
The ideal location is typically next to your toilet. Measure the space to ensure the bidet seat will fit comfortably without impeding the opening or closing of the toilet lid or tank.
3. Plumbing Considerations
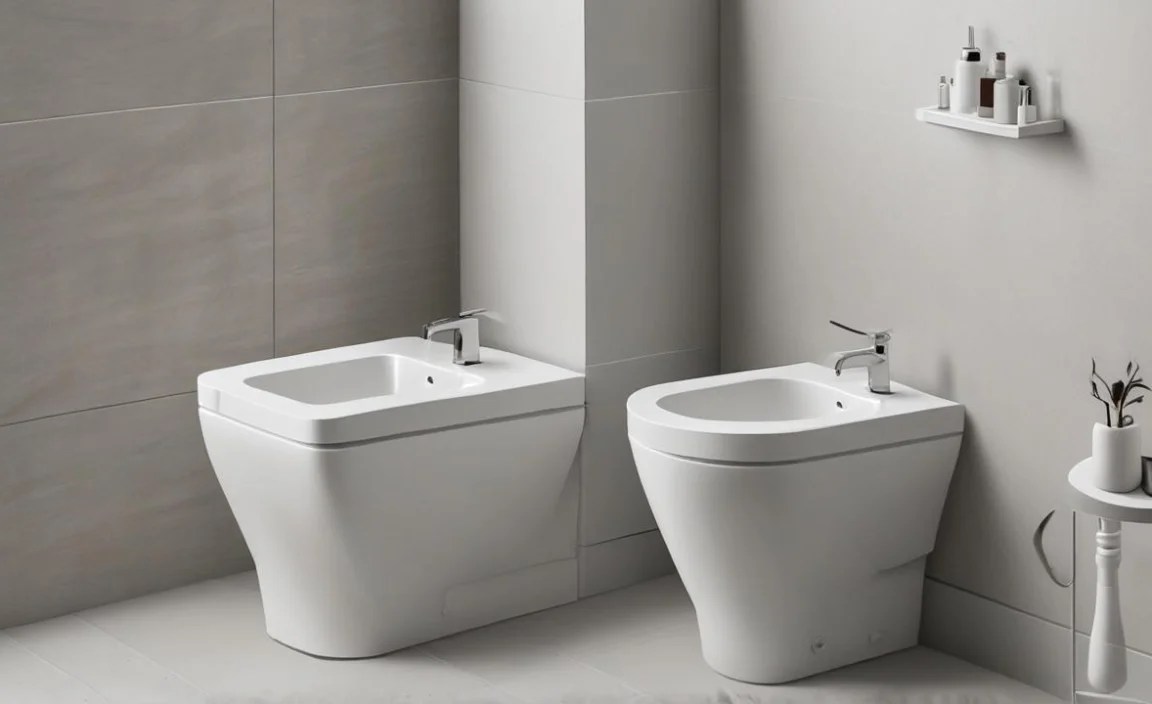
- Water Supply: You’ll need access to the toilet’s cold water supply line. For electric bidets requiring warm water, plan for a hot water line connection, usually from the nearby sink’s hot water supply. Ensure the shut-off valve is easily accessible.
- Spacing: Make sure there’s enough clearance around the toilet for the bidet seat’s hoses and any associated plumbing. A standard toilet rough-in is 12 inches from the finished wall to the center of the drain, but always check local building codes.
4. Electrical Needs (for Electric Bidets)
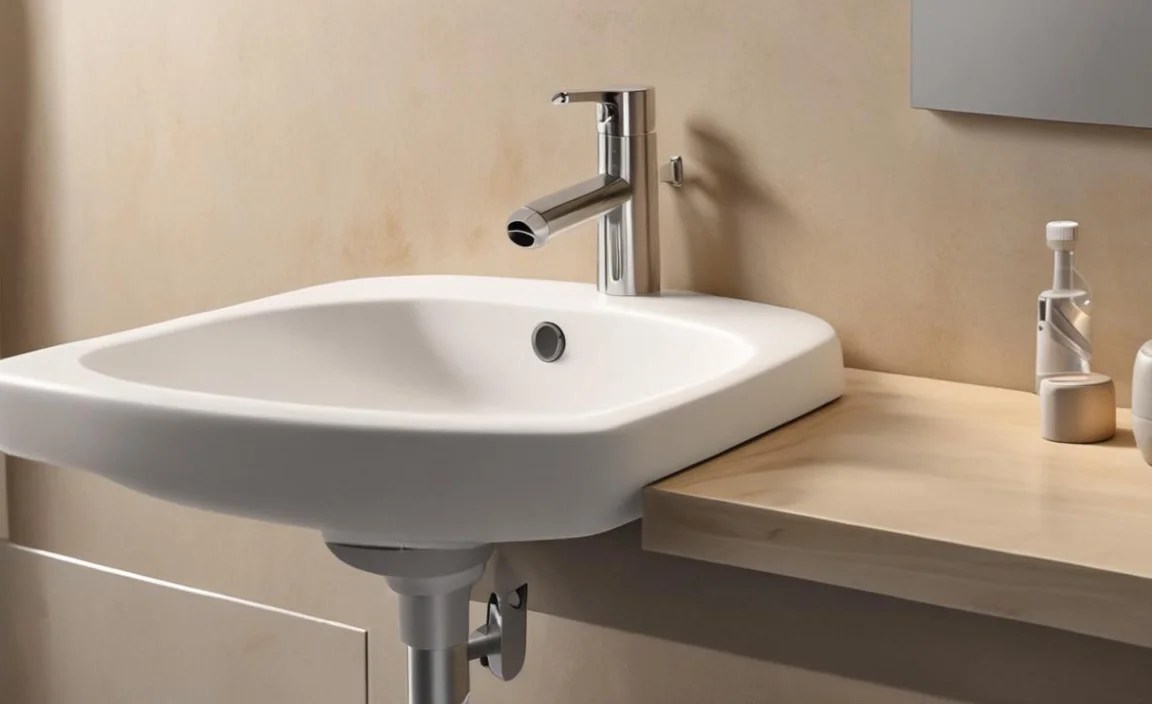
Electric bidets require a GFCI-protected outlet. Plan to have an electrician install an outlet behind the toilet, ideally positioned so the cord is hidden. The outlet should be within reach of the bidet’s power cord. The National Electrical Code (NEC) specifies requirements for bathroom outlets, so ensure your installation complies. You can find helpful guidance from resources like the National Fire Protection Association (NFPA) for electrical safety standards.
5. Drainage
Bidets that attach to the toilet generally use the toilet’s existing drainage system. Standalone bidets will require a separate drain connection, similar to a sink.
Tools and Materials You’ll Need
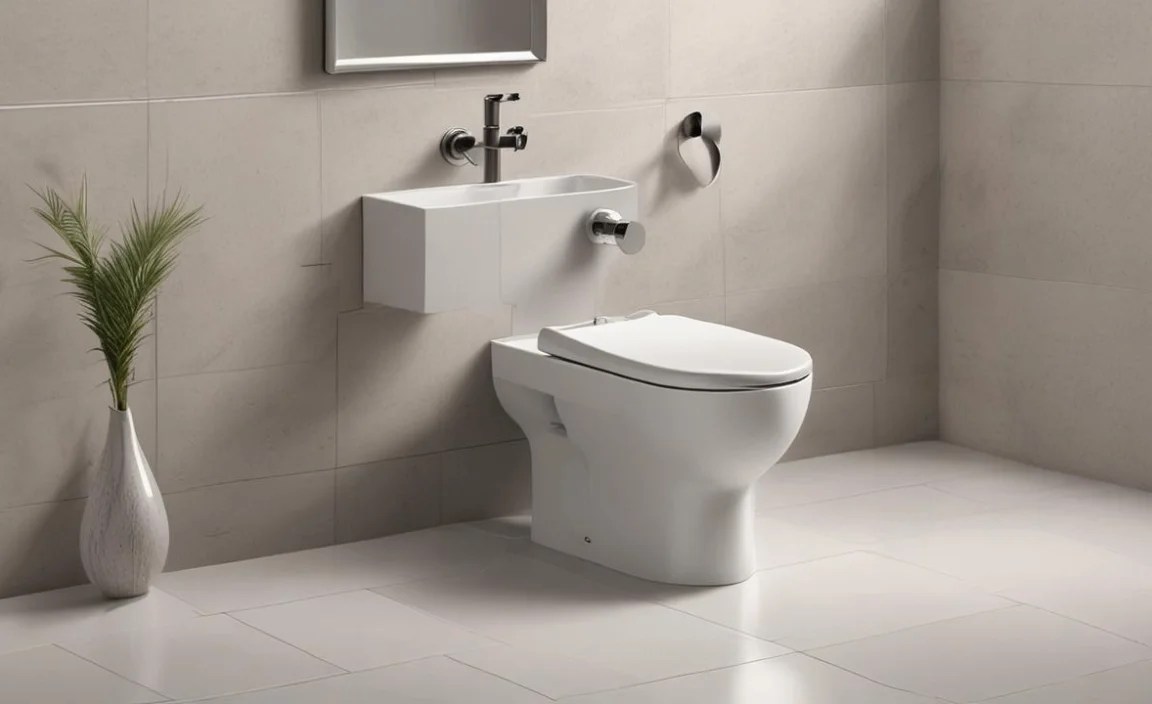
Gathering the right tools and materials before you start will save you time and frustration. While some aspects might be handled by your general contractor or plumber, knowing what’s involved is empowering.
Essential Tools:
- Adjustable wrench
- Pliers (channel-lock or slip-joint)
- Screwdriver set (Phillips and flathead)
- Thread seal tape (Teflon tape)
- Bucket (to catch any residual water)
- Towel or rags
- Safety glasses
- Work gloves
Required Materials (depending on bidet type):
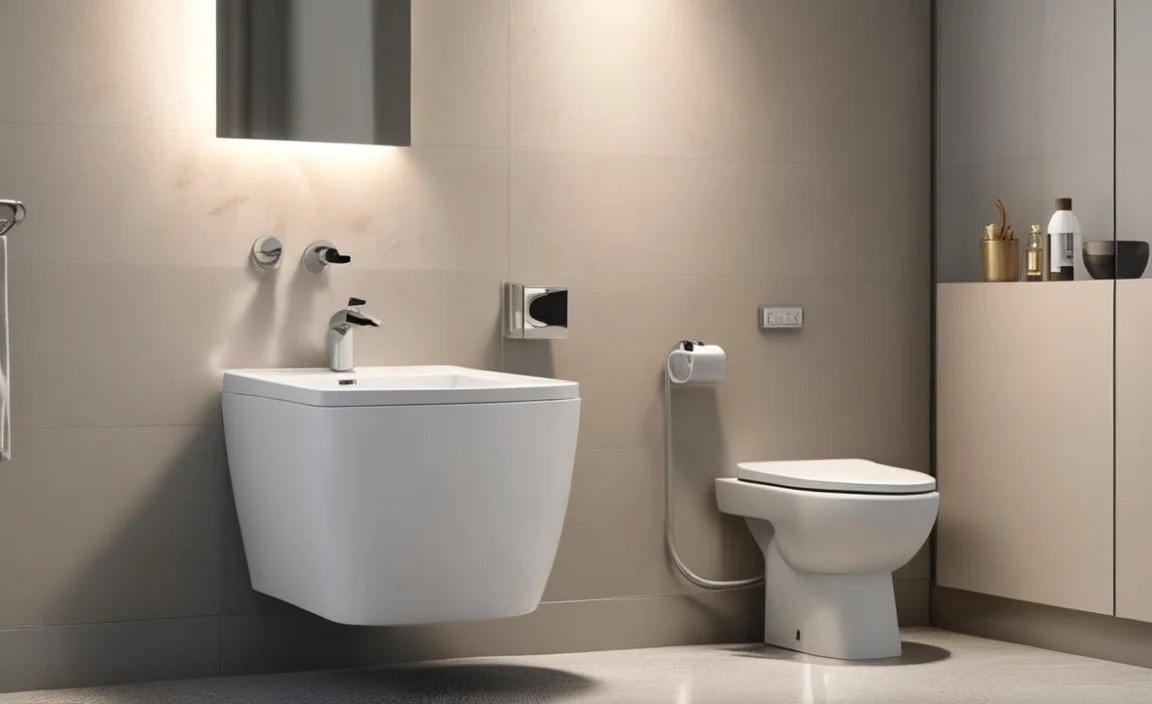
- Chosen bidet model (seat, attachment, or standalone)
- T-valve connector (usually included with non-electric bidets)
- Water supply hoses (braided stainless steel hoses are recommended for durability)
- GFCI electrical outlet and appropriate wiring (for electric bidets, to be installed by an electrician)
- Mounting hardware (usually included with the bidet)
Step-by-Step Bidet Installation Guide (During Construction)
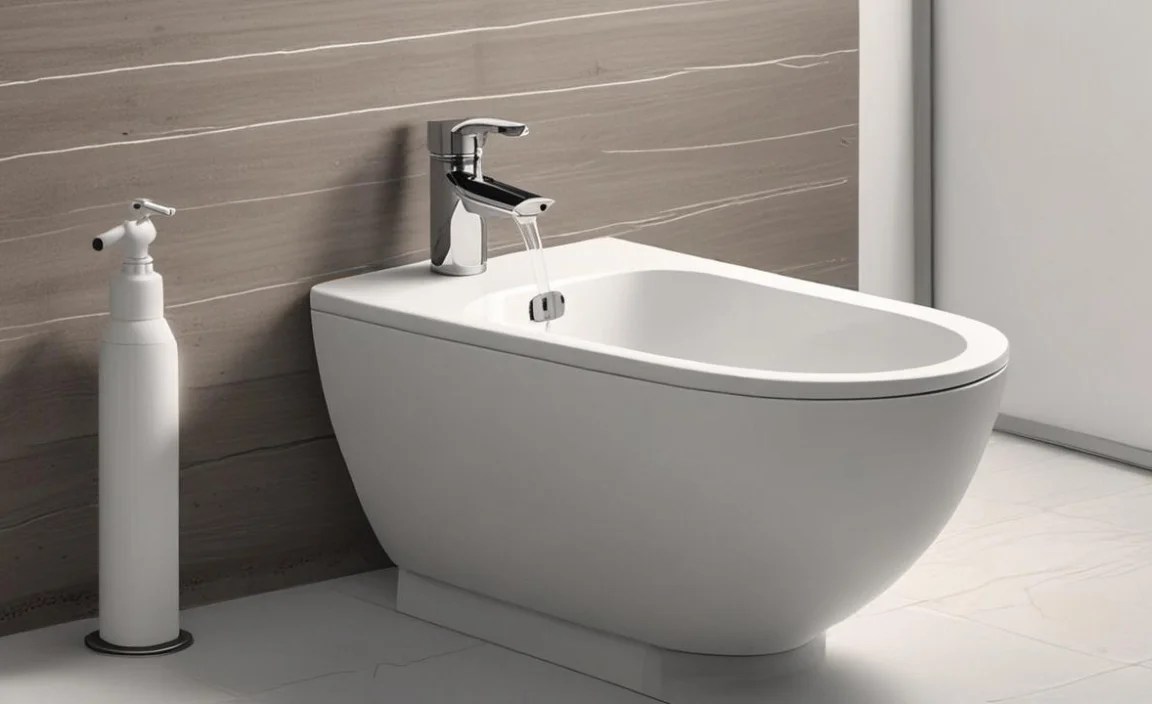
This guide focuses on installing a common electric bidet seat during new construction. Many steps will be similar for non-electric models, with the main difference being the electrical connection.
Step 1: Rough-in Plumbing and Electrical
This is where the magic happens during new construction. Before the drywall goes up, work with your plumber and electrician to:
- Plumbing: Ensure the toilet supply line connection point is accessible. If you’re planning for a hot water connection to an electric bidet, have a hot water line stubbed out near the toilet’s cold water connection point. This might involve a dedicated line from the water heater or a branch off the nearest sink’s hot water line.
- Electrical: Have your electrician install a GFCI outlet behind the toilet. Specify the desired height and placement so the cord can be easily hidden behind the tank. Ensure the circuit meets local code requirements for bathrooms.
Step 2: Install the Toilet Flange and Toilet

Once the rough plumbing is complete and the subfloor is in place, install the toilet flange according to manufacturer instructions and local building codes. This secures the toilet to the floor and connects it to the drainpipe. Then, set the toilet bowl over the flange, ensuring the wax ring or seal is properly seated, and secure it to the floor. Connect the toilet’s water supply line to the shut-off valve.
Tip: Always use new hardware and a new wax ring when installing a toilet.
Step 3: Mount the Bidet Seat
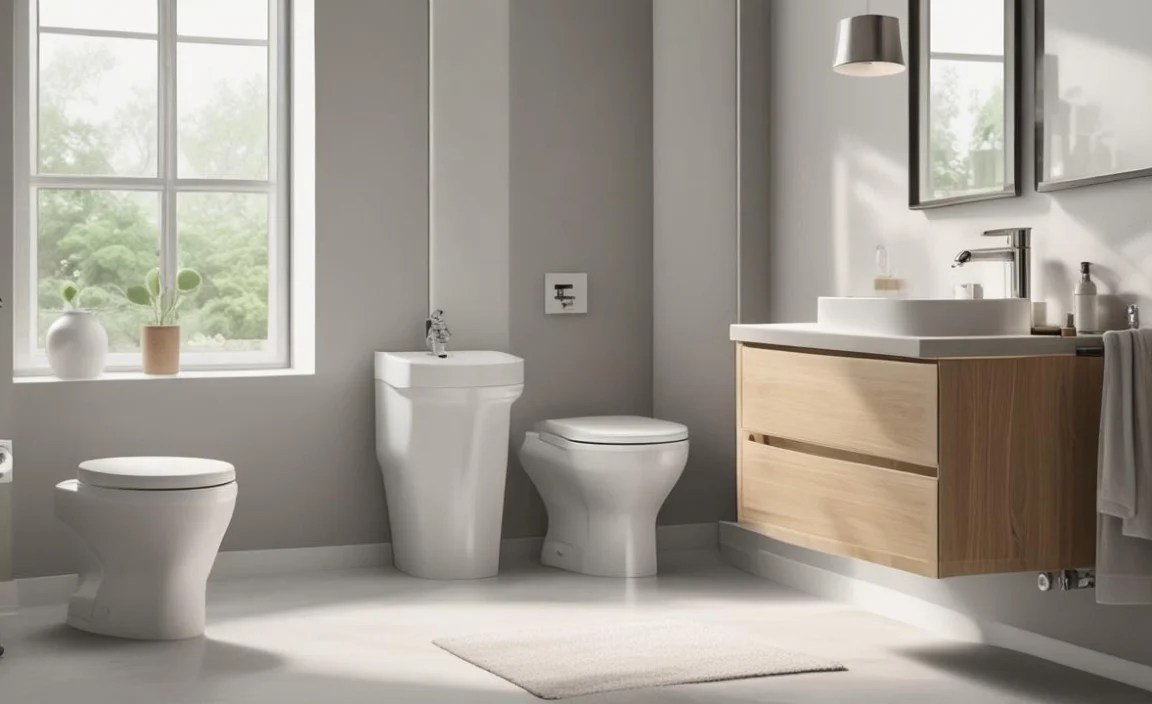
This step is similar to installing a standard toilet seat, but with a few bidet-specific actions.
Your bidet seat will come with mounting brackets and bolts. Remove the existing toilet seat:
- Locate the bolts at the back of the toilet seat hinges.
- Unscrew them carefully.
- Lift off the old seat.
- Clean the toilet rim thoroughly.
- Place the new mounting brackets for the bidet seat onto the bolt holes.
- Insert the new bolts through the brackets and the holes.
- Tighten them securely, ensuring the brackets are aligned straight and snug against the toilet porcelain.
Once the brackets are secure, slide the bidet seat onto the brackets until it clicks into place. Some seats can be adjusted forward or backward for optimal positioning before they lock.
Step 4: Connect the Water Supply
This is where the bidet really comes to life. Ensure the water supply shut-off valve is turned off before you begin.
For an electric bidet that uses only cold water (or if you’re not connecting hot water):
- Disconnect the hose from the toilet tank’s fill valve.
- Screw the provided T-valve connector onto the toilet’s fill valve.
- Connect the toilet’s supply hose to the bottom outlet of the T-valve.
- Connect the bidet’s supply hose to the side outlet of the T-valve.
For an electric bidet with a hot water connection:
- Follow the cold water connection steps above.
- Connect a separate hose from the hot water stub-out (installed during rough-in) to the hot water inlet on the bidet seat.
- Use thread seal tape on all threaded connections to ensure a watertight seal.
Important: Hand-tighten all connections first, then use a wrench for a quarter to half turn. Do not overtighten, as this can damage the fittings.
Step 5: Connect the Electrical Power
This is the step for electric bidets only. Ensure the GFCI outlet has been installed by a qualified electrician.
- Plug the bidet’s power cord into the GFCI outlet.
- Ensure the cord is routed neatly and discreetly behind the toilet tank.
Safety First: If you are not comfortable with any electrical work, always hire a licensed electrician. For new builds, this is a task best left to your construction team.
Step 6: Test for Leaks and Functionality

Once everything is connected, it’s time to test.
- Slowly turn the water supply shut-off valve back on.
- Carefully check all water connections for any drips or leaks. Tighten if necessary.
- If you connected electricity, plug the bidet in.
- Follow your bidet’s manual to test its functions: water spray, heated seat, dryer, etc.
- Inspect again for any water leaks after the system has been pressurized for a few minutes.
Note: Some bidet seats may have a small amount of water in them from manufacturing. This is normal and will flush out on the first use.
Bidet Installation: Non-Electric vs. Electric During Construction
To help you visualize the differences in planning during construction, here’s a comparison:
| Feature | Non-Electric Bidet Installation (During Construction) | Electric Bidet Installation (During Construction) |
|---|---|---|
| Plumbing Needs | Cold water hookup to toilet supply line. Optional hot water line stub-out. | Cold water hookup to toilet supply line. Required hot water line stub-out for warm water. |
| Electrical Needs | None. | Requires a GFCI-protected electrical outlet installed near the toilet. Power cord needs to be hidden. |
| Rough-in Complexity | Minimal; focuses on accessible water supply. | Requires coordination for both plumbing (hot water line) and electrical (outlet installation). |
| Installation Time (Post-Drywall) | Very quick (15-30 minutes). | Quick, but requires plugging into a pre-installed outlet. |
| Features | Basic wash function (cold water). | Warm water wash, heated seat, air dryer, adjustable nozzles, remote control, etc. |
| Cost Impact (during construction) | Minimal, primarily the cost of the bidet itself. | Higher, due to the cost of the electric bidet and the electrician’s labor for outlet installation. |
Tips for a Flawless Construction Bidet Installation
Here are a few extra tips to ensure your bidet installation goes smoothly during the construction phase:
- Communicate: Clearly communicate your bidet plans to your general contractor, plumber, and electrician well in advance. Provide them with the bidet’s specifications if possible.
- Accessibility: Ensure the water shut-off valve remains accessible after installation, even though it’s hidden behind the tank.
- Cord Management: Plan how the power cord for an electric bidet will be routed and hidden. Many modern homes have easily accessible spaces behind the walls or vanity for cords.
- Local Codes: Always adhere to local plumbing and electrical codes. This is crucial for safety and to pass inspections. The International Code Council (ICC) sets standards that many local municipalities adopt.
- Buy Quality Hoses: Invest in braided stainless steel supply hoses. They are far more durable and less prone to bursting than plastic hoses.
- Consider a Recessed Outlet Box: For an ultra-clean look, ask your electrician about installing a recessed outlet box specifically designed for behind-the-toilet installations. This can make the cord less visible.
Frequently Asked Questions (FAQ)
Q1: How much does it cost to install a bidet during new construction?
A1: For non-electric bidets, the cost is mainly the bidet itself, as installation is minimal. For electric bidets, you’ll have the cost of the bidet plus the electrician’s fee to install a GFCI outlet, typically ranging from $150-$300 for the outlet depending on your location and existing electrical setup.
Q2: Do I need special plumbing for a bidet?
A2: Generally, no. Most bidets (attachments and seats) connect to your existing toilet’s water supply. The main requirement is a standard toilet water line. Electric bidets may benefit from a dedicated hot water line stub-out during construction.
Q3: Can I install a bidet myself during construction?
A3: If your rough-in plumbing and electrical are complete, yes, you can install a non-electric bidet yourself. Electric bidets are also DIY-friendly for the water connections, but the electrical outlet installation should be done by a licensed electrician.
Q4: What is a GFCI outlet and why is it important for bidets?
A4: A GFCI (Ground Fault Circuit Interrupter) outlet is a safety device that quickly shuts off electricity when it detects an imbalance in the circuit, preventing electric shock. Bathrooms are considered “wet locations,” making GFCI outlets a mandatory safety requirement by electrical codes for all outlets.
Q5: What is the difference between a bidet attachment and a bidet seat?
A5: A bidet attachment is a slim device that fits between your existing toilet seat and the bowl. A bidet seat replaces your entire toilet seat and often offers more advanced features like built-in bidets. During construction, a seat is generally easier to integrate for
