
Caulk removal can often feel like a daunting and messy task, conjuring images of stubborn residue, torn caulk guns, and endless scraping. However, with the right techniques and a little preparation, getting rid of old, cracked, or mildewed caulk can be surprisingly easy and remarkably effortless. Whether you’re undertaking a bathroom renovation, updating your kitchen backsplash, or simply refreshing tired-looking seals, mastering the art of caulk removal will save you time, frustration, and lead to a much cleaner, more professional-looking finished product.
The first step in making caulk removal easy and effortless is understanding the enemy. Not all caulk is created equal. Silicone caulk is known for its flexibility and water resistance, making it a popular choice for kitchens and bathrooms. However, it’s also notoriously difficult to remove. Latex or acrylic caulk, conversely, is more forgiving, often peeling away more readily. Knowing what type of caulk you’re dealing with can help you choose the most effective removal method. A quick visual inspection might reveal a shiny, rubbery texture for silicone, while latex often appears more matte and paintable.
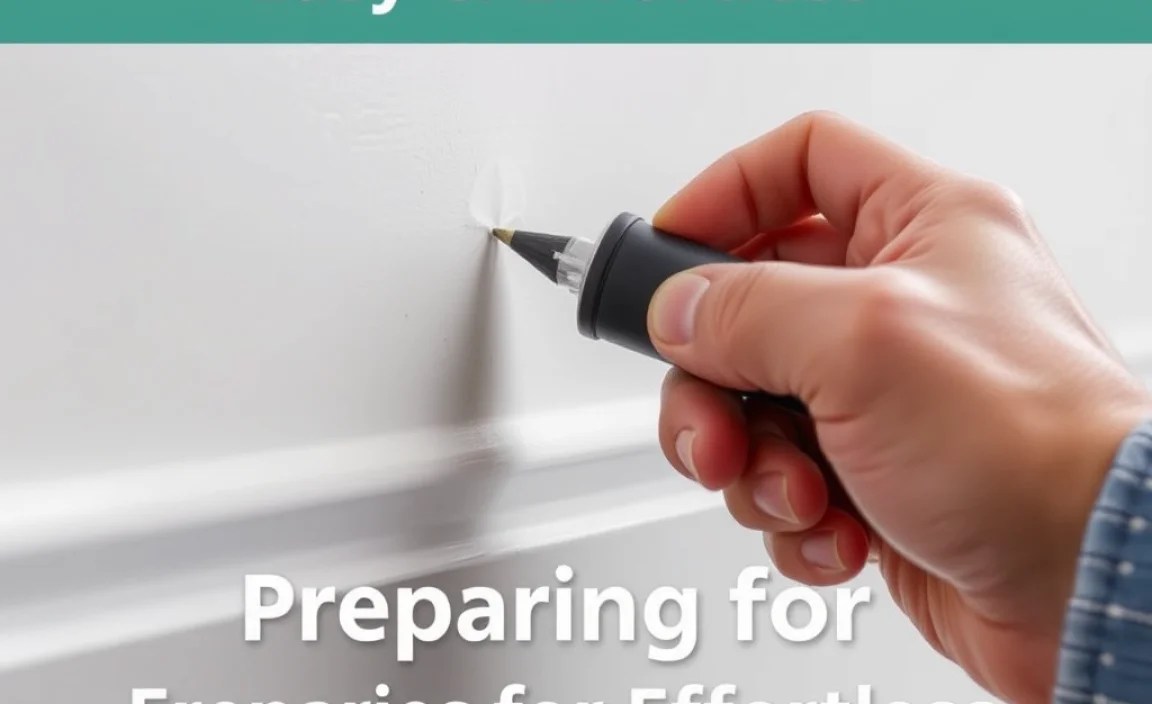
Preparing for Effortless Caulk Removal
Before you even think about reaching for a tool, proper preparation is key to an effortless caulk removal experience. Gather your supplies: a utility knife or a dedicated caulk removal tool, a scraper (putty knife or even an old credit card can work in a pinch), a spray bottle filled with warm, soapy water or a specialized caulk remover solution, paper towels or rags, and possibly a pair of gloves and safety glasses.
You’ll also want to protect the surrounding surfaces. Use painter’s tape to mask off the edges of tiles, countertops, or walls adjacent to the caulk line. This prevents accidental nicks or scratches and makes cleanup significantly easier. Clearing the area of any items that could hinder your work or get damaged is also a good practice.
Mastering Easy Caulk Removal Techniques
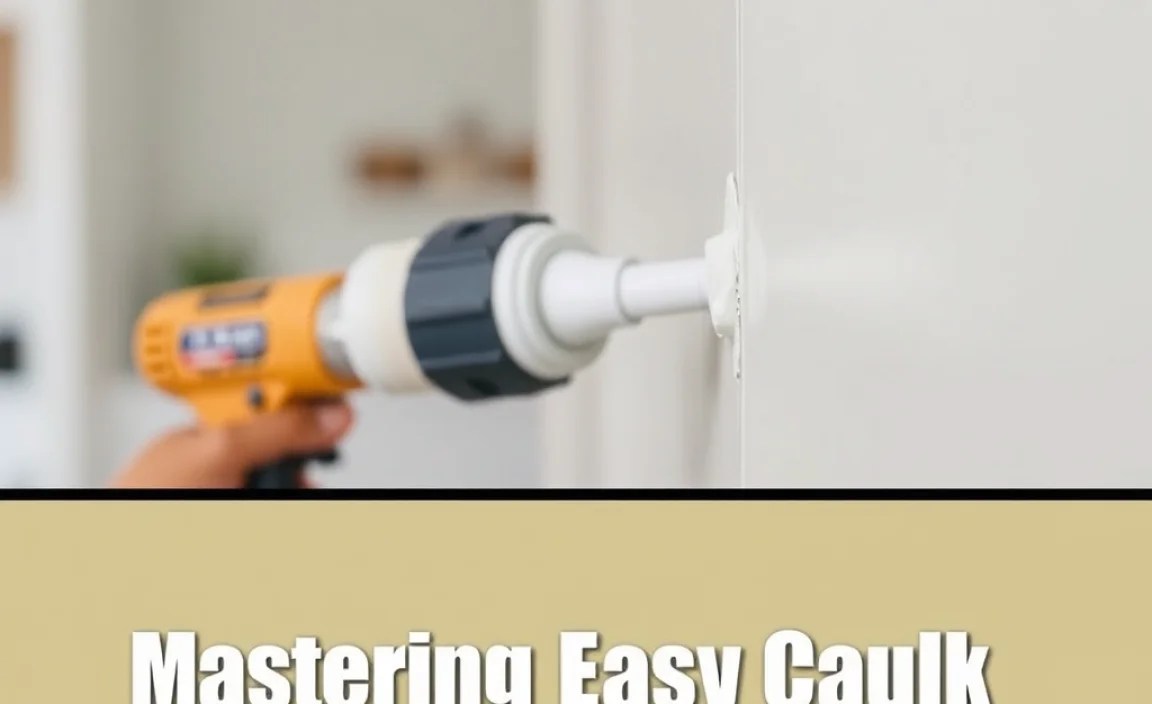
The most straightforward approach to easy caulk removal often begins with a sharp blade. Carefully insert the tip of your utility knife or caulk removal tool into the caulk bead at an angle. Gently run the blade along the length of the caulk, trying to get under it and lift it away. For silicone, you might find it helpful to make shallow cuts along the top and bottom of the bead first, creating smaller sections to extract.
Don’t try to force the blade; a steady, controlled motion is more effective. Once you’ve loosened as much of the caulk as possible with the knife, switch to a scraper. A stiff putty knife can be used to pry away larger stubborn pieces. For delicate surfaces, an old credit card or a plastic scraper is preferable to avoid damage.
Often, caulk can become hardened and bonded to the surface, making direct removal challenging. This is where the power of moisture comes in. Spraying the caulk line generously with warm, soapy water or a caulk remover solution and letting it sit for a few minutes can work wonders.
The moisture softens the caulk, making it more pliable and easier to cut and scrape away. Some caulk removers are specifically formulated to break down silicone and acrylic residues, so if you’re dealing with persistent gunk, a commercial product might be worth the investment. Repeat the spraying and soaking process if necessary; patience is a virtue here and will contribute to the overall ease of the job.
Dealing with Stubborn Caulk Residue

Even after removing the bulk of the caulk, you’re likely to encounter lingering residue. This is where your scraper and cleaning solutions become indispensable for an effortless caulk removal and clean finish. For smaller bits of stubborn caulk, a corner of your scraper or the edge of your utility knife can be used to gently scrape them away.
If there’s still some stickiness, a damp cloth with a bit of cleaning solution or even some rubbing alcohol can often do the trick. For particularly tenacious silicone residue, you might need to apply a specialized silicone remover. Follow the product instructions carefully, ensuring good ventilation. Again, allowing the solution to dwell for the recommended time is crucial for it to work effectively.
Once all the caulk and residue have been removed, it’s essential to thoroughly clean the area. This not only removes any remaining cleaning agents but also prepares the surface for new caulk application. A clean, dry surface is paramount for the new caulk to adhere properly, ensuring a long-lasting, watertight seal. Wipe down the area with a clean, damp cloth, and then dry it completely with a lint-free towel. Inspect the area closely under good lighting to ensure no remnants of the old caulk remain.
By approaching caulk removal with a methodical mindset and the right tools and techniques, what often seems like a labor-intensive chore can be transformed into a surprisingly easy and effortless process. The key lies in preparation, choosing the appropriate tools, utilizing softening agents, and being patient with stubborn residues. A clean, well-prepared surface is the foundation for a successful caulking job, guaranteeing a more polished and professional outcome for your home improvement projects.
