
Mastering your cistern’s parts can make toilet repairs a breeze! Understand each critical component – from the fill valve to the flush mechanism – to keep your toilet running smoothly, prevent leaks, and save water. This guide breaks down what’s inside your toilet tank and how each piece works.
Ever stared at your toilet tank and wondered what all those bits and bobs do? It’s a common plumbing puzzle! When your toilet acts up – maybe it’s running constantly, or the flush isn’t quite right – knowing the individual parts inside the cistern can feel overwhelming. But don’t worry, it’s simpler than you think! Understanding these components is your first step to fixing minor issues yourself, saving money, and ensuring your bathroom stays efficient. We’ll walk you through each part of the cistern, explaining what it does in simple terms. Ready to demystify your toilet tank? Let’s dive in!
What is a Cistern in Plumbing?
In the world of plumbing, a cistern is simply the tank that holds the water for flushing your toilet. It’s the part of the toilet that sits behind the bowl and is connected to the water supply. When you press the flush button or lift the handle, the cistern releases a measured amount of water into the toilet bowl, carrying waste away. Think of it as the toilet’s water reservoir, ready to spring into action when needed.
Modern cisterns are usually made of ceramic, but older ones might be found in plastic or even metal. They are designed to hold a specific volume of water, typically between 6 and 9 liters (about 1.6 to 2.4 gallons) per flush, depending on local building codes and the age of the fixture. The way this water is stored and released involves a clever arrangement of several key components working together. Understanding these parts is essential for any homeowner looking to maintain their plumbing system effectively.
The Main Components of a Cistern
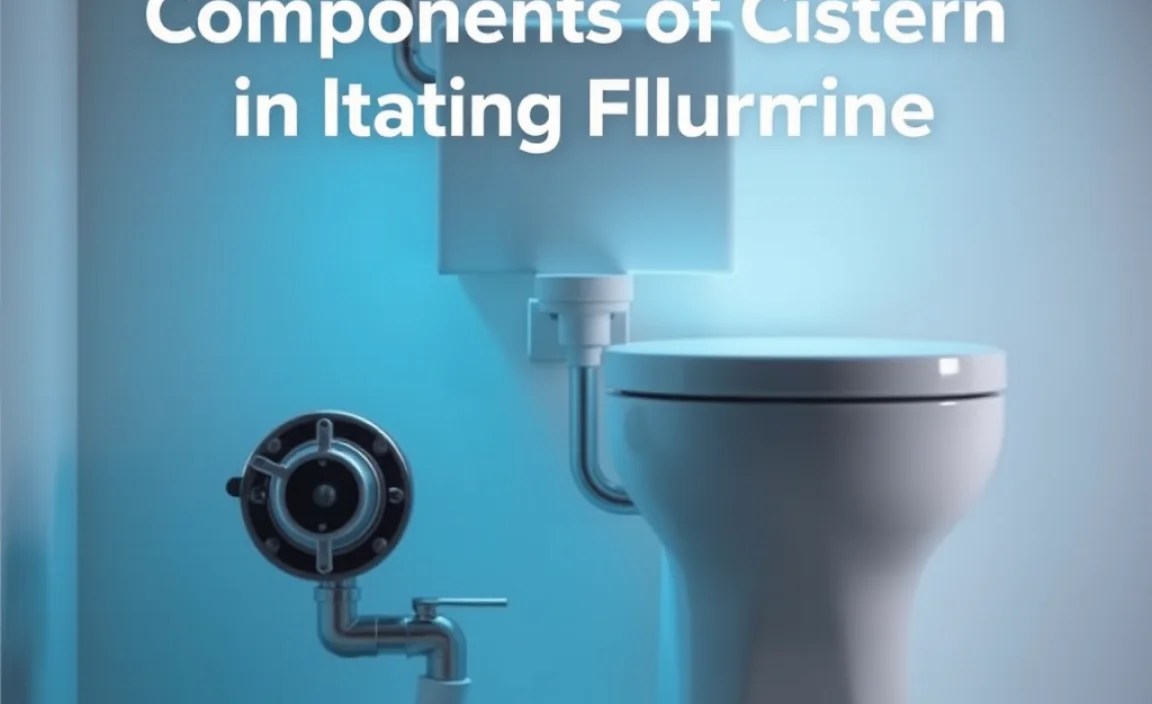
Inside your toilet cistern, a few key players work in harmony to get the job done. Each has a specific role, from controlling water flow to ensuring the right amount of water is always at the ready. Let’s break them down:
1. The Fill Valve (Also known as the Inlet Valve or Ballcock)
This is arguably the most important component in your cistern. Its primary job is to refill the tank with fresh water after each flush and to stop the water flow once the tank is full to the correct level. It also controls the replenishment of water to the flush valve. Without a functioning fill valve, your cistern wouldn’t refill, or it might overfill and waste water.
How it Works:
The fill valve is connected to your home’s main water supply. When the cistern is empty (after a flush), a float mechanism (which can be a ball float, a cup float, or a water-leveling float) drops. This lowers a seal inside the valve, allowing water to rush in. As the water level in the cistern rises, the float also rises. When the water reaches a pre-set level, the float lifts a lever or arm that closes the seal inside the valve, stopping the water flow. Older ballcock types rely on a large, visible ball float, while newer, more efficient designs use a smaller, integrated float that hugs the valve body.
Common Issues:
- Running Toilet: If the fill valve doesn’t shut off completely, water will continuously flow into the tank and potentially down the overflow tube, leading to a running toilet and wasted water.
- Slow Refill: A clogged inlet or worn-out diaphragm in the fill valve can cause the tank to refill slowly.
- Leaking Inlet: Worn seals or improper seating can cause the fill valve itself to leak.
2. The Flush Valve (Also known as the Outlet Valve or Flush Mechanism)
This component’s job is to release the water from the cistern into the toilet bowl when you activate the flush. It sits at the bottom of the tank and is essentially a seal that opens to allow water to escape and then closes to allow the tank to refill.
How it Works:
The flush valve is typically a flapper or a dome-shaped seal that sits over the large opening at the bottom of the cistern. When you push the flush button or lift the handle, a chain or cable connected to this mechanism lifts the flapper. This allows the water to rush out of the cistern and into the toilet bowl. As the water level drops, the flapper usually falls back into place, sealing the opening and allowing the fill valve to start refilling the tank. Modern cisterns often use a “dual-flush” system, which has a flush valve designed to release different amounts of water for solid and liquid waste.
Common Issues:
- Leaking from the Bowl: If the flapper doesn’t seal properly on the valve seat, water will constantly leak from the cistern into the bowl, causing a running toilet. This is often due to a worn or warped flapper, or a damaged valve seat.
- Incomplete Flush: A stretched or disconnected chain can prevent the flapper from lifting high or long enough for a full flush.
- Difficult Flushing: A worn or corroded flush valve mechanism can make flushing stiff or difficult.
3. The Float (Ball Float or Cup Float)
The float is the part of the fill valve mechanism that rises and falls with the water level. Its purpose is to tell the fill valve when to stop admitting water into the cistern.
How it Works:
As mentioned with the fill valve, the float’s movement is directly linked to the valve’s operation. In traditional ballcock systems, a large hollow ball is attached to an arm. As the water level rises, the ball floats upwards, pushing the arm and triggering the valve to close. In more modern, compact fill valves, you’ll often see a cup-shaped float that slides up and down a central stem, performing the same function.
Common Issues:
- Water Level Too High/Low: The float arm can often be adjusted to set the correct water level. If it’s not set correctly, the tank might not fill enough for an effective flush, or it might overfill and leak through the overflow.
- Waterlogged Ball Float: Older ball floats can develop cracks and fill with water, making them heavy. This prevents them from rising properly, and the fill valve may not shut off, leading to an overflow.
4. The Overflow Tube
This is a crucial safety feature. The overflow tube is a vertical pipe, usually located in the center of the cistern, that is open at the top. Its job is to direct excess water away from the cistern and down into the toilet bowl (and then out through the s-trap) if the fill valve fails and the tank overfills.
How it Works:
The top of the overflow tube is usually set at a height slightly below the intended maximum water level in the cistern. If the fill valve malfunctions and continues to let water in, the water level will rise until it reaches the top of the overflow tube. From there, it flows down the inside of the tube and into the toilet bowl, acting as a built-in safeguard against water damage to your bathroom floor or ceiling.
Common Issues:
- Constant Running: If you see water steadily flowing down the overflow tube, it’s a clear sign that your fill valve isn’t shutting off correctly.
- Blockages: Though rare, mineral buildup or debris could potentially block an overflow tube. However, blockages are far more common in the toilet bowl trap itself.
5. The Flush Lever/Button and Actuating Mechanism (Chain, Rod, or Cable)
This is the part you interact with directly to flush the toilet. It’s the handle or button on the cistern that initiates the flushing process.
How it Works:
When you press the button or lift the lever, it pulls on a connecting mechanism. This mechanism can be a chain (common in older toilets), a vertical rod (often found in lever systems), or a cable (used in some modern designs). This pull is what lifts the flush valve flapper or dome, releasing the water.
Common Issues:
- Loose or Broken Chain/Rod/Cable: If the connection is loose, stretched, or broken, it won’t lift the flush valve properly, leading to a weak or failed flush.
- Stiff Lever/Button: Corrosion or wear within the lever or button mechanism can make it hard to operate.
- Dual-Flush System Malfunction: Dual-flush mechanisms are often more complex and can have specific issues with one of the flush modes not engaging correctly.
6. The Cistern-to-Bowl Connection (Siphon, Seal, and Bolts)
This refers to the connection between the bottom of the cistern and the toilet bowl. It includes the flush valve seat, a seal (gasket), and bolts that hold the cistern securely to the bowl.
How it Works:
At the base of every cistern, there’s a large opening where the water exits. This opening needs to be precisely mated with an opening on the toilet bowl. A rubber or plastic seal (gasket) sits between these two openings to create a watertight connection. Four large bolts, typically brass or stainless steel, pass through the cistern base and the bowl’s mounting points, compressing the seal and holding the cistern firmly in place. Some siphon-style flush valves also have a shaped tube that helps siphon water efficiently during the flush.
Common Issues:
- Leaking Cistern Base: Worn or damaged seals, or loose bolts, can cause water to leak from where the cistern meets the bowl. This is a common cause of puddles around the base of the toilet.
- Cracked Valve Seat: The surface of the bowl where the flush valve rests if damaged or corroded will prevent a proper seal and cause continuous leaking into the bowl.
- Loose Cistern: If the mounting bolts become loose, the cistern can wobble, potentially damaging the seals and causing leaks.
Understanding Dual-Flush Mechanisms
Modern cisterns often feature dual-flush systems, designed to conserve water. These systems offer two flushing options: a reduced flush for liquid waste and a full flush for solid waste. They are a significant improvement in water efficiency for households.
How Dual-Flush Works:
Dual-flush systems use a more complex flush valve mechanism. Instead of a simple flapper, they typically employ a “domed” or “wand” style flush mechanism. When you press the smaller button, it lifts a portion of the dome or a specific wand, releasing a smaller amount of water for liquid waste. When you press the larger button, it lifts the entire dome or a different part of the mechanism, releasing the full tank of water for solid waste.
The fill valve in a dual-flush system also often has adjustments to ensure the correct water levels are maintained for both flush types.
Benefits of Dual-Flush:
- Significant water savings over time, reducing utility bills.
- Environmentally friendly.
- Adaptable to different waste types.
Common Dual-Flush Issues:
- One Flush Not Working: The mechanism for one of the buttons might be misaligned, disconnected, or broken.
- Weak Flushes: The water level in the cistern might be too low, or the flush valve seal might not be opening fully.
Tools You Might Need to Work on Your Cistern
You don’t need to be a professional plumber to tackle most cistern repairs. With a few common tools, you can often fix the problem yourself. Always turn off the water supply and drain the cistern before you begin any work! You can do this by turning the shut-off valve usually located on the wall behind the toilet, and then flushing the toilet to empty the tank.
Here’s a handy list of tools that are often useful:
- Adjustable Wrench: Great for loosening or tightening large nuts, like those found on the water supply connection or cistern bolts.
- Screwdriver Set (Flathead and Phillips): For adjusting screws on fill valves, levers, or tightening mounting bolts.
- Pliers (e.g., Slip-joint or Channel locks): Useful for gripping and turning various fittings or stubborn nuts.
- Bucket: To catch any residual water when disconnecting parts.
- Old Towels or Rags: For cleaning up spills and drying components.
- Gloves: To keep your hands clean and protected.
- Wire Brush: For cleaning mineral deposits from valve seats or threads.
- Replacement Parts: Ensure you have the correct replacement parts (e.g., fill valve, flapper, seal) for your specific toilet model before you start. You can often find model numbers inside the tank lid or on the back of the cistern.
A Simple Table of Common Cistern Components and Their Functions
To help you visualize and remember, here’s a quick reference table:
| Component | Primary Function | Analogy |
|---|---|---|
| Fill Valve (Inlet Valve) | Controls water entry into the cistern and stops it at the correct level. | A smart tap that knows when to turn on and off. |
| Flush Valve (Outlet Valve) | Releases water from the cistern into the toilet bowl for flushing. | A gatekeeper that opens to let water out. |
| Float | Senses the water level and signals the fill valve to stop. | A buoy that tells the tap to shut off. |
| Overflow Tube | Safely drains excess water into the bowl if the tank overfills. | An emergency escape route for water. |
| Flush Lever/Button & Actuator | User interface to initiate the flush cycle. | The trigger that starts the flush. |
| Cistern-to-Bowl Seal & Bolts | Creates a watertight connection between the cistern and bowl and secures them. | The strong friendship that keeps the tank and bowl together. |
Troubleshooting Common Cistern Problems
Most toilet cistern issues are relatively straightforward to diagnose and fix once you know what you’re looking for. Here are some common problems and how to approach them:
Problem 1: Toilet Runs Constantly
Symptom: You can hear water running into the toilet bowl or see a constant trickle down the overflow tube.
Likely Cause: The fill valve isn’t shutting off completely, or the flush valve isn’t sealing properly.
Your Action Plan:
- Check the Water Level: Ensure the water level isn’t too high. If it is, adjust the float on the fill valve so it stops filling a little below the top of the overflow tube.
- Inspect the Flush Valve: Look at the flapper or seal at the bottom of the tank. Is it sitting squarely on the valve seat? Is it old, warped, or cracked? You might need to simply reseat it, or you may need to replace the entire flapper mechanism.
- Clean the Valve Seat: If the flapper looks okay, try cleaning the valve seat (the rim the flapper rests on) with a soft cloth or a wire brush to remove any debris or mineral buildup that might prevent a good seal.
- Check the Fill Valve: If the water level is correct and the flush valve seal seems fine, the fill valve itself might be faulty and not closing fully. Replacing the fill valve is a common DIY fix. You can find comprehensive guides on replacing fill valves online, like this one from This Old House.
Problem 2: Toilet Doesn’t Flush Properly (Weak Flush or No Flush)
Symptom: The flush is weak, doesn’t clear the bowl, or the handle/button feels loose and doesn’t seem to do anything.
Likely Cause: Issues with the flush mechanism, chain, or water level.
Your Action Plan:
- Check the Chain/Cable: Ensure the chain connecting the flush lever to the flapper isn’t too long (causing slack) or too short (holding the flapper open). You might need to adjust the length or reconnect it.
- Inspect the Flapper: Make sure the flapper is opening fully when the lever is pressed. If it’s stiff or damaged, it might need replacing.
- Verify Water Level: A low water level in the cistern will result in a weak flush. Check if the fill valve is set to fill the tank to the proper level (typically 1-2 inches below the overflow tube).
- Check the Flush Valve Opening: Ensure the opening at the bottom of the cistern isn’t blocked by debris.
